
This post contains affiliate links.


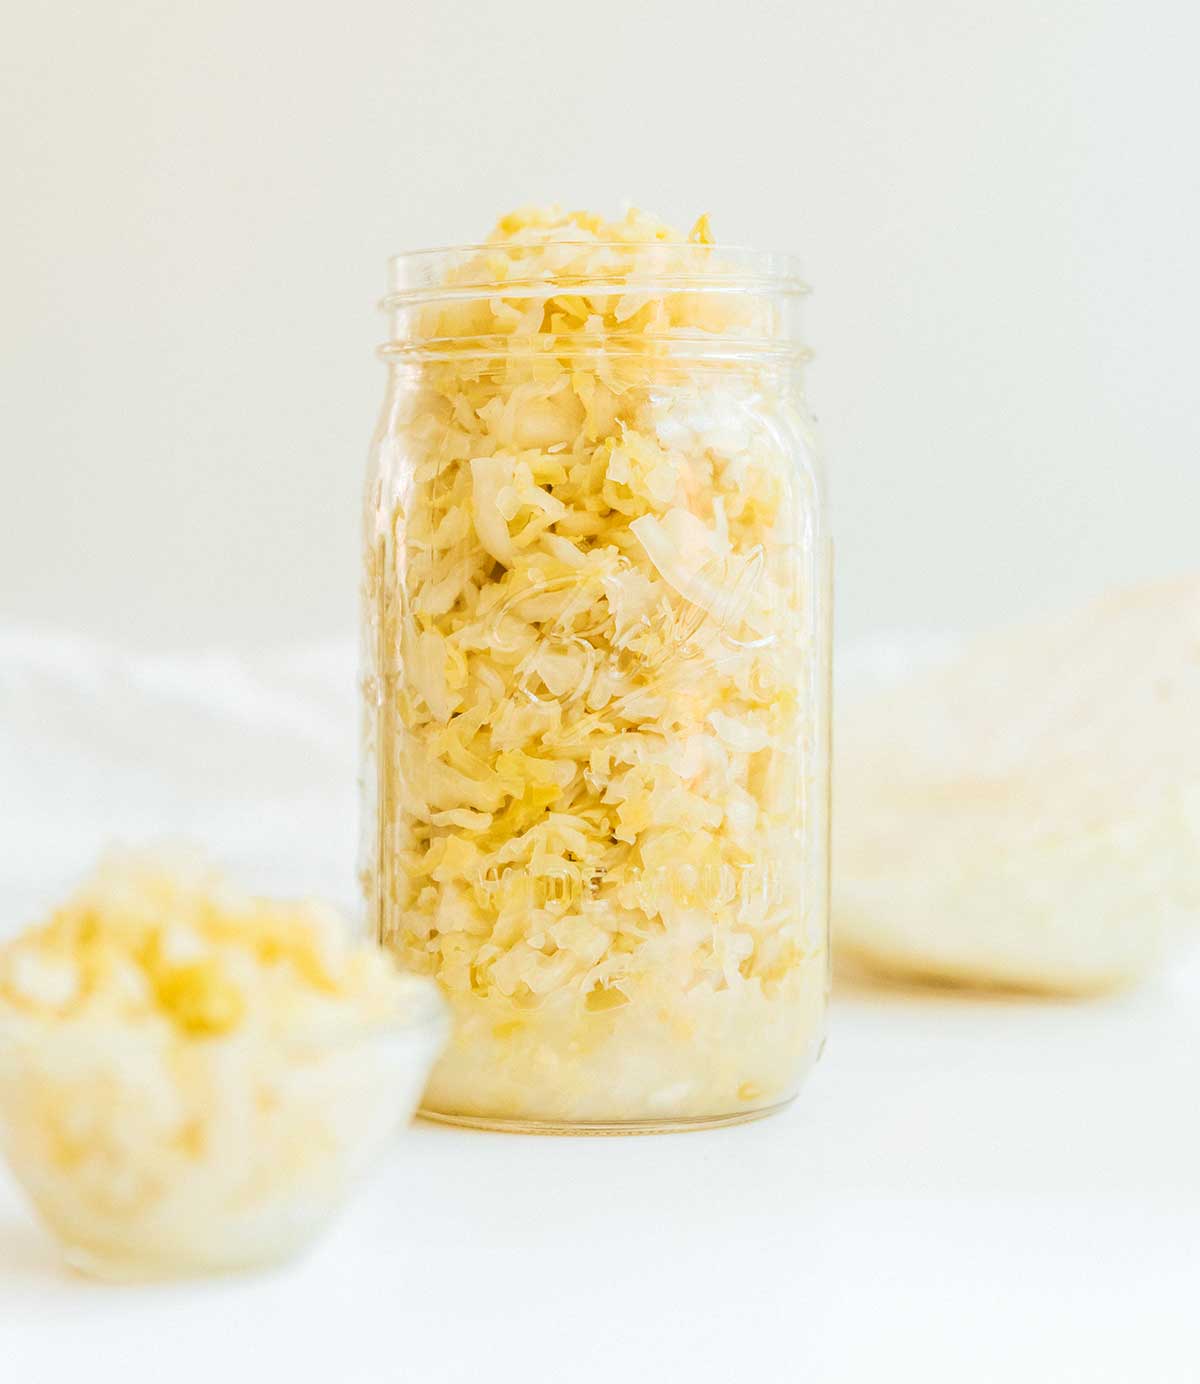
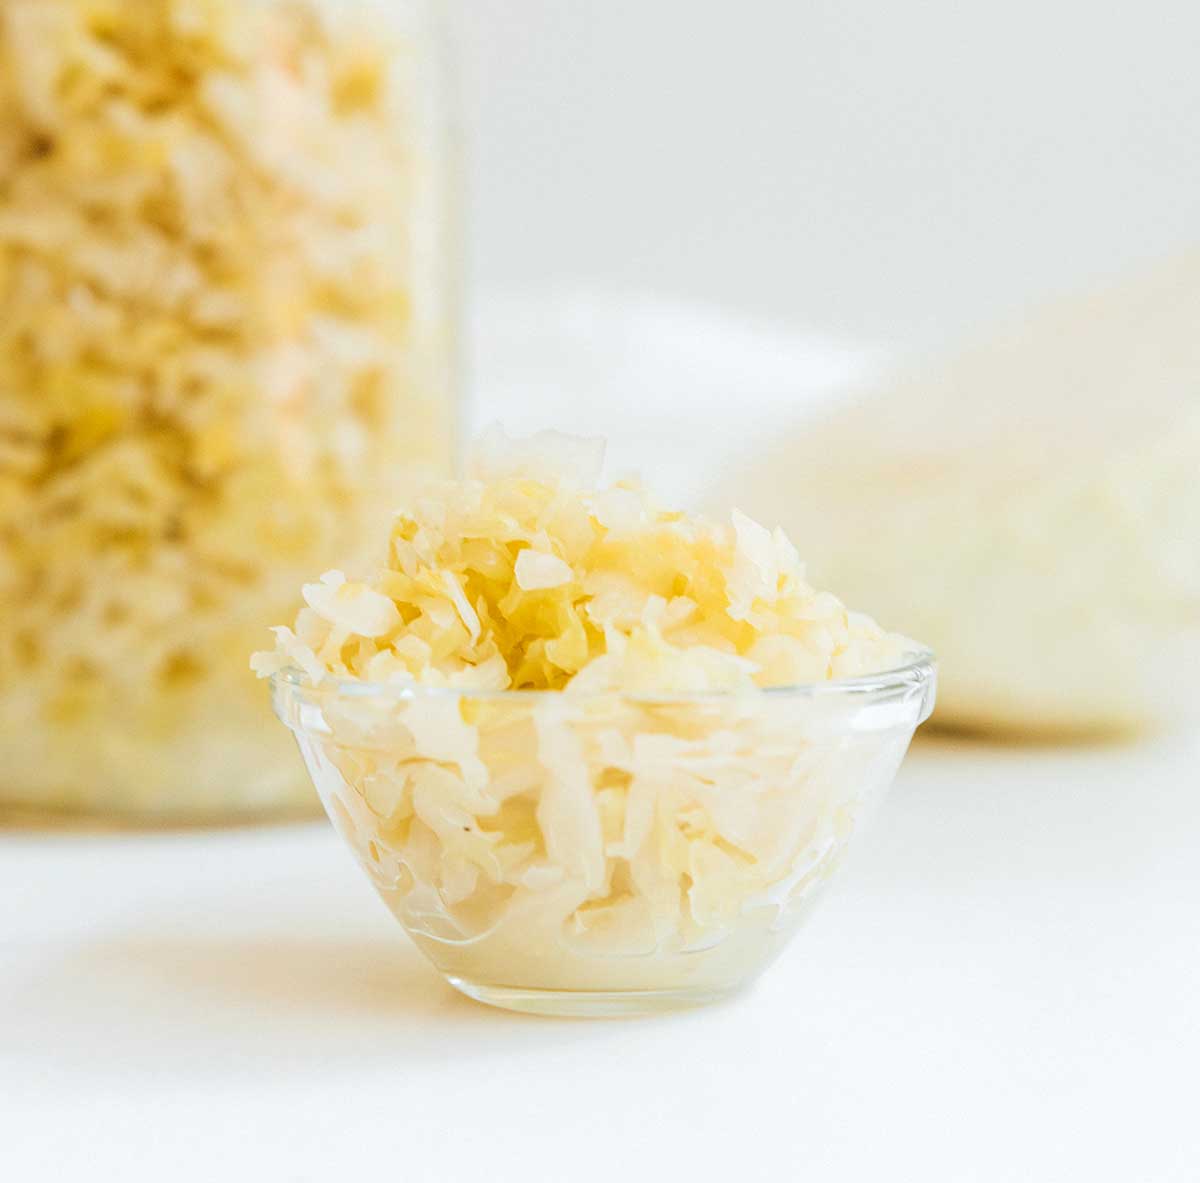
Learn how to make sauerkraut at home! It’s crunchy, tangy, and packed with gut-friendly probiotics. Bonus: it’s way easier than you think. With our step-by-step photos and foolproof instructions, you’ll have perfectly fermented kraut that beats anything store-bought.
Your Go-To Sauerkraut Recipe
Ah, sauerkraut. You either love or hate it—today’s recipe goes out to those who love it! And if you’re in the “hate it” camp, this homemade recipe is about to change your mind (because, let’s be real, store-bought kraut doesn’t stand a chance against the fresh, crisp goodness of DIY stuff).
So, what makes sauerkraut tick? Science, friends (cue your friendly neighborhood nutritionist, Sarah, for a quick geek-out moment). Thanks to naturally occurring bacteria in the environment, fermentation chemically transforms bland, boring cabbage into a perfectly tangy, low-carb snack.
The good news? It tastes great. The other good news? It’s ridiculously healthy for you. Sauerkraut is loaded with Vitamins K2, A, and C, as well as probiotics and other nutrients. Plus, it’s naturally vegan and gluten-free. It’s a win-win kinda situation!
Reader rating
“I make sauerkraut all the time and this recipe is exactly what I do! It’s unbelievably easy!” —Kashi
Here’s What You’ll Need
To make your own homemade sauerkraut, you’ll only need three things (and one of them is a jar!). Jump to the recipe card for exact measurements—this is just an overview!
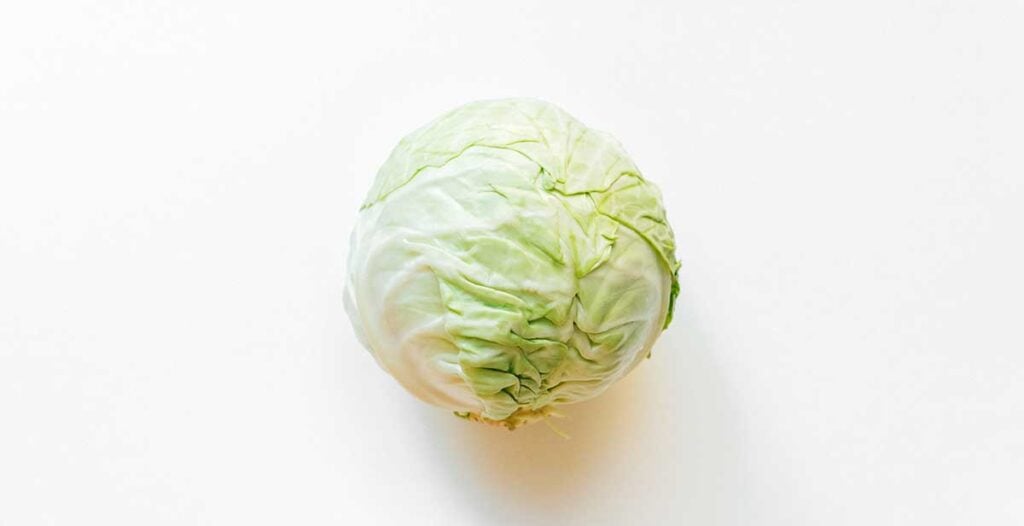
- Green Cabbage: Use fresh, firm green cabbage for the best crunch and flavor.
- Salt: This is what kickstarts the fermentation process! Opt for non-iodized salt (like kosher salt or unrefined sea salt) to keep the brine clear and the good bacteria happy.
- Extra Flavors: Try caraway seeds for a classic tangy flavor, or experiment with garlic, mustard seeds, or even a touch of fresh ginger for a fun twist!
Sauerkraut vs. Kimchi
Both sauerkraut and kimchi are fermented cabbage-based dishes, so what’s the difference? Sauerkraut is an Eastern European dish traditionally made with just cabbage and salt, resulting in a tangy, slightly sour flavor. Kimchi is a Korean staple packed with bold spices like garlic, ginger, and gochugaru.
Let’s Make Sauerkraut!
Sauerkraut is way easier to make than you might think! Fermentation can sound intimidating, but don’t worry—we’ll walk you through the whole process step by step (jump to the recipe card for the full printable instructions!).
Step 1: Sterilize The Supplies
Wash your hands thoroughly before touching the ingredients, and wash all of the supplies with hot water.
Step 2: Cut The Cabbage
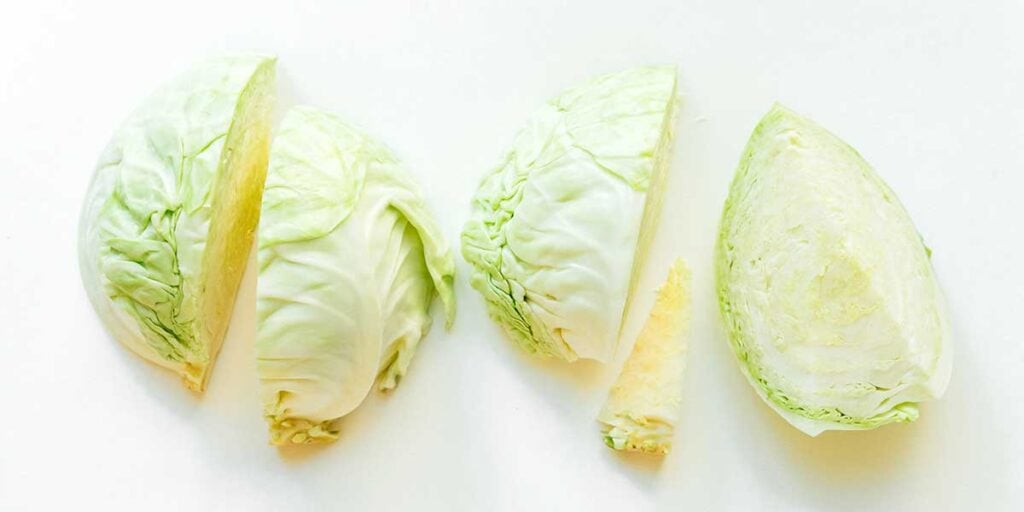
Next, discard the wilted outer leaves of the cabbage. Rinse well, and then cut the head into 8 wedges lengthwise. Lay each wedge flat on your cutting board and cut into thin ribbons.

Step 3: Brine The Cabbage
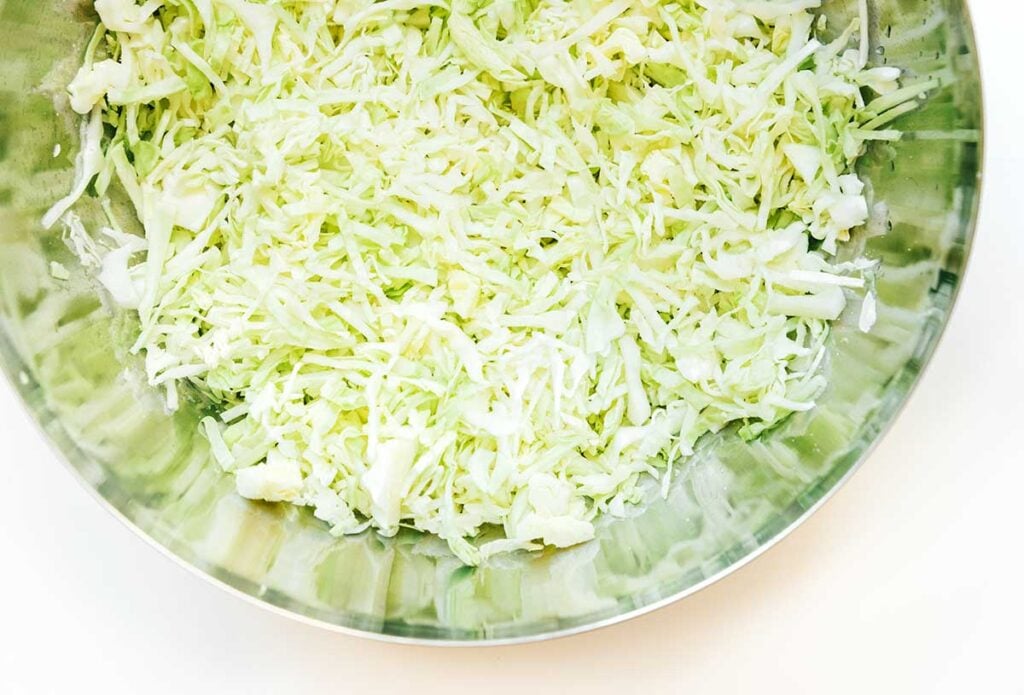
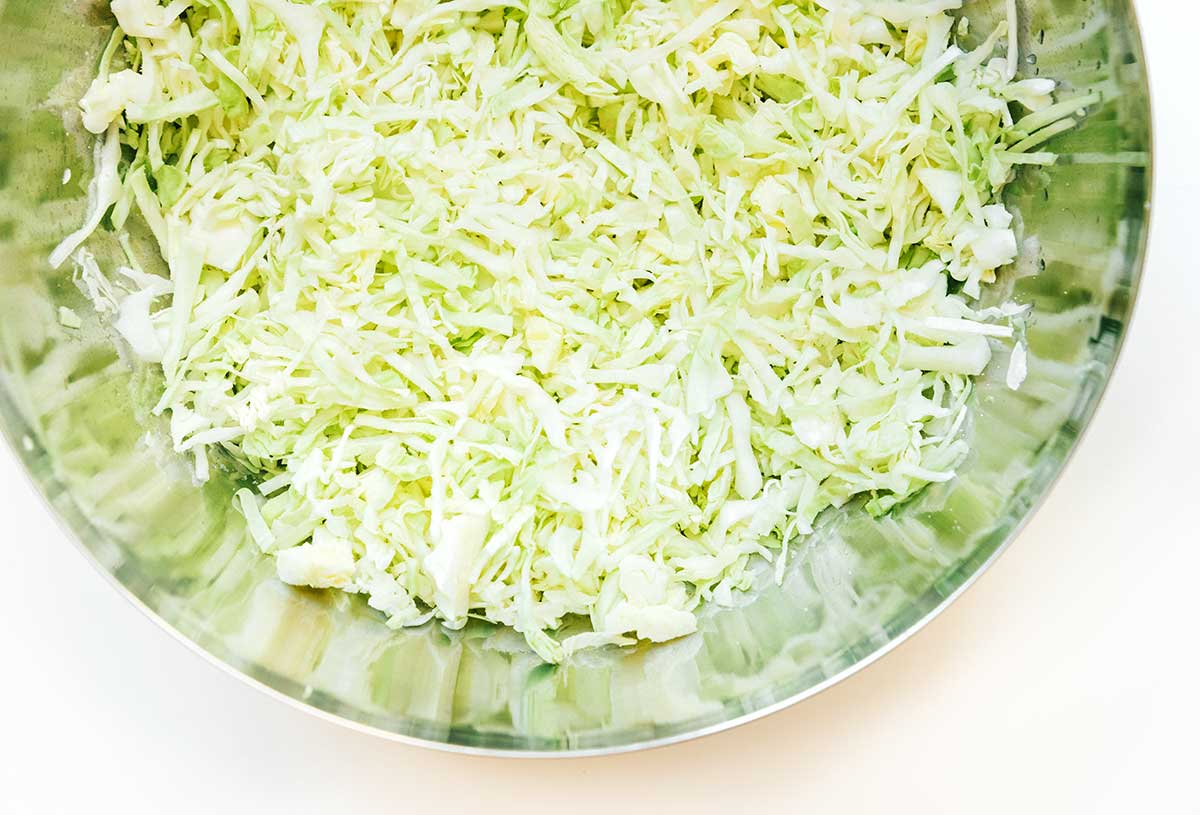
Place the shredded cabbage in a large bowl and sprinkle it with salt. Work the salt into all of the leaves, massaging and squeezing the shredded cabbage for about 5 minutes until it has wilted quite a bit.

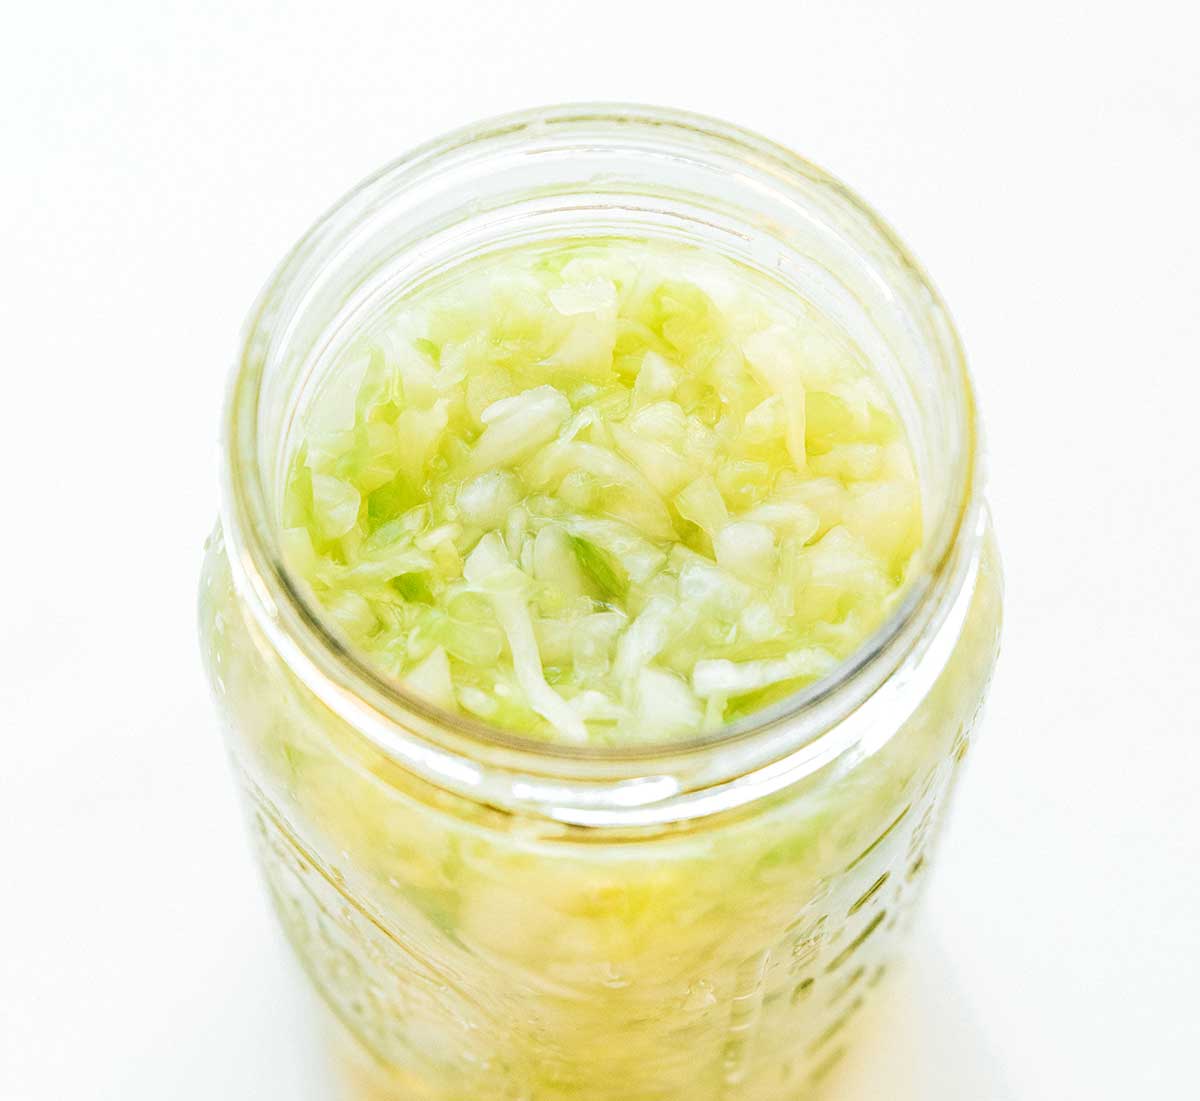
Step 4: Add Cabbage To Jars
Pack the mixture into clean glass jars. Top it off with any liquid that may remain in the bowl from when you were massaging it.
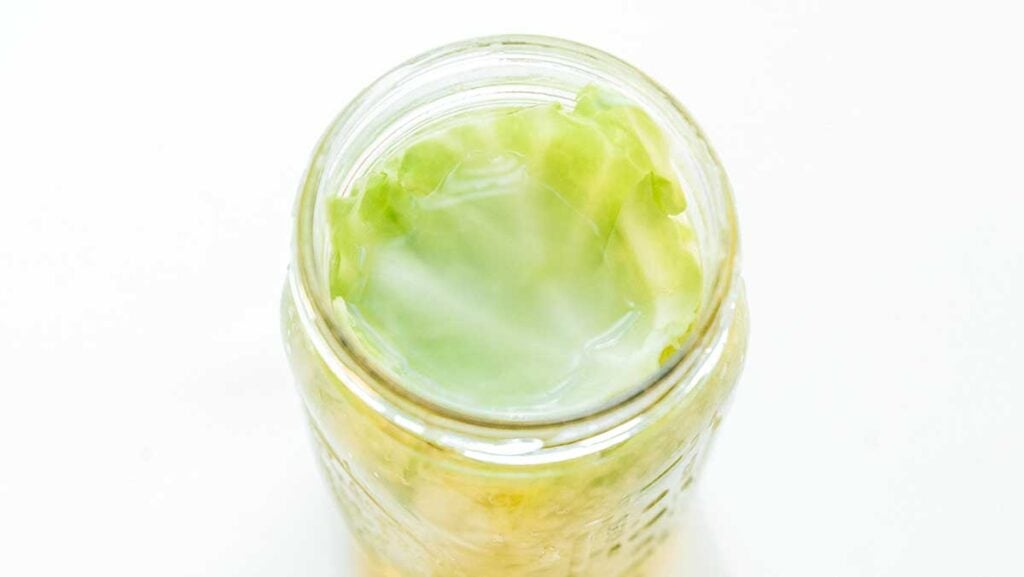
Step 5: Weigh It Down
Use a fermentation weight (or a narrow glass) to hold the cabbage leaves down. Everything needs to be submerged to prevent mold!
Step 6: Cover The Jar
Cover with a clean cloth (towel, paper towel, etc.) and secure the towel with a rubber band. This allows airflow while keeping out pests.
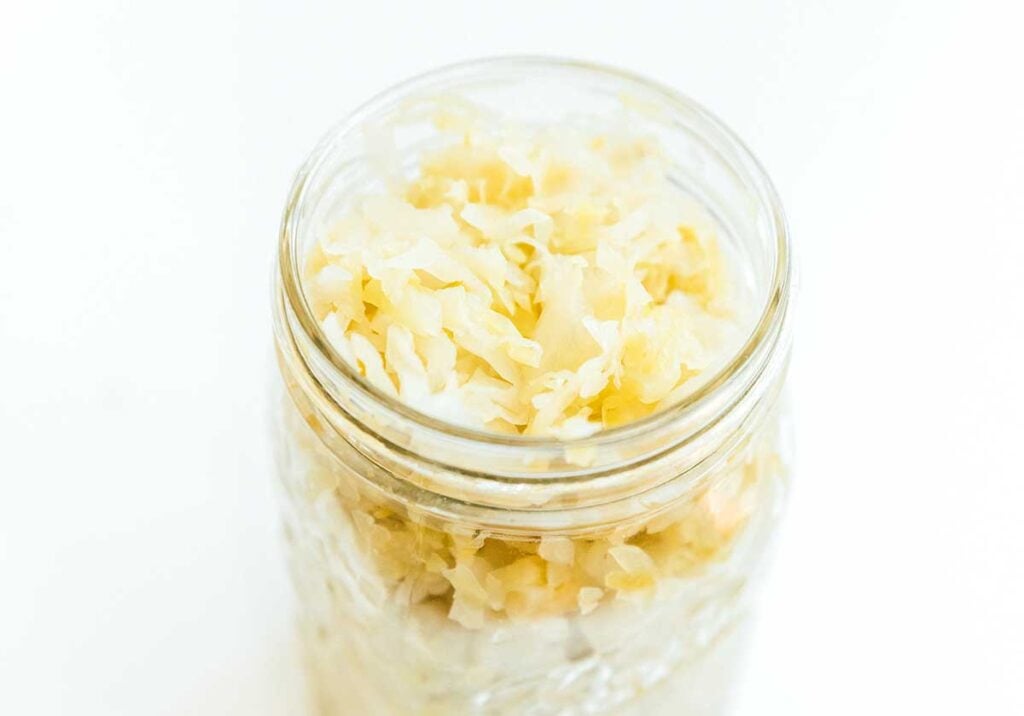
Step 7: Let It Ferment
Place the jar(s) at room temperature and out of direct sunlight, letting the cabbage ferment for 3 to 14 days. Check daily, and stamp down the cabbage as needed to keep it submerged. When finished, store in the fridge to stop the fermentation process!

Use Your Sauerkraut Like This
Sauerkraut is one of those ingredients that can be served in a million different ways. Sauerkraut salad is one of my favorites! Mix it with carrots, celery, bell pepper, and a simple vinaigrette for a zingy, probiotic-packed side dish.

How To Make Sauerkraut Easily At Home
Ingredients
- 2 lb green cabbage, 900 g
- 1½ tsp salt
- 1 tsp caraway seeds, optional
Instructions
- Sterilize: Wash your hands well before every time you touch the ingredients. Wash all supplies with hot water.
- Cut: Discard the wilted outer leaves. Rinse the cabbage well, then cut it into 8 wedges, lengthwise. Lay each wedge flat on your cutting board, then cut into thin ribbons.

- Brine: Place shredded cabbage in a large bowl and sprinkle with salt. Work the salt into all the leaves, massaging and squeezing the shredded cabbage for about 5 minutes until it has wilted quite a bit. If adding caraway seeds, mix them in now.

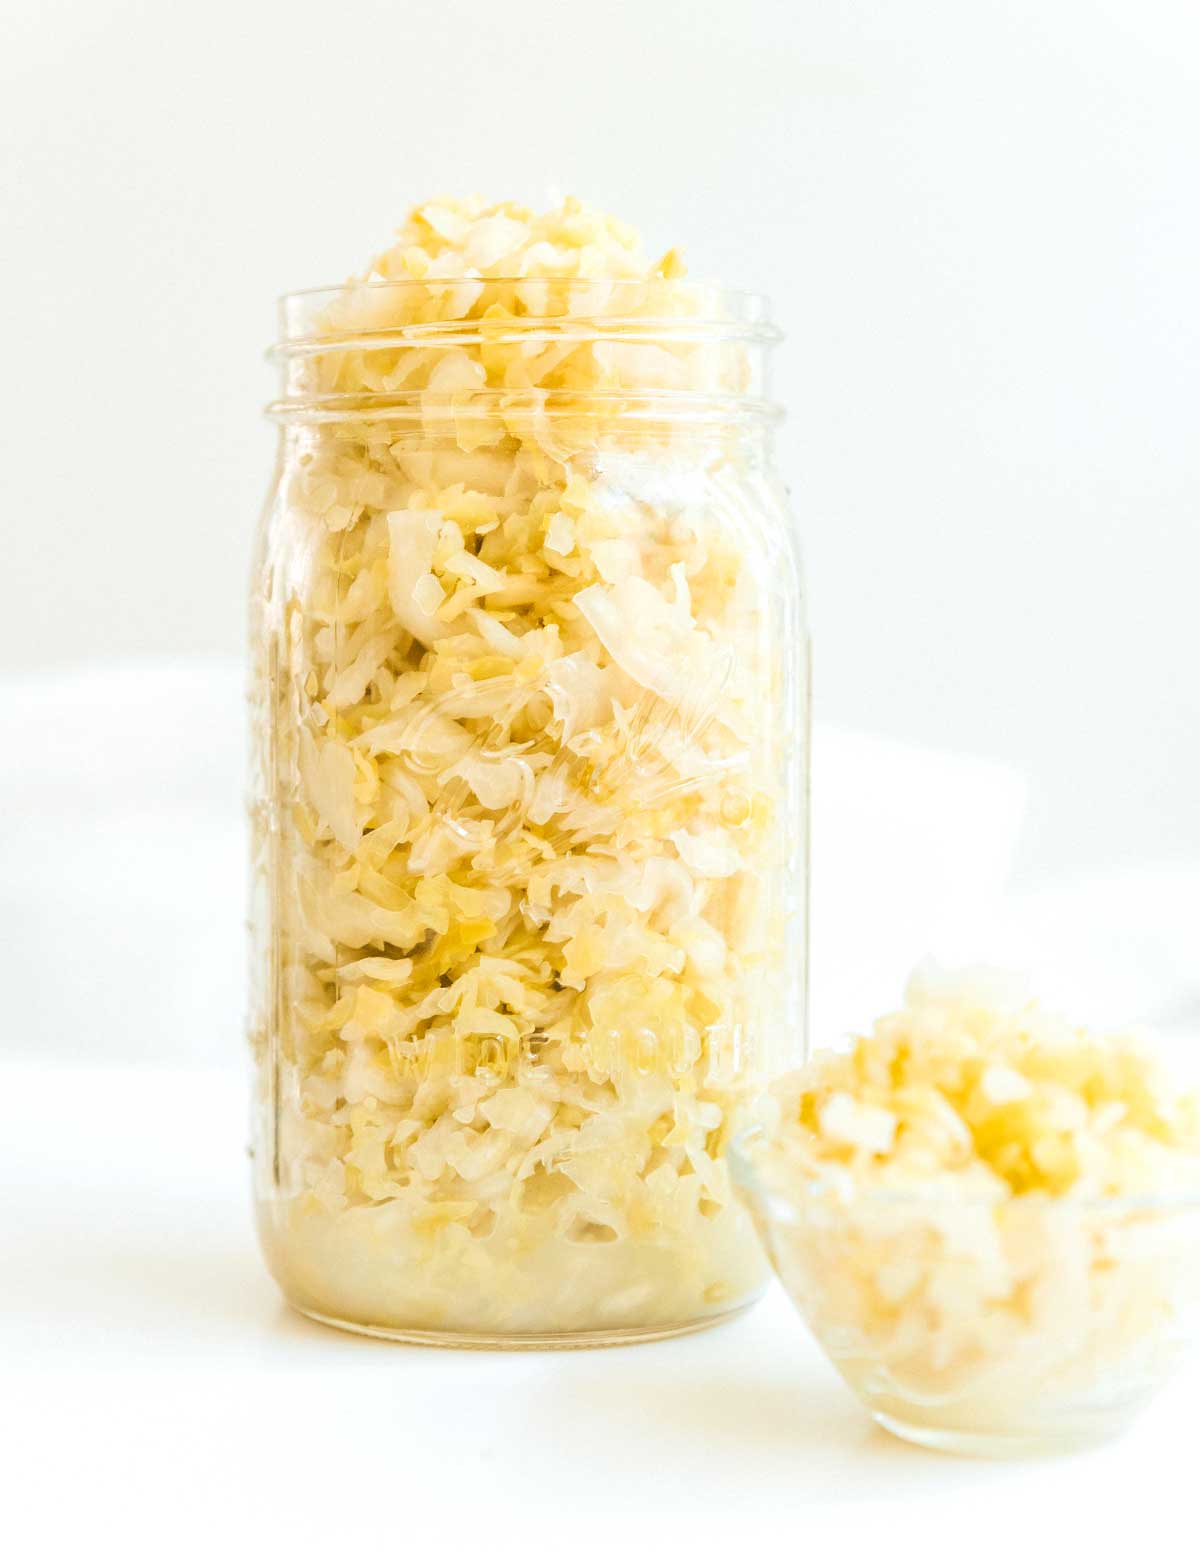
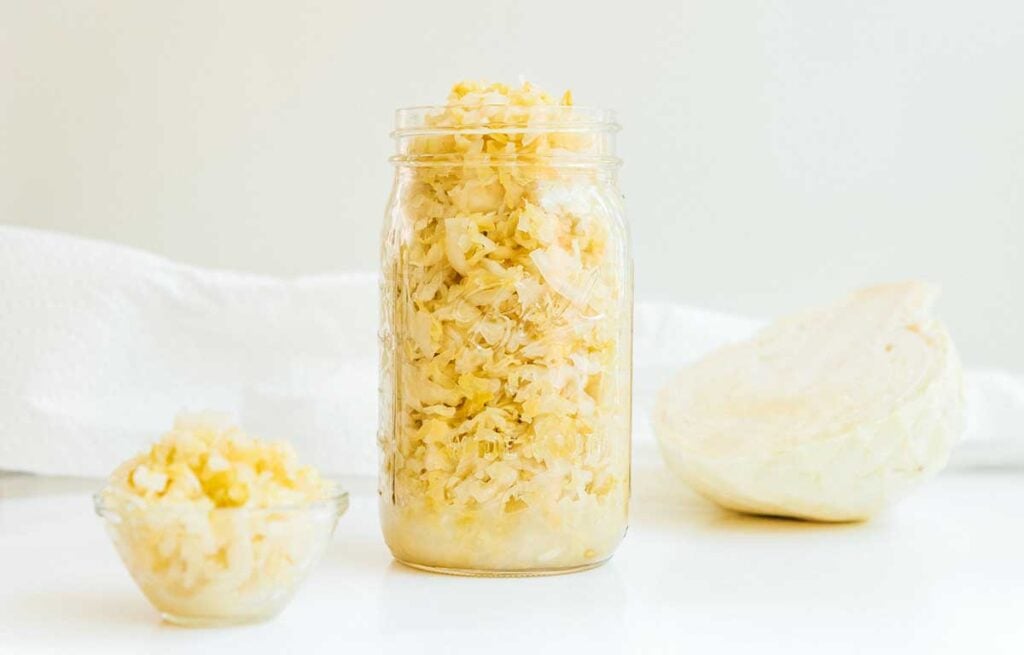
- Pack: Pack the mixture into clean glass jars (2 lbs of cabbage should fit in a 32 oz mason jar once wilted down), pressing down so that it’s submerged by the juices and there are as few air pockets as possible. Top it off with any liquid that may remain in the bowl from when you were massaging it.

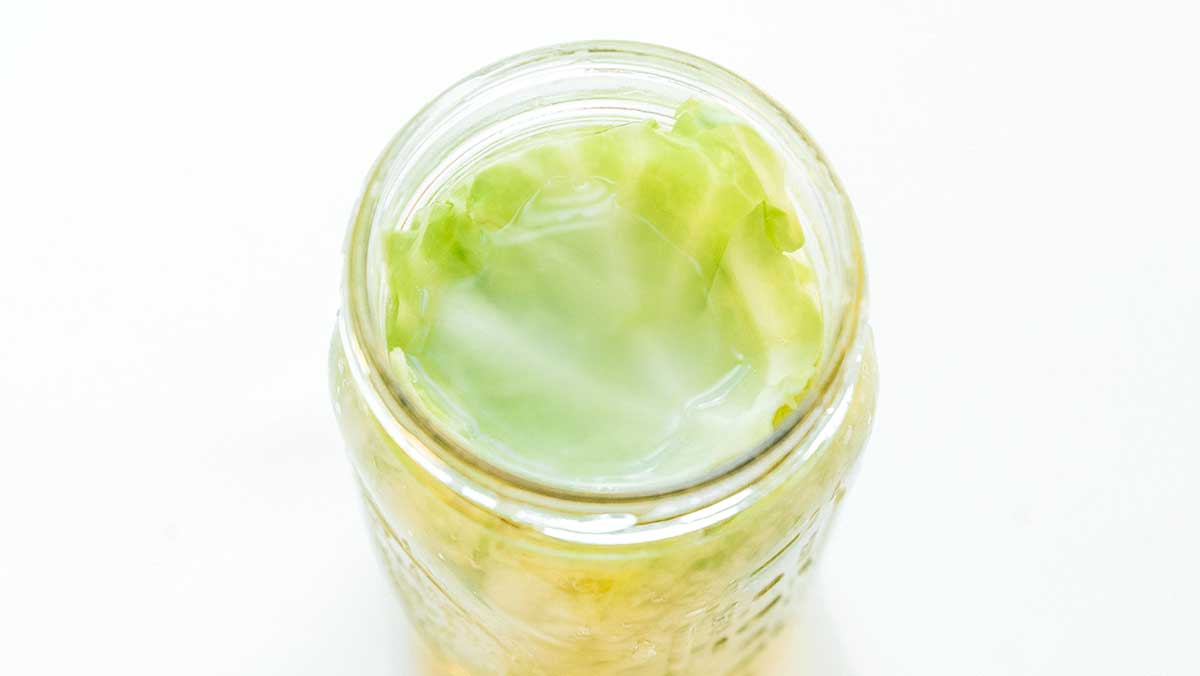
- Weigh It Down: Use a fermentation weight (or a narrow glass) to hold the cabbage leaves under – everything needs to be submerged in liquid to prevent mold. To keep any cabbage shreds from floating up, I like to place a whole cabbage leaf on top of the mixture, tucking the edges under. Then, just set your fermentation weight on top of that!

- Cover: Cover with a clean cloth (towel, paper towel, etc) and secure the towel with a rubber band. This allows airflow while keeping out pests.
- Ferment: Place somewhere at room temperature and out of direct sunlight, letting it ferment for 3 to 14 days. Check daily, stamping down the cabbage as needed to keep it submerged. Begin tasting after 3 days. It's done when the taste is slightly sour and cabbage is a bit soft (this depends on your taste – longer fermentation will result in a more sour, less crunchy kimchi). When finished, store in the fridge to stop the fermentation process.


Nutrition
Nutrition information calculated by Sarah Bond, degreed nutritionist.


I love sauerkraut – looking forward to making this recipe.
Hello! I’ve frozen a large head of farm share cabbage and never thought to make kraut! Can this recipe use frozen cabbage versus fresh? Many thanks.
I would expect that the colony of naturally occurring yeast on the cabbage might be weaker if it has been frozen, but it’s worth a shot! If it’s not bubbling in a few days, you’ll know the yeast weren’t strong enough after freezing.
When you heat sauerkraut, you kill some of the good stuff so one of our favorite ways is on a grilled Brats hotdog. It’s delicious and no heating.
I make sauerkraut all the time and this recipe is exactly what I do! It’s unbelievably easy!
HELP!
5 Star recipe. Following instructions….meh.
I made it. My first time making homemade saurkraut. Guess what? I forgot about it. I’m pretty sure it’s been a week. I put it in the cupboard, out of the light. Had it squished down into the liquid with another glass, an elastic holding it there. Covered with a towel, and away it went.
Today it looks not too bad colour wise. However, there is no liquid left. I tip the jar, and there doesn’t appear to be any. It doesn’t appear completely dry though, like the saurkraut. It needs the liquid though, doesn’t it?
Yep it needs some liquid! You can add some salted water (a brine) to help cover the cabbage again 😀
You never say what the liquid is.
That’s liquid that comes out of the cabbage when you salt it! 🙂
I didn’t get any liquid when massaging the cabbage in the salt? I added salty water to the jar so it was covered, fingers crossed!
How long will it stay good in refrigerator? Thanks!
Homemade sauerkraut will stay good in the fridge for about a month if it’s kept submerged in its brine and stored in an airtight container. Just keep an eye (and nose) on it. If it smells off or gets slimy, it’s time to toss it!