
This post contains affiliate links.

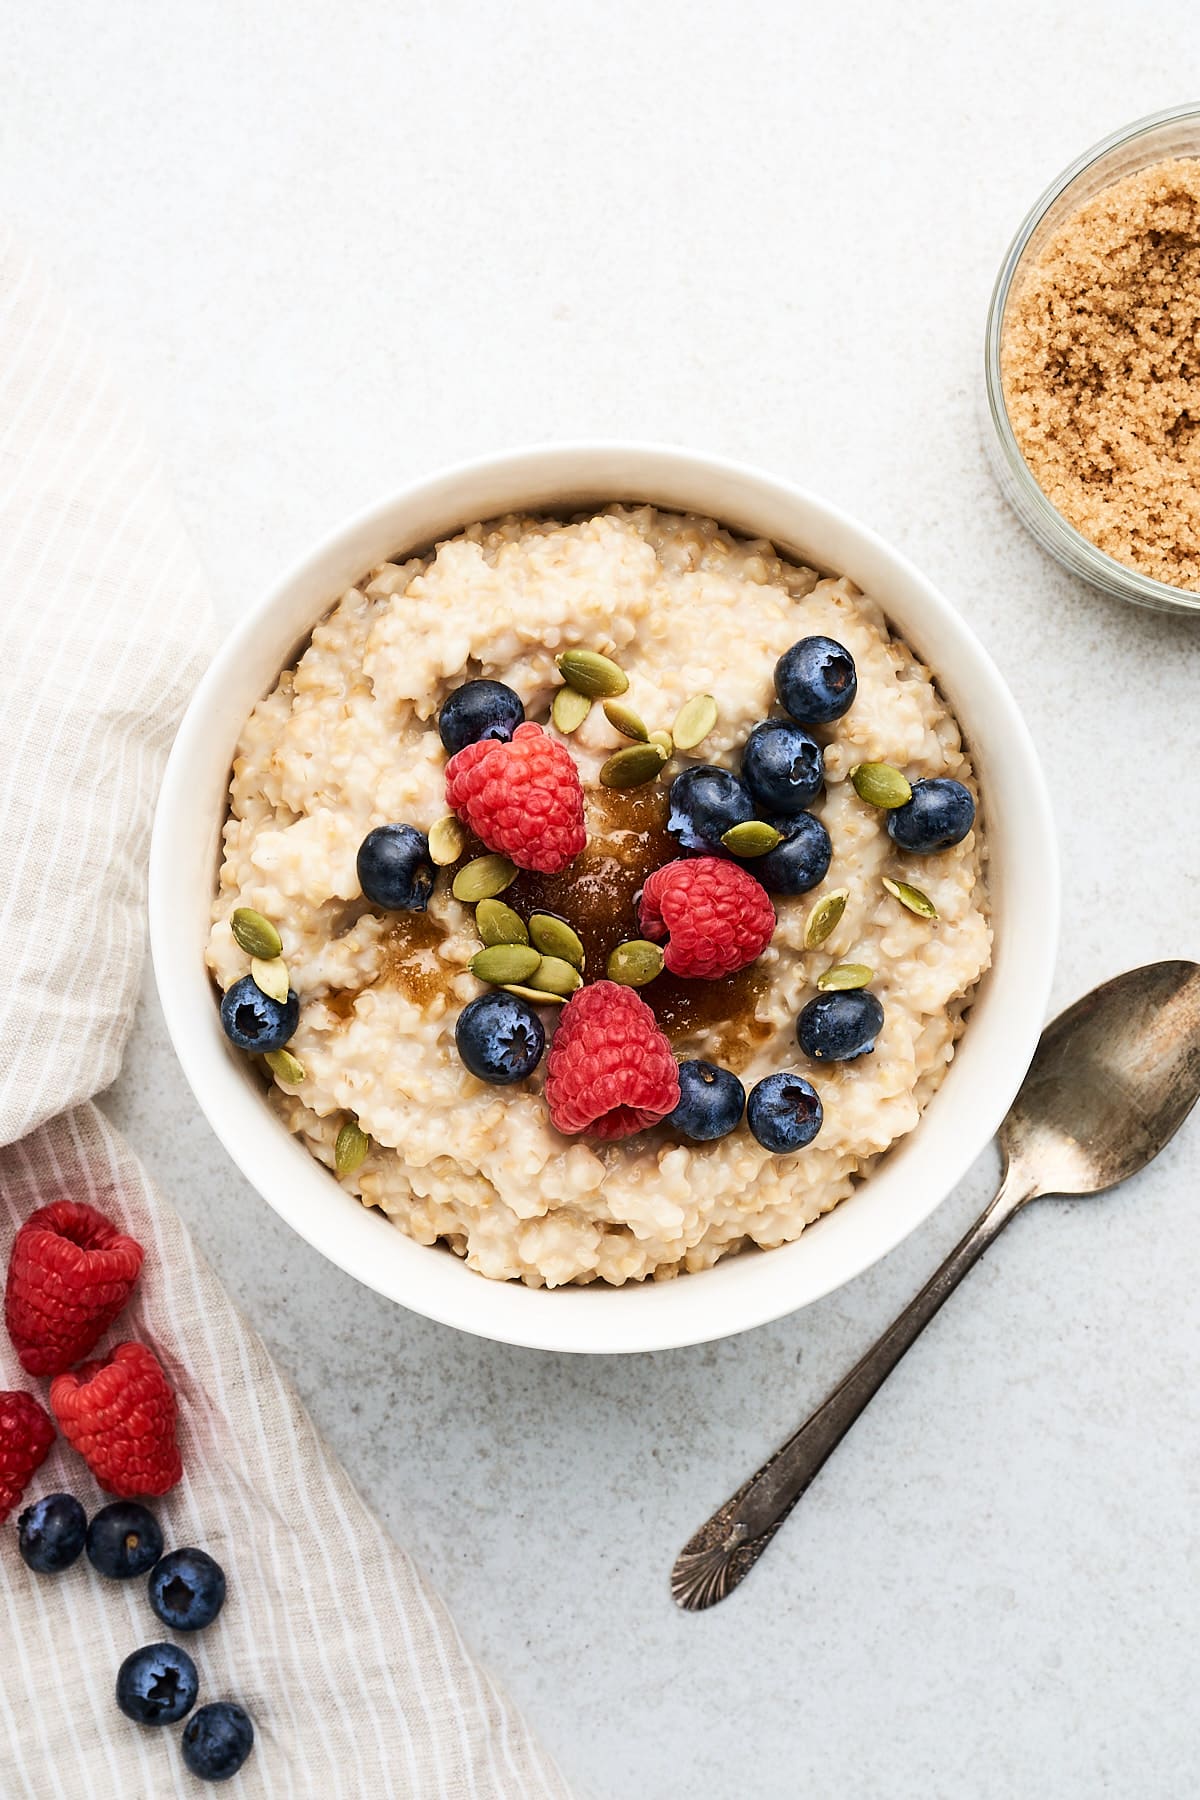
This is your comprehensive guide to cooking steel-cut oats that turn out creamy and tender every time! Learn both stovetop and microwave methods, storage tips, serving ideas, and more. This fiber-rich ingredient makes a nutritious and delicious breakfast any day of the week!
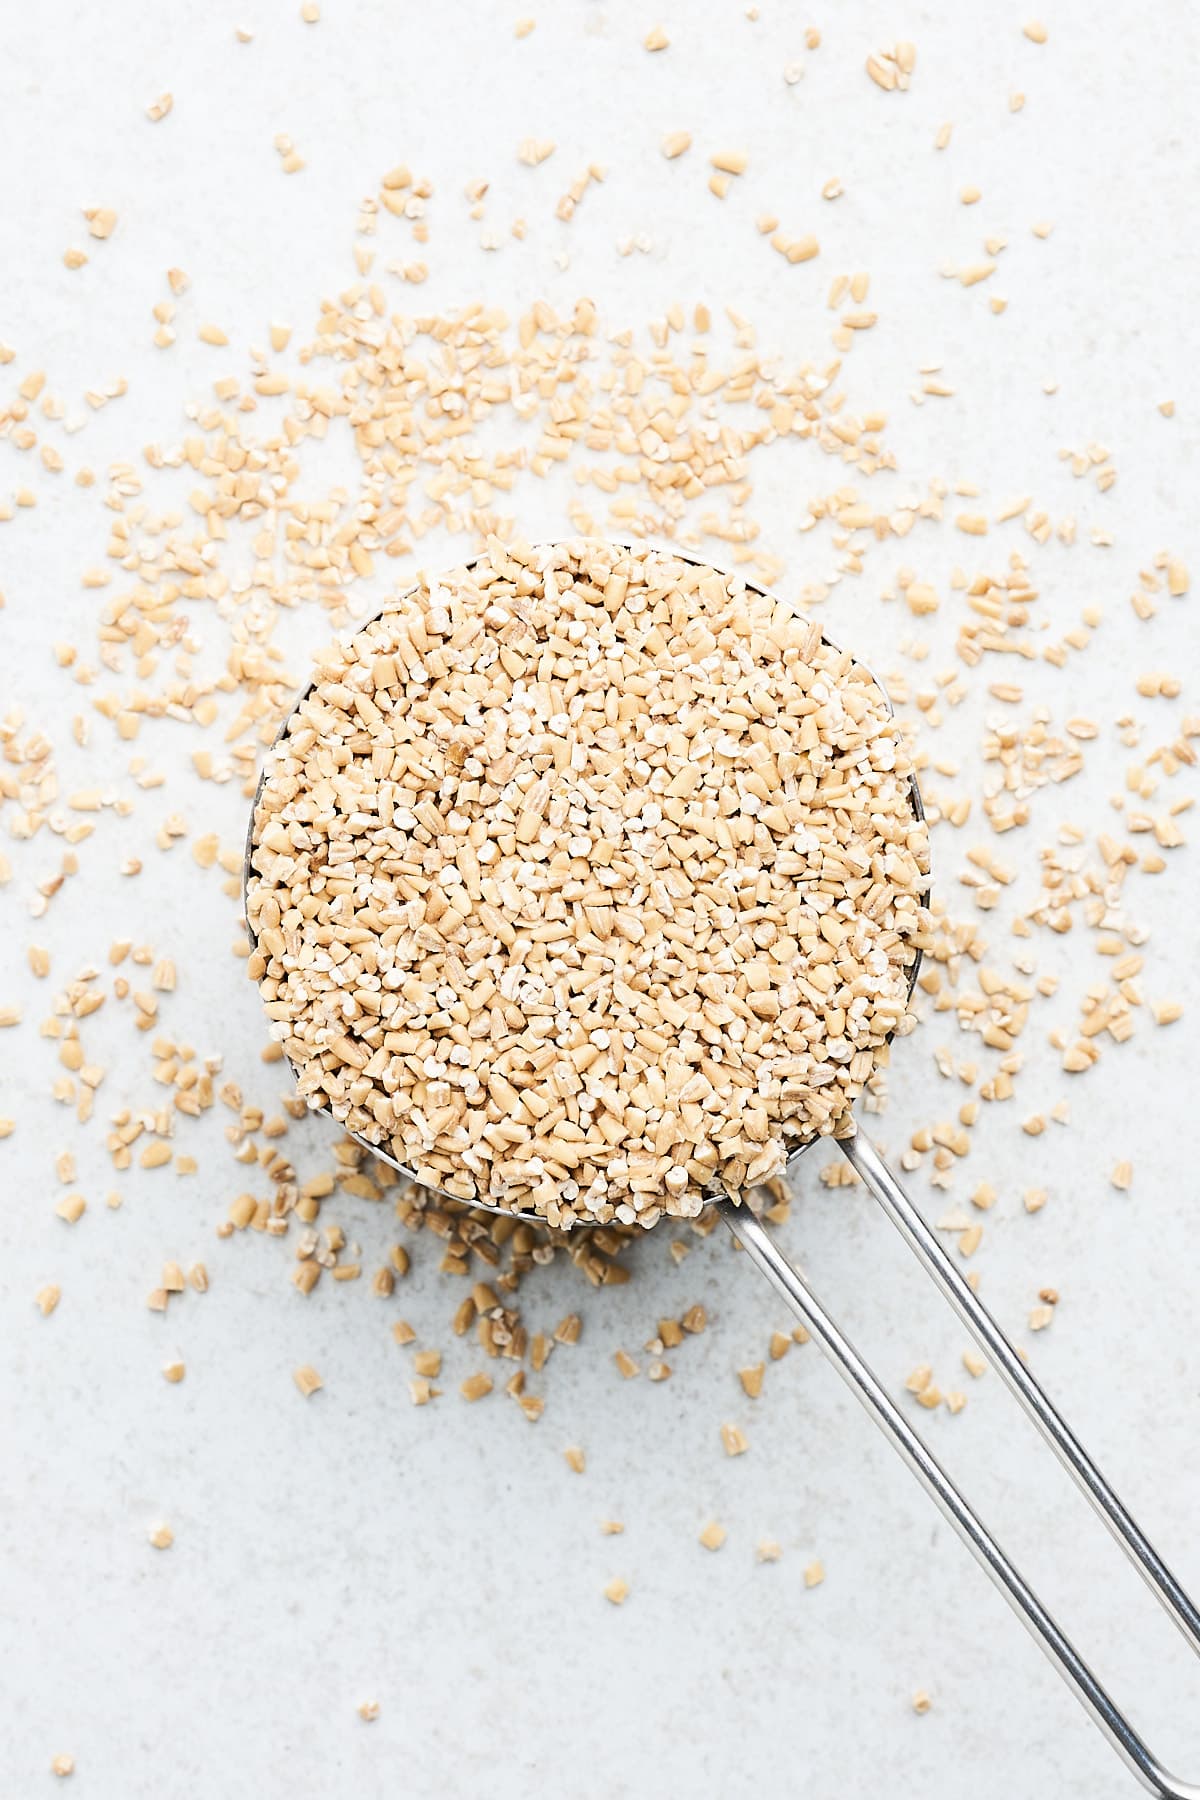
Steel-cut oats, sometimes referred to as Irish or pinhead oats, are whole oat groats that have been chopped into pieces using industrial steel blades.
They’re high in plant-based protein and fiber and offer a chewy, hearty texture. They’re the perfect option to keep you full and energized all day!
Steel Cut oats vs. rolled oats
While both are derived from the same whole oat groats, rolled and steel-cut oats are quite different types of oats in texture and cooking time.
Production: Steel cut oats are simply chopped, giving them a rougher, more granulated texture. Rolled oats, on the other hand, are steamed and then rolled flat, resulting in a flatter and softer texture that take less time to cook.
Flavor: Steel cut oats have a nuttier flavor and require a longer cooking time than rolled oats, which are more processed.
Benefits: Nutritionally, both types of oats offer similar benefits, but steel-cut oats have a lower glycemic index, which means they may have a slower impact on blood sugar.
Dried to cooked measurements
For those wondering about measurements, here is a handy conversion guide for cooking steel cut oats:
- 1 cup of dried steel cut oats = about 3 cups of cooked oats
- ½ cup of dried steel cut oats = about 1 ½ cups of cooked oats
- ¼ cup of dried steel cut oats = about 1 serving

Sarah’s Choice
Hi friends, Sarah here! When it comes to cooking steel-cut oats, I prefer the stovetop method because I find that it more consistently creates creamy, fluffy oats. Microwaving is great if you’re in a time crunch, though!
How to cook steel-cut oats
Knowing how to cook steel-cut oats properly will give you creamy and consistent results every time! Here’s what to do:
Stovetop
Start with 1 cup of steel-cut oats, 3 cups of water, and ¼ teaspoon of salt. The general ratio is 1 cup of steel-cut oats to 3 cups of water for 4 servings, but you can also increase the water to 4 cups if you prefer a runnier oatmeal.
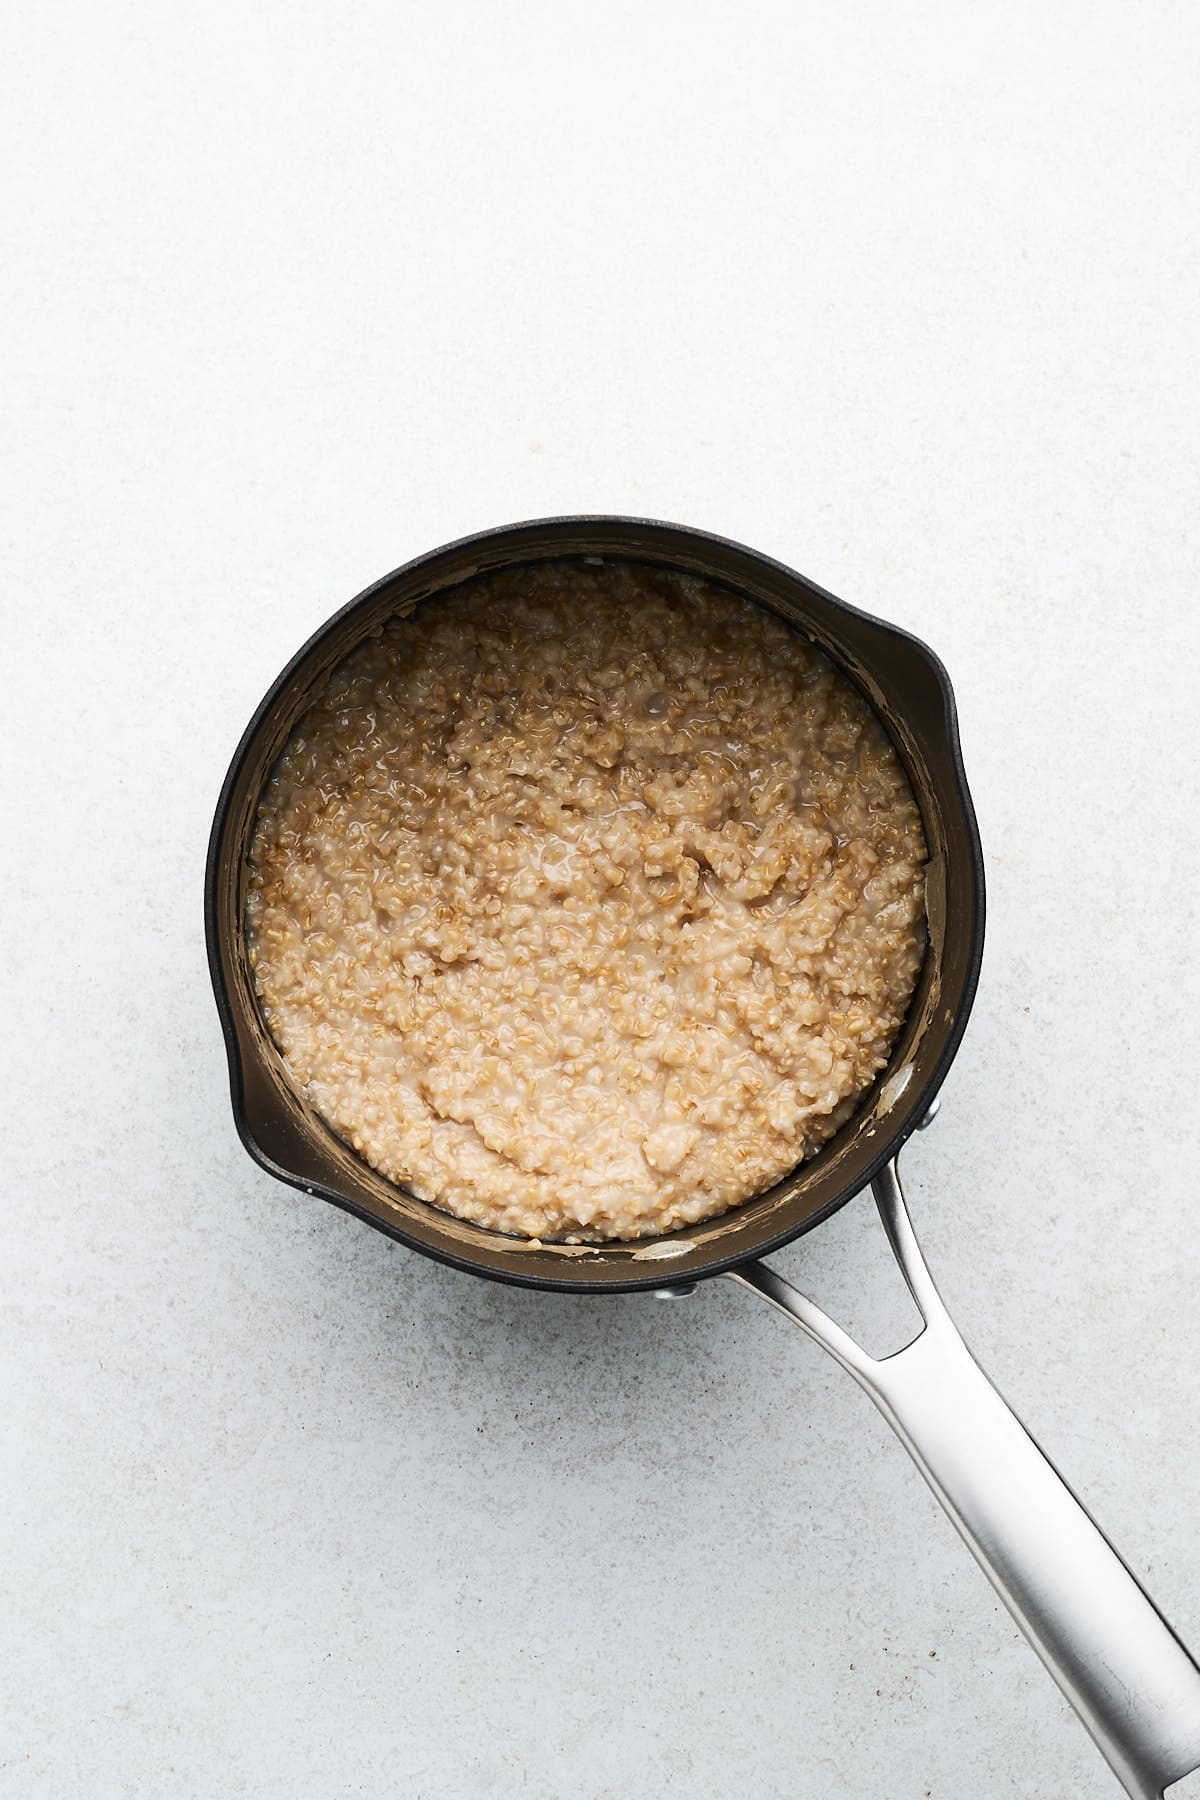
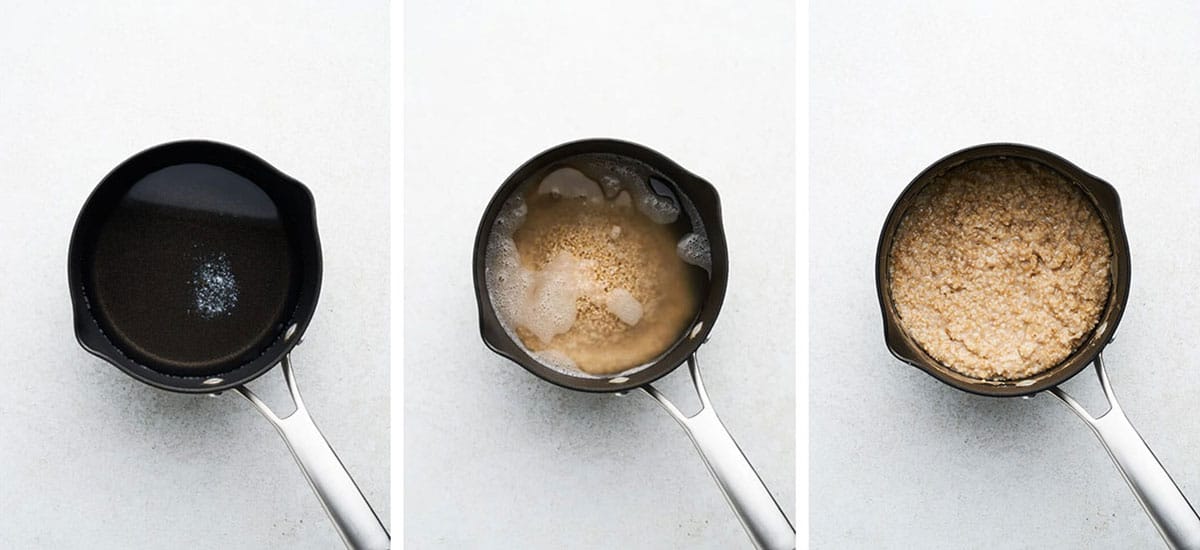
- Boil: In a large saucepan, bring the water and salt to a boil.
- Cook: Once boiling, stir in the steel-cut oats and reduce the heat to just over low. Cook uncovered for 15-20 minutes, stirring occasionally, until the oats are tender and have absorbed most of the water.
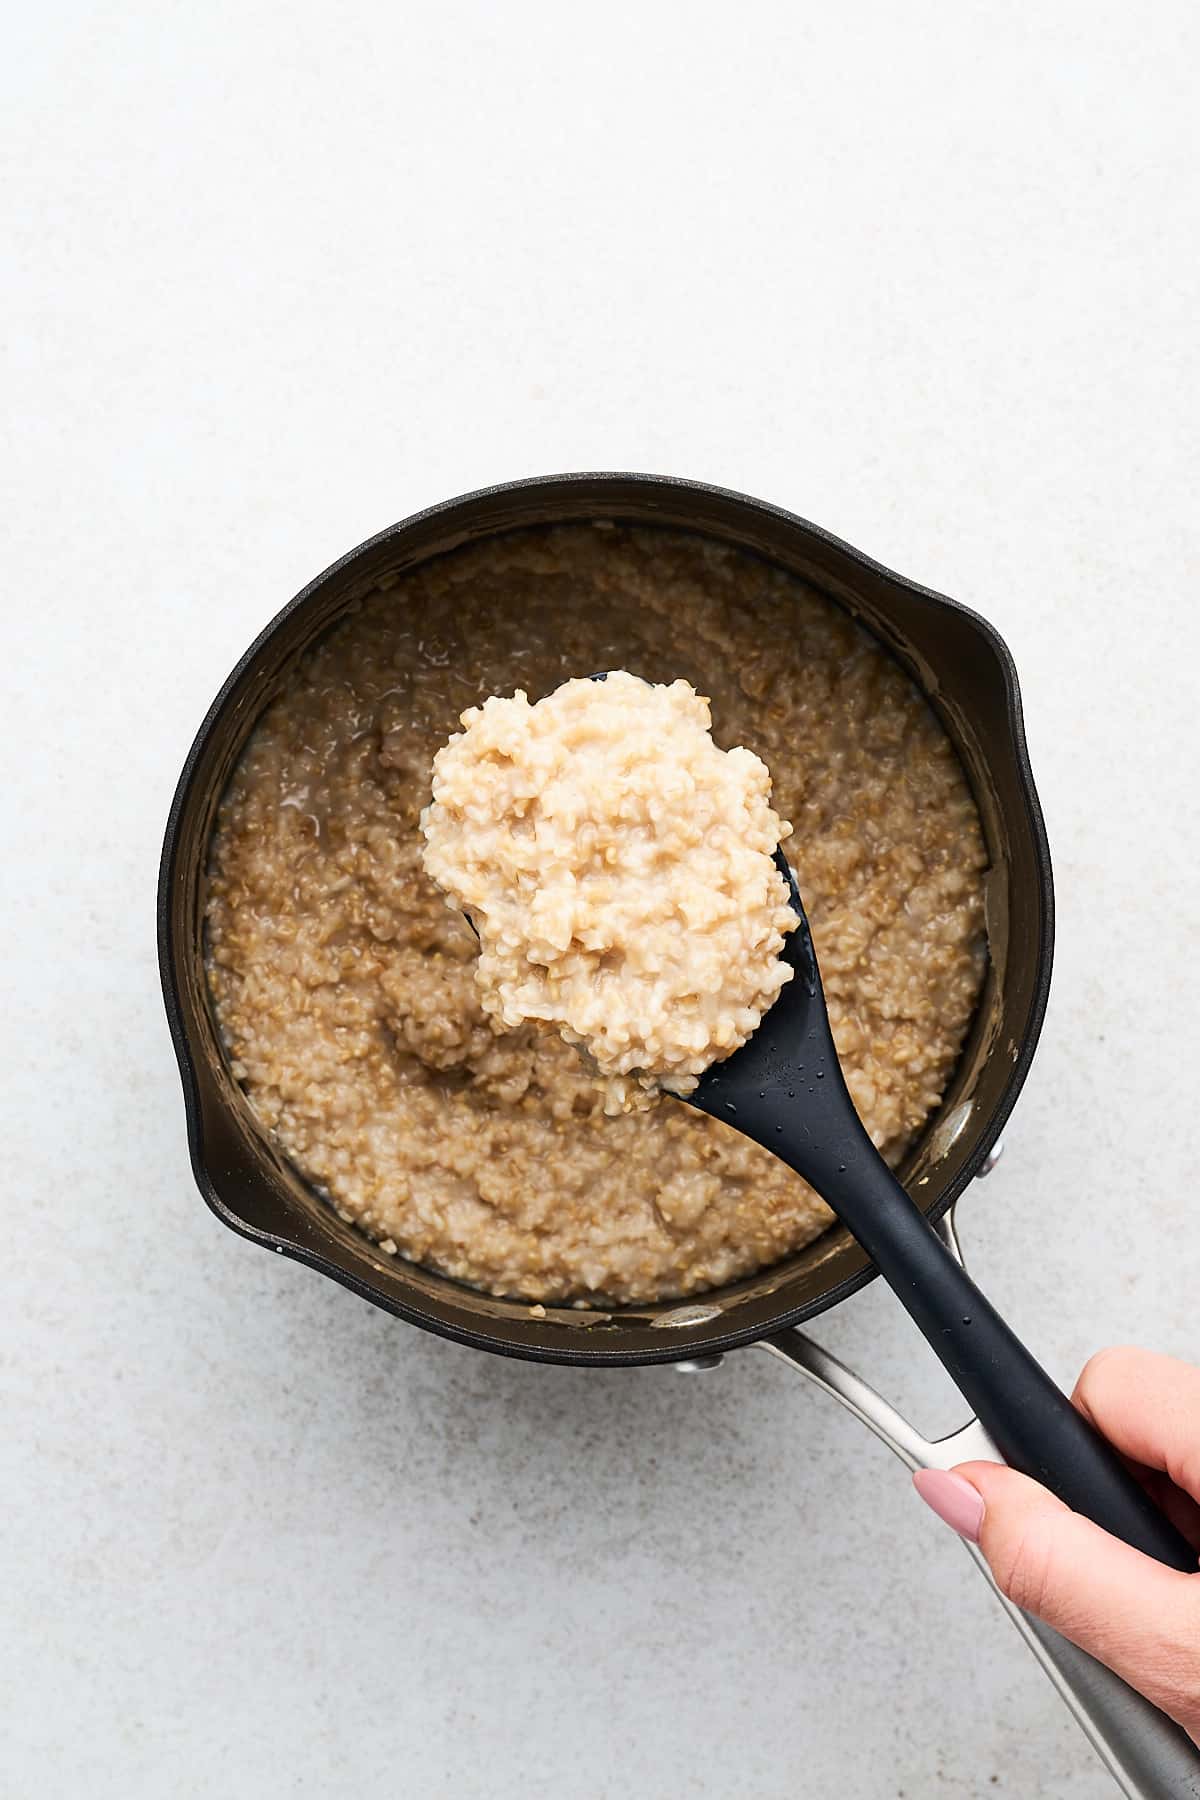
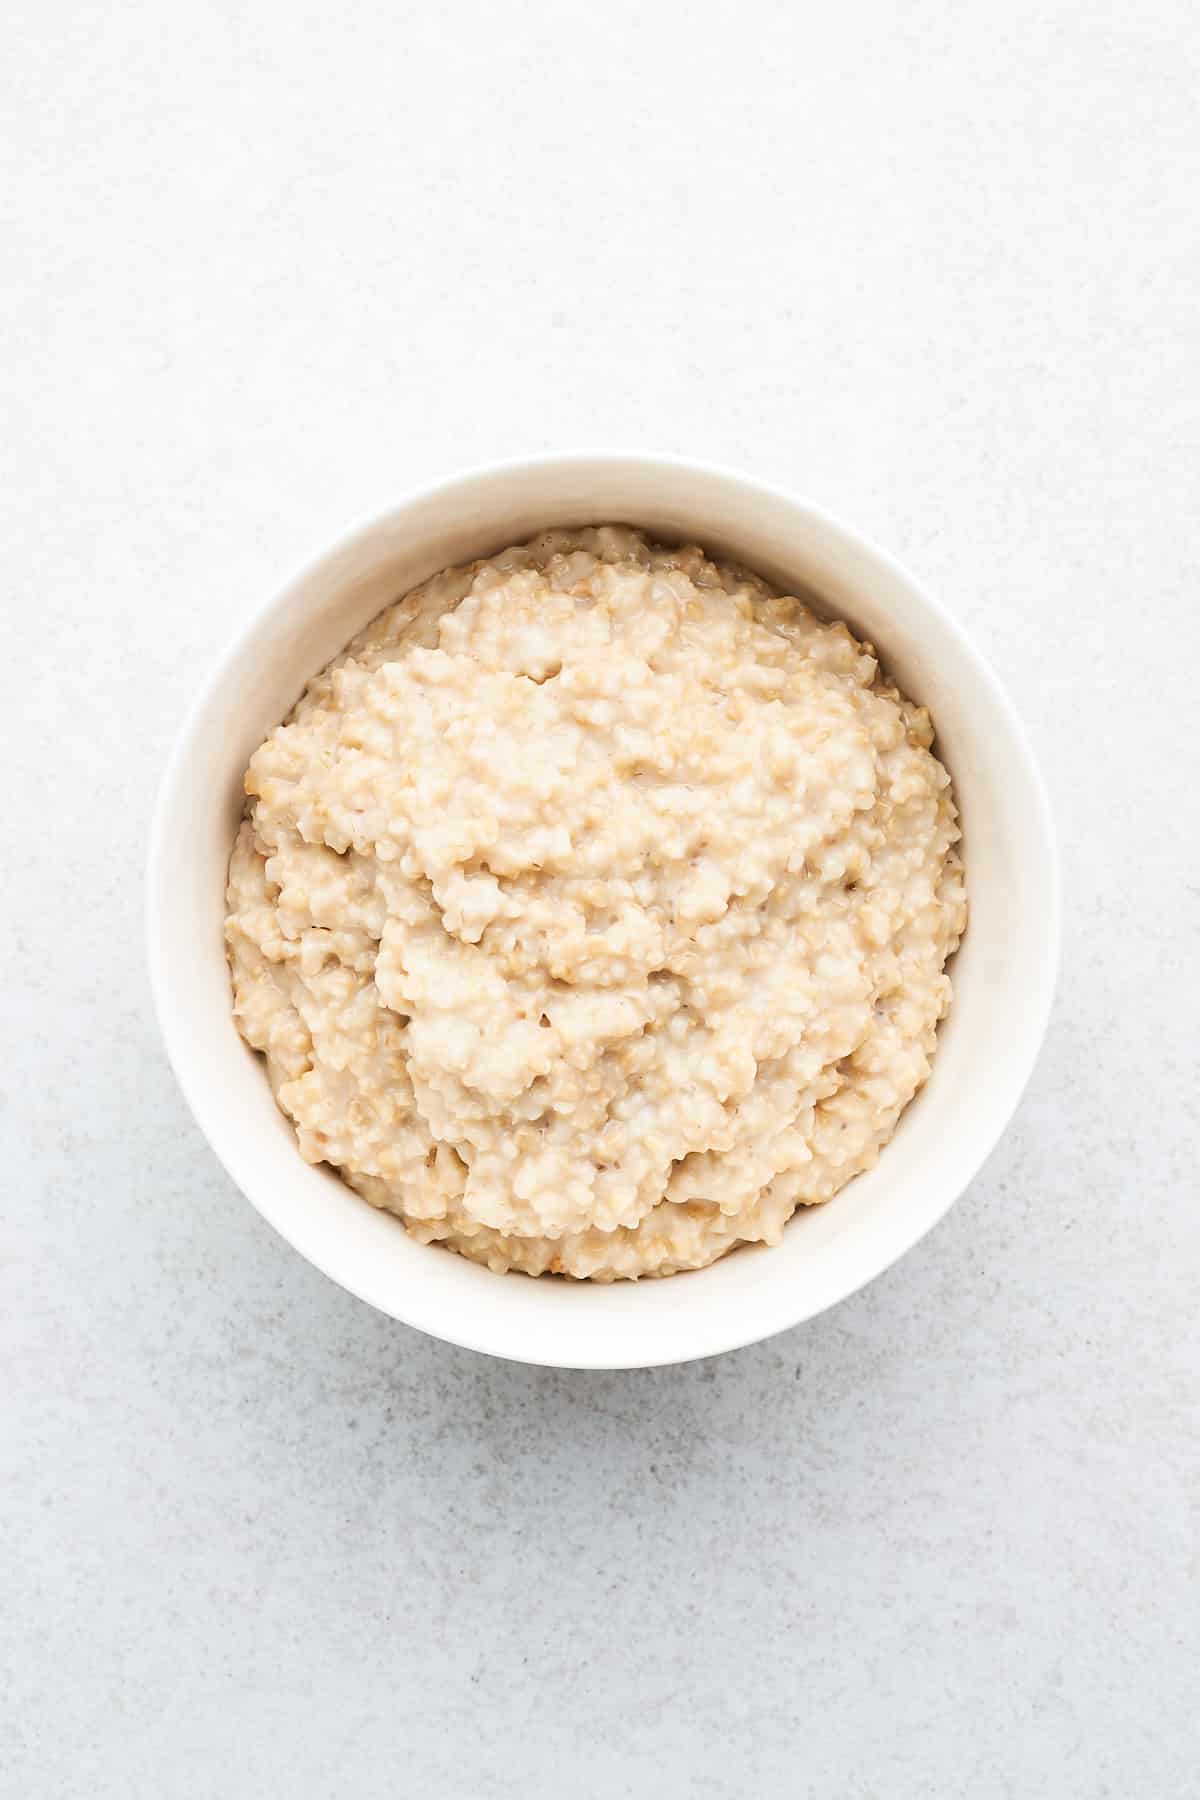
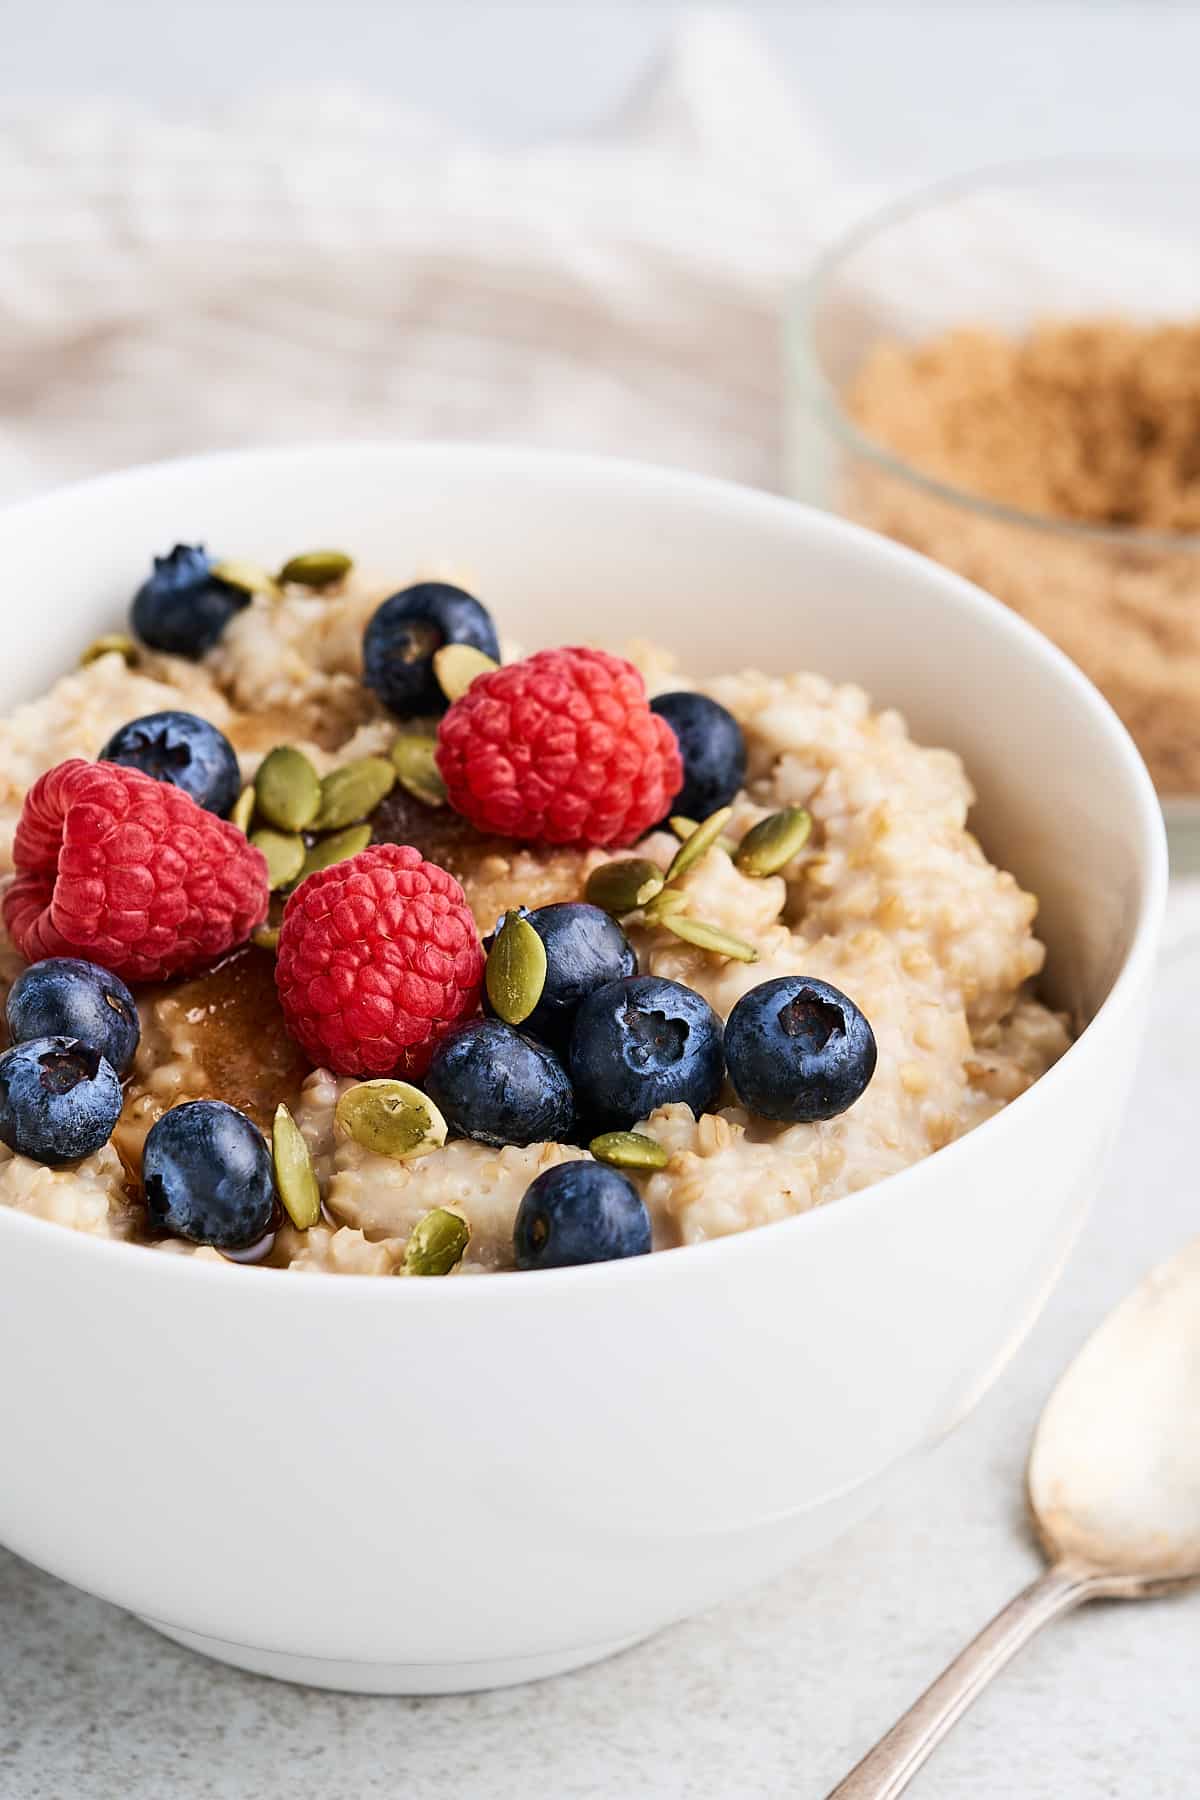
- Serve: Remove the saucepan from the heat and let it stand for a couple of minutes to thicken. Serve the oats with your favorite toppings like fresh fruits, nuts, sweeteners, or spices.


Microwave
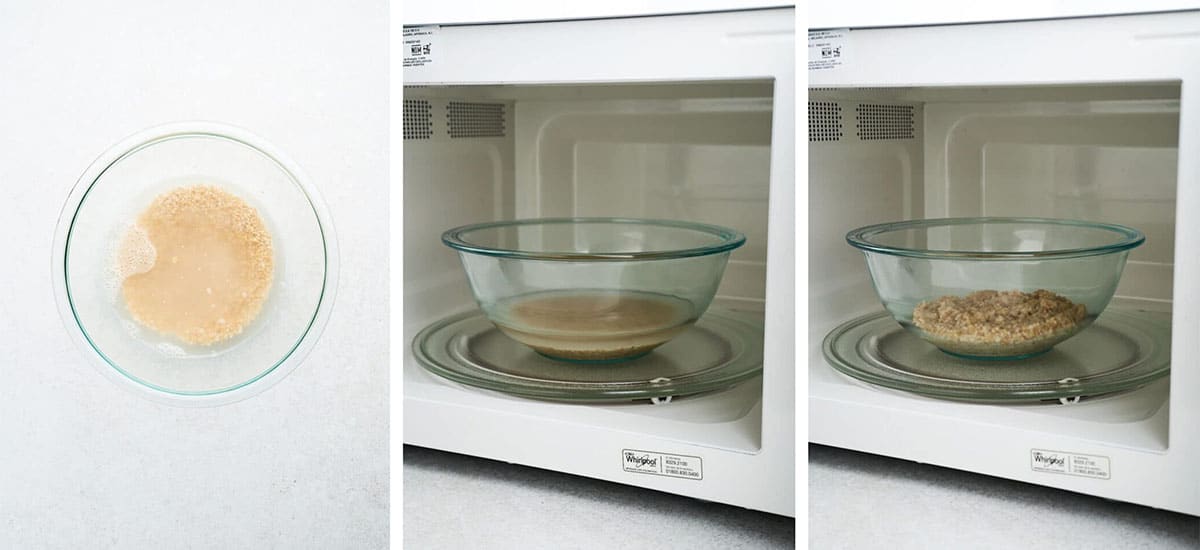
In a large microwave-safe bowl, combine ¼-cup of steel-cut oats with ¾ cup of water and a pinch of salt. This makes 1 serving, which is best when using the microwave.
- Stir everything together. Make sure the bowl is big enough to allow the oat mixture to expand without overflowing (it will bubble vigorously at the beginning).
- Cook: Microwave on high for 5 minutes. Stir the oats and then microwave for another 5 minutes. Carefully remove the bowl from the microwave (it will be hot), and stir the oats.
- Serve: Let the oats sit for a couple of minutes to thicken to your preferred consistency. Serve with your favorite toppings!
Note: Microwave ovens vary, so you might need to adjust the cooking time based on your microwave’s wattage and your desired oatmeal consistency.


Tips for the perfect oats
- Soak the oats: Soaking steel-cut oats overnight in water or milk will help soften them and reduce the cooking time.
- 1:3 ratio: Use a ratio of 1 part oats to 3 parts liquid. Water is a budget-friendly option, but milk can add even more flavor and creaminess if you have some on hand.
- Stir occasionally: Stir the oats occasionally as they’re cooking to prevent them from sticking to the bottom of the pan.
- Non-stick pan: Cook your steel-cut oats in a non-stick saucepan so they don’t stick. They’re very starchy, so they need all the help they can get!
- Salt: Add a pinch of salt to the water or milk before cooking. This will help enhance the nutty flavor of the oats and prevent them from tasting bland.
how to use those oats

Slow Cooker Sweet Potato Oatmeal
6 hours 5 minutes

Stovetop Cranberry Orange Oatmeal
30 minutes


Cinnamon Apple Oatmeal
10 minutes

How To Cook Steel Cut Oats (Stovetop or Microwave)
Ingredients
Stovetop Option
- 3 cups water
- ¼ teaspoon salt
- 1 cup steel cut oats
Microwave Option
- ¾ cup water
- 1 pinch of salt
- ¼ cup steel cut oats
Instructions
Stovetop
- Boil: In a large saucepan, bring the water and salt to a boil.
- Cook: Once boiling, stir in the steel-cut oats and reduce the heat to just over low. Cook uncovered for 15-20 minutes, stirring occasionally until the oats are tender and have absorbed most of the water.
- Serve: Remove the saucepan from heat and let it stand for a couple of minutes to thicken. Serve the oats with your favorite toppings like fresh fruits, nuts, sweeteners, or spices.

Microwave
- Stir: In a large microwave-safe bowl, combine ¼-cup of steel-cut oats with ¾ cup of water and a pinch of salt. This makes 1 serving, which is best when using the microwave. Make sure the bowl is big enough to allow the oat mixture to expand without overflowing (it will bubble vigorously at the beginning).
- Cook: Microwave on high for 5 minutes. Stir the oats and then microwave for another 5 minutes. Carefully remove the bowl from the microwave (it will be hot), and stir the oats.
- Serve: Let the oats sit for a couple of minutes to thicken to your preferred consistency. Serve with your favorite toppings!


Great info and post 🙂
That is very impressive and unusual knowledge for an American, do you know any Irish or Scots people?
A few hints for oats:
Add the salt towards the end of the cook time rather than at the start. It is better for brining out the flavor. I often make it without salt, it’s not really needed, groats have plenty of flavor. I recommend trying unsalted before salted for comparison tests. Personal preferences and all.
Try to get a good quality clean “organic” whole oat groat (full grain, not rolled or cut, and certainly not Quakers brand).
Whole groats taste better and they have a higher nutrition value than the processed (and now oxydized) rolled or cut oats.
If you have land and know how to grow oats without chemicals or getting ergot, even better.
Rinse the groats 3 times to wash off dust etc. Give it a good swirl each rinse.
I then measure out the amount of water that I intend to cook them in and leave them to soak in that clean water overnight.
In the morning you have 2 options, cook them whole (a little longer cook time) or, wizz them up with a blender for a shorter cook time (I recommend an immersion type stick blender if you want to process it >before cooking<). Both methods result in different textures.
Trick to the cook and clean up.
You can start on a medium heat until it starts to bubble, then you must turn down the heat to a low simmer and Keep stirring it slowly, _don't_walk_away_from_it_. Stir the whole bottom of the pan. It won't stick if you keep stirring.
Too wet, cook longer and it will thicken. Too thick, add water or milk and stir in until you have what you want.
How to clean the empty oat pan ?
Simple, easiest way is to soak the pan in cold tap water for a short while (no soap), it comes right off the pan no problem.
So long as you stirred it, it won't be welded to the pan.
Don't use a nuke to "cook" food. "Microwave ovens" use friction to heat things, that rips up the ingredients chemical bonds thus destroying textures and, more importantly, it destroys vitamins as it ruptures their protective cassings. It also makes the food smell terrible in general.
They also have issues with leaking harmful microwaves and most people never get them tested. (Your Microwave ovens should be tested every year by a trusted certified technician for leaks).
Don't use "nonstick", it's junk and you don't need it at all.
A well known "nonstick" brand corporation recently enjoyed a massive lawsuit against them after it was reviled that they had lied about the safety of "nonstick" for over 40 years ! (they were find a lot of money, also, watch the movie "Dark Waters" as it covers part of the cover up).
"Nonstick" but it still needs oil like a regular pan that also does not stick. What a con.
Their pans need replaced when the toxic coating is scratched or peeling off.
My regular steel and iron pans last a lifetime with no health issues. I will never use "nonstick", I know how to use a regular safe pan thanks 😉
Eat healthy, be healthy 😉
Why do the measurements change from US (on the website) to metric if you want to print? Can I change that?
Hi Elaine! That’s strange – it’s showing as US for me. Would you mind emailing a screenshot of what it looks like for you? sarah@liveeatlearn.com Thanks so much!
Followed these directions and after the second five minutes it was a crispy mess!
Don’t use these microwave instructions- you’ll have to chisel it out of your dish. Microwave for 3 minutes, then another 1 minute. No more than that.