This post contains affiliate links.
We’re moving onto the next step in our tomato growing adventure – repotting! So grab your tomato teenagers and let’s grow.
A few weeks ago we started a project together, Let’s Grow Tomatoes! If you joined along for the ride, you planted some seeds from a cherry tomato, watered them, gave them sunshine, and hoped for the best.
Well if all went according to plan…you should have some sprouts by now! And hopefully you have more than just sprouts, you should have some tomato teenagers!
If I’m being honest, I’m not sure how well my batch is going this year. Last year at this point every single one of my seedlings was thriving and huge. This time around, only a handful look healthy, and even those I’m questioning. I’m not sure whether it’s my choice of seeds, soil, or windows (my apartment has “energy efficient” windows that could be blocking a lot of the rays they need). But you know what, we’re gonna give it our all (to include my new pots, more to follow!)
Potting Up your tomatoes
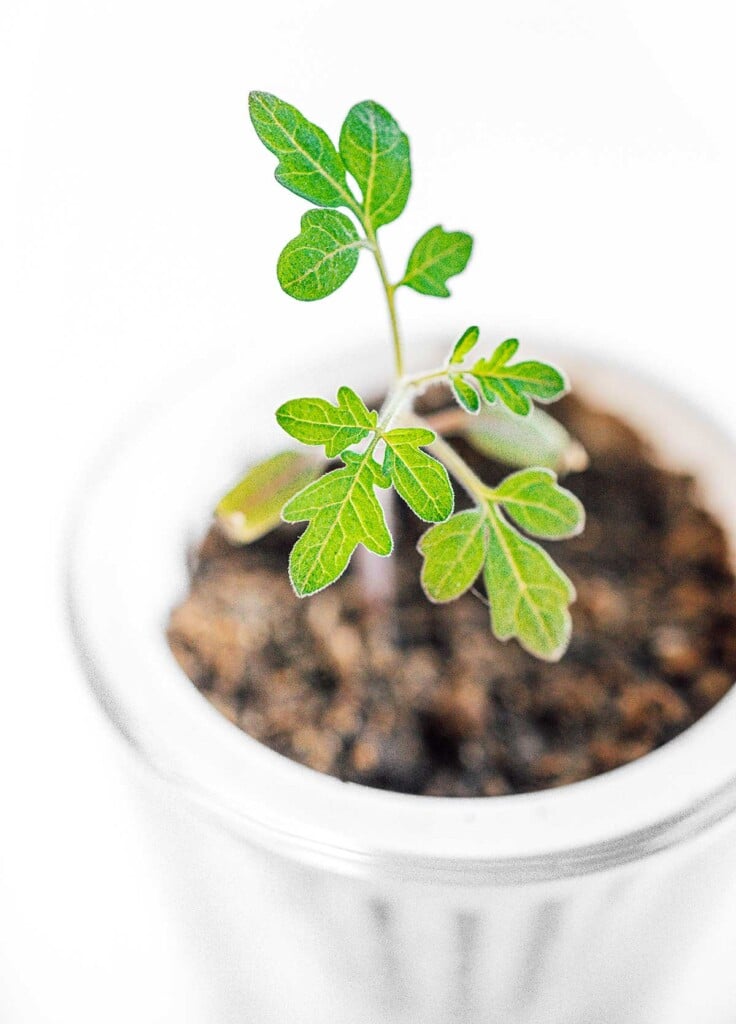
The first leaves that appeared when your sprouts emerged from the soil were “cotyledon”. After that, the “true leaves” should have come in. Once those arrive, things start moving a little more quickly (more leaves = more energizing power for your tomato babies).
At the point when your tomato plants start growing true leaves, you’ll want to transplant them from their seedling tray (egg cartons, in our case), so they have more room to grow roots.
And that’s exactly what today’s post is all about – how to repot (or, “pot up”) your tomato plants. To do this, you’ll basically just:
- Fill a larger pot (3 to 4 inches in diameter) with potting soil, digging a little well where the tomato plant will go.
- Carefully remove the plant from its seedling tray (avoid touching or pinching the stem, which can injure the plant).
- Move your tomato plant to the new pot, cover with soil, and gently tap.
- Water and place somewhere indoors and sunny (aim for 4 to 6 hours of direct sunlight per day)!
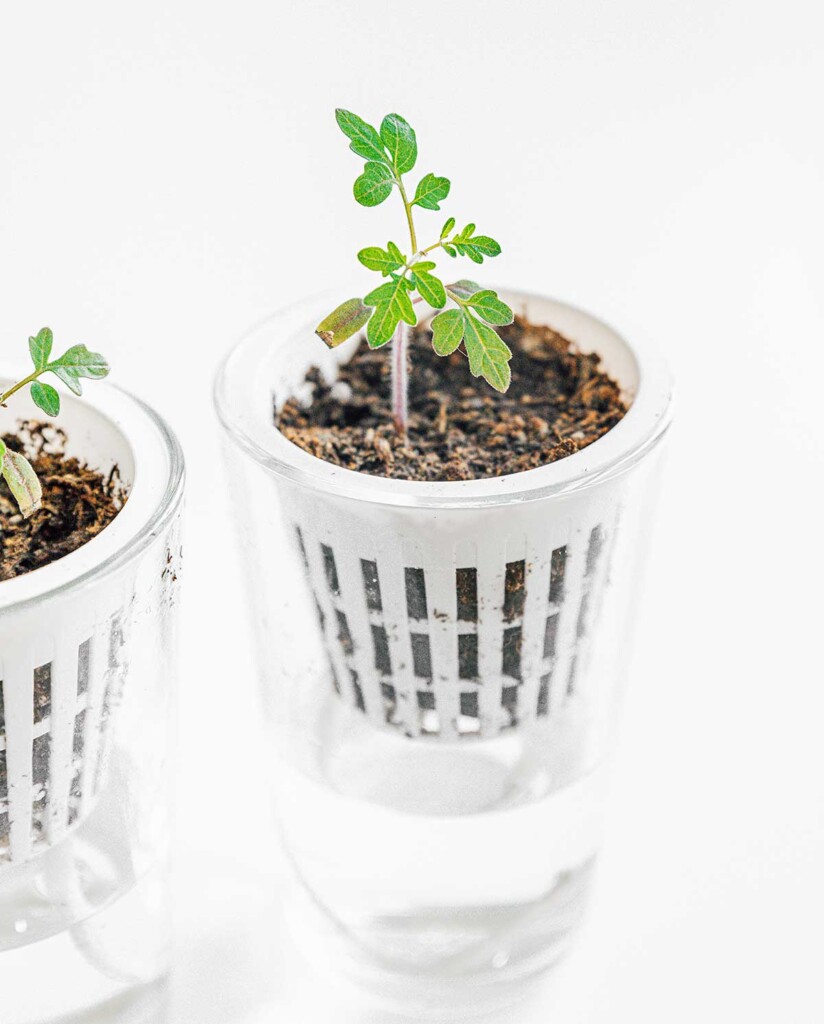
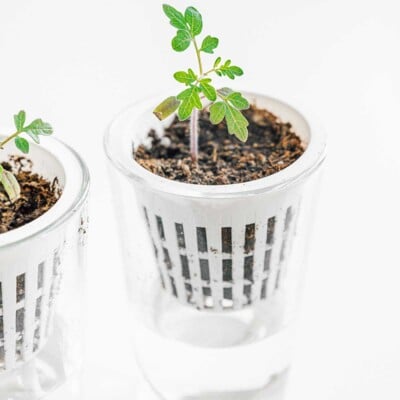
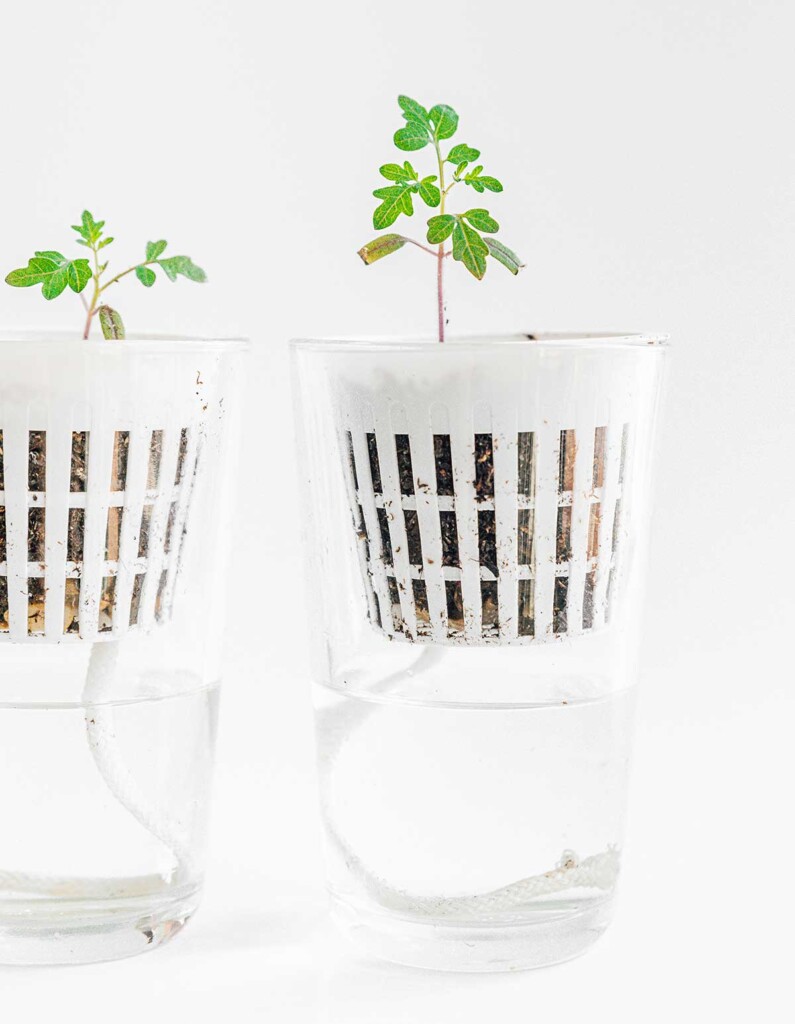
Self-Watering Tomatoes
Okay so my travel last month may be why some of my tomato babies suffered. So I came up with a solution that SEEMS (🤞) to be working.
I bought these hydroponic pots with a string that hangs into a glass of water below. The strings acts like a wick that pulls water up into the soil, keeping the soil moist without me having to water them.
I have no idea if this will work or if my tomato teenagers will all be withered and dead when I return from my upcoming trip, but we’re doing all we can around here.

Next Steps
I’ll pop back in in a few weeks with next steps if (nay, WHEN) my tomatoes survive, so go ahead and transplant those tomato teenagers into their temporary homes! Tentatively, our timeline will look something like this
- FINISHED – Day 5 to 10: Sprouts should start popping up.
- CURRENTLY – Day 20 to 30: True leaves should start growing in. Around this time we’ll transplant them from the egg carton to their in-between homes, where they’ll have more room to grow and prepare for the great outdoors.
- UPCOMING – Day 45 to 60: Once our plants are about 6 inches tall and it’s consistently above 55°F (12.7°C) outside, we’ll transfer our tomato babies to large pots or a garden outside.
If you’re interested in learning more before you get going, I love this video, which explains the entire process!