
This post contains affiliate links.
Do you love tomatoes and want to be drowning in them come August? Or do you just want a fun summer project? Join along as we grow tomatoes, from seed to tomato!
Coming at you with a project I’m so excited about, and have been waiting almost a year to introduce to you guys. Today is the first day of our INTERACTIVE project, Let’s Grow Tomatoes!
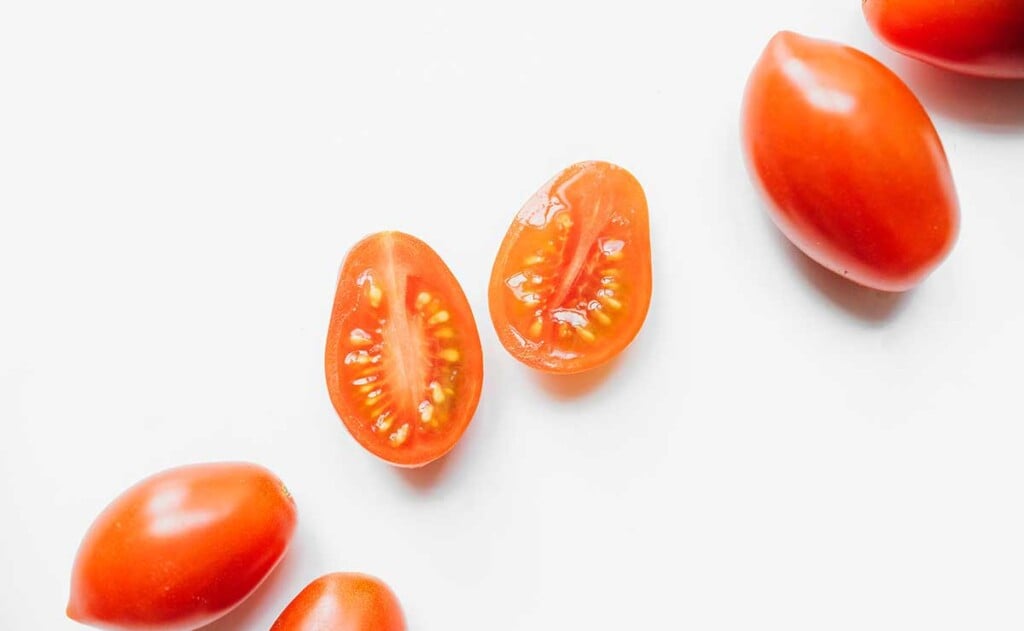
The concept is simple: we’re going to grow some tomatoes together. So grab your favorite cherry tomato, squeeze out the seeds, and plant them with me!
I first planted my own tomatoes last spring during the first stage of quarantine (you know, when quarantining was still new and we were all making sourdough).
I naively squeezed the seeds out of a few cherry tomatoes and threw them in soil, figuring a few might sprout.
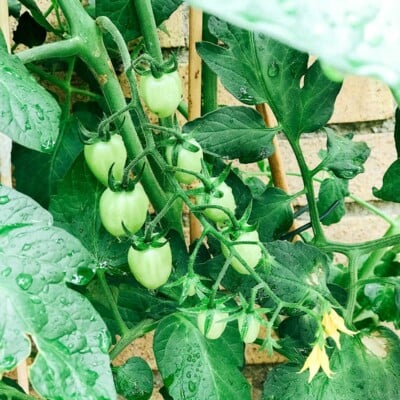
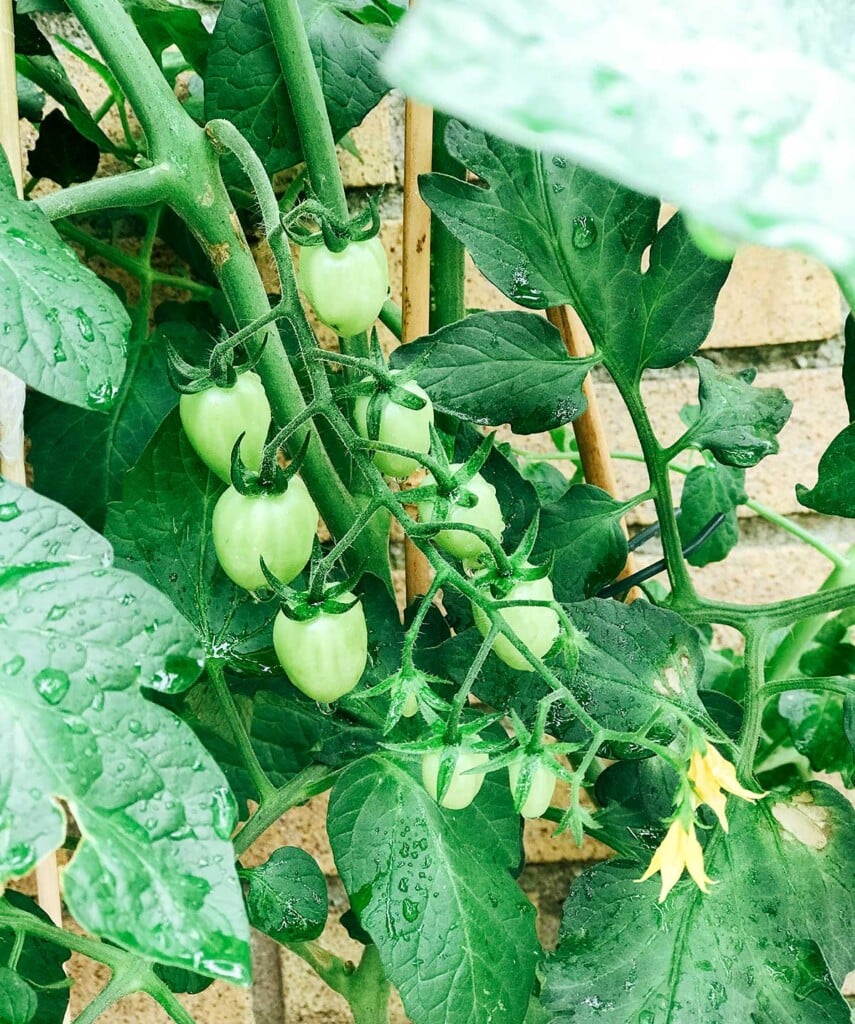
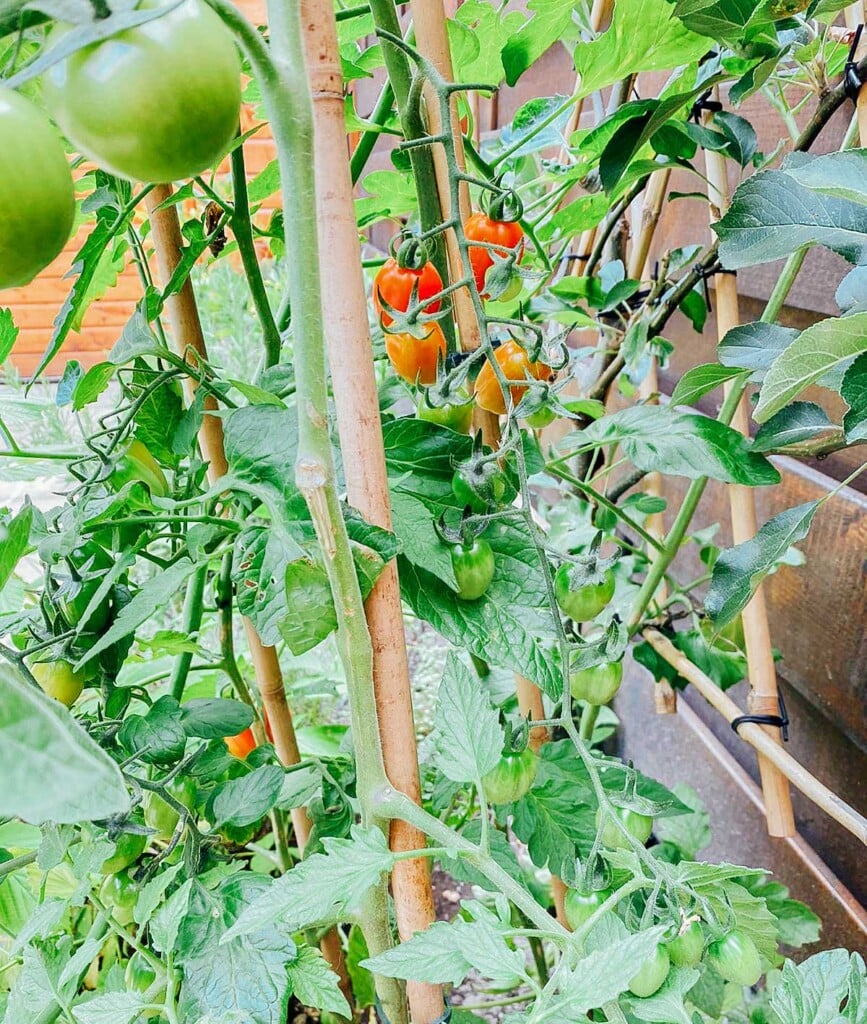
As it turned out, THEY ALL SPROUTED! And rather than keeping just a few, I obviously kept them all. And suddenly my 30 or so tomato seedlings turned into 30 full sized, fruit-bearing tomato plants.
Needless to say, all my friends and family were gifted tomato plants last summer, and though I moved back to America before I could enjoy the fruits of my labor, they sent photos all summer of the bushels (and bushels) of tomatoes the plants produced.
Which brings me to today. It’s time. Let’s Grow Tomatoes!
If you’re interested in growing tomatoes with us, I’ll be posting here every couple weeks with updates on progress and next steps for raising your tomato babies.
As a note, I’ll personally be growing these in my kitchen and eventually (hopefully) on my balcony here in Denver, so no garden is required!
Ready grow with us? Let’s do this.
Here’s What You’ll need
Your favorite cherry tomatoes: In my experience, everything I’ve planted has grown, but you’ll probably have the greatest chance of success if you aim for a non-GMO, non-hydroponically grown tomato. I only have experience with cherry tomatoes, which are ready to harvest more quickly than large tomatoes (but I’m sure large tomatoes would work)!
Soil: Any houseplant or gardening soil will do the job.
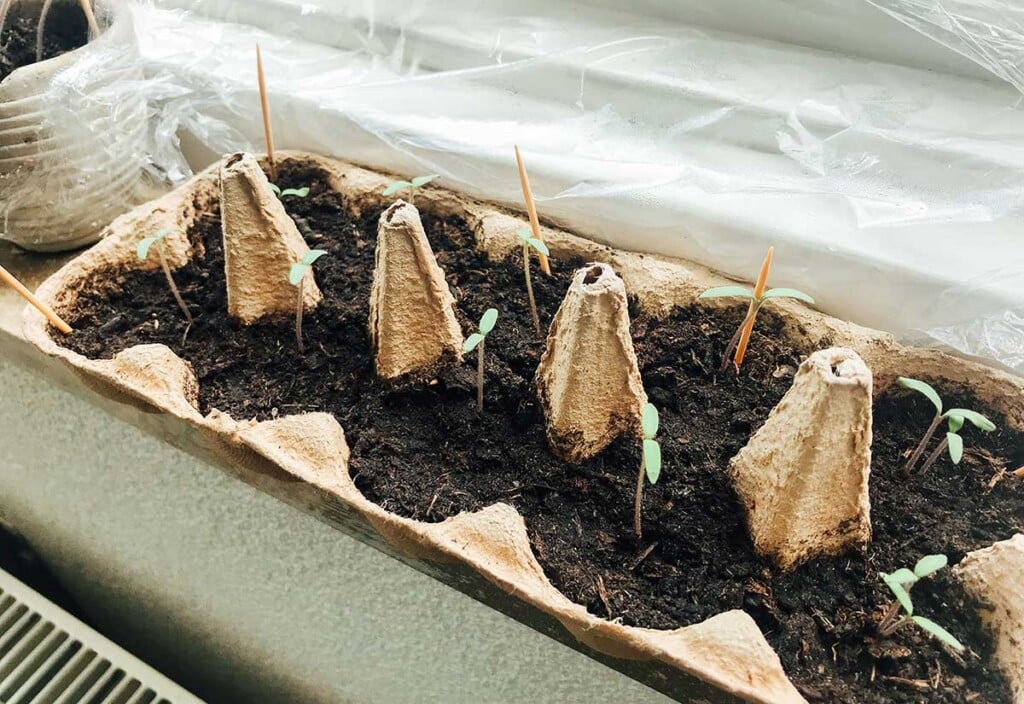
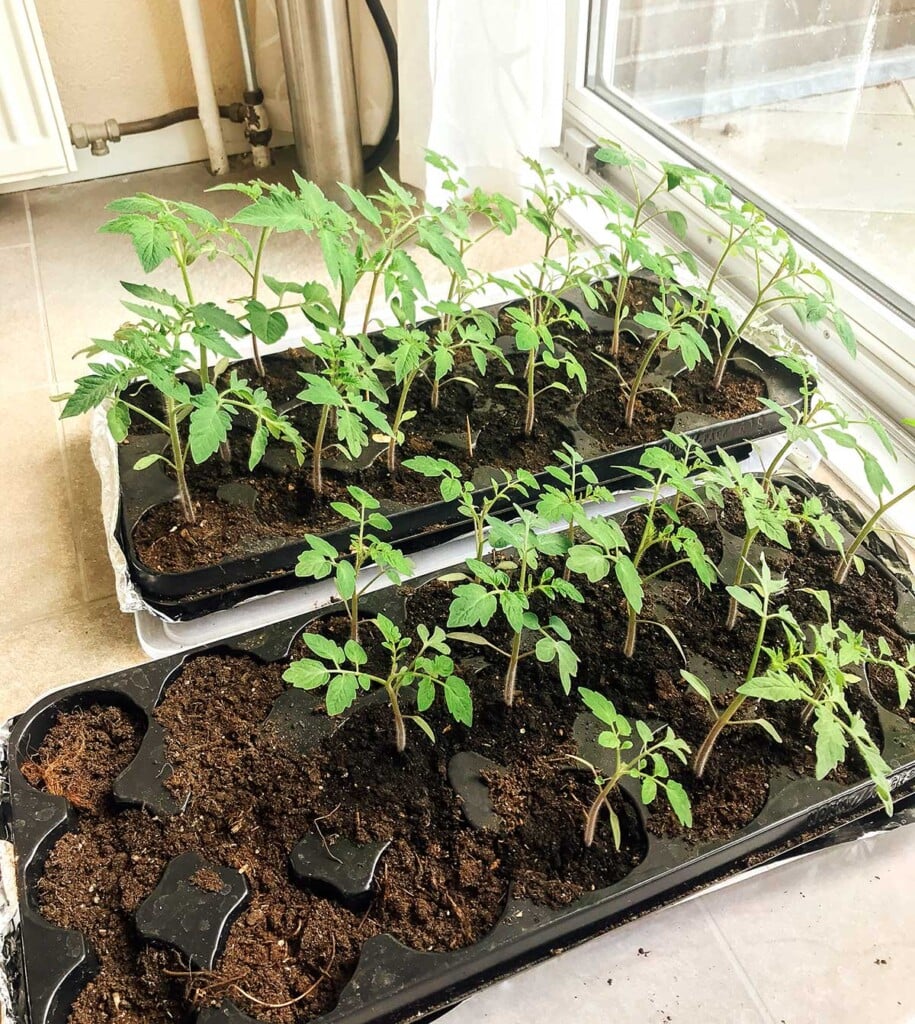
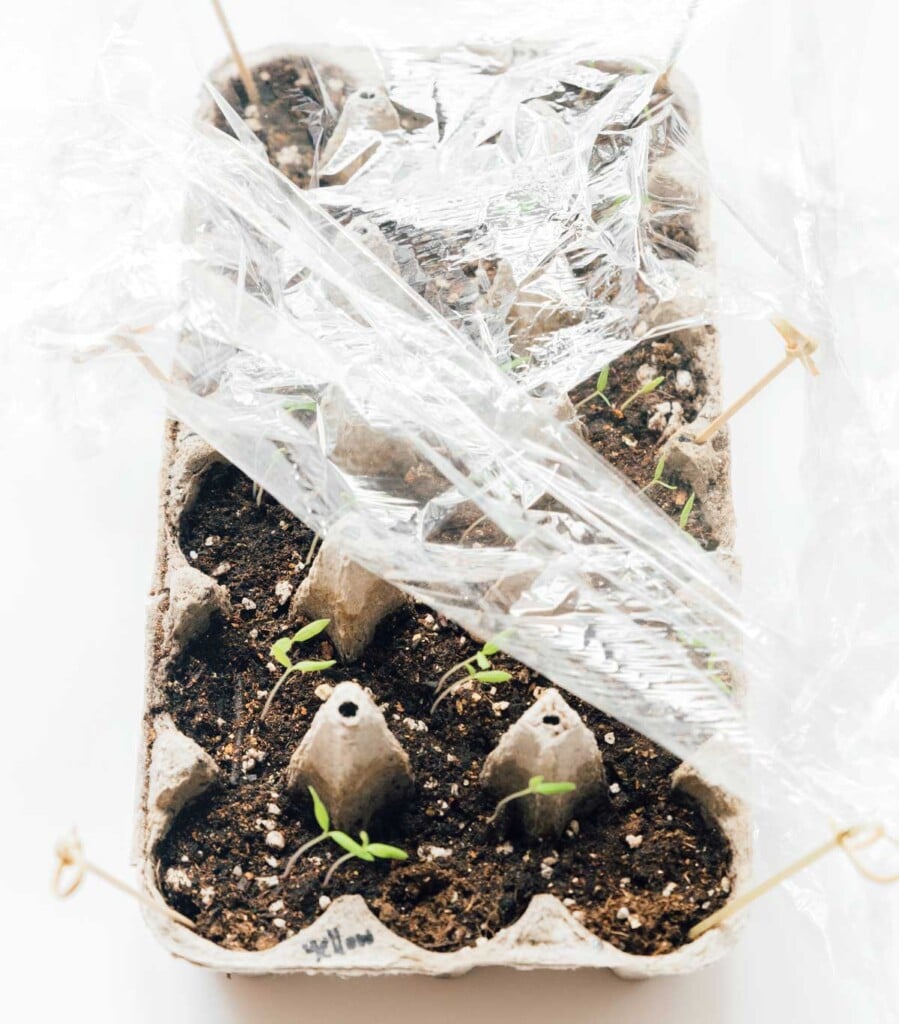
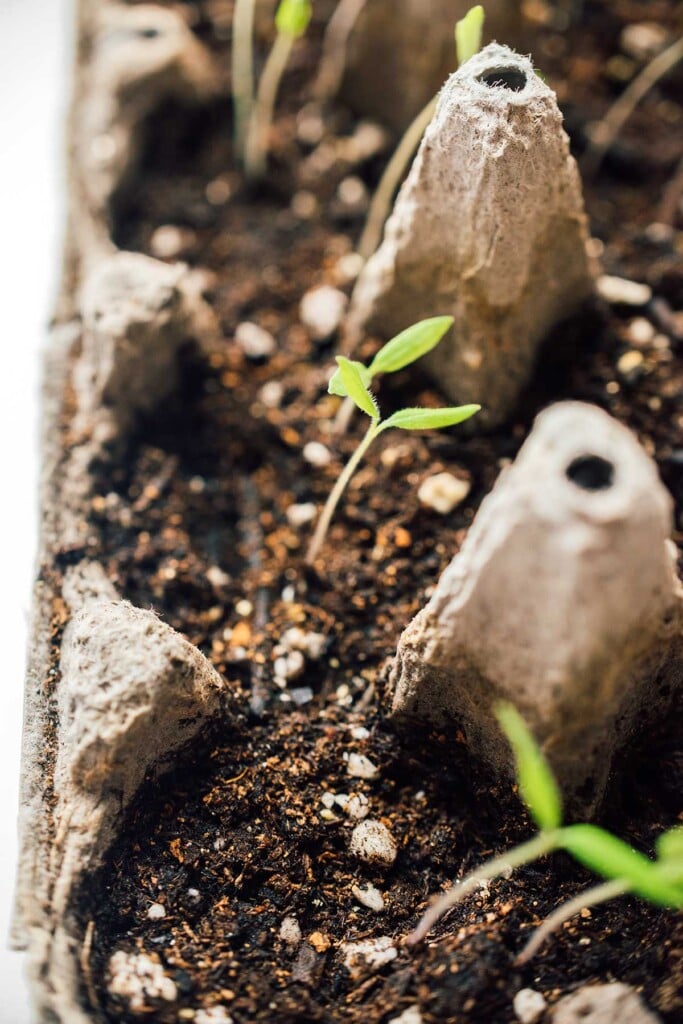
Container: I like to start my seedlings in a paper egg carton, but you could use any small containers. (Or go all out with a seedling tray.)
To plant the seeds
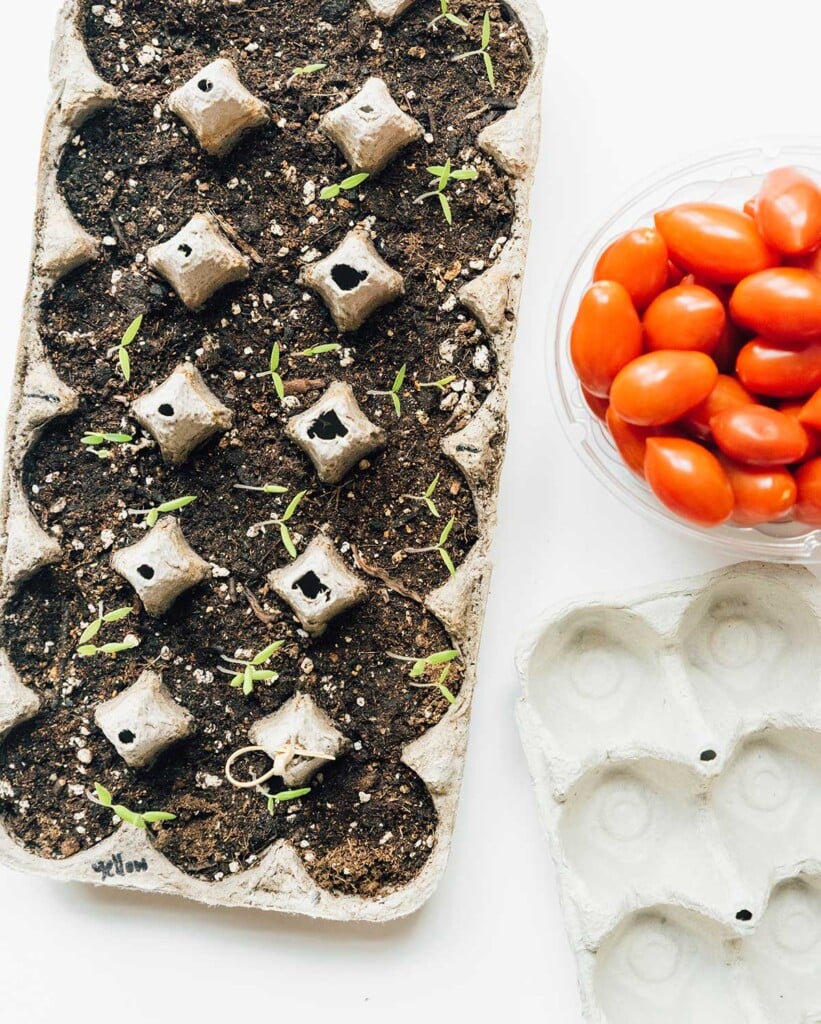
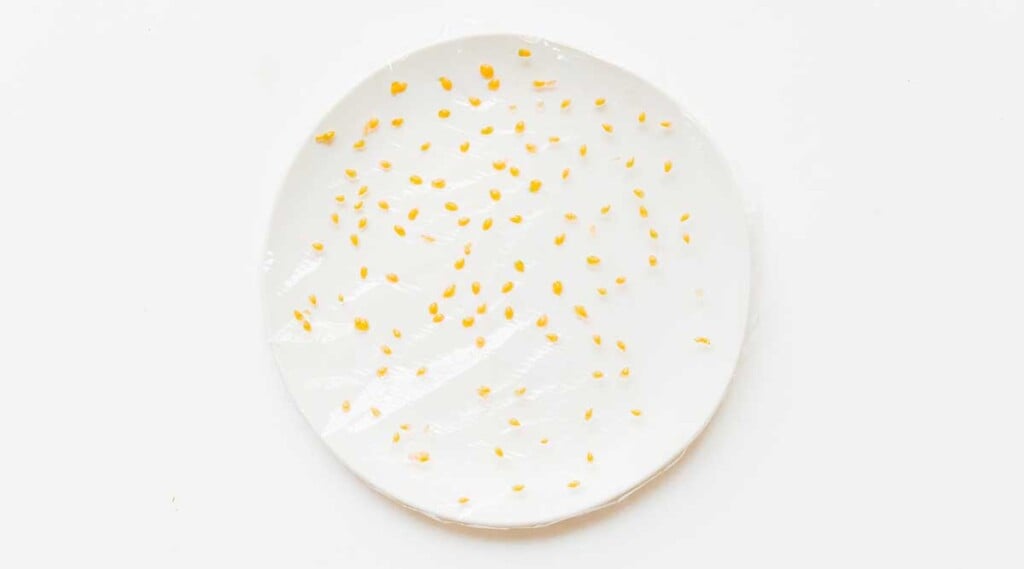
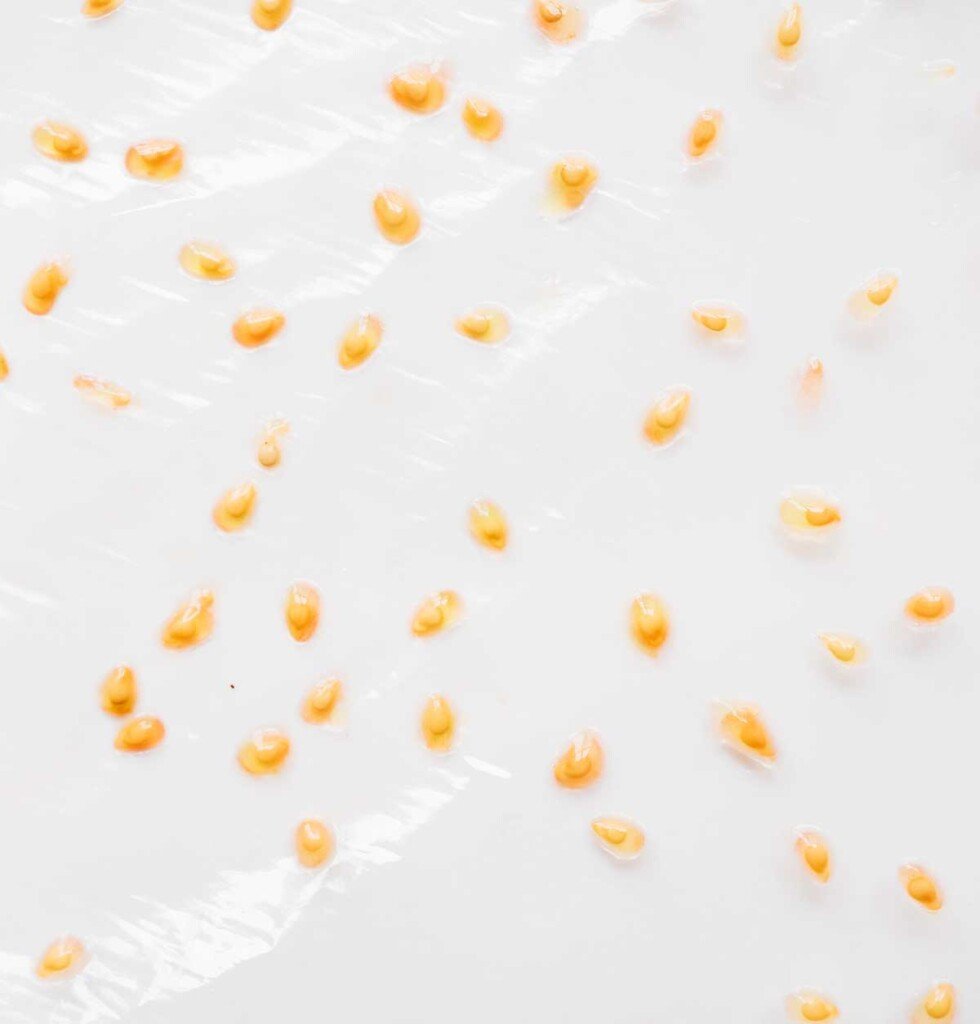
Step 1 – Squeeze: Cut your cherry tomato in half and squeeze the seeds out onto a clean plate. Use a paper towel to sop up the extra moisture, then gently transfer seeds to a plate lined with parchment paper or plastic wrap (this will keep the seeds from sticking as they dry).
Step 2 – Dry: Set seeds, uncovered, somewhere dry and dark (out of sunlight). Let them dry out for at least 24 hours, or until the gel coating around each seed has dried up.
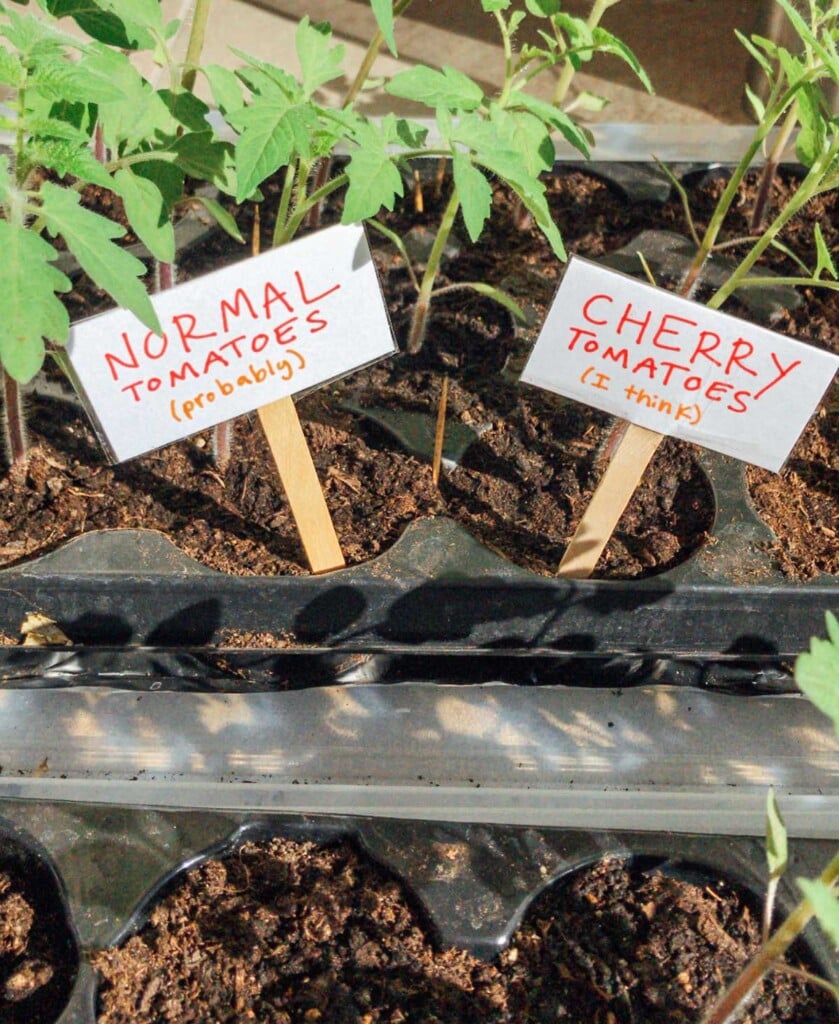
Step 3 – Plant: Fill your egg carton or container with soil, then form a small ¼ inch (0.6 cm) deep well in the center of each (if using a larger container, ensure each well is spaced at least 1 inch (2.5 cm) from the rest). Drop one or two seeds into each well, then cover with soil and gently pack down.

If you’re using multiple types of tomatoes, be sure to label where each is planted (otherwise you might end up like me last year – as it turns out, none were “normal tomatoes”).
Step 4 – Water: Water each well to dampen the soil.
Step 5 – Cover: Loosely cover with plastic wrap, ensuring the plastic wrap stays elevated above the soil. It may be helpful to prop up the plastic wrap with toothpicks or popsicle sticks. This will create a mini greenhouse, keeping the soil warm and moist for your seedlings.
Step 6 – Maintain: Place your soon-to-be tomato babies somewhere sunny and warm (they need at least 4 hours of direct sun everyday, the more the better). Check on them everyday, lightly watering when the top of the soil is slightly dry.
When sprouts begin to form, remove plastics wrap from top to prevent mold, but continue to check on them and water daily.
Next Steps
I’ll pop back in in a few weeks with next steps, so go ahead and get those seeds planted now to grow with us! Tentatively, our timeline will look something like this
- CURRENTLY – Day 5 to 10: Sprouts should start popping up
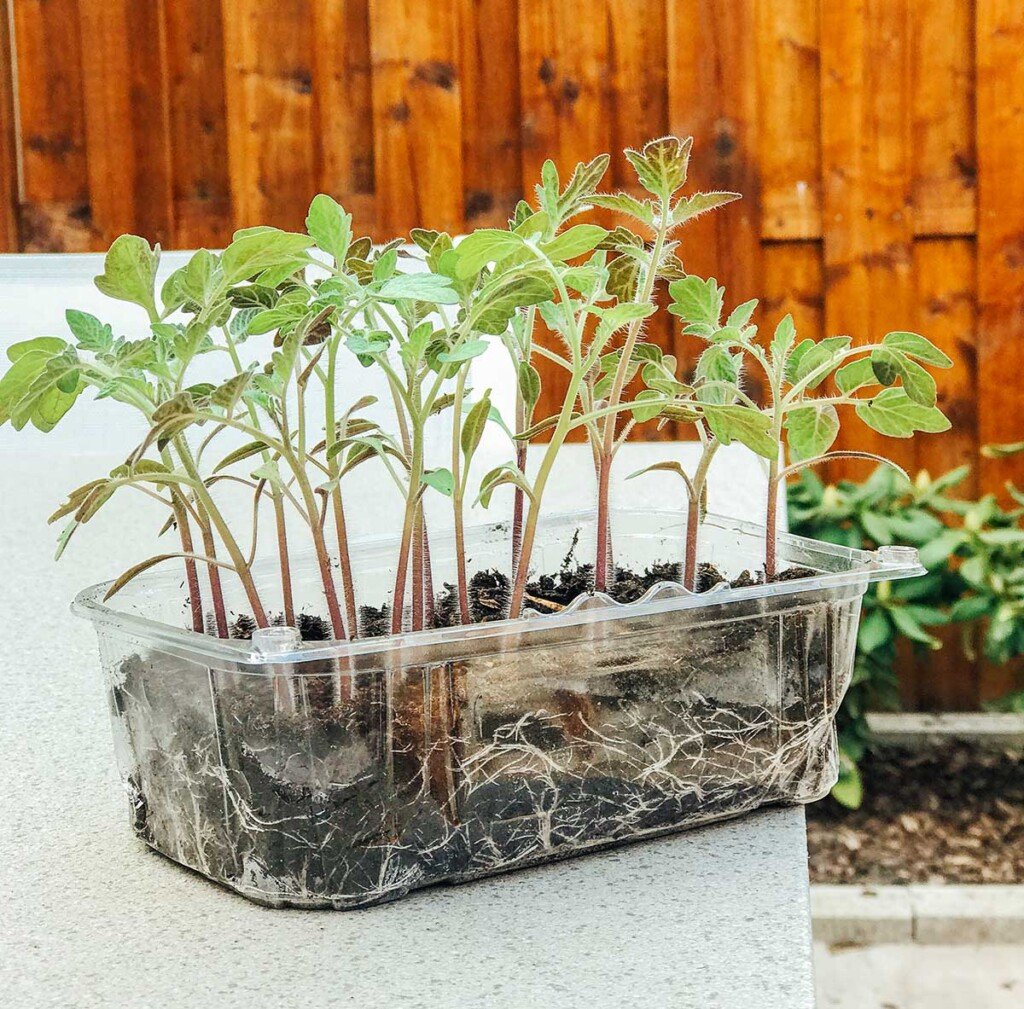
- UPCOMING – Day 20 to 30: True leaves should start growing in. Around this time we’ll transplant them from the egg carton to their in-between homes, where they’ll have more room to grow and prepare for the great outdoors.
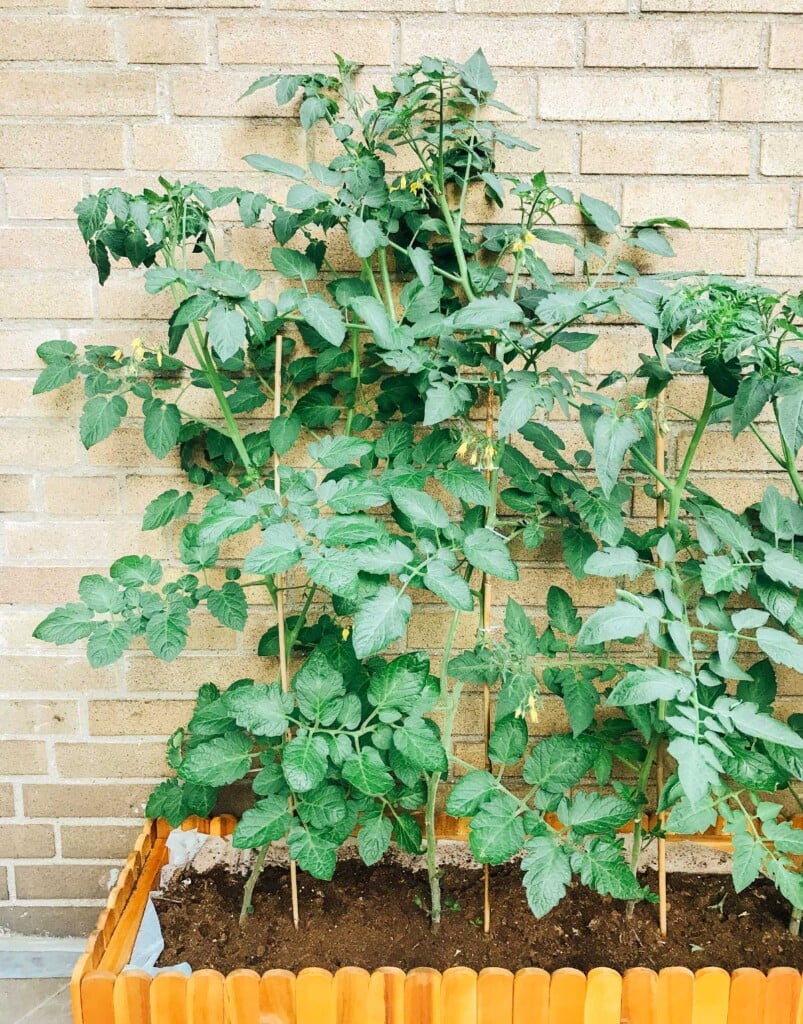
- UPCOMING – Day 45 to 60: Once our plants are about 6 inches tall and it’s consistently above 55°F (12.7°C) outside, we’ll transfer our tomato babies to large pots or a garden outside.
If you’re interested in learning more before you get going, I love this video, which explains the entire process!


Thanks! I also use clean, dry egg shells as starter pots. The plants can be planted directly with the shell so roots are not disturbed.
This is brilliant! I use egg shells as fertilizer when they get older, but this is great – 2 birds 1 stone!
I’m actually really excited about this because I’ve heard for years how tomatoes just give people fits with all the pests.
I’m going to use Roma tomatoes which are our family’s favorite.
Thanks for sharing all of your discoveries and experiments. I’ve been successfully brewing kombucha for a couple of months now. My SCOBY is a work of art thanks to your easy to follow directions.