This post contains affiliate links.


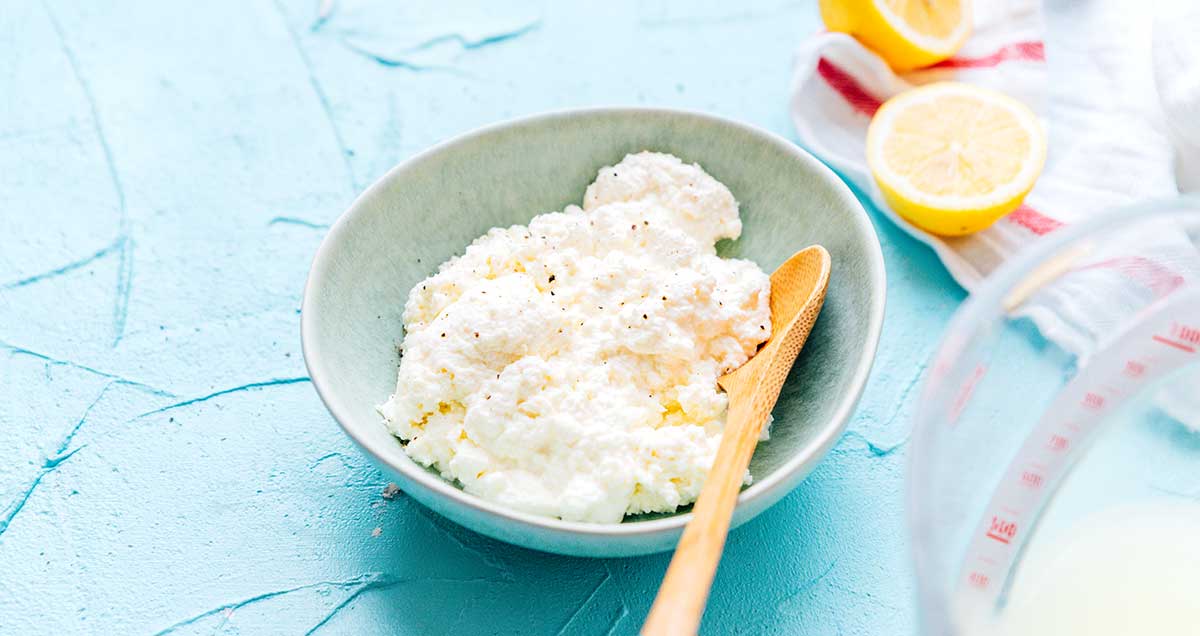
With a dozen 5-star reviews, you can be sure that this microwave ricotta cheese recipe will taste delicious and actually work! It’s made with just three ingredients and is perfect for adding to pasta, stuffed peppers, and galettes! In just 5 minutes, you’ll have a creamy, delicious cheese that’s better than any store-bought brand.

Picture this. You’re in your kitchen, ingredients gathered, ready to prepare a dish of delicious ricotta stuffed peppers, when you realize you forgot one of the most important fillings: ricotta. Do you put your prep to a halt and run out to the store, making an entire trip for just one ingredient?
You could take a risk and try a ricotta cheese substitute. Or…get crafty and make your own ricotta in the microwave!
Here’s the thing: homemade ricotta packs a huge flavor punch and is so simple to make! Let’s dive in!

here’s what you’ll need
By making your own, you know exactly what’s going into your recipe. Your cheese will be free of preservatives and chemicals, which can’t be said for all store-bought versions. Jump down to the recipe card for exact measurements.
- Whole Milk: Whole milk is the base of the ricotta.
- White Vinegar or Lemon Juice: You can use either white vinegar or lemon juice to curdle the milk.
- Salt: Finally, a dash of salt does wonders for this cheese’s flavor. Be sure to add this at the end so the ricotta can be used for sweet or savory dishes.
It’s as easy as 1, 2, 3
This rendition requires only 2 minutes of prep time, followed by 3 minutes of “cook” time. It’s a recipe that can be made in a pinch and used for whatever dish you’d like. This is an overview of the recipe. Jump to the recipe card for the full printable instructions.
Step 1: Cook the Milk
First, add the milk to a microwave-safe bowl, and then microwave it on high for 3 to 5 minutes. If you have a kitchen thermometer, the milk should reach between 185°F and 200°F.
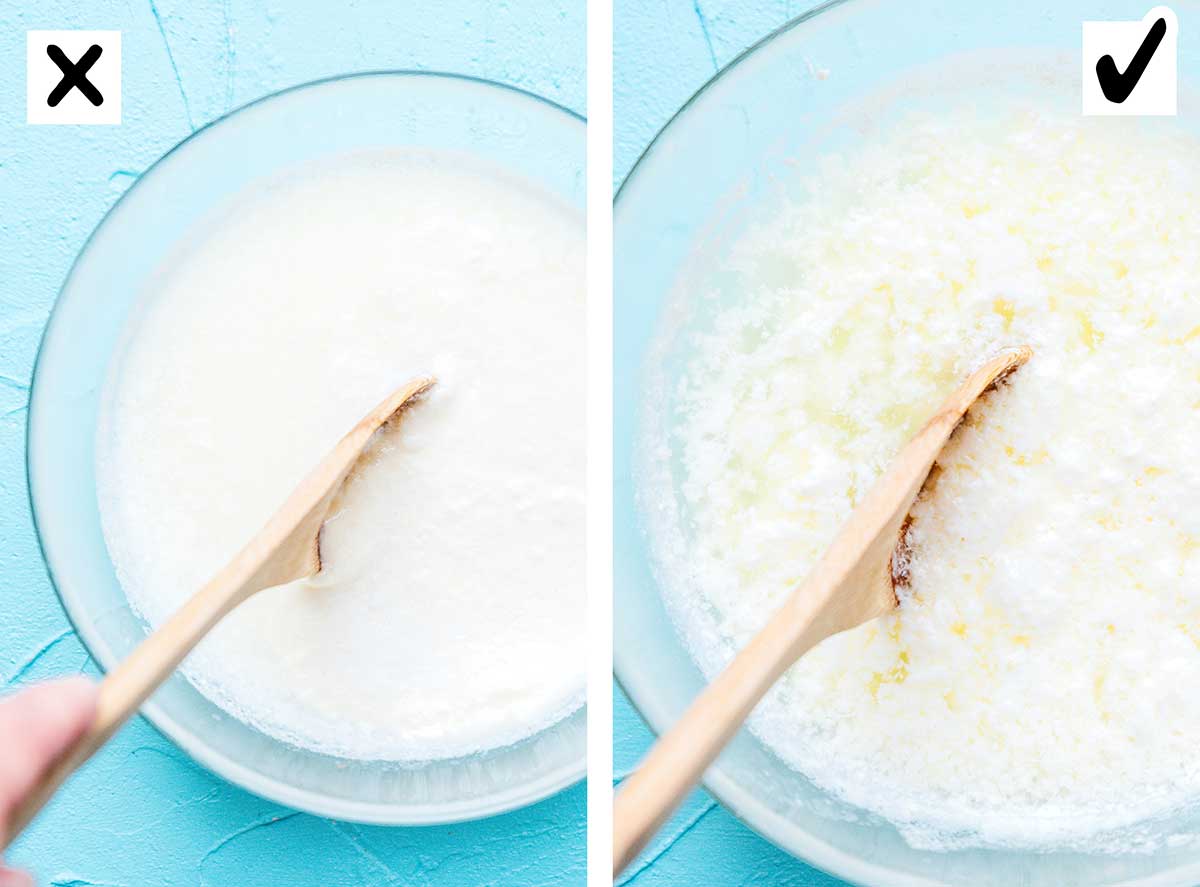
Step 2: Curdle the Mixture
Next, add vinegar or lemon juice to the milk and stir briefly to combine. Let it sit undisturbed for 1 to 2 minutes. During these couple of minutes, the milk should separate into white curds and yellowish liquid.
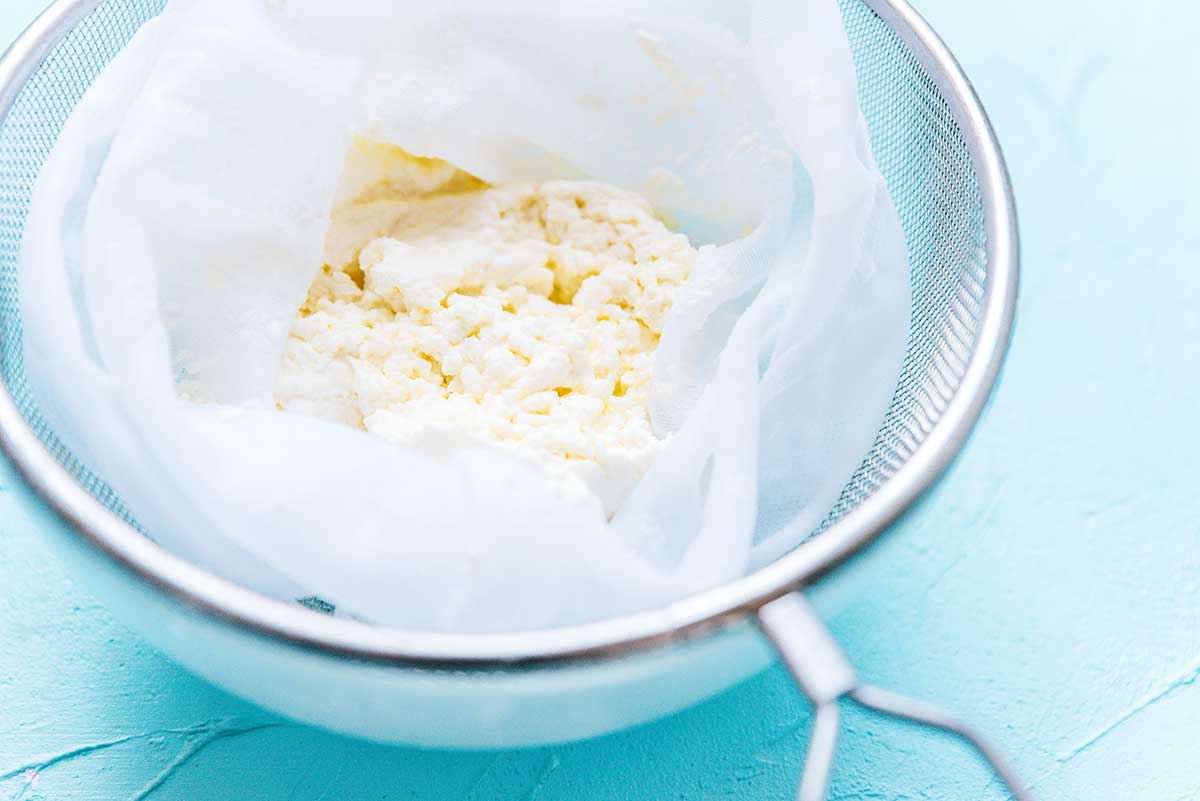
Step 3: Strain the Whey
Lay a clean cloth or sturdy paper towel in a wire mesh sieve and set it over a large bowl. Pour the milk mixture into the sieve to strain out the liquid whey. You can let your ricotta strain for up to 1 hour.
Tips for making ricotta cheese
Here are some easy ricotta cheese hacks that you may find useful!
- Stick with whole milk: I recommend sticking with whole milk when making ricotta cheese, as the high fat content helps to achieve the desired texture and consistency. You may be able to get away with using 2%, but skim milk won’t work well.
- Use the leftover liquid: You can actually save the liquid whey that’s collected during the straining process and use it as a protein booster in smoothies! This is why we don’t add the salt until last, as doing so prevents the whey from getting salty. No salt means it can be added to both sweet and salty dishes!
- Ricotta vs cottage cheese: Truth be told, ricotta and cottage cheese are pretty different. Ricotta tends to have a softer, grainy texture, whereas cottage contains thicker curds. This is due to the different processes involved in making the two. Cottage cheese often has the addition of animal rennet, heavy cream, and/or buttermilk.

to add an egg or not
People sometimes add eggs to their ricotta cheese to help bind the cheese together and keep it from being too runny. This is most commonly done when it’s being used in casserole, vegetarian lasagna, and vegetable baked ziti. If these are on the menu, you can add an egg by mixing one with the drained ricotta.


5 Minute Microwave Ricotta
Ingredients
- 2 cups whole milk, 475 mL
- 2 Tbsp white vinegar or lemon juice, 30 mL
- ½ tsp salt
Instructions
- Cook: Add milk to a microwave safe bowl, then microwave on high for 3 to 5 minutes (if you have a kitchen thermometer, milk should reach between 185°F and 200°F).
- Curdle: Add vinegar or lemon juice, stirring briefly to combine. Let sit undisturbed for 1 to 2 minutes. Milk should separate into white curds and yellowish liquid (test it by dragging a spoon through the bowl). If milk doesn’t curdle and the liquid is still white, add another tablespoon of lemon or vinegar and microwave for another 30 seconds.

- Strain: Lay a clean cloth or sturdy paper towel in a wire mesh sieve, and set over a large bowl. Pour the milk mixture into the sieve to strain out the liquid whey. You can let your ricotta strain up to 1 hour. The longer it sits, the firmer your ricotta will be (though I like it fresh and warm, strained for just a few minutes). Stir salt into ricotta when finished straining.

Notes
Nutrition
Nutrition information calculated by Sarah Bond, degreed nutritionist.