This post contains affiliate links.
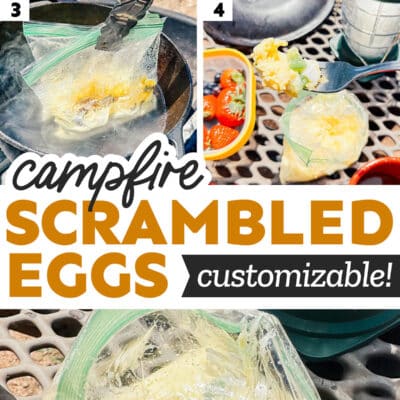
With just a handful of ingredients, this campfire scrambled eggs recipe is ready in under 15 minutes. They are made in the same bag you mix them in, so they take minimal prep work and are always a camp crowd-pleaser! Camping breakfast never tasted so good. Trust me, I know – I’ve taken these to more campsites than I remember!
Ready to elevate your camping breakfast game to a whole new level of deliciousness? Look no further than these campfire scrambled eggs, a delicious twist on the classic scramble that brings customization and convenience to the great outdoors.
Whether you’re a cheese lover, a veggie enthusiast, or someone who likes a little bit of everything, these eggs in a bag ensure everyone gets their perfect breakfast.
With individual portions and a touch of campfire magic, you can enjoy scrambled eggs around the morning campfire in less than 15 minutes. Let’s cook!
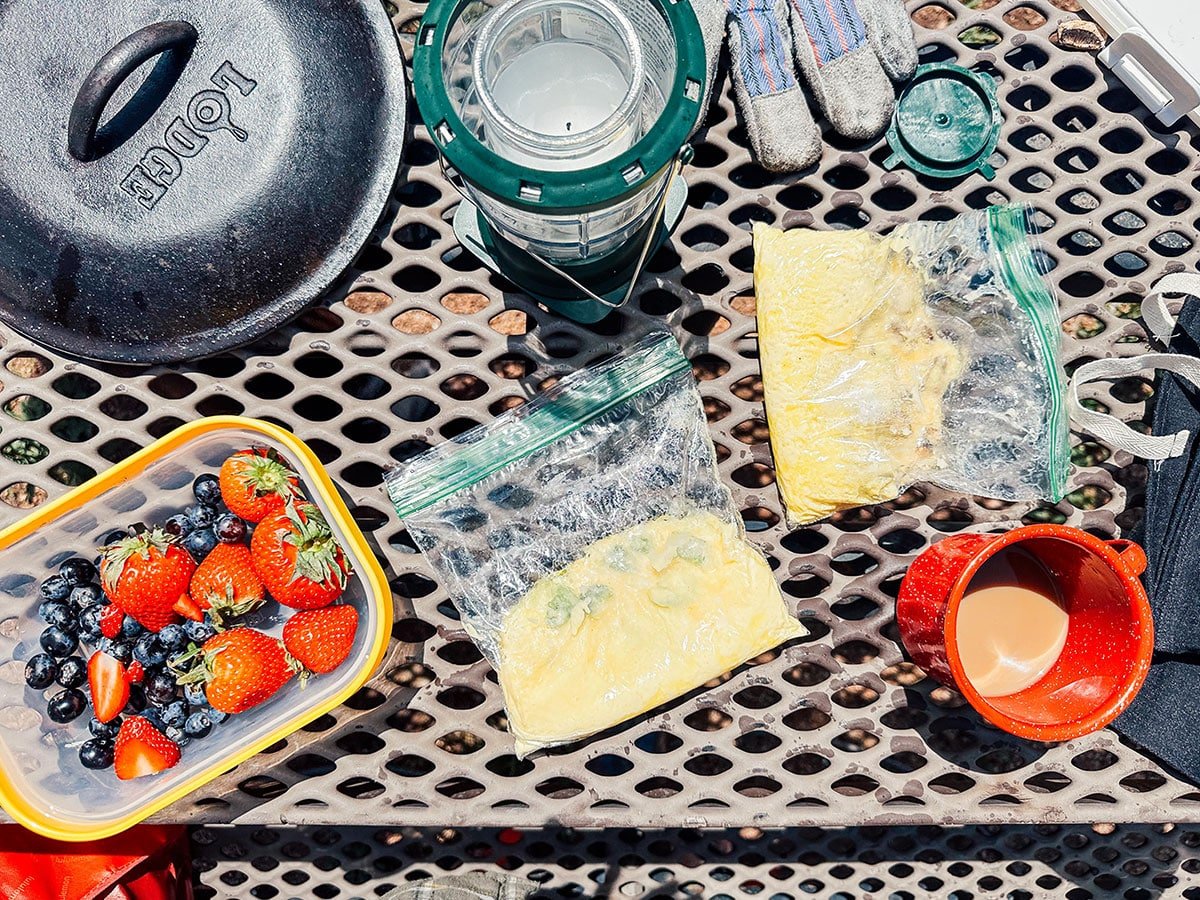
Here’s What You’ll Need
You’ll find a lot of the usual suspects in this campfire-style scrambled eggs recipe. Jump to the recipe card for the full quantities.
- Eggs: The star of the show, eggs provide a protein-packed base for your campfire breakfast. Opt for fresh, high-quality eggs for the best flavor and texture.
- Milk: A splash of milk adds creaminess to the scrambled eggs and helps create a fluffy texture.
- Shredded Cheese: Choose your favorite cheese – Mexican, cheddar, or mozzarella – to add a melty, gooey goodness to your eggs.
- Finely Chopped Veggies: Bell peppers, mushrooms, tomatoes, and/or onions bring a burst of freshness and color to your scramble.

Campfire Prep Tip
To make camping prep easier, chop veggies ahead of time, shred the cheese, and store them in airtight containers. Grab some salt and pepper packets from a gas station or fast food restaurant on the way out of town for easy seasonings on the go.
How to make Eggs In A Bag
Here’s a quick overview. Jump to the recipe card to get the full instructions.
Step 1: Preparing the Dutch Oven and Water
Set the stage for your campfire cooking adventure by positioning a sturdy cast iron Dutch Oven over hot coals or elevated above a low-burning fire. Ensure you have at least 4 inches of water in the Dutch Oven, then cover it and bring the water to a gentle simmer.
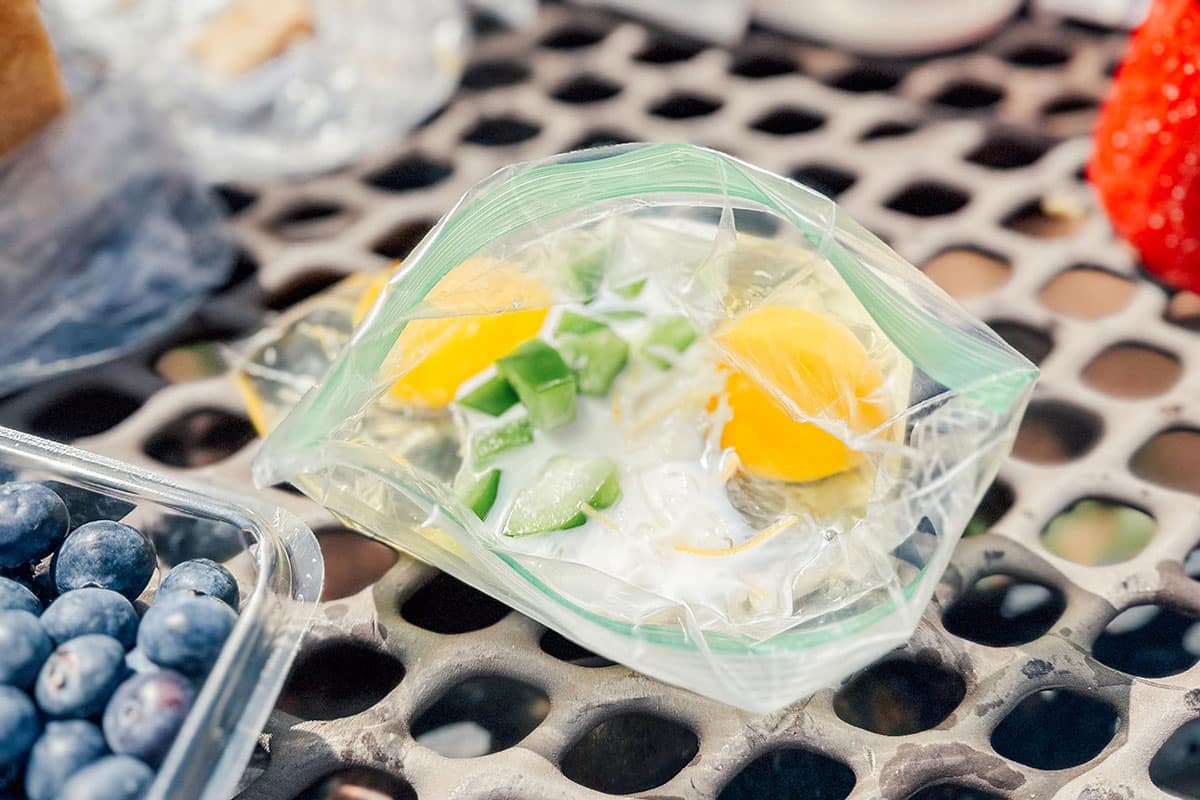
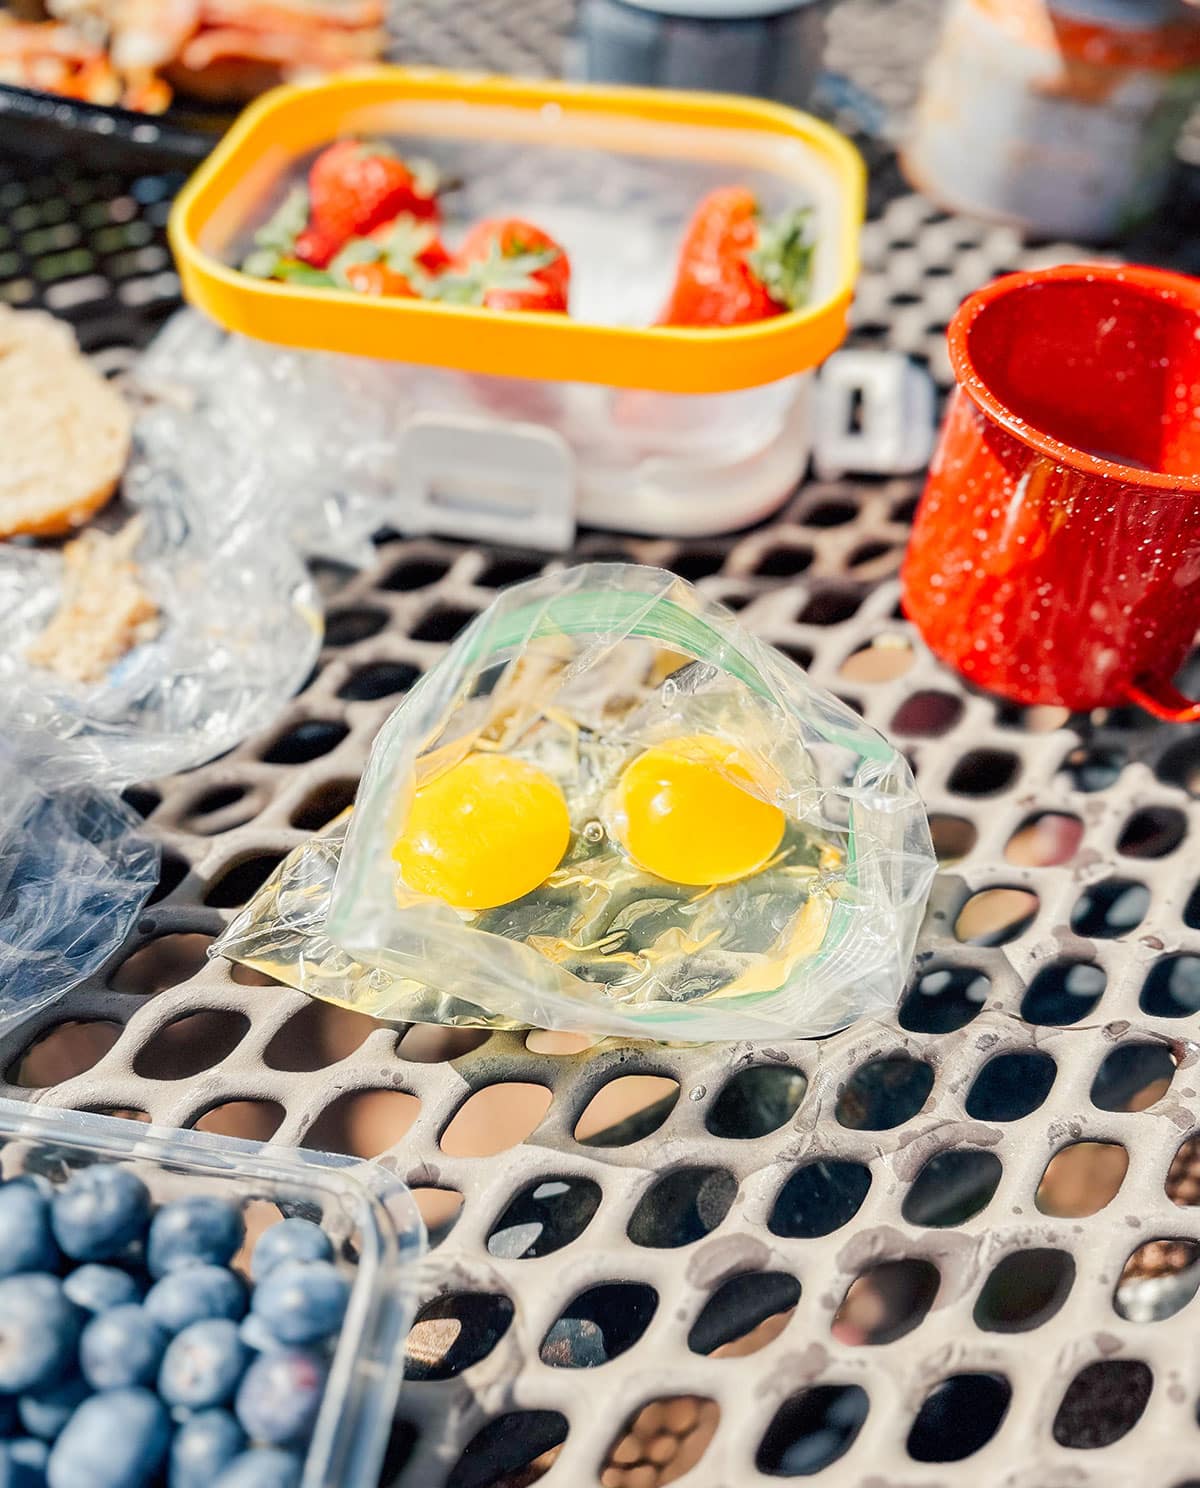
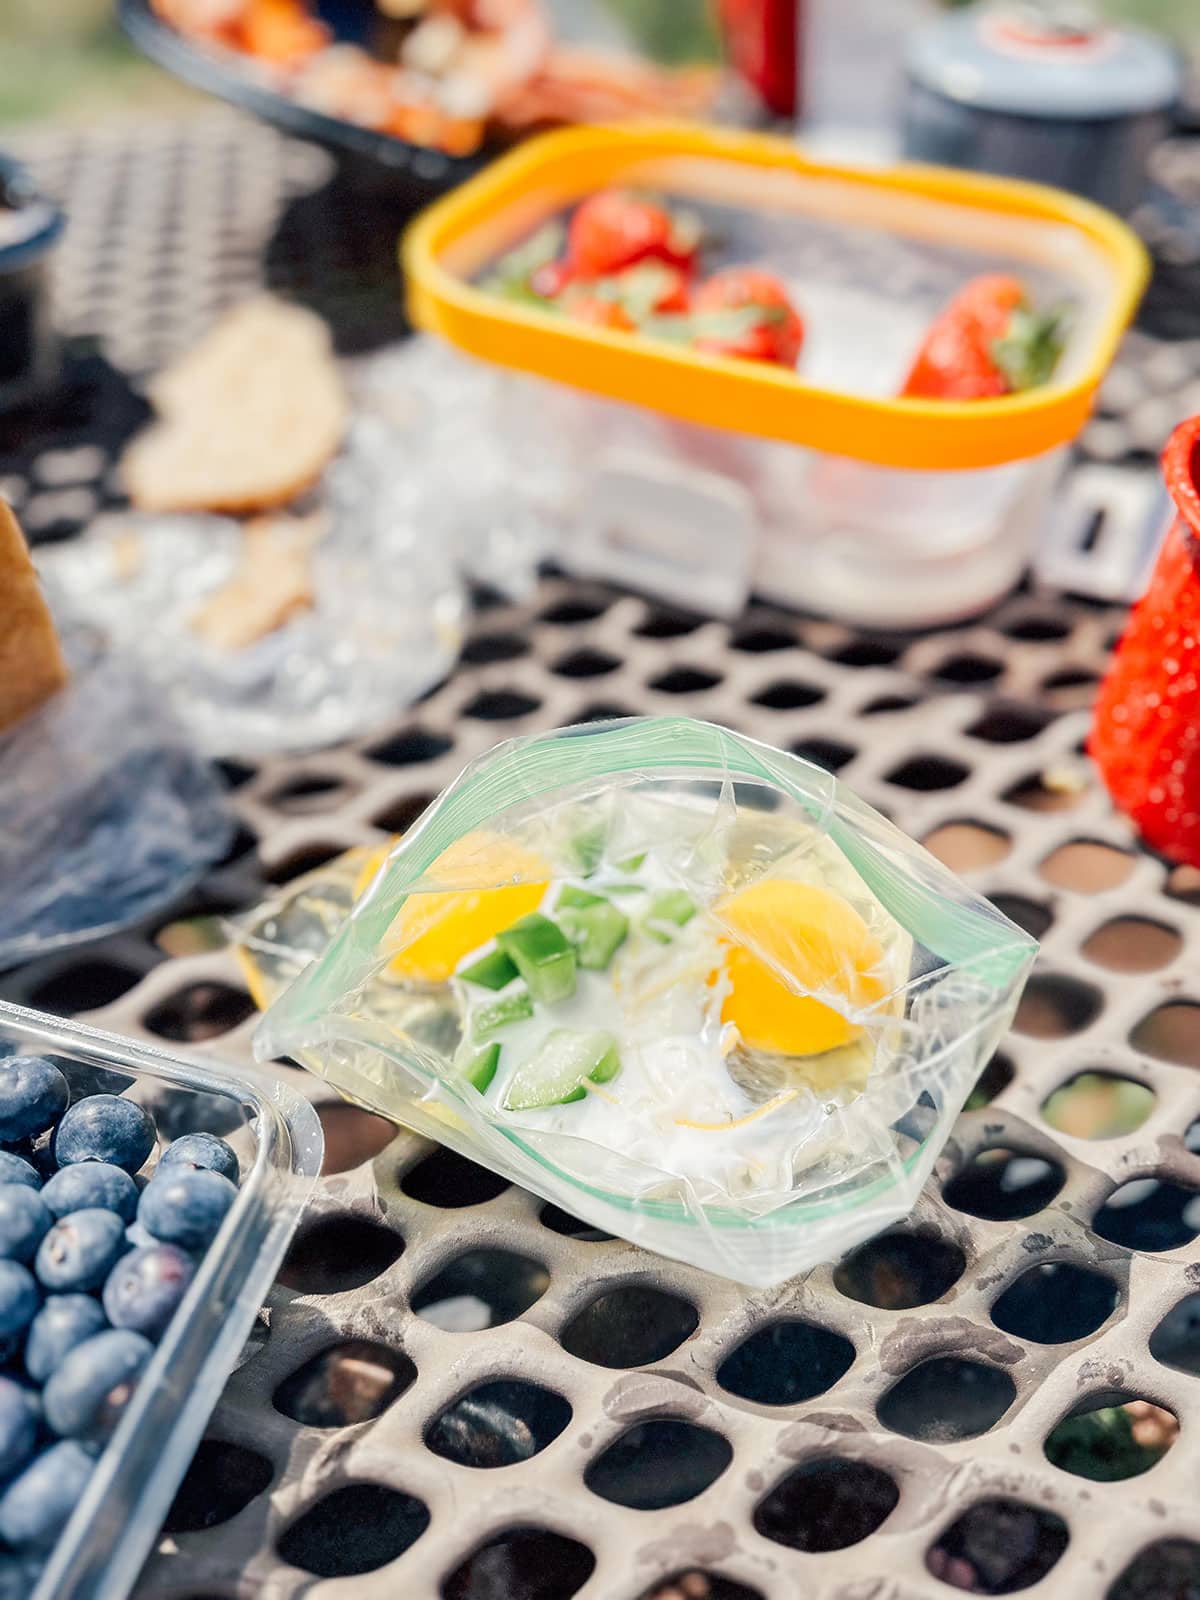
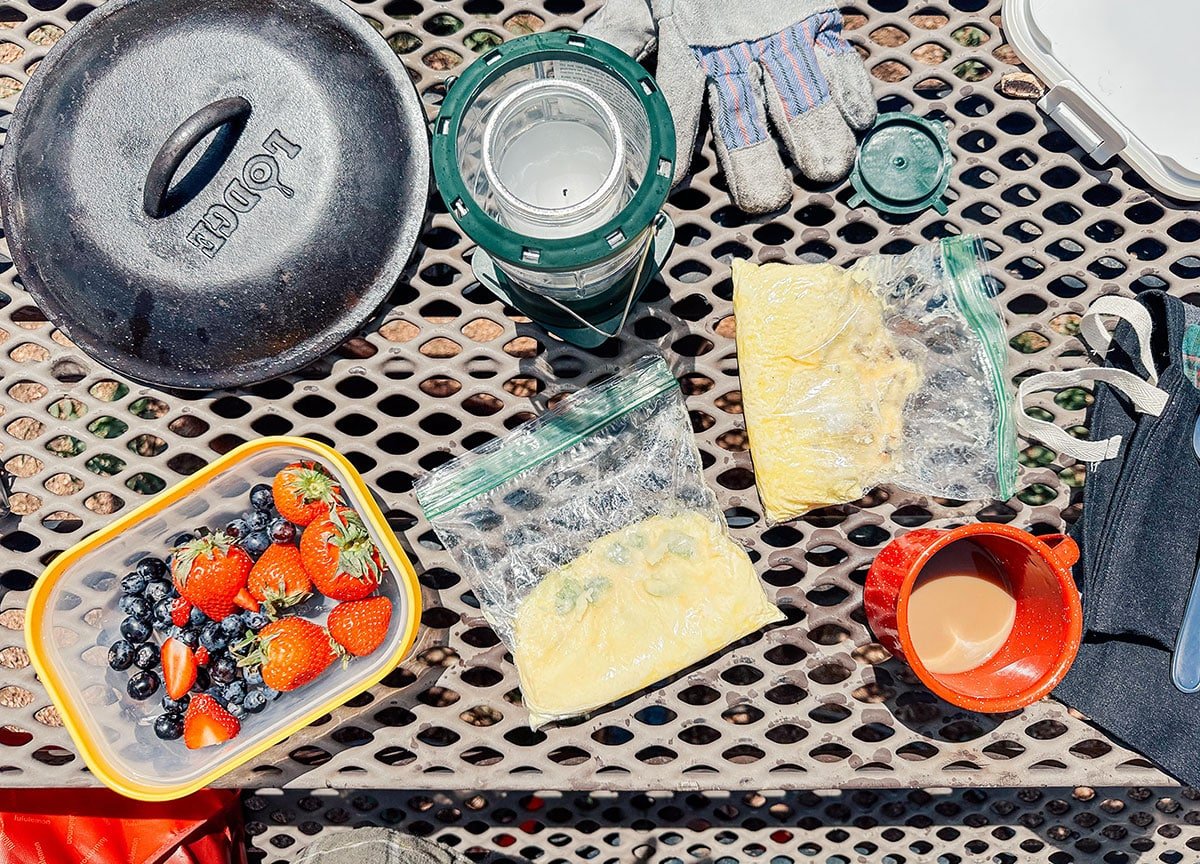
Step 2: Preparing the Egg Mixture
In a heavy-duty ziplock bag, combine the eggs, milk, shredded cheese, and the chopped veggies. Seal the bag tightly, and then give it a good squish and shake to ensure all the ingredients are well-mixed.
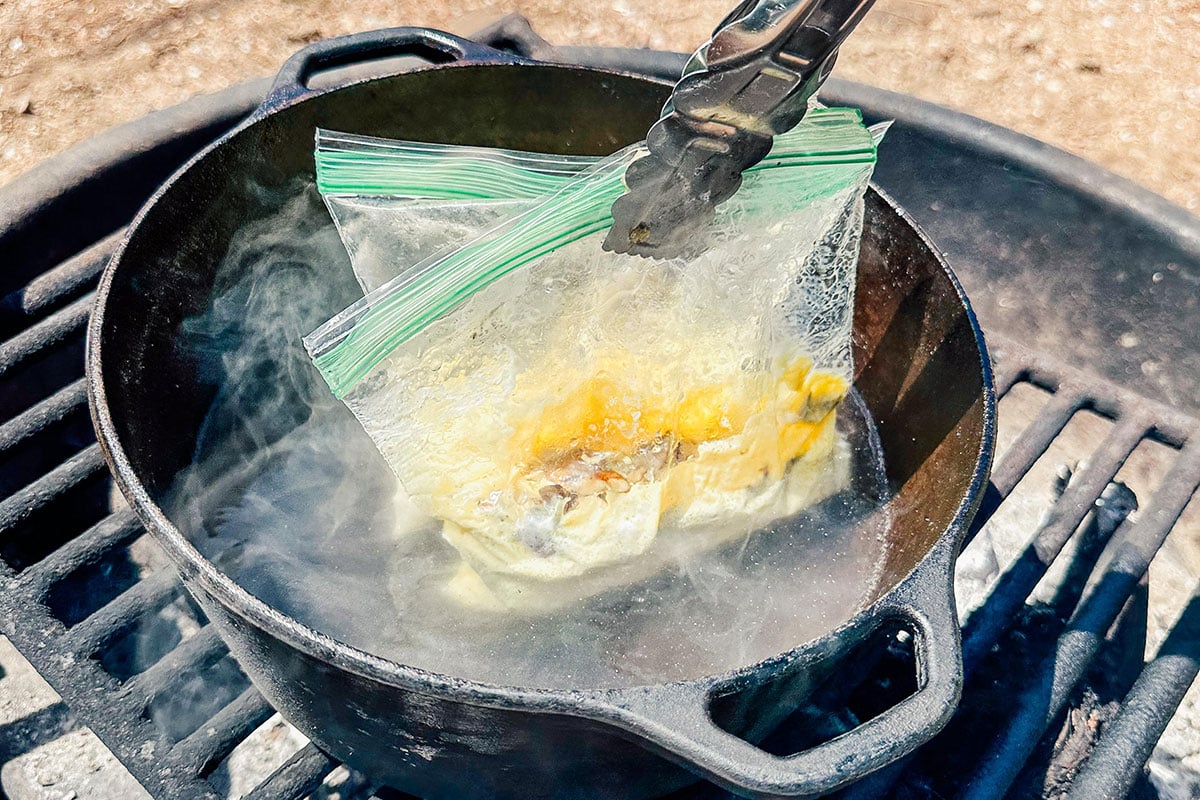
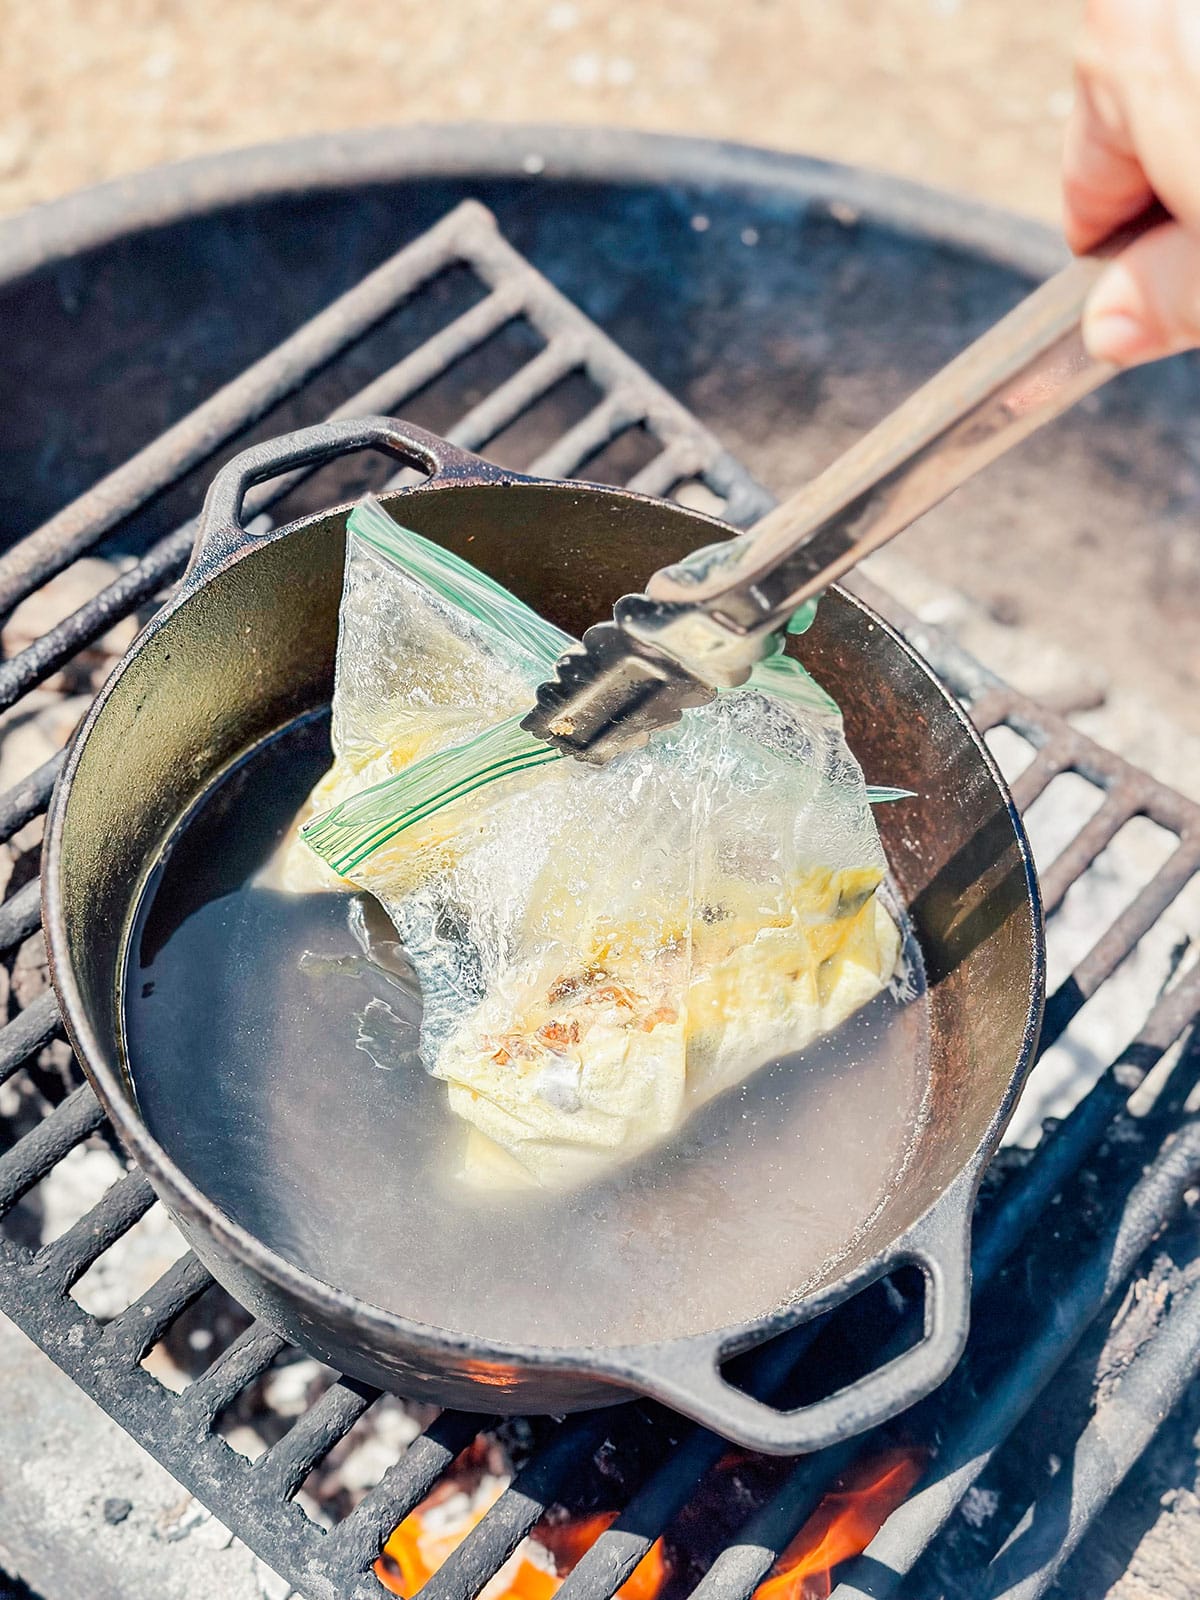
Step 3: Cooking the Scrambled Eggs
Lower the sealed baggie into the simmering water, ensuring it doesn’t touch the edges of the hot Dutch Oven. Allow the baggie to cook for approximately 5 to 10 minutes. During this time, the eggs will gradually set and become firm. Watch carefully to avoid overcooking – the eggs should be fully cooked but still tender and moist.
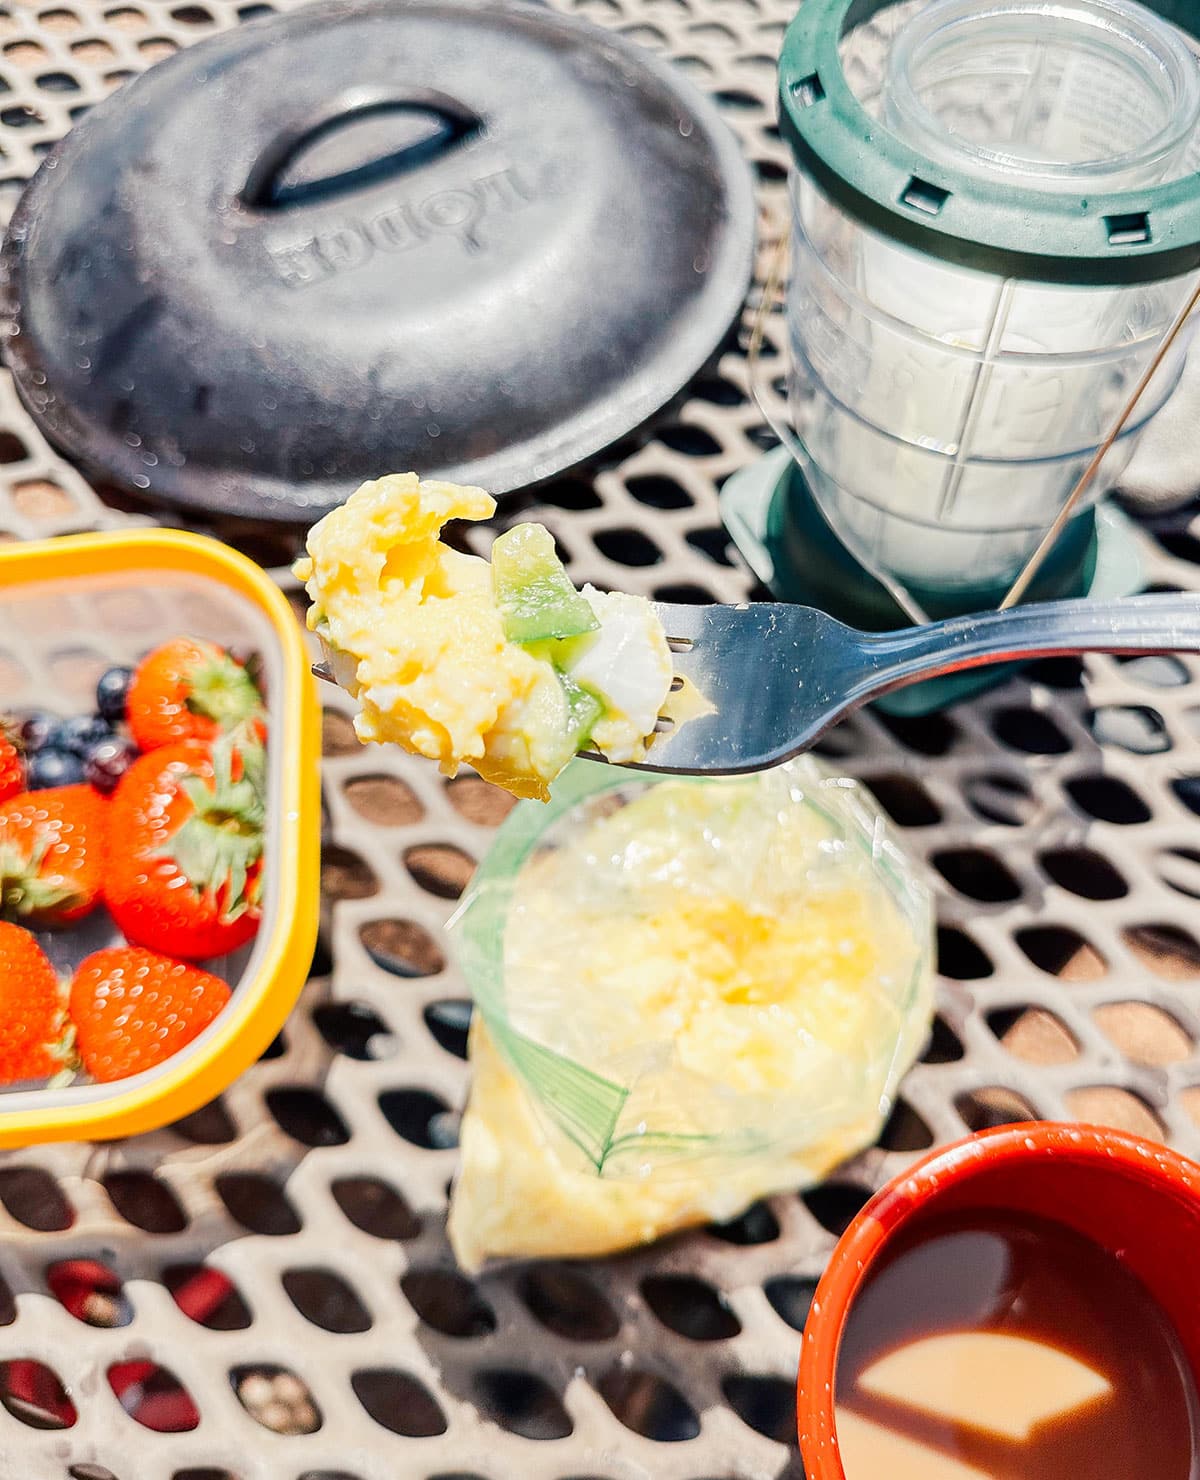
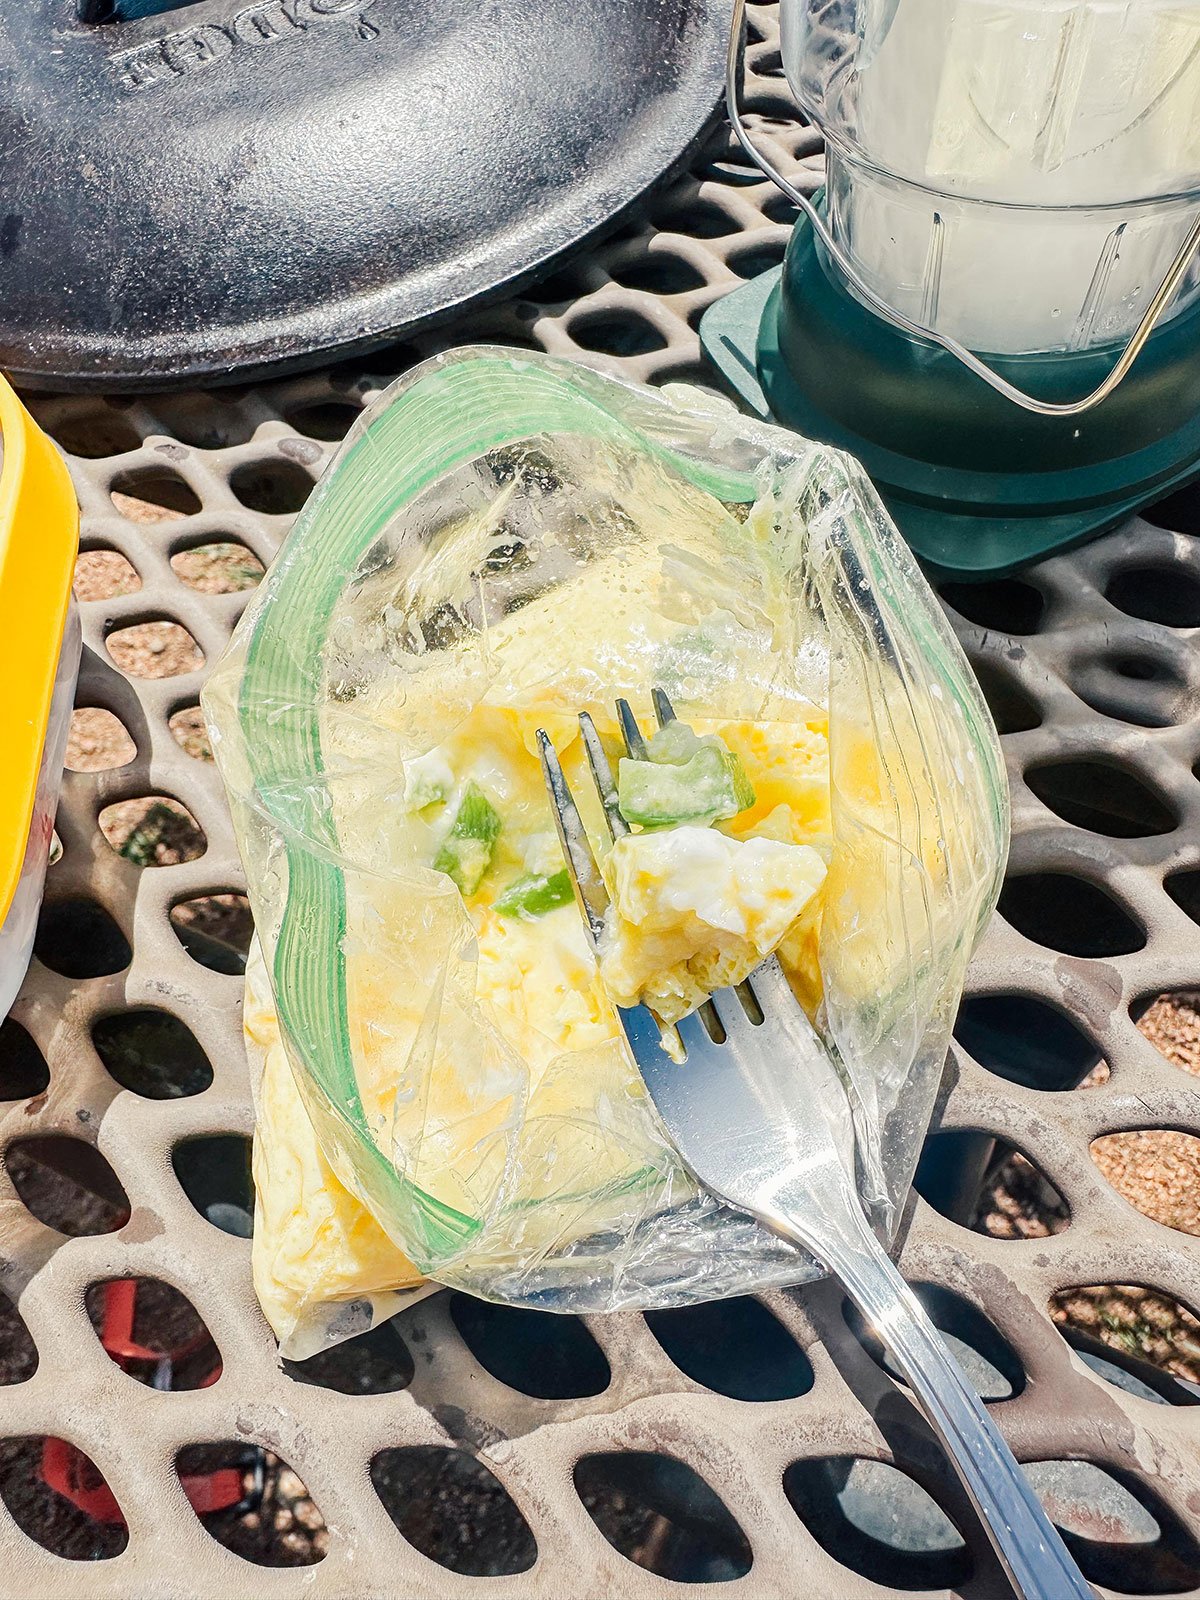
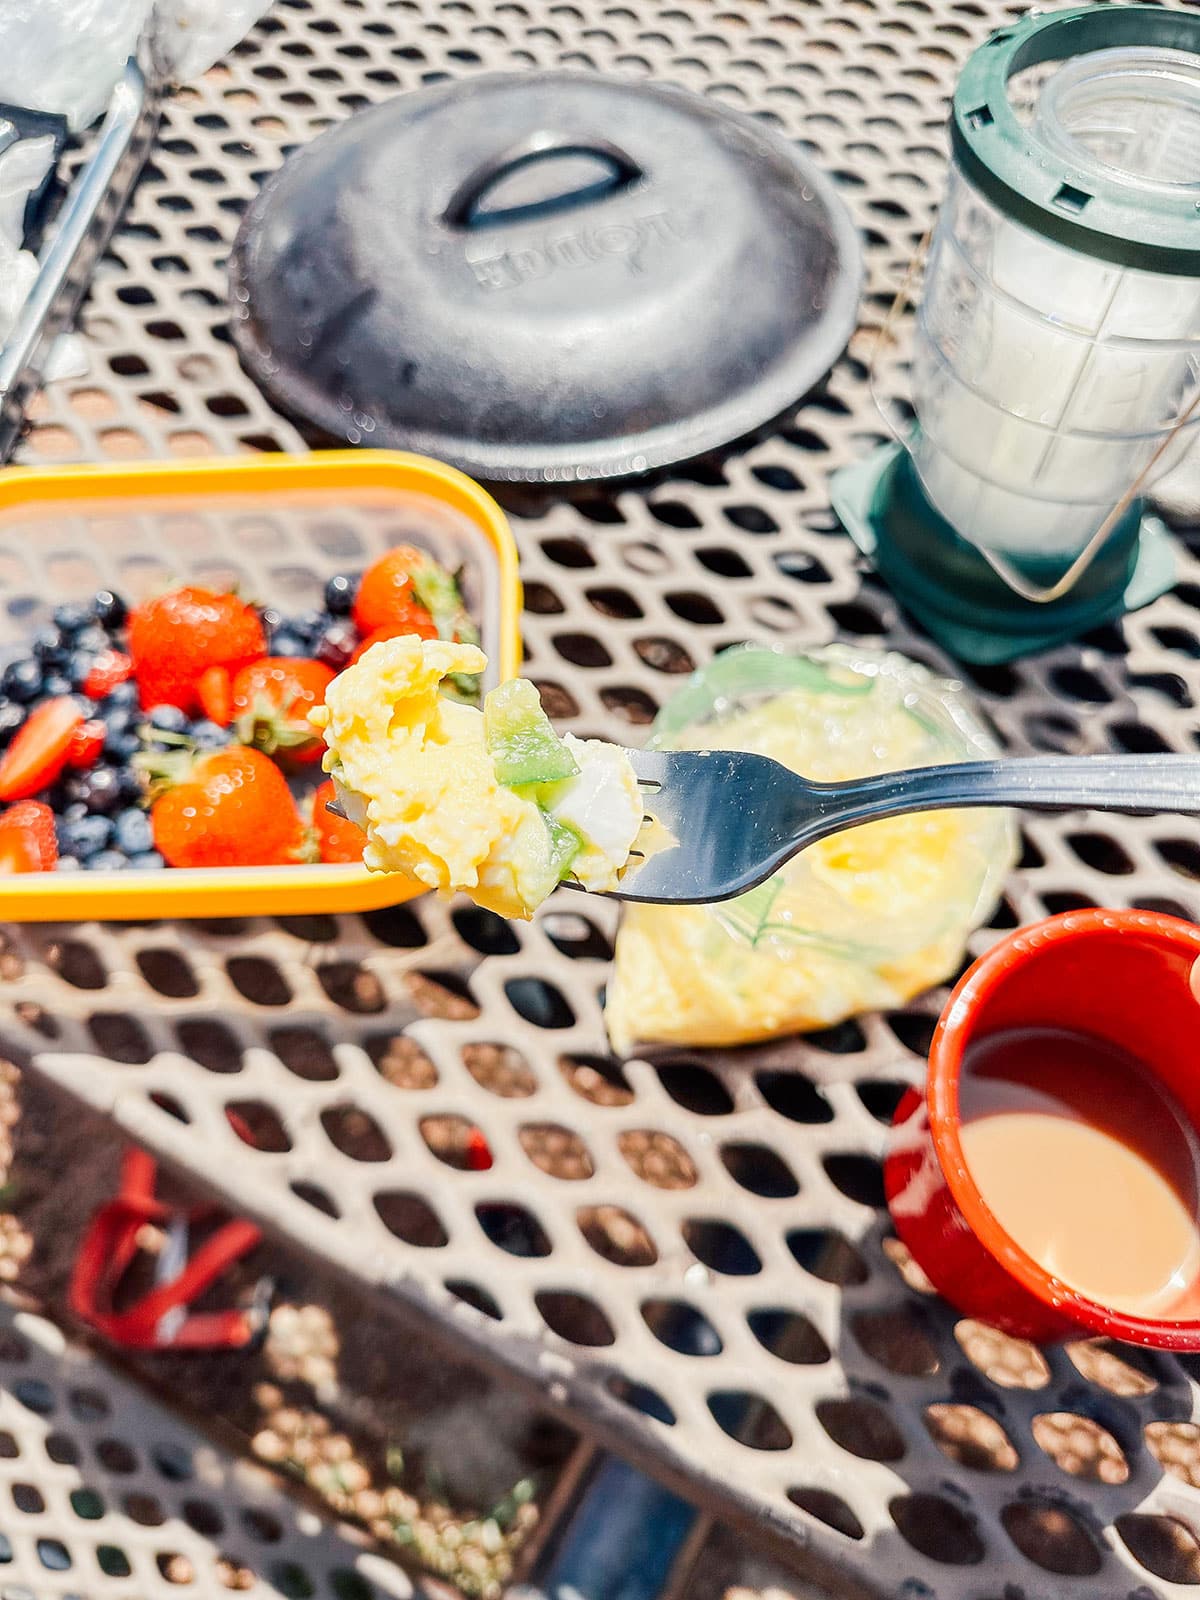
Step 4: Serving Your Campfire Breakfast
Once your scrambled eggs have reached your desired level of doneness, carefully remove the baggie from the hot water using tongs. Open the bag and transfer the delicious scramble onto a plate. Finish your campfire breakfast with a dash of salt and pepper to taste!
Tips and Tricks
This campfire eggs recipe is virtually foolproof, but these tips will make it even better!
- Use Heavy-Duty Bags: Opt for heavy-duty or freezer-grade Ziploc bags. These are thicker and less likely to soften or melt in the hot water, ensuring a safe and mess-free cooking experience.
- Safety First: Always exercise caution when handling hot Dutch Ovens and water. Use tongs to handle the baggie when placing it in the water and removing it from the Dutch Oven. Keep children and pets away from the fire while cooking.
- Easy Cleanup: Since you’re using a sealed bag for cooking, cleanup is a breeze. Simply dispose of the used baggie, and you’re done!
more campfire classics


Campfire Scrambled Eggs (Eggs In A Bag!)
Ingredients
- 2 large eggs
- 2 Tbsp milk, can sub dairy-free
- 2 Tbsp shredded cheese, Mexican, cheddar, or mozzarella
- 2 Tbsp finely chopped veggies, like bell pepper, mushrooms, tomato, and/or onion
Instructions
- Prep Water: Set a cast iron Dutch Oven over hot coals or elevated over a low-burning fire. Add at least 4 inches of water, cover, and bring to a simmer.
- Prep Eggs: Add all ingredients to a heavy duty ziploc bag* and seal shut. Squish and shake it all around to evenly mix everything together.

- Cook: Lower the baggie into the simmer water. Let cook for 5 to 10 minutes, or until eggs are firm and fully cooked. Avoid letting the baggie touch the edge of the pot, which is very hot and could melt the plastic.
- Serve warm with salt and pepper!