
This post contains affiliate links.
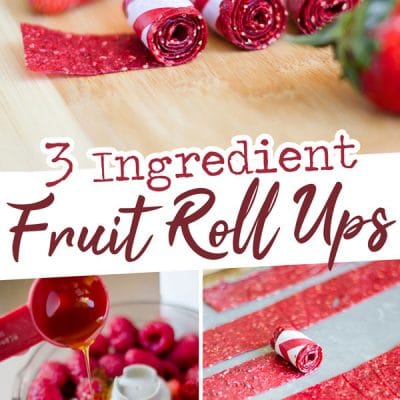
With well over one hundred 5-star reviews, these healthy homemade fruit roll ups have been made and loved in so many of our reader’s kitchens. They only take 3 ingredients and you can mix and match fruits to make your favorite flavor. Your next masterpiece in the making!
If you have kids, then you are familiar with the plea for those infamous rolled fruit snacks. What if I told you that homemade fruit roll-ups are so easy to make at home without a dehydrator or added processed sugar?
The best part is you can get the kids involved to make fun and funky flavors. And anyone with kids knows they eat best when they make it themselves. We love those independent little humans.
Reader rating
“Made this today! Turned out soooo yummy. I used frozen mixed berries (thawed out) it took about 6 hrs at 170°. My son loves them. My husband loves them. I love them! Thank for such a tasty and easy recipe!” —Samantha
yes, just 3 ingredients
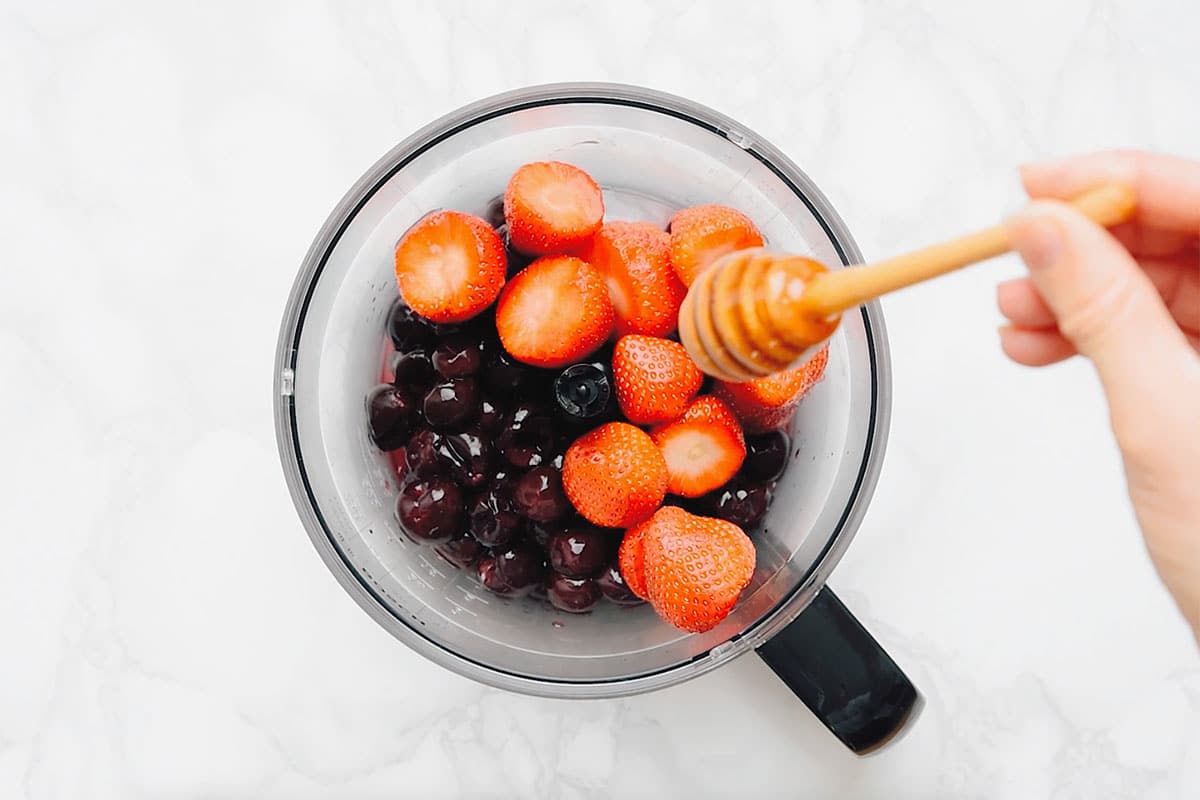
Since this recipe is so simple, with just fruit, honey, and lemon juice needed, I want to focus more on flavor ideas! I love using fresh berries, like strawberries or blueberries, but you could also do:
- Razzle and Dazzle: A play on a razzleberry pie, this is a combination of raspberries, blackberries, and strawberries.
- Tropical: Make tropical fruit roll ups by using pineapple and mango.
- Forest Fruits: Try a blend of cherries, blueberries, and raspberries for a gorgeous color.
- Single Ingredient: Or go all in on a fruit, like strawberry or blueberries! You’ll need about 3 cups total.
- Spices: You can also add more flavor with spices or herbs like cinnamon, cloves, and basil.

Let’s make them!
Step 1: Blend The Fruit
Blend all the ingredients in a food processor or blender until they’re as smooth as can be.
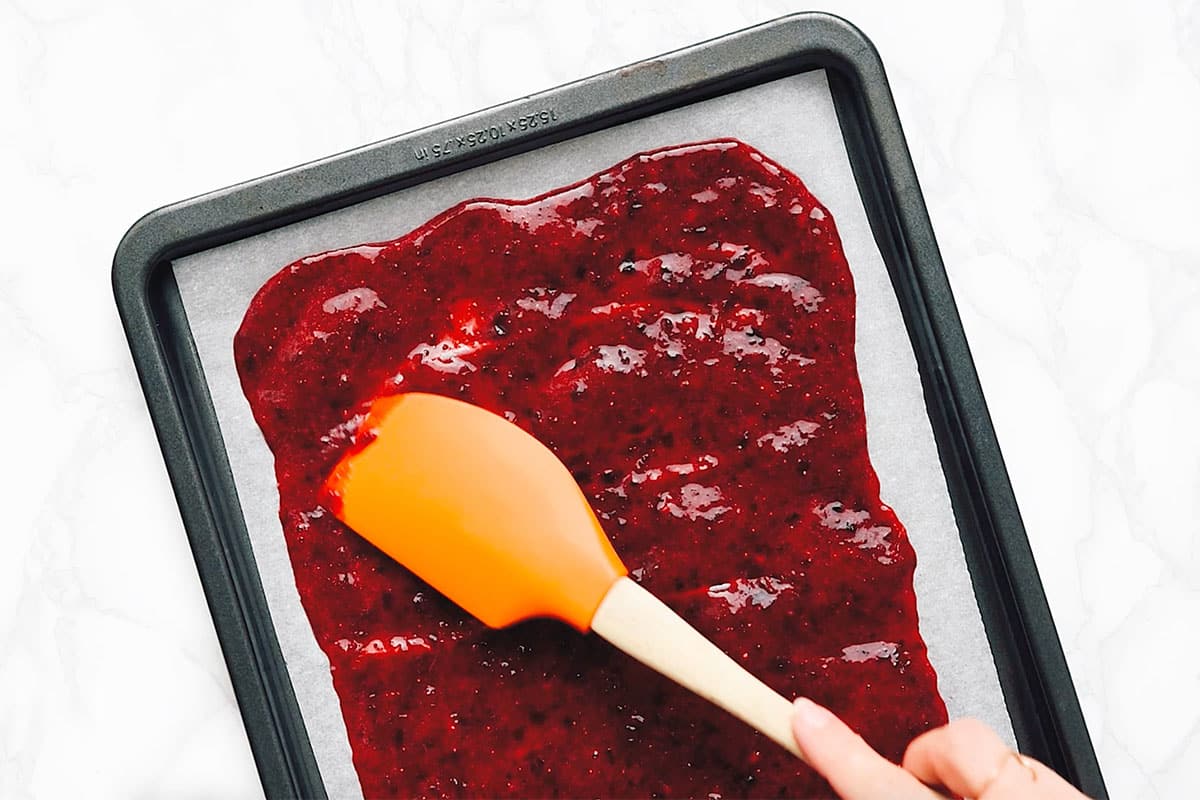
Step 2: Spread The Blended Fruit
Next, line a baking pan or sheet with parchment paper. Pour the blended fruit mixture onto the lined pan, then spread it out with a spoon or spatula.
Step 3: Dehydrate
Dehydrate in your oven at the lowest temperature possible (140 to 170°F) for 4 to 6 hours, or until the middle is no longer tacky. If the center is still tacky, it could be because the mixture is spread too thick.

Step 4: Cool
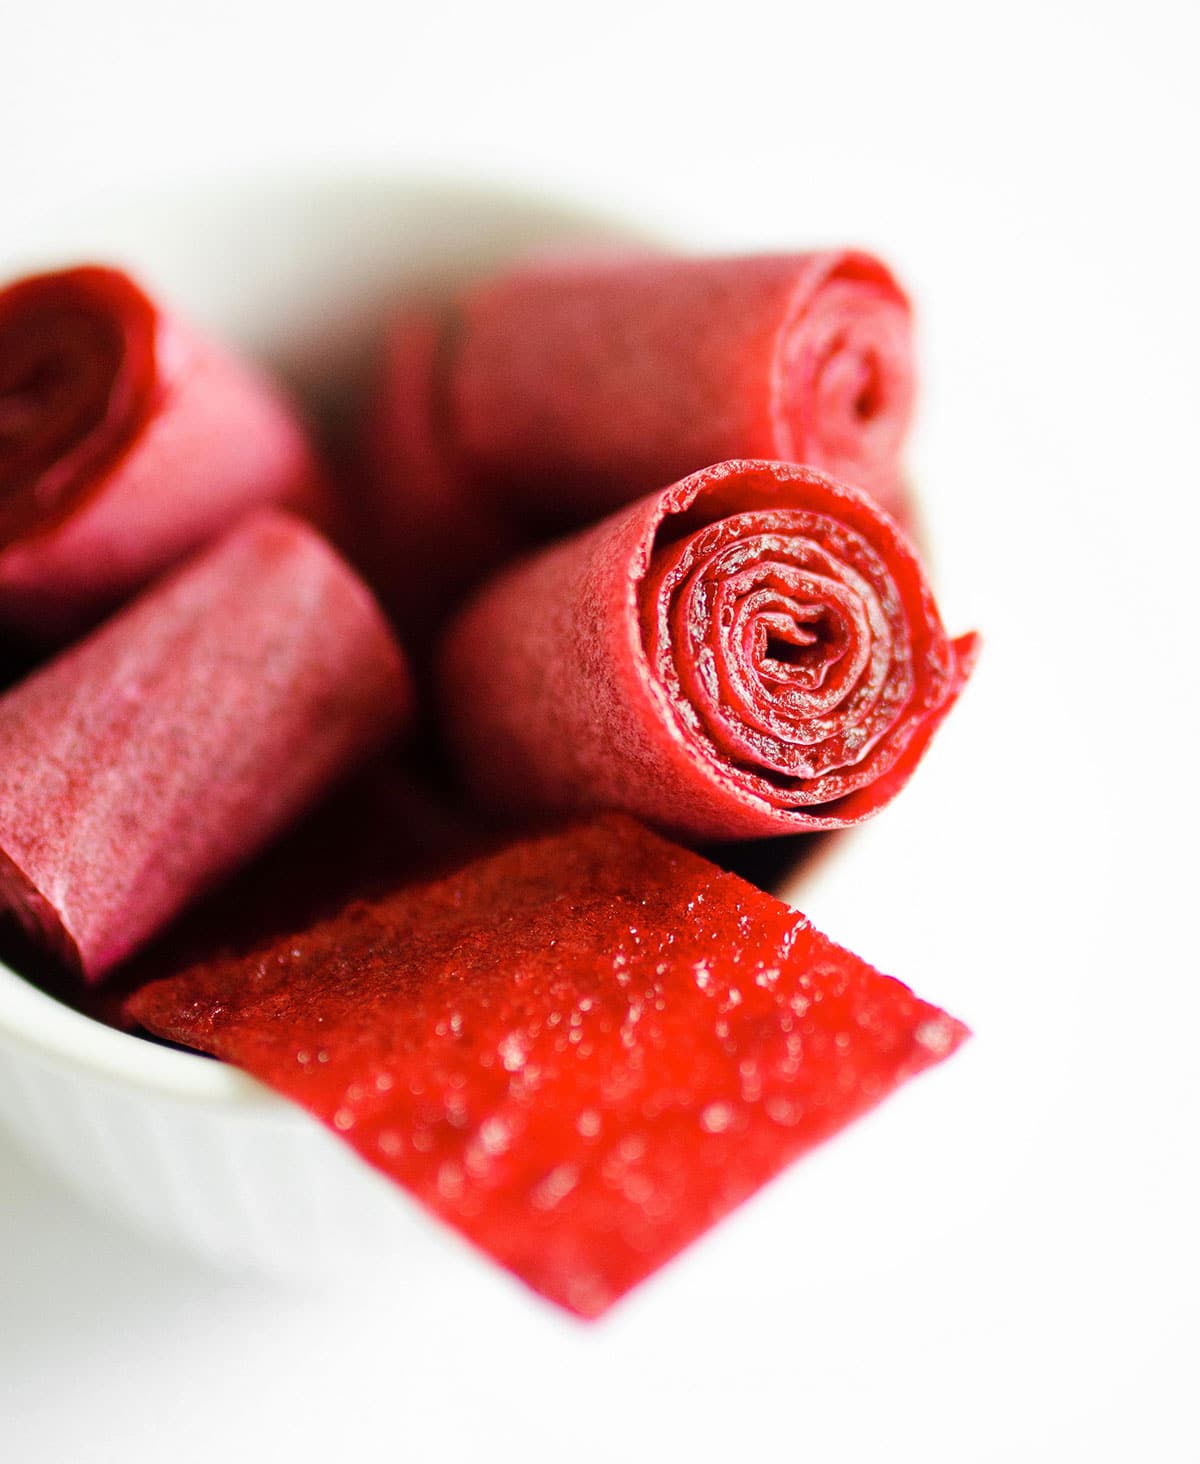
Allow the fruit leather to cool, then use clean scissors to trim off edges and cut into 1 inch wide strips. Roll each strip into a roll-up and enjoy!


Sarah’s Tip
I like to use fresh fruit puree, which preserves more of the vitamins in the fruit (but that’s just my nutrition brain talking). To make fruit roll-ups that look a bit more uniform, you can cook the fruit mixture on the stove, uncovered, until it becomes thick, strain through a fine mesh sieve, then proceed with this recipe!
more fruity kid-friendly recipes


Healthy Homemade Fruit Roll Ups (Plus Flavor Options!)
Ingredients
- 2-3 cups fruit, 300 to 350 g
- 2-3 Tbsp honey, can sub sugar or sugar-substitute
- 2 Tbsp lemon juice, 30 mL
Instructions
- Blend: Blend together all ingredients in food processor or blender until smooth. Taste and adjust sweetness as needed.

- Spread: Pour into a pan lined with parchment paper then spread out ⅛ to ¼ inch thick.
- Dehydrate: Dehydrate in oven at 140 to 170°F (or as low as oven will go) for 4 to 6 hours, or until the middle is not longer tacky. It must be totally set in order to peel off the parchment paper, so if it needs more time to cook, keep cooking until the center is not tacky (this largely depends on the thickness).
- Cool: Allow to cool, then use clean scissors to trim off edges and cut into 1 inch wide strips. Roll each strip into a roll-up and enjoy!
Notes
Nutrition
Nutrition information calculated by Sarah Bond, degreed nutritionist.


Really simple and easy to make- love this 😀
So they look good and I was able to get a little taste! Unfortunately, they stuck to the parchment paper. It’s like baked in and I cannot separate ;( do you know why?
Oh shoot, sorry to hear that Ruby! Are they still at all tacky? Usually once they’re done they become dry and peel right off.
Can I omit the lemon juice as my daughter can’t have citrus
Yes!
I made these, strawberry and plum. They are very good, my problem is that I had a hard time peeling off the parchment paper. I spent a lot of time taking it off piece by piece. Any suggestions?
Typically if it’s cooked all the way through it shouldn’t be an issue! Otherwise, let it cool before peeling 🙂
Hi
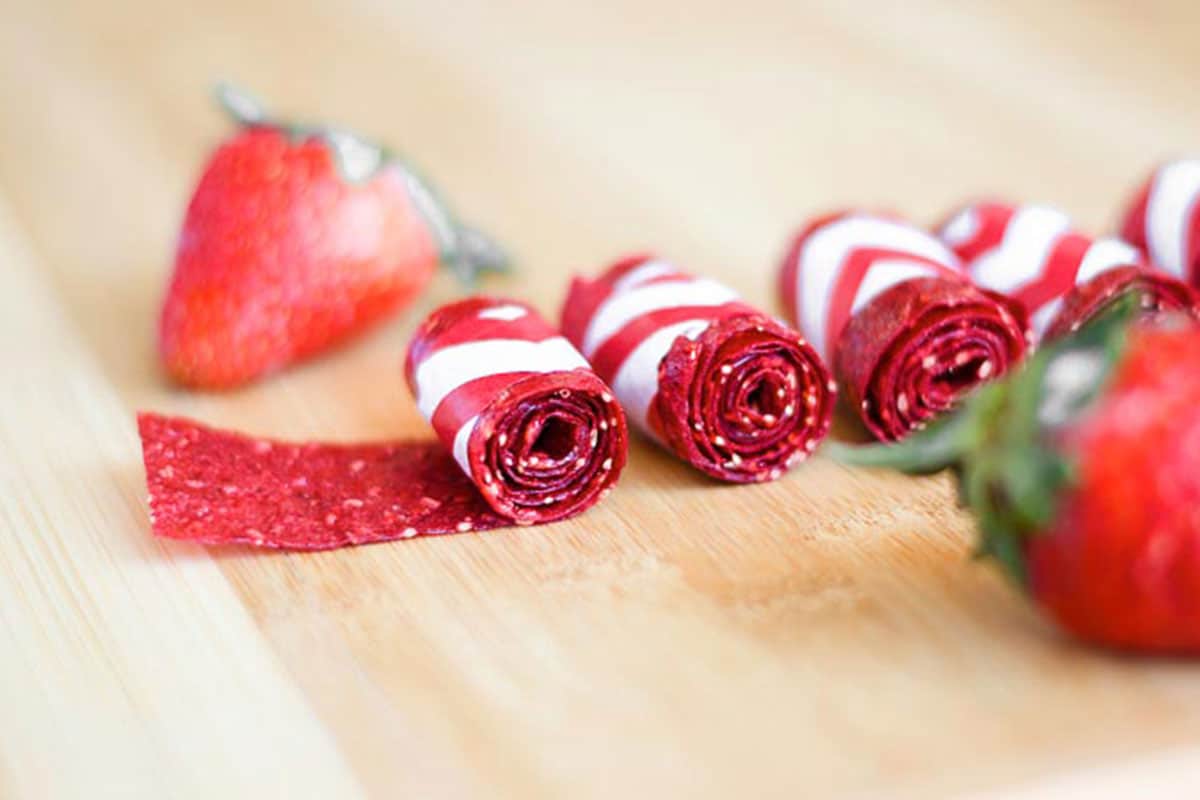
In one of the pictures it shows a red and white striped fruit roll up. Just wondering how you did that one?
Thank you
That one is just strawberry flavor! 🙂
Hi! I have a question. I baked according to the directions till the center was no longer tacky. The let it cool off overnight. The next morning it was hard and crumbly. Does this mean I cooked it too long? Thank you!!
It probably dried out too much! Make sure to cover it with plastic wrap when storing (or roll them and store in a container).
These 3-ingredient fruit roll-ups look so fun and healthy! 🍓 I also love having granola breakfast bars from Kodiak Cakes on hand — perfect for a quick, tasty, and energizing snack anytime! 🌞