

This post contains affiliate links.

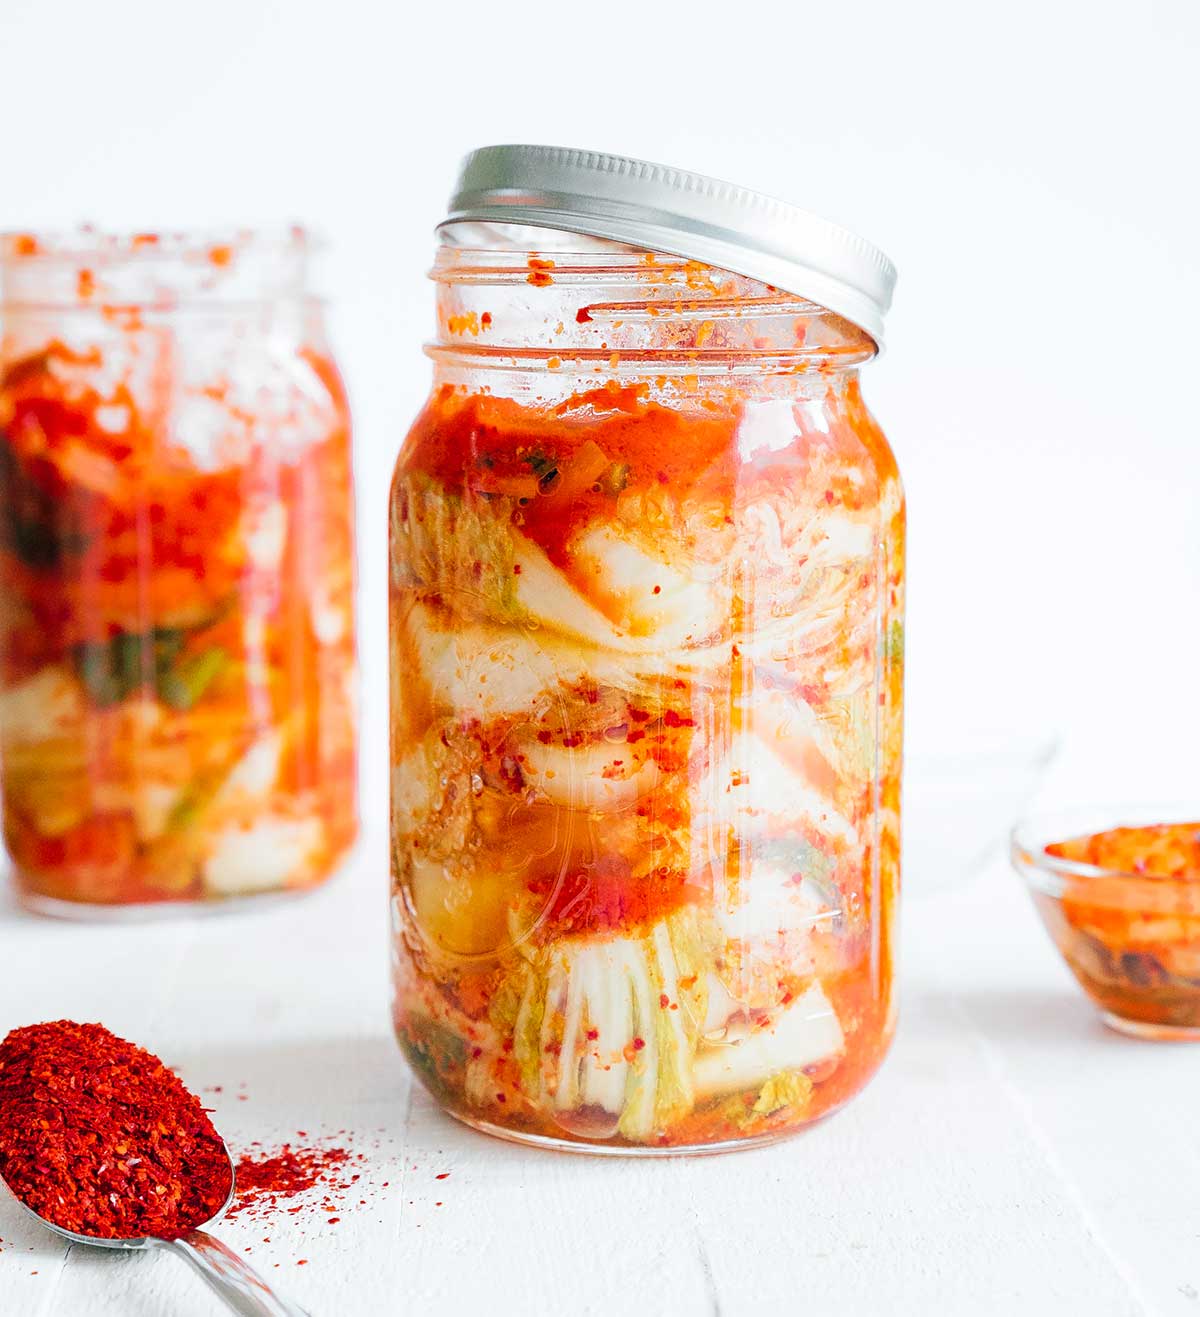
Are you a kimchi lover who’s wondered how to make kimchi at home? I’m walking you through my easy process for making your own kimchi! As a lover of all things fermentation, I’ve perfected this beginner’s kimchi over the years. It has easy-to-find ingredients, step-by-step photo instructions, and dozens of five-star reviews. Let’s ferment!

 save this recipe!
At its core, kimchi is fermented cabbage. But it’s so much more. It’s spicy and umami and sour and perfect for adding zing to everything from fried rice to tacos!
But making kimchi is anything but a mystery. It’s truly so easy! After years of making it for our family, I’ve developed a method for making kimchi that’s straight-forward, using ingredients that can be found in most Western grocery stores.
Reader rating
“We have tried so many kimchee recipes, and this one is definitely the best! Thank you!!” —Wendy
Kimchi 101
Kimchi is made by lacto-fermentation of napa cabbage, which is fermentation by Lactobacillus bacteria (the same kind of fermentation that gives us tangy fermented yogurt and dill pickles!). Basically, bacteria are converting sugars into lactic acid!
Kimchi origins and benefits
Kimchi has been a staple of Korean cuisine for over a thousand years, originally developed as a way to preserve vegetables through the cold winter months when fresh produce wasn’t available. What started as a practical necessity became a defining part of Korean food culture, with regional and seasonal variations passed down through generations.
Beyond its cultural significance, kimchi is a fermented food, which means it naturally develops beneficial bacteria during the fermentation process! The tangy, slightly funky flavor is a byproduct of the same fermentation that makes it good for gut health.

Kimchi…but make it vegan
Traditional kimchi isn’t vegetarian. Most authentic kimchi recipes include fish sauce, which adds umami taste.
To make this kimchi plant-based, I tried two variations without fish sauce: in the first, I simply omitted it, and in the second, I used miso paste instead. Both vegan kimchi variations were delicious, and the recipes are included below!
Key Ingredients
This is just an overview–jump to the recipe for full instructions!
- Napa Cabbage: Otherwise known as Chinese cabbage, this will form the base of the kimchi.
- Non-Iodized Salt: Aim for iodine-free or kosher salt (iodized salt may prevent fermentation and can lead to a metallic taste).
- Korean Pepper Flakes: Otherwise known as gochugaru. Find it online or check out your nearest Asian supermarket. If you’ve looked everywhere and can’t find gochugaru, you can sub hot paprika powder (but I recommend giving gochugaru a try if possible).
- Garlic, Ginger, Green Onions: Our flavor makers! You only have to be in the general vicinity of kimchi to know it contains garlic. That smell 😅
- Sugar: Just a dash of sugar is enough to kickstart the fermentation, giving the bacteria something to “feed” on.
- Carrot or Daikon Radish: Traditional kimchi uses daikon radish for added crunch, though carrot works just as well (use whichever you have access to).
How to make kimchi
The short version: brine napa cabbage in salt for about two hours, rinse it well, then mix it with a blended pepper paste of gochugaru, garlic, ginger, and a few aromatics. Pack everything into a jar, let it ferment at room temperature for a few days, then move it to the fridge once it hits the level of tang you like.
For the full step-by-step instructions, jump down to the recipe card at the bottom of this post!

Tips for How to Make Kimchi
Rinse the cabbage thoroughly. Under-rinsed cabbage will make your finished kimchi too salty. Taste a piece before moving on, it shouldn’t taste overtly salty, just well seasoned.
Use gloves when mixing. Gochugaru stains and lingers on skin. A pair of food-safe gloves saves your hands the cleanup and the smell.
How to serve kimchi
Kimchi is endlessly versatile once it’s ready. Stir it into kimchi fried rice for a quick weeknight meal, or use it as the base for a comforting bowl of Korean kimchi soup. It also works folded into cauliflower fried rice for a lower-carb spin, or served simply as a side dish alongside any rice-based meal, the way it’s traditionally enjoyed in Korean cuisine.

How to Make Kimchi

Ingredients
- 1 large head napa cabbage, 3 to 5 lbs, 1.3 to 2.2 kg
- ¼ cup non-iodized salt, 60 g
- ¼ to ½ cup gochugaru, Korean pepper flakes, depending on your spice tolerance, 30 to 60 g
- 7 to 10 cloves garlic
- 3 to 4 inches ginger, 7½ to 10 cm
- 1 tsp sugar
- 3 to 4 Tbsp water, 45 to 60 mL
- Optional: 3 Tbsp miso paste
- 2 carrots, cut into strips, or 8 oz daikon radish
- 4 green onions, cut into 1-inch pieces
Instructions
- Sterilize: Wash your hands well before every time you touch the ingredients. Wash all supplies with hot water.
- Brine: Cut 1 large head napa cabbage into large chunks, then rinse well. Place in a large bowl and cover completely with ¼ cup non-iodized salt, working the salt between all the leaves. Let sit for about 2 hours, massaging and turning the cabbage every 30 minutes, until cabbage has wilted down. When finished, drain and rinse the cabbage very well (until a torn-off piece no longer tastes overly salty). Squeeze out excess water.

- Flavor: While cabbage is in the brine, add the ¼ to ½ cup gochugaru, 7 to 10 cloves garlic, 3 to 4 inches ginger, 1 tsp sugar, and 3 to 4 Tbsp water* to a clean food processor. If desired, add miso paste as well (for umami taste). Blitz until smooth.

- Mix: Combine the well-rinsed cabbage, pepper paste, 2 carrots (or daikon radish), and 4 green onions in a large bowl, mixing well with clean hands (you may choose to use gloves here to prevent your hands from smelling).

- Ferment: Pack the mixture into clean glass jar(s), pressing down so that it’s submerged by the juices and there are as few air pockets as possible. Leave at least an inch of free space at the top of the jar, then seal shut with a lid. Set the sealed jar on a plate or bowl (to catch possible spills), and place somewhere room temperature and out of direct sunlight, letting it ferment for 2 to 5 days.
- Upkeep and storage: Check on the kimchi everyday, pushing the cabbage down with clean fingers or a spoon to release gasses and prevent leaks. It's done when the taste is slightly sour and cabbage is a bit soft (depends on your taste – longer fermentation will result in a more sour, less crunchy kimchi). When finished, store in the fridge to stop the fermentation process.
Notes
Nutrition
Nutrition information calculated by Sarah Bond, degreed nutritionist.
 did you make this?Leave a comment below and tag @liveeatlearn on social media! I love seeing what you’ve made!
More Favorites from Live Eat Learn
Serving ideas
Kimchi is great served on its own as a side dish of sorts, but you can also use it as a condiment or topping on a bunch of recipes! Here are our favorite ways to use kimchi, from Korean cooking to unique twists:

Kimchi Tempeh Tacos
20 minutes

Loaded Kimchi Fries
15 minutes

Kimchi Soup Recipe | Kimchi-Jjigae
30 minutes

15-Minute Kimchi Fried Rice
15 minutes

Questions?
Hi, friends! Sarah here, food scientist, nutritionist, and creator if this easy kimchi recipe! If you have any questions, just leave a comment below. I personally answer comments and questions every weekday!




Hi Sarah, can I skip the sugar on the recipe? Thank you!
The sugar here is actually to “feed” the yeast that make this fermentation happen! Which means you won’t actually be consuming it as it will mostly be gone by the time your kimchi is ready 😀
Great recipe! Thank you. Looking at adding the liquid from a good quality s small container bought at a natural store so I make sure it ferments. I really like this recipe. This is a miracle food!
Ms Sarah: This looks great and not burying it underground is much more convenient! .^_^.
* Your readers should keep in mind that worcester sauce frequently has anchovies / anchovy paste. Even many home-made recipes call for it.
* I have not tried this, but Olive Nation sells worcester POWDER, no anchovy. (They also sell gochugaru chili flakes, if anyone needs a source. Beautiful color!)
Can’t wait to try this.
Thank you for this recipe! The Korean meal, kimchi, usually contains Korean radishes, Napa cabbage, and various flavors such as ginger, garlic, pepper, and fish sauce. Drying and salting are the oldest food conservation methodology’s most well-known practices. Likewise, the most common way of making kimchi includes tenderizing the vegetables to draw out the water.
The recipe said pour the brine off the cabbage…so now it’s gone. Then it said keep pressing it down in the juices in the jar. What juices..you have poured them off before putting in jar?
That brine you pour off in the beginning is very salty so you don’t want that in the finished kimchi. As you add the remaining ingredients, the cabbage will continue to release water and the juices should come back!
Hi I have tried to make kimchi before but it went mouldy, I’m looking at getting a fermentation jar with a book that is a beginner guide to fermentation and a couple of airtight boxes to store the kimchi in. Is it worth getting a weight to hold the kimchi submerged? I’ve seen someone on Instagram use one for making Chung. Thank you
The weight is definitely worth it! Keeping the kimchi submerged will GREATLY help to prevent mold.
Was disappointed with this recipe. I really wanted to react it as I’ve found one in a supermarket that I love but there’s a lot more liquid in it. This one was so dry.
The first couple of times I made kimchi it came out too dry. I just rotated the jar everyday to keep it all moist. It still came out great, without mold, just not enough juice. A lot of the juices come from fish sauce, which is a salty liquid. So now I add a quarter cup of water with a half tablespoon of non-iodized kosher salt because I use the juice in other recipes. I also don’t squeeze the extra water out of the cabbage before mixing and packing. You can certainly add more water, just keep in mind that you might want to add a tad more of the flavorful ingredients so that it doesn’t come out tasting weak, unless you like it mild. After mixing everything together, eat a small piece of cabbage to get an idea of what it will taste like and make sure everything is nice and wet before packing. Add more of whatever you want to your taste. Keep in mind that the flavors will get stronger and more sour during fermentation.
Can the kimchi be fermented in quart size plastic containers with screw on lids, or do they need to be glass jars?
It should really be glass to prevent chemicals in the plastic from leaching into the kimchi (plastic is also porous and can house bacteria). Unless it’s specifically “brew safe plastic” then I would avoid it.
i have a question about your steps above:
First you said to DRAIN AND RINSE cabbage…squeezing out the excess water…
but then in step 3, say: while the cabbage is sitting in the brine… what is the brine if you drained and rinsed it?….
“When finished, drain and rinse the cabbage very well (until a torn-off piece no longer tastes overly salty). Squeeze out the excess water.
Step 3: Flavor it up
While cabbage is sitting in the brine,…”
Hi Jinji! Thanks for pointing out the confusion. I meant that while the cabbage is sitting in the salt brine during that 2 hours, you can multi taask by making the paste. Then, when the cabbage is done brining and you have rinsed it, you’ll be ready to go for step 4!
This Kimchi recipe is fantastic! I’ve used it as a guide for many months now. I do add 1/2 chopped onion to the ginger garlic blended mix and I omit the green onion and carrot, just my preference. I play around with it from time to time as well. I’m making it today and trying it with Miso paste since I have some on hand. I’ve added an apple pear before for added sweetness, that worked out beautifully. Thank you so much for helping a beginner learn how to make Kimchi. I’ve shared this recipe on your site to many other people that have tried my Kimchi and loved it.
I’m so happy to hear this, Amy!! Those modifications sound amazing – nice to see you making it your own! 😀