
This post contains affiliate links.

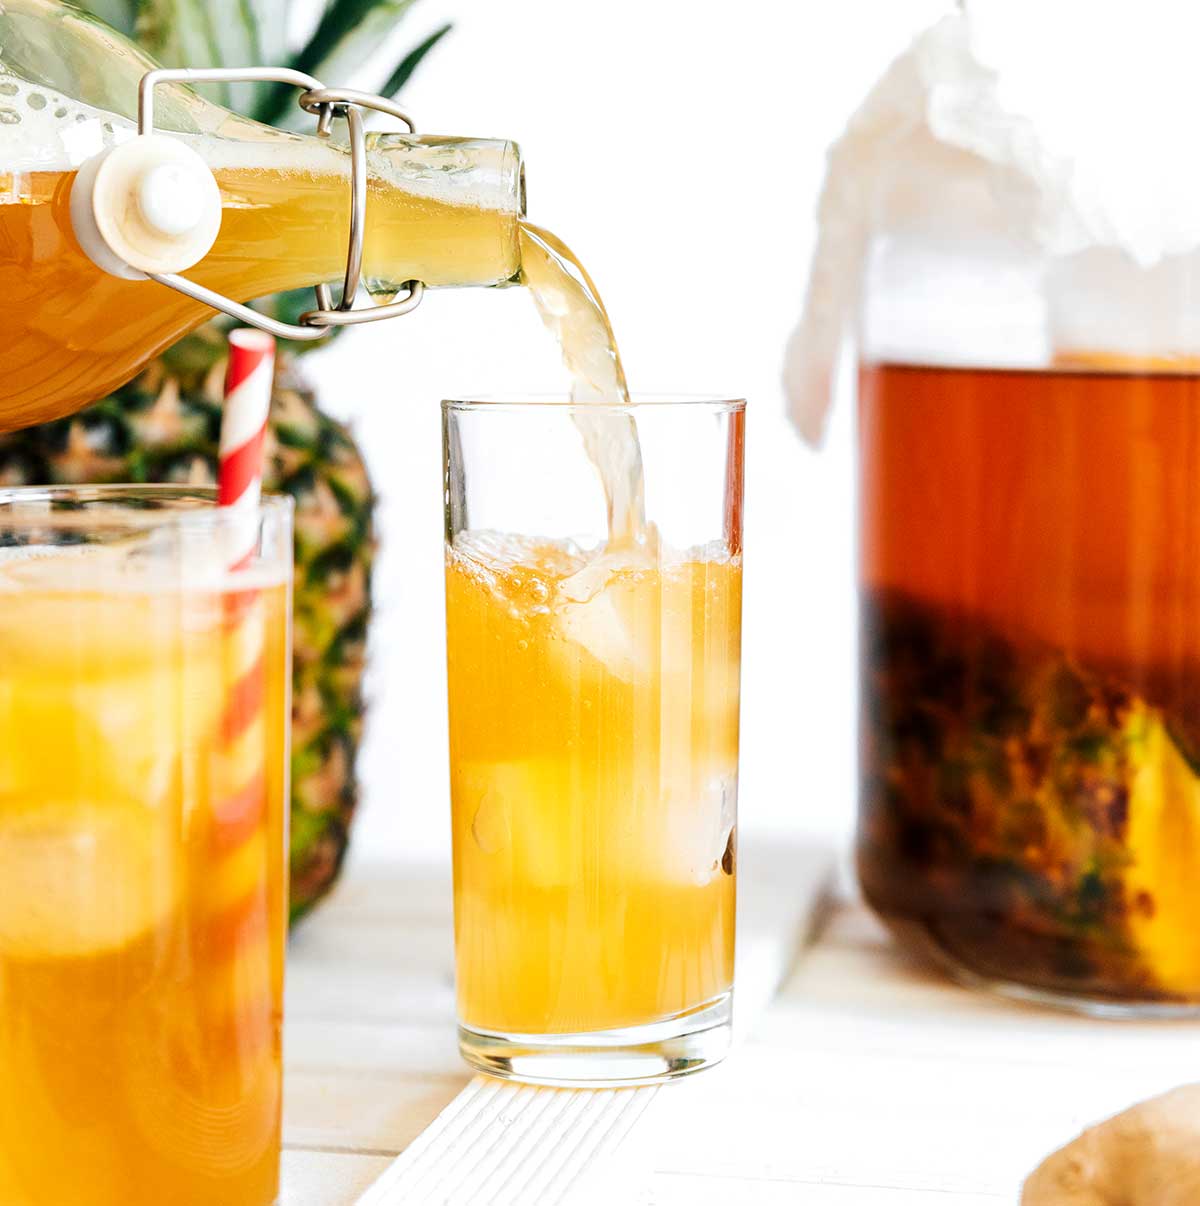
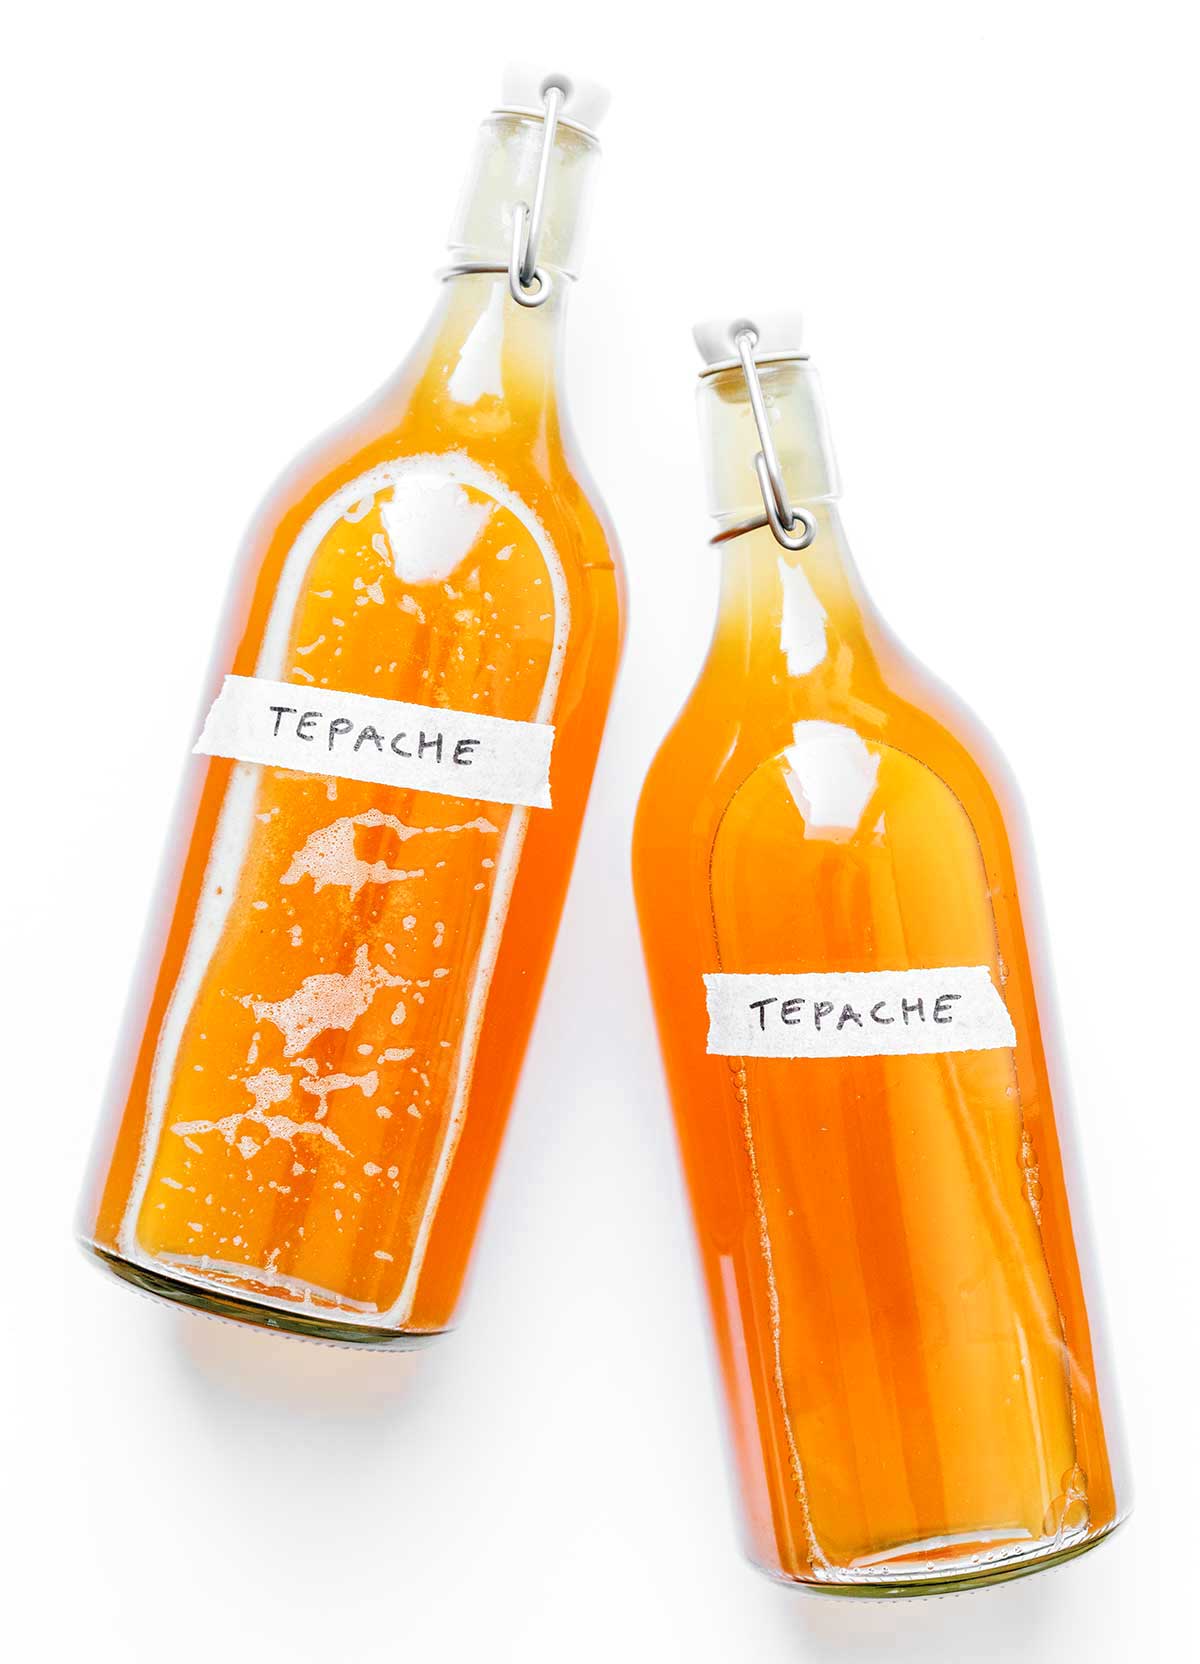
This foolproof guide will teach you how to make pineapple tepache, a fizzy fermented Mexican drink made from just 3 ingredients!
This pineapple tepache is the result of countless test batches and fine-tuning—and trust me, this is the only recipe you need!
Here’s how it works: Yeast lives virtually everywhere, and it can be harnessed to make tasty things! Yeast on flour makes sourdough, yeast on tea makes kombucha, and yeast on pineapple skin makes…tepache!
Simply feed it what it loves (sugar) to create both flavor and carbonation. Once brewed, tepache ranges from cider-like and sweet to more yeasty-like. Basically, the result is a delicious fermented pineapple drink that falls somewhere between soda, kombucha, and beer.
Reader rating
Tepache Ingredients
Jump to the recipe card for all the measurements. This is just an overview!
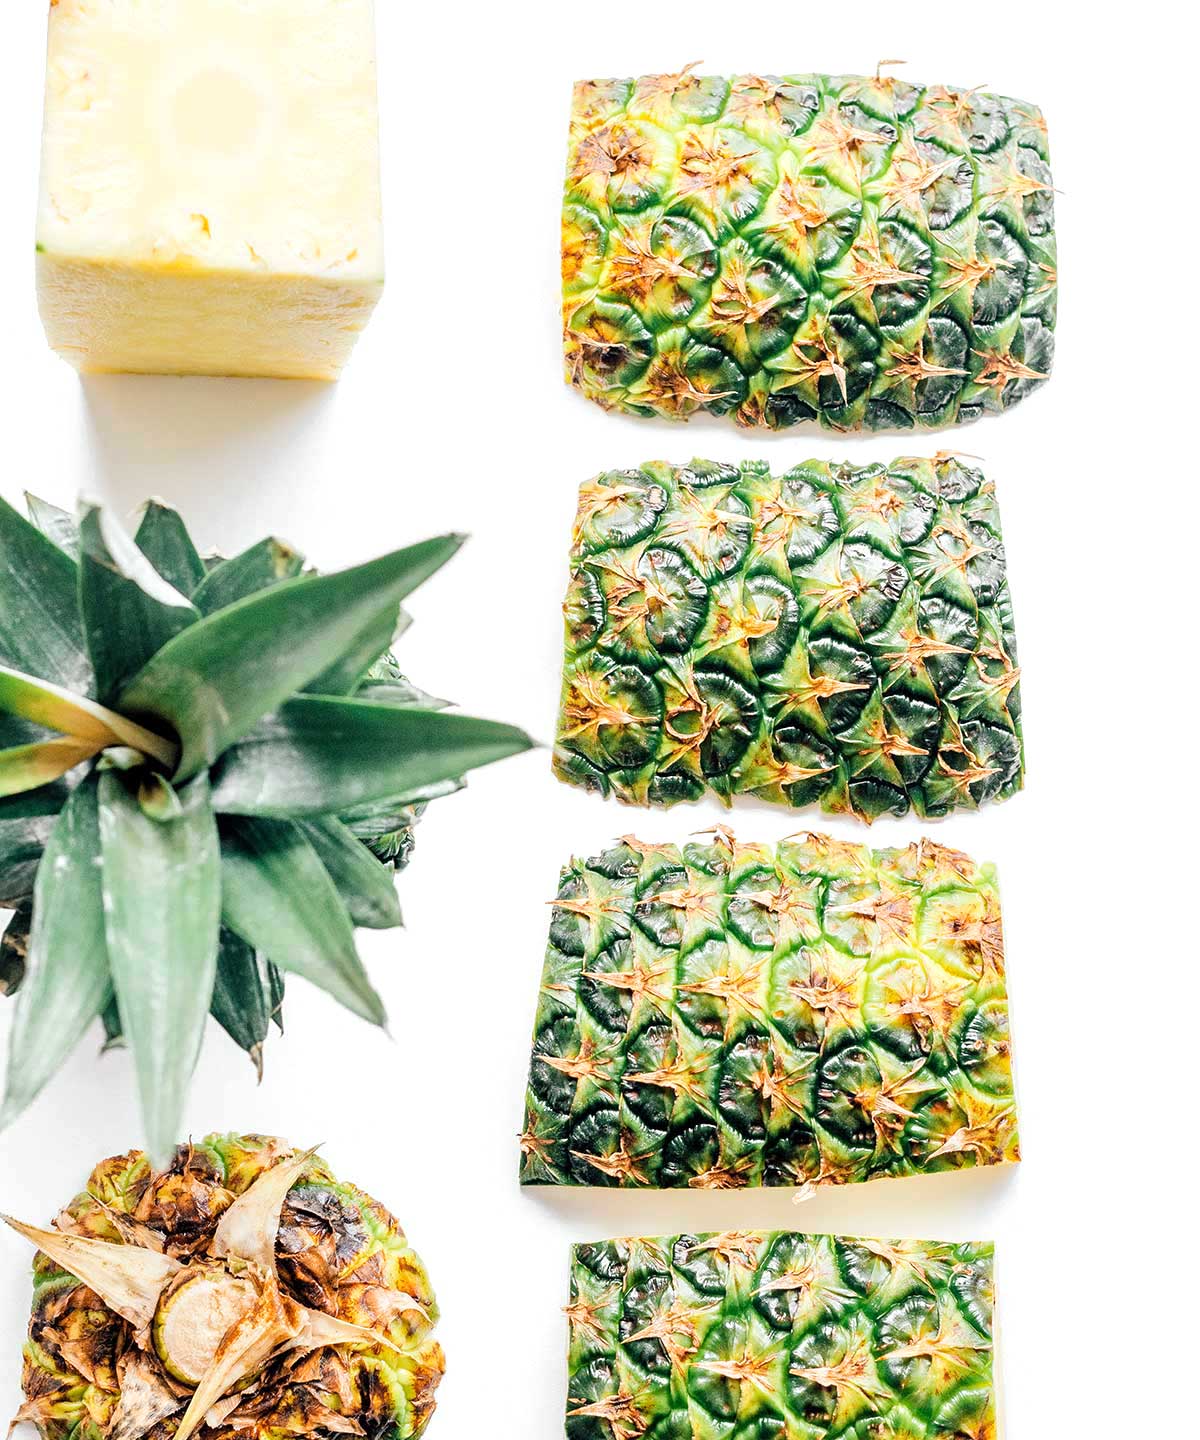
- Pineapple Peel: Since we’re using the peel, aim for an organic pineapple. Pineapples are a pesticide-intensive crop, and you don’t want that in your tepache!
- Sugar: Use either piloncillo (the traditional Mexican sugar) or light brown sugar.
- Water: No need to overcomplicate things – tap water is just fine here!
Tepache Contains Alcohol
Tepache has an alcohol content of about 2% ABV, though this can be less if you let it ferment for a shorter time or more if you let it go longer or are in a warmer climate.

Watch The Pressure
Please note that carbonating tepache does involve pressure buildup inside the bottles, which is why I recommend bottles specifically made for fermentation. As with any second fermentation, there is a risk of bottles exploding, so check on your bottles regularly and move them to the refrigerator when done.
Flavor Variations
Since pineapple tepache is so unbelievably versatile, you can make it your own by adding more flavors to the brew! Here are some ideas:
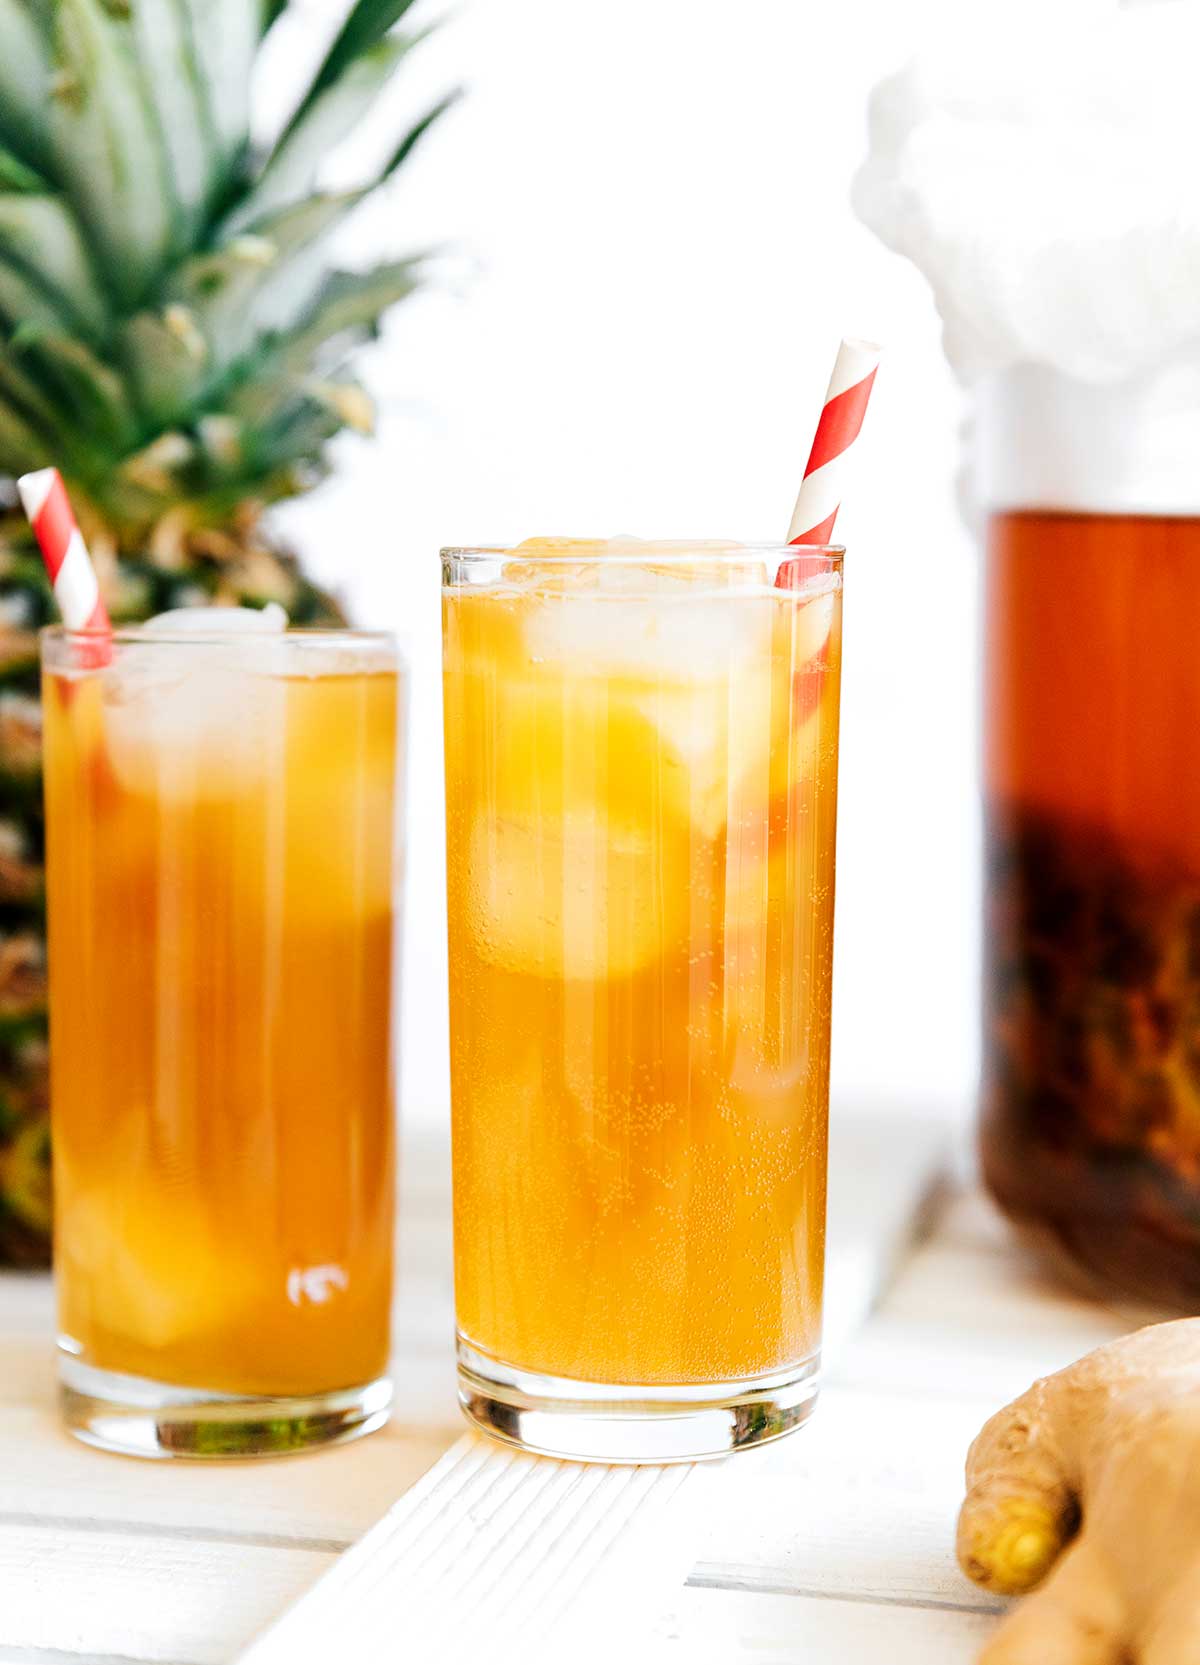
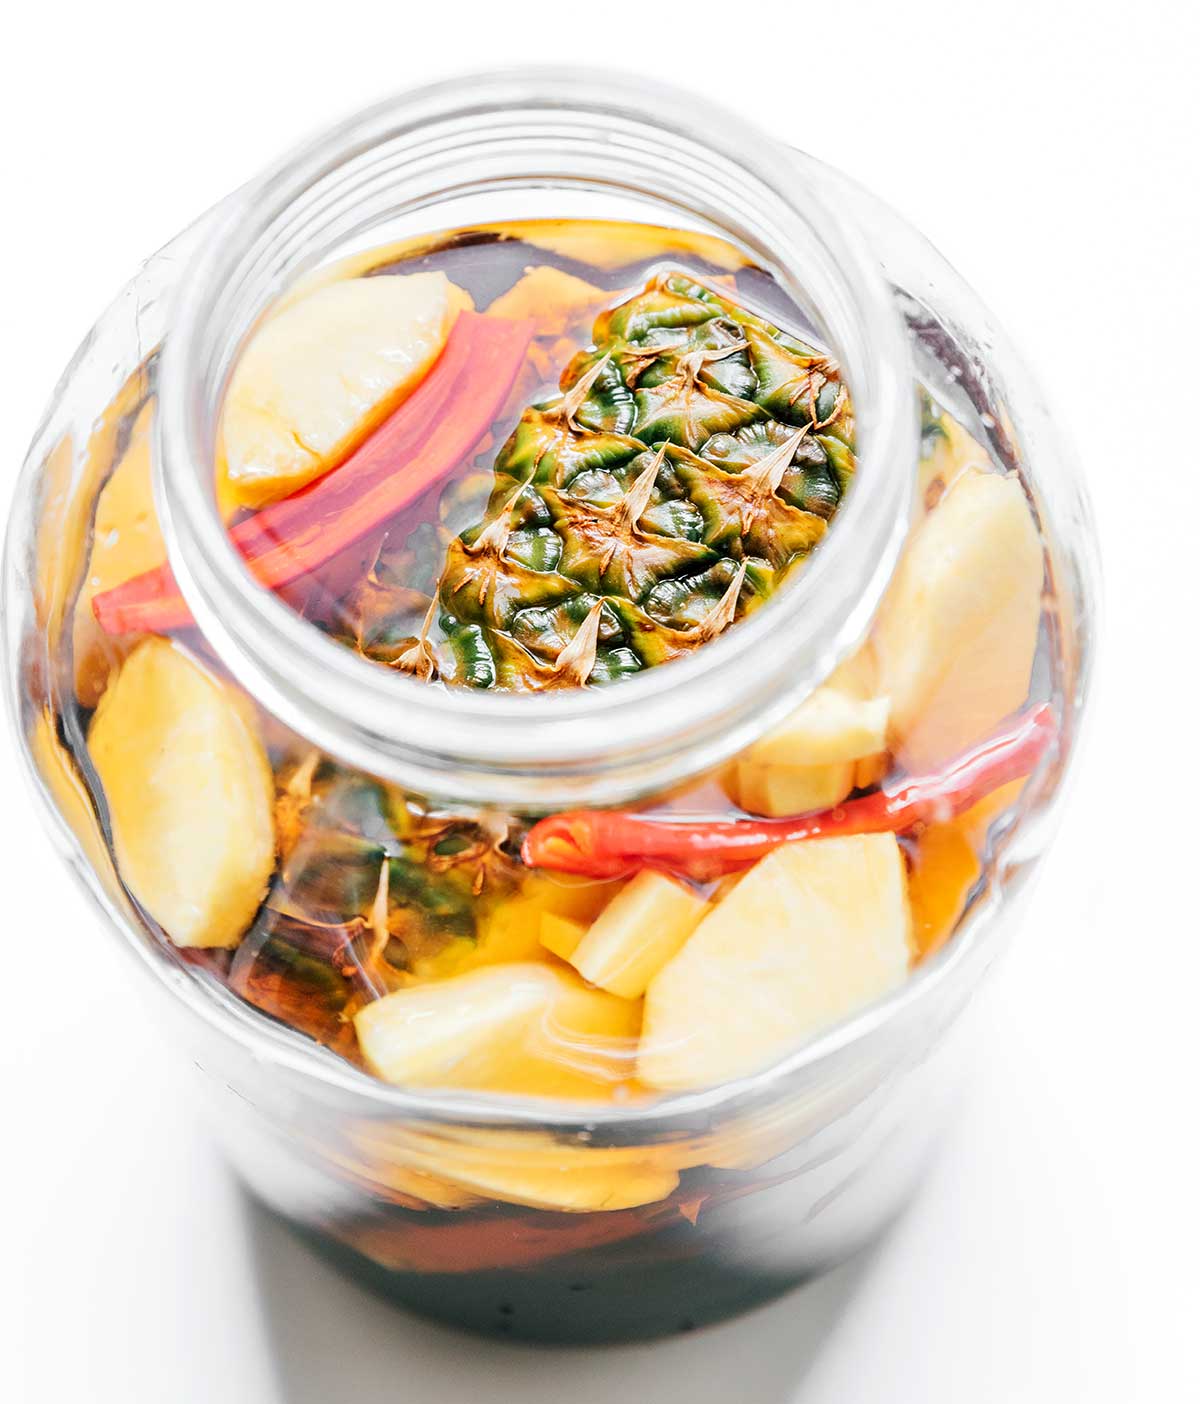
To the first fermentation, add 2 thumbs of fresh sliced ginger (highly recommend), whole cloves, cinnamon sticks, chilis, pineapple flesh, or even diced mango. Just be sure all ingredients are fully submerged to prevent mold.
To the second fermentation, you can add virtually any fruit juice or fruit puree. Get some ideas from our kombucha flavors!
Why isn’t my tepache bubbling?
If your tepache isn’t bubbly, it is likely because the yeast isn’t working well. This could be because you washed or submerged the pineapple in hot water (which would kill the yeast) or because your pineapple wasn’t ripe enough (meaning there wasn’t much yeast on it to begin with). If your tepache does not bubble in the first fermentation, consider starting over. If it did bubble in the first but not in the second fermentation, add a little sugar or juice to the bottles to give the yeast something to eat.

Foolproof Pineapple Tepache (Step-By-Step)
Ingredients
- 1 ripe pineapple
- 1 cup light brown sugar, 200 g, or 1 large cone piloncillo
- 8 cups water, 1.9 L
- Optional: 2 thumbs sliced fresh ginger, ½ red chili, 1 cinnamon stick, 3 whole cloves
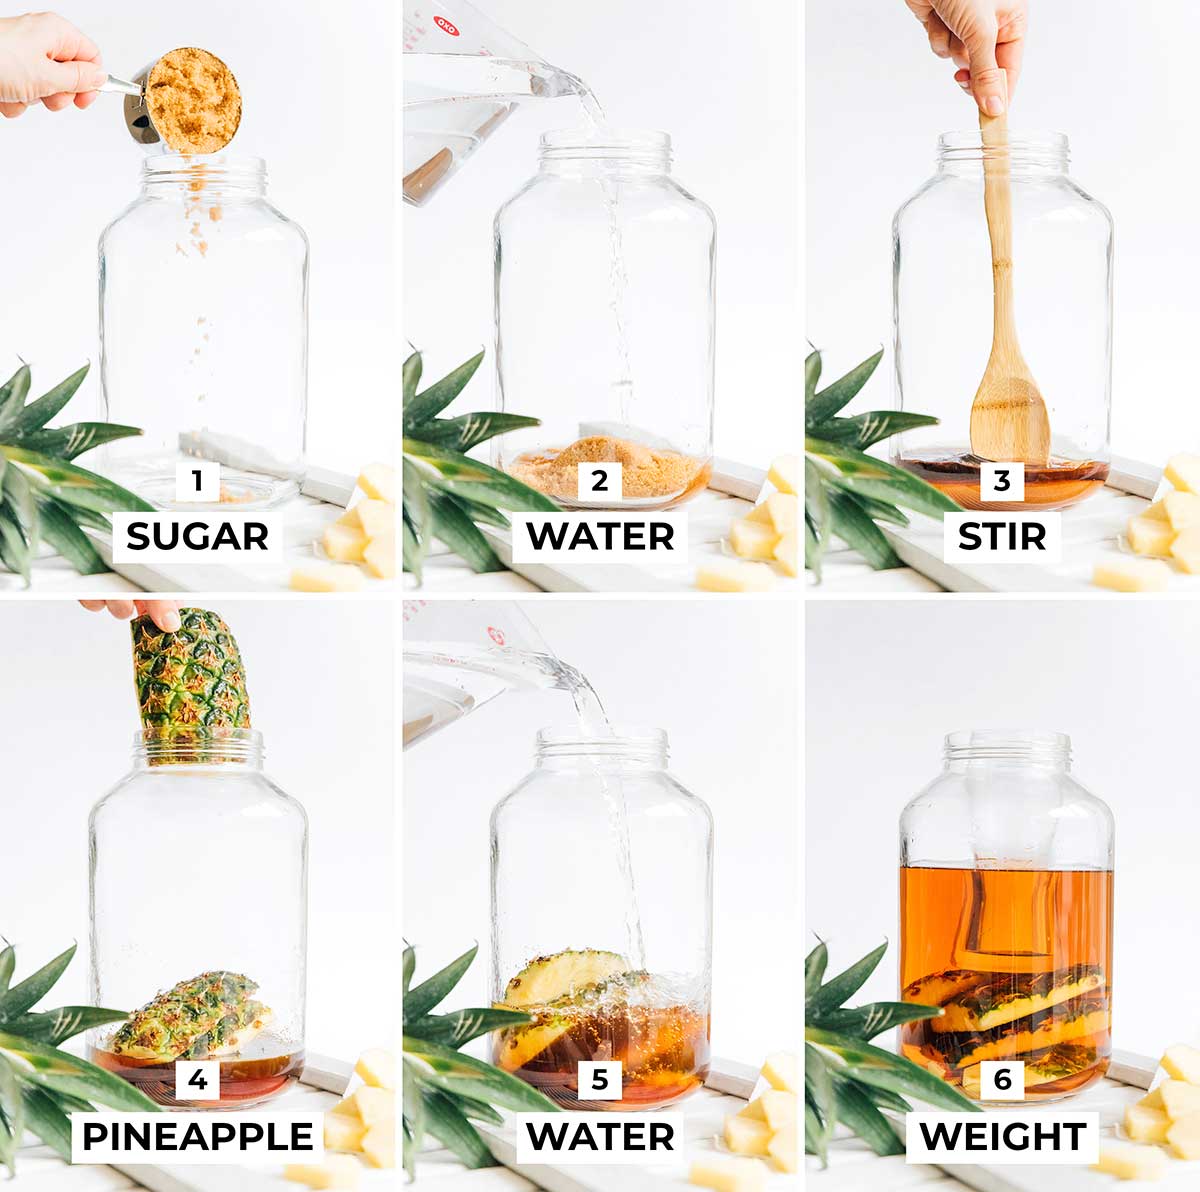
Instructions
- Cut: Remove the crown and base of the pineapple, then rinse the body of the pineapple with cool tap water to remove potential pests or dirt. Cut the peel from the pineapple in big chunks, leaving about ½ inch of the pineapple flesh on the peel.
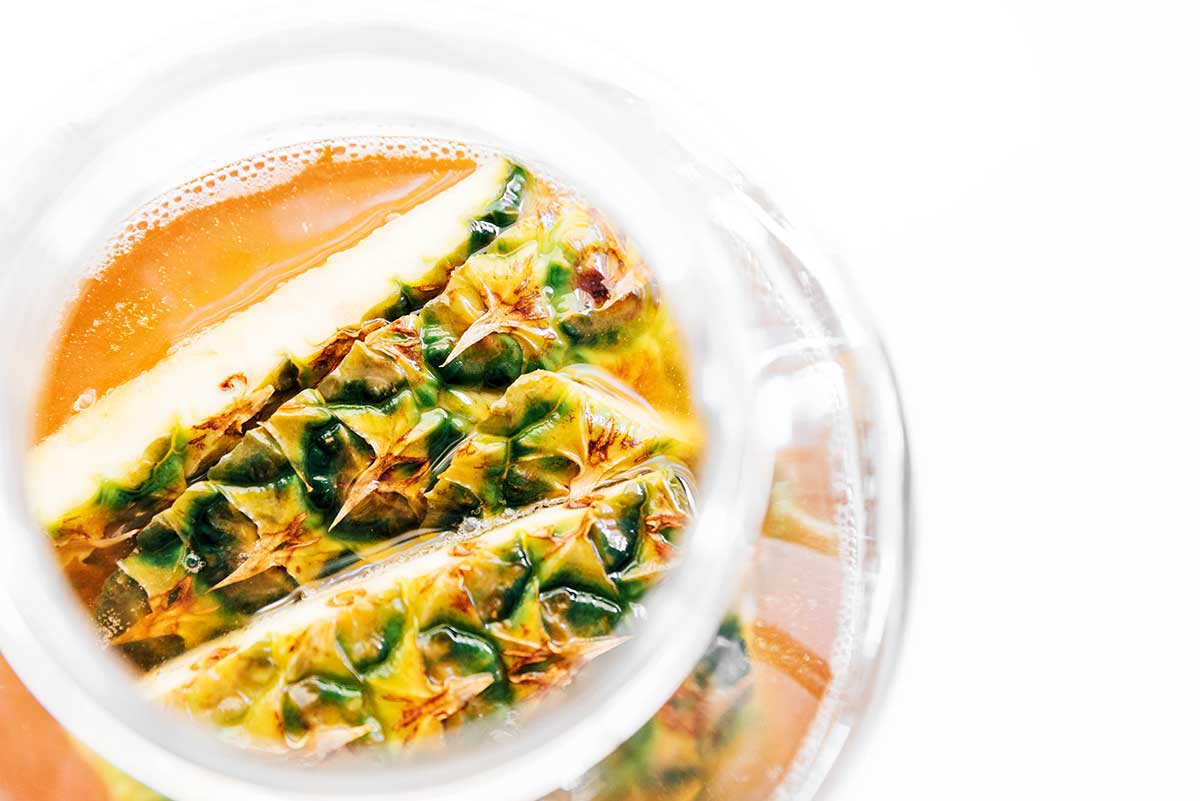
- Assemble: Add sugar (or piloncillo) and 1 cup of the water to a clean, large glass or ceramic jar, stirring well to dissolve sugar. Add optional flavors and cover with pineapple rinds, then add remaining water. Submerge all ingredients in the liquid to prevent mold by weighing it down using either a glass, ladle spoon, or fermentation weight.
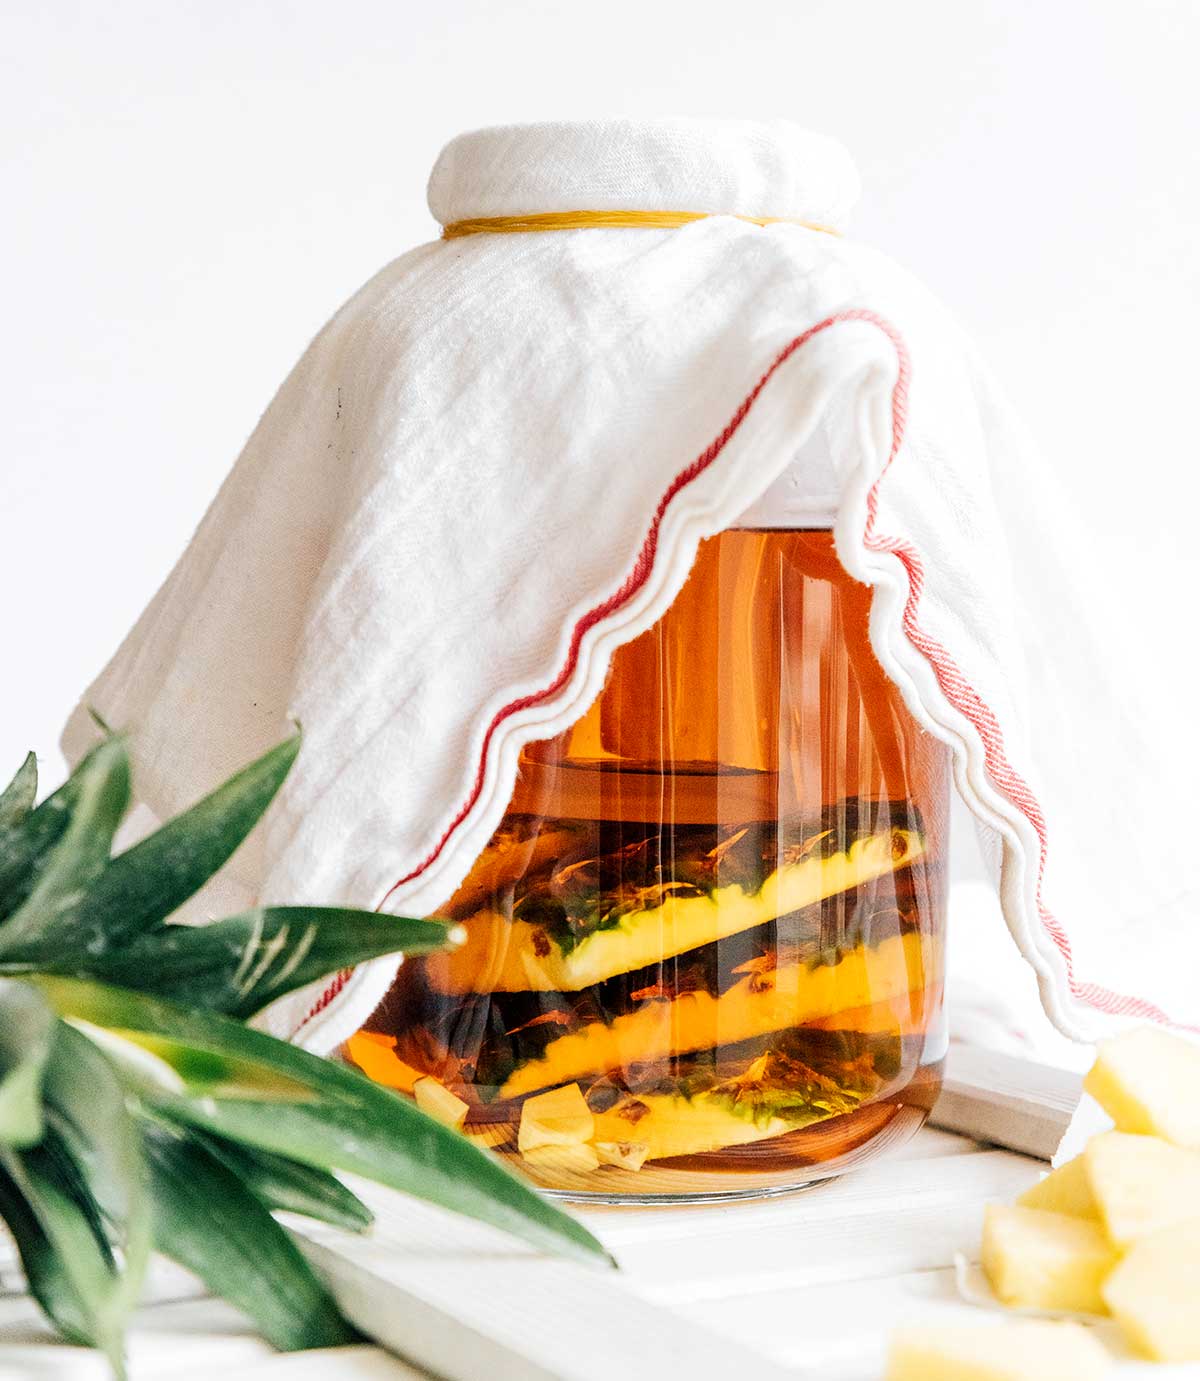
- Ferment: Cover with a clean dish towel or a few layers of paper towels, then secure with a rubber band. Set somewhere dark and room temperature (ideally 75-80°F, 24-26°C), letting it ferment for 1 to 3 days.
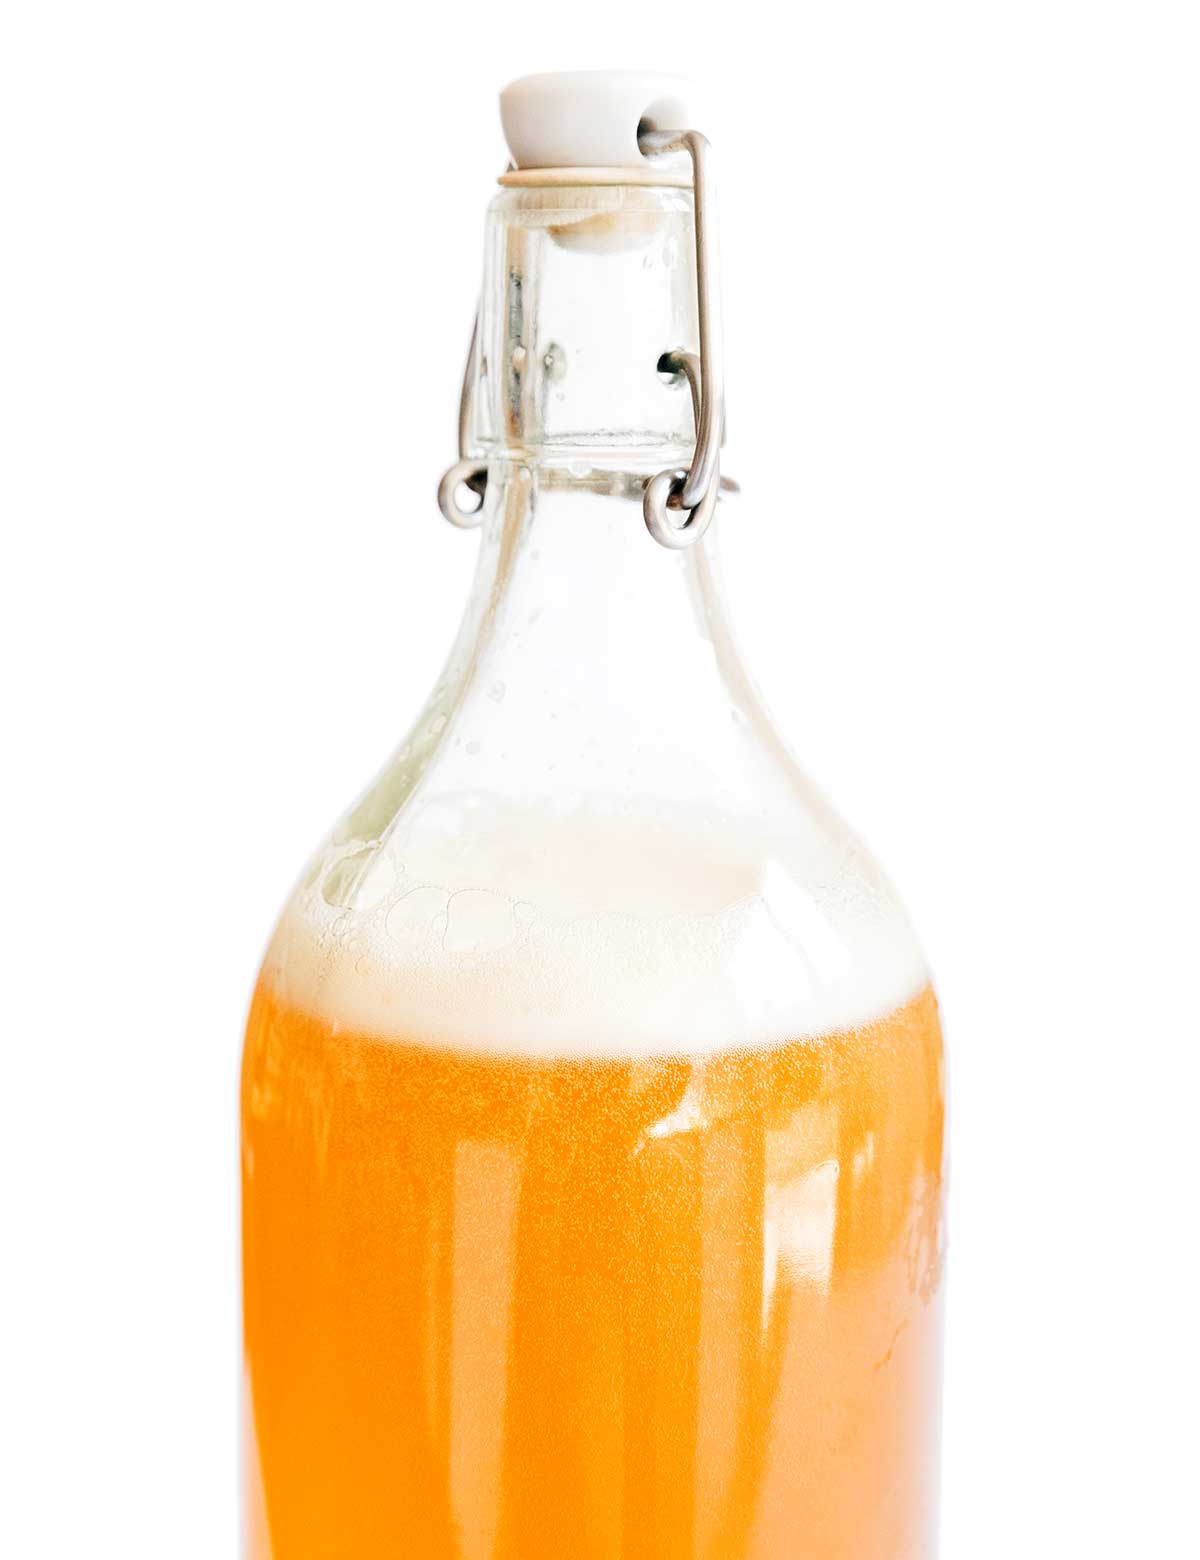
- Drink or Bottle: The tepache is finished when you see many small bubbles on top and it tastes how you want it to (test by drawing some out with a paper straw, using your finger to keep the tepache in the straw). Either refrigerate and drink the tepache as is, or carbonate it in the second fermentation.
- Second Fermentation (Optional): Funnel the liquid into fermentation-grade bottles, leaving about 2 inches free at the top of each bottle. Set somewhere room temperature and dark, then allow it to ferment for another 1 to 3 days. After 24 hours, pop open a bottle to see how carbonated it has become and to gauge how much longer they will need. When the tepache has reached a carbonation level that you like, transfer the bottles to the refrigerator to stop the fermentation.
Notes
Nutrition
Nutrition information calculated by Sarah Bond, degreed nutritionist.


Simple but thorough for any level beginner to follow!
Can I put a lot of pineapple peel in one jar? And how many grams of sugar will be needed?
Do the peel of 1 pineapple and 200 grams of sugar 🙂 You can add a little more peel if you have it, just be sure everything is submerged in the water.
Thank you for the well written recipe; especially the options with mango or other fruit for different flavour.
Super glad that I found this! I have found that when making tepache that after 2nd fermentation that my tepache reaches a very fresh beer like level of carbonation that is almost my target. The problem or my question is that I have noticed after it reaches this stage, I put it in the fridge and then when I open it, the carbonation level has regressed almost to a soda like level of carbonation. Is it losing its carbonation when I open it to test at the end of 2nd fermentation? would it keep its carbonation if I did not open/burp it to test before refrigerating it?
Yep it would probably keep more carbonation if you didn’t burp it! Chilling it does tend to make it slightly less carbonated though.
Hi. By doing the 2nd fermentation.. does the alcohol content increase?
Yes, the longer you leave it to ferment (whether in the initial or the second fermentation), the more alcohol will be produced.
Tried to read through the comments for this answer, but did not see it yet. I am just trying this recipe. After first fermentation, it does taste pretty delicious. But I do want the carbonation. So I’m doing my second fermentation now. I only have two of the bottles to use. So as a result, I have about a quart left of first fermentation. If I put that in the refrigerator for now, can I pull it out later for second fermentation in the bottles once they’re emptied? If not, I will just consume it as is. Or if I’m understanding another comment correctly, I can save it to boost another fermentation with pineapple meat and/or skins. Is that correct? I love this recipe by the way! I also have a bit of a tip. The only thing I had to put that much liquid into for the first fermentation was a mason jar type drink dispenser. So when the first fermentation was done, I just had to open the tap at the bottom into a strainer over a bowl. That made it extremely easy to stain it! I love to improvise!
You have it all correct! You can either pop it in the fridge then do the second fermentation later, drink it as is, or use it to boost another batch.
And thanks for the tip on the dispenser! I do that for kombucha brewing and it’s SUCH a time/mess saver! 😀
This was amazing and similar to making kombucha or ACV.
Instead of using a weight, I took a tip from making ACV and used a plastic or wooden spoon to push down the pineapple each day and then recover until it was done.
This is my third time making this recipe. First time, wonderful! Second time, I messed up with additives I think. I didn’t like the flavor but it worked other than that. This time, the consistency is as thick as honey! Why is that? Do you know? Thank you!
Oh strange! It sounds like the yeast are just acting differently this time. Is the temperature different?
My 1st batch was delicious but the 2nd and 3rd batch turned to slime. ????
I’ve heard of this happening! It’s basically got an overgrowth of the wrong type of bacteria (pediococcus bacteria). Start a new batch with fresh peels and a clean container!
Kombucha lowers in sugar the older it gets so 8oz can go from 20g to 2 in a couple weeks. What about tepache?
Same process with tepache! 😀