This post contains affiliate links.

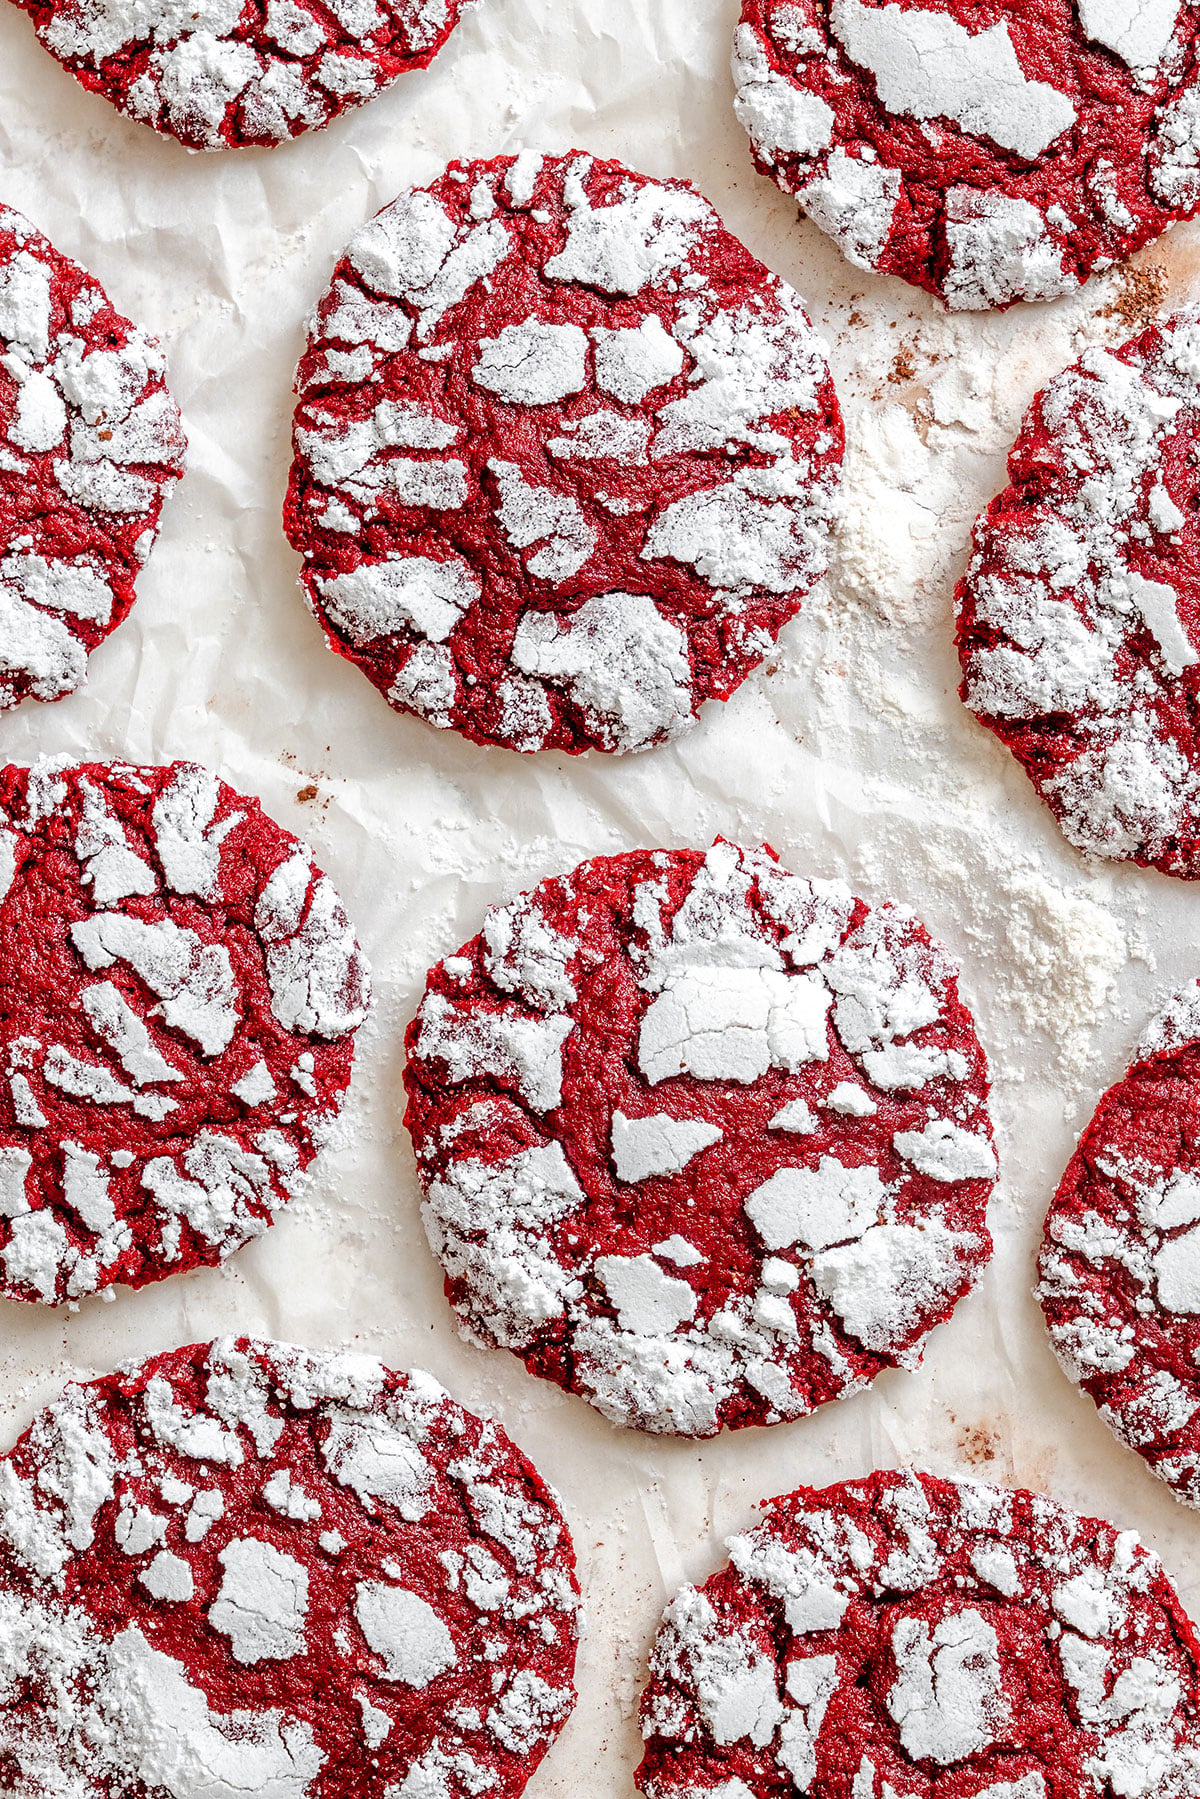
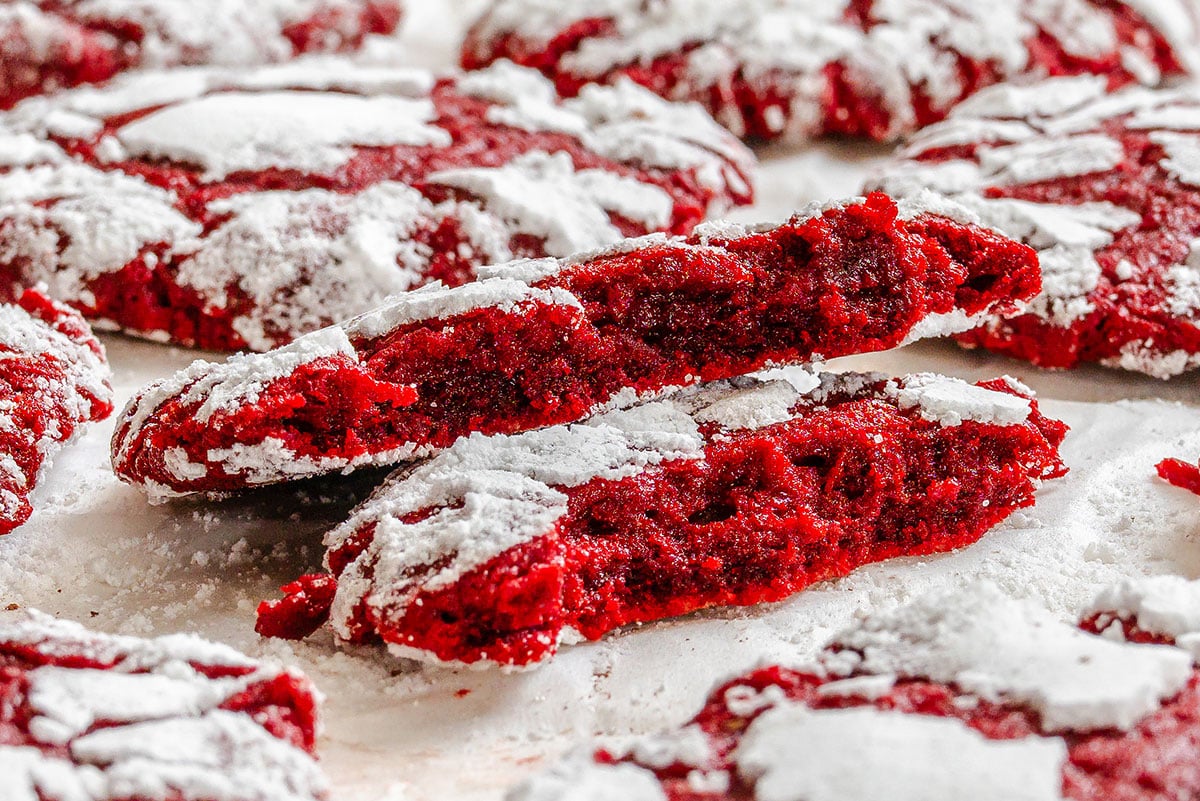
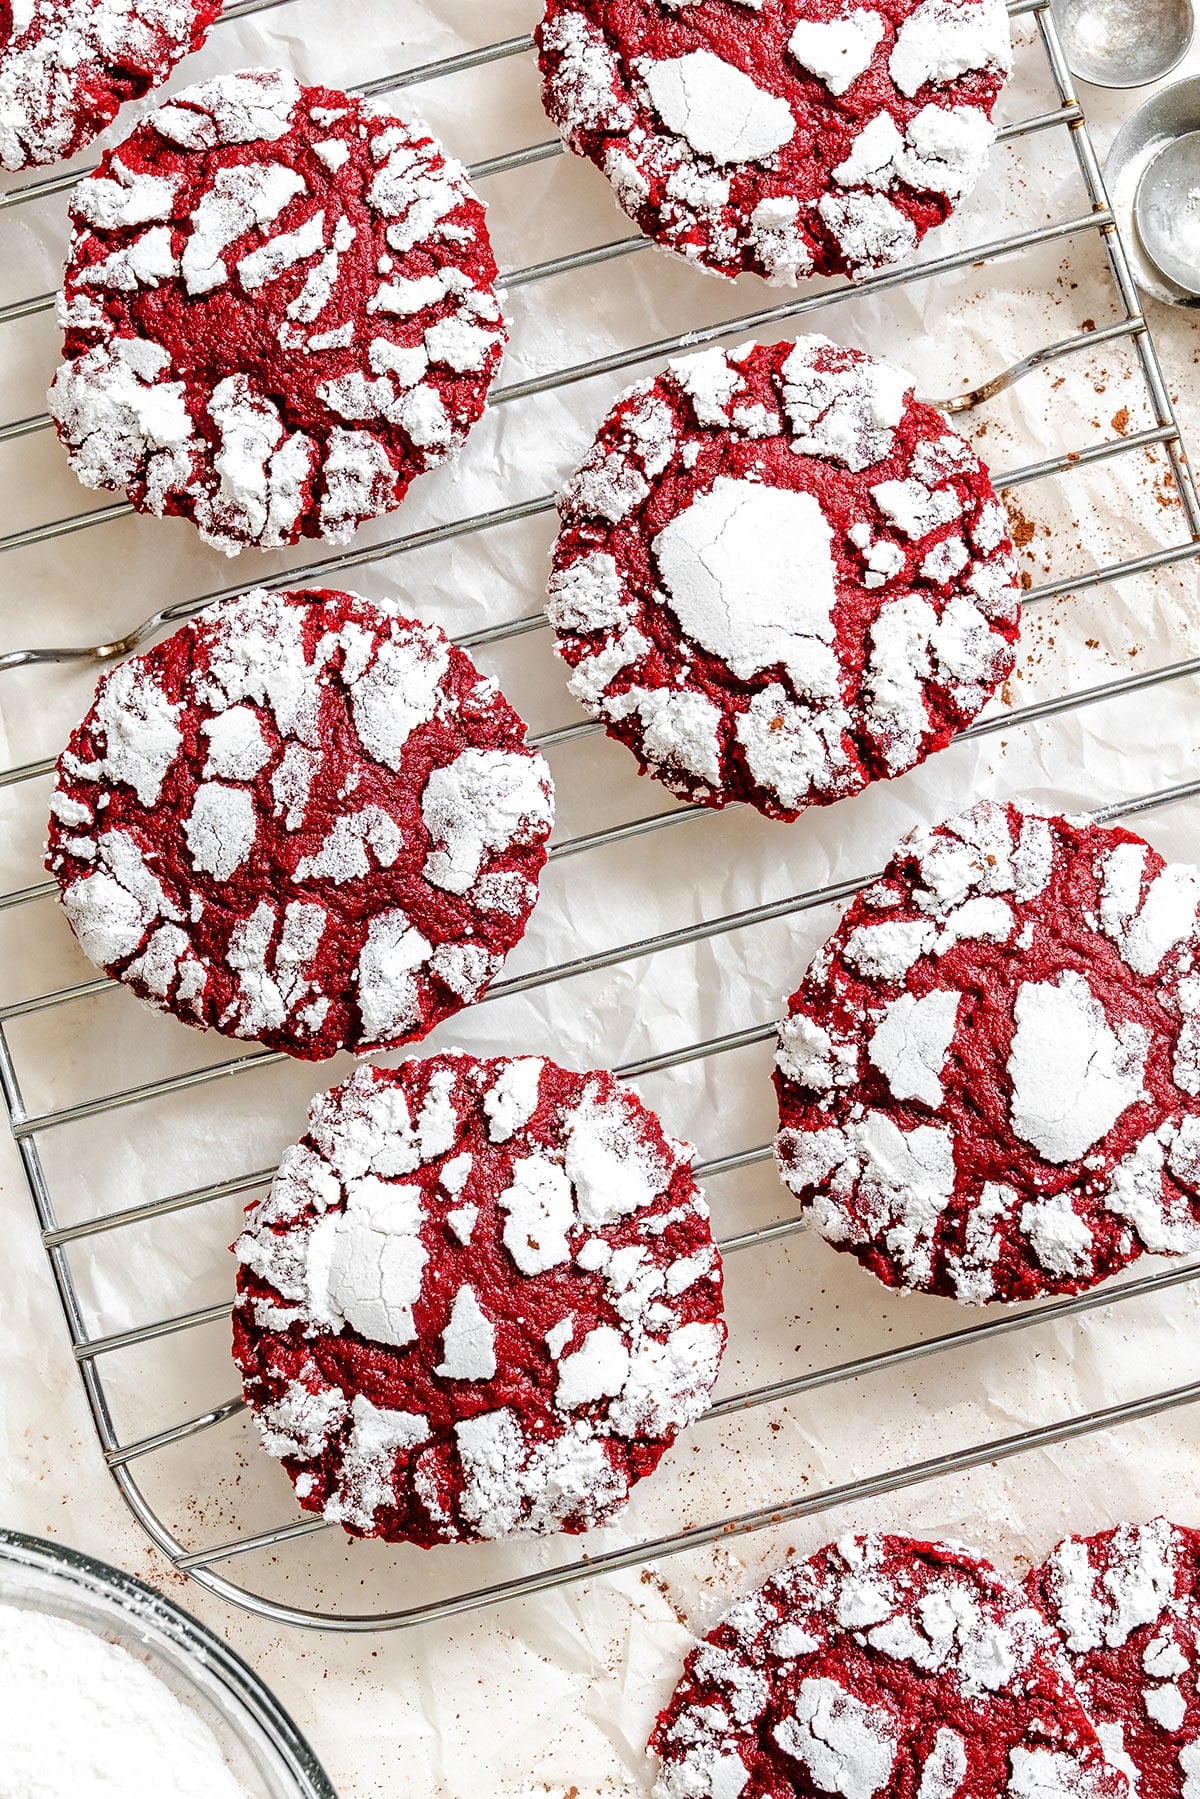
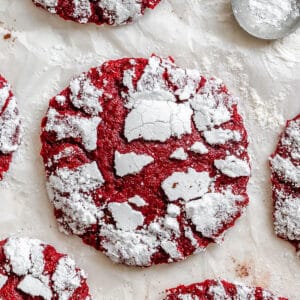
These vegan red velvet crinkle cookies are soft, chewy, and deeply chocolatey, with that signature snowy crackle on top. They’re completely dairy-free and egg-free, and still deliver the classic red velvet richness you expect from the original. Get ready to be obsessed!

These vegan red velvet cookies bake up beautifully every time (we tested this recipe in three of our team members’ kitchens) and make a stunning holiday or party cookie! Might I recommend dunking it in this 5-minute oat milk?
During development, our biggest goal was achieving that dramatic crinkle without the sugar melting into the dough. We tested different chilling methods, coating techniques, and dough consistencies until we landed on this variation. It results in a crisp white coating, fudgy center, and bold crackles.
You won’t even miss the eggs
- Striking crinkle pattern that actually stays white (whoop whoop!)
- Fully vegan without sacrificing texture
- An easy vegan holiday cookie to toss in your cookie boxes
tested, tested, and tested… again
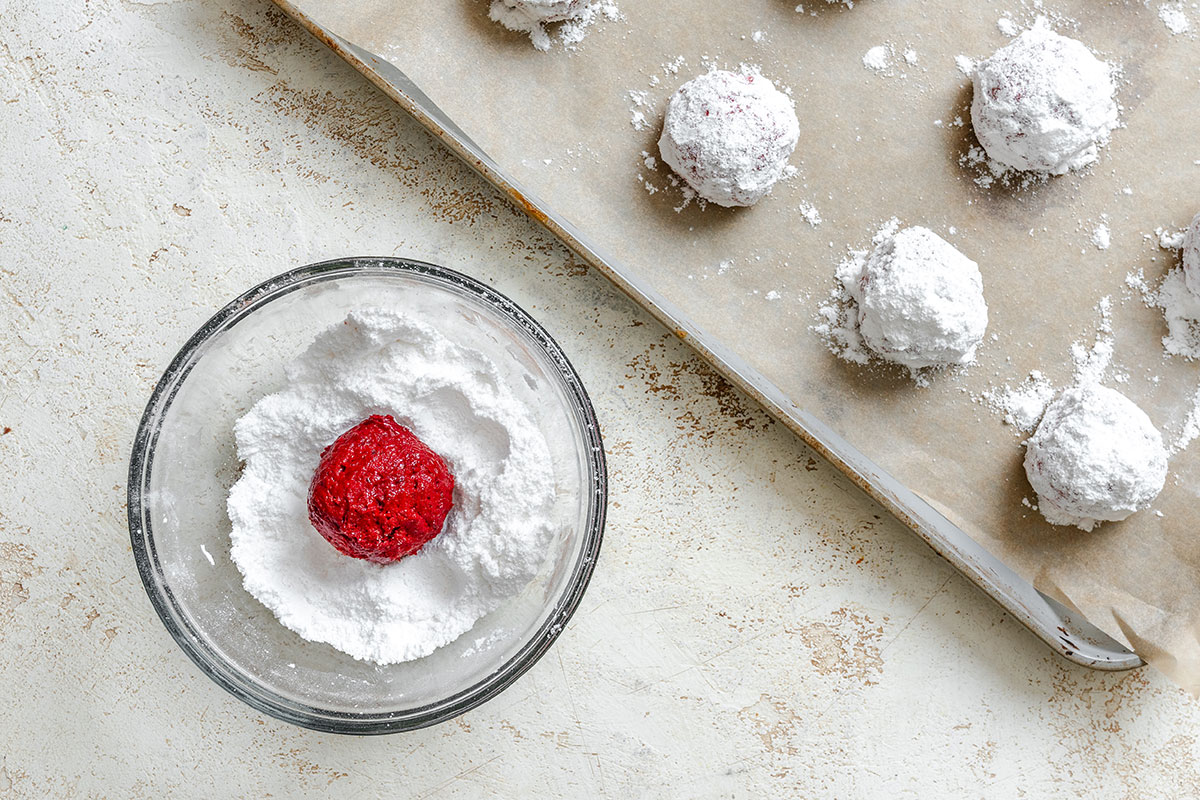
- Crinkle Coating Test: Rolling in powdered sugar alone caused the sugar to melt. While having a granulated sugar layer between the cookie and powdered sugar created a moisture barrier, keeping the powdered sugar dry and bright!
- Dough Chill Test: Chilled dough looked less crinkled and didn’t spread well. Room-temperature dough gave the best lift, cracks, and shine. We love a recipe that saves time and is still a soft and chewy red velvet cookie!
- Color Intensity Test: Gel food coloring provided deep, consistent red without altering the dough’s moisture levels. So just stay with me here and use standard food coloring, not a natural option like beet root powder, for these easy vegan Christmas cookies.

Key ingredients
Jump down to the recipe card for exact measurements.
- Flaxseed Meal: Our egg replacer of choice for crinkle cookies without eggs. It binds without drying and keeps the centers pleasantly chewy. Bob’s Red Mill is our go-to brand!
- Vegan Butter: Room-temperature butter creams properly with sugar, creating lift and a tender crumb. Miyoko’s or Earth Balance both perform well.
- Cocoa Powder: Just enough to deepen the flavor and color without turning these into chocolate cookies. Any natural cocoa works.
- Red Gel Food Coloring: Gel provides vivid color without thinning the dough. Start small, then adjust based on brand potency. Not all are vegan, so just double-check yours is.
- Granulated Sugar: The first coating layer. It prevents moisture from wicking into the powdered sugar, so the tops stay snowy white.
- Powdered Sugar: The final coating that creates those dramatic cracks during baking.
Food coloring varies
One of the issues people can have with red velvet crinkle cookies is that they aren’t red enough. The color will vary based on what brand of food coloring you use. We tested this both with restaurant-grade and with Betty Crocker food coloring gel. The results were the same for both of them. If the batter looks dull, just add a bit more red food coloring!
the key to perfectly baked cookies
Underbake them! The center will seem soft, even slightly underbaked. Whether you enjoy these as vegan Valentine’s Day cookies or as part of your holiday festivities, they’ll be just perfect when baked this way.
Vegan Red Velvet Crinkle Cookies
Ingredients
- 6 Tbsp hot water, 70 g
- 2 Tbsp flaxseed meal, 16 g
- 8 Tbsp unsalted vegan butter, room temperature, 112 g
- ¾ cup granulated sugar, 160 g
- ½ cup packed light brown sugar, 115 g
- 1 tsp vanilla extract, 5 mL
- 2 tsp red gel food coloring, adjust to desired color, potency varies
- 2 cups all-purpose flour, 250 g
- 5 Tbsp unsweetened cocoa powder, 25 g
- 1 tsp baking powder, 3 g
- ¼ tsp baking soda
- ½ tsp salt, 3 g
Coating
- ½ cup granulated sugar, 100 g
- ½ cup powdered sugar, 60 g
Instructions
- Prep: Preheat the oven to 350°F (175°C) and line a baking sheet with parchment paper.
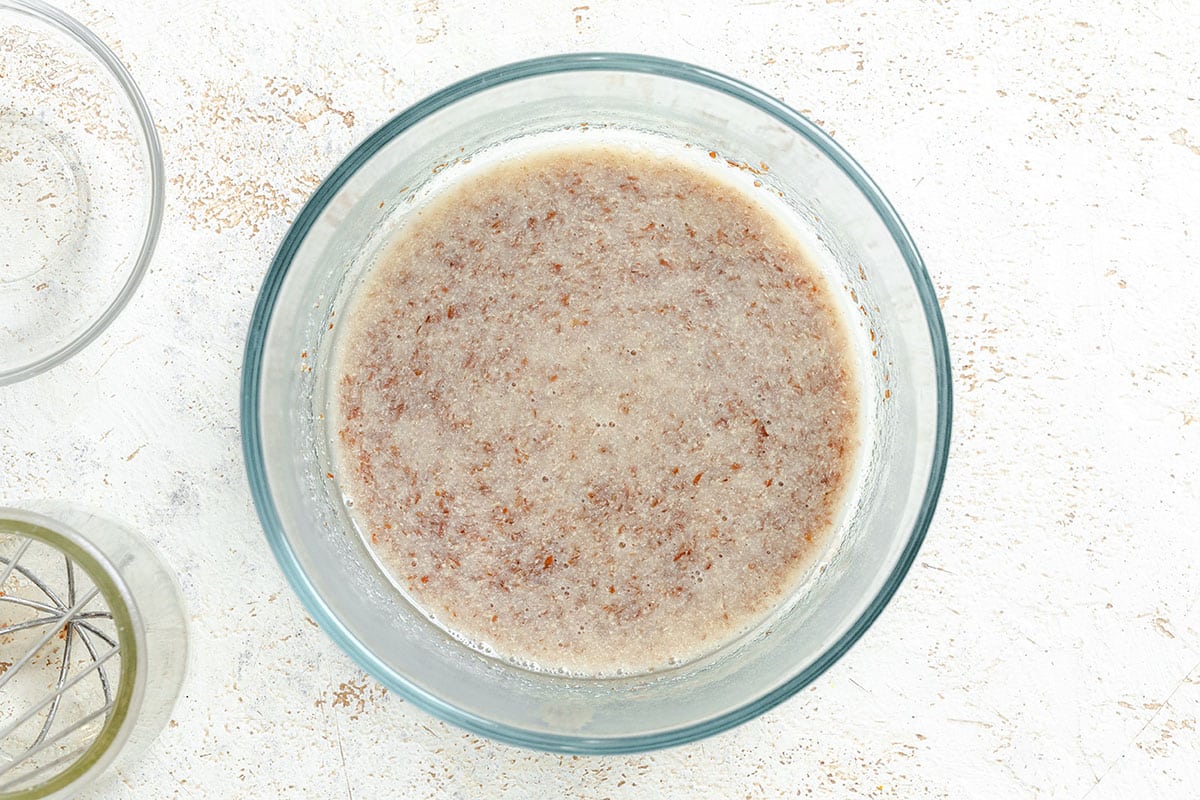
- Flax Eggs: In a small bowl, stir together 6 Tbsp hot water and 2 Tbsp flaxseed meal. Let sit for 5 to 10 minutes to thicken.

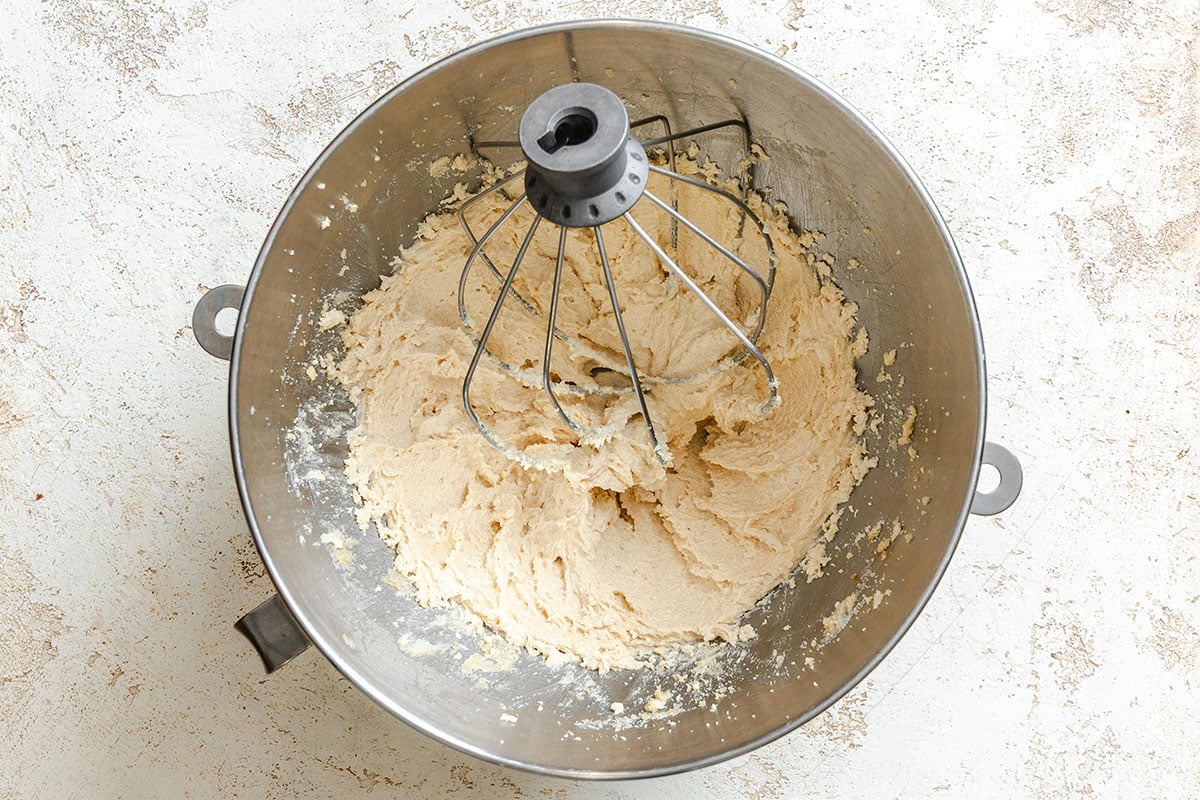
- Cream Butter and Sugars: In a large bowl, use a hand or stand mixer to beat 8 Tbsp unsalted vegan butter (room temp), ¾ cup granulated sugar, and ½ cup packed light brown sugar on medium-high speed for 2 to 3 minutes, until lighter in color and fluffy. Scrape the bottom of the bowl in the middle of the mixing process to make sure all the butter and sugar are well incorporated.
- Add Wet Ingredients: Beat in the flax eggs, then add 1 tsp vanilla extract and 2 tsp red gel food coloring. Mix until smooth and evenly tinted, bright red.
- Add Dry Ingredients: In a separate bowl, stir together 2 cups all-purpose flour, 5 Tbsp unsweetened cocoa powder, 1 tsp baking powder, ¼ tsp baking soda, and ½ tsp salt. Fold dry ingredients into the wet. The dough should be thick but pliable.
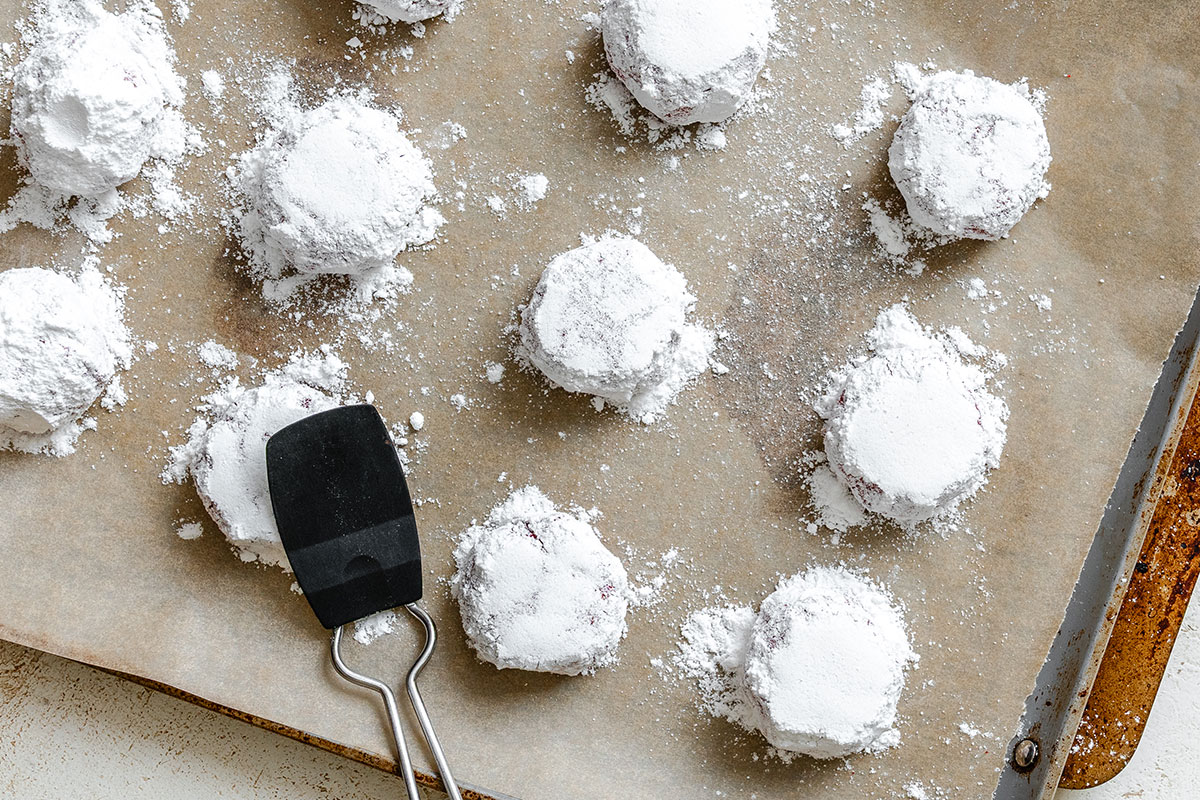
- Scoop and Coat: Using a medium cookie scoop (about 2 Tbsp), portion the dough and roll each into a ball. Prepare a sugaring station with a bowl containing ½ cup granulated sugar and another containing ½ cup powdered sugar.Right before baking, roll each ball first in the granulated sugar, then the powdered sugar, making sure to coat heavily in the powdered sugar to maximize the crinkle look.
- Bake: Transfer to a parchment-lined baking sheet, about 2 inches apart from each other. Use a spatula to gently press each down slightly.Bake for 10 minutes, until the tops are crinkled and edges look set but centers remain soft.
- Cool: Let cookies rest on the baking sheet for about 10 minutes, then transfer to a wire rack to cool completely.