
This post contains affiliate links.
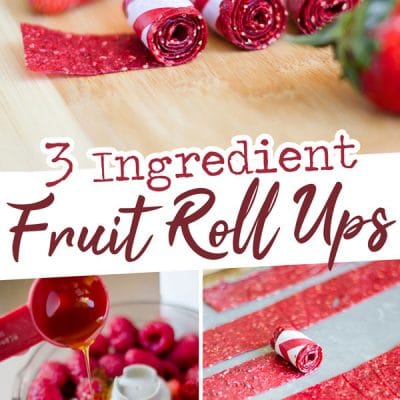
With well over one hundred 5-star reviews, these healthy homemade fruit roll ups have been made and loved in so many of our reader’s kitchens. They only take 3 ingredients and you can mix and match fruits to make your favorite flavor. Your next masterpiece in the making!
If you have kids, then you are familiar with the plea for those infamous rolled fruit snacks. What if I told you that homemade fruit roll-ups are so easy to make at home without a dehydrator or added processed sugar?
The best part is you can get the kids involved to make fun and funky flavors. And anyone with kids knows they eat best when they make it themselves. We love those independent little humans.
Reader rating
“Made this today! Turned out soooo yummy. I used frozen mixed berries (thawed out) it took about 6 hrs at 170°. My son loves them. My husband loves them. I love them! Thank for such a tasty and easy recipe!” —Samantha
yes, just 3 ingredients
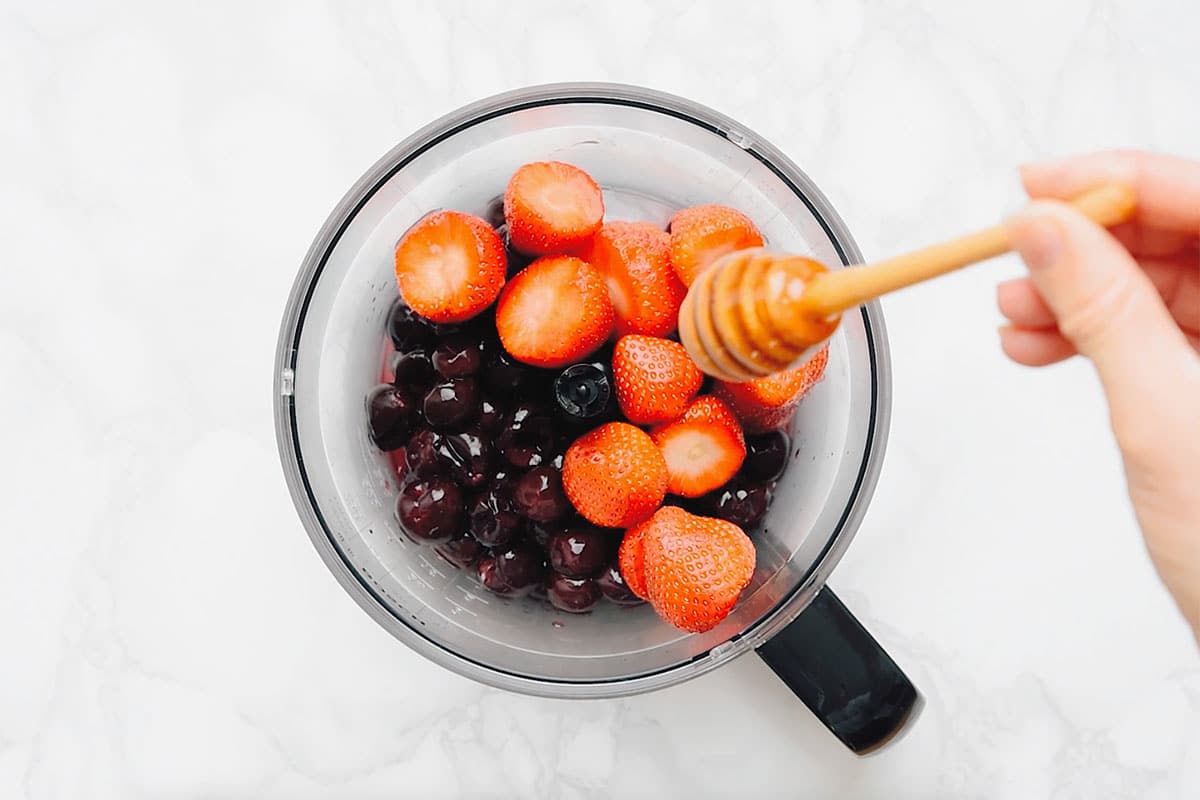
Since this recipe is so simple, with just fruit, honey, and lemon juice needed, I want to focus more on flavor ideas! I love using fresh berries, like strawberries or blueberries, but you could also do:
- Razzle and Dazzle: A play on a razzleberry pie, this is a combination of raspberries, blackberries, and strawberries.
- Tropical: Make tropical fruit roll ups by using pineapple and mango.
- Forest Fruits: Try a blend of cherries, blueberries, and raspberries for a gorgeous color.
- Single Ingredient: Or go all in on a fruit, like strawberry or blueberries! You’ll need about 3 cups total.
- Spices: You can also add more flavor with spices or herbs like cinnamon, cloves, and basil.

Let’s make them!
Step 1: Blend The Fruit
Blend all the ingredients in a food processor or blender until they’re as smooth as can be.
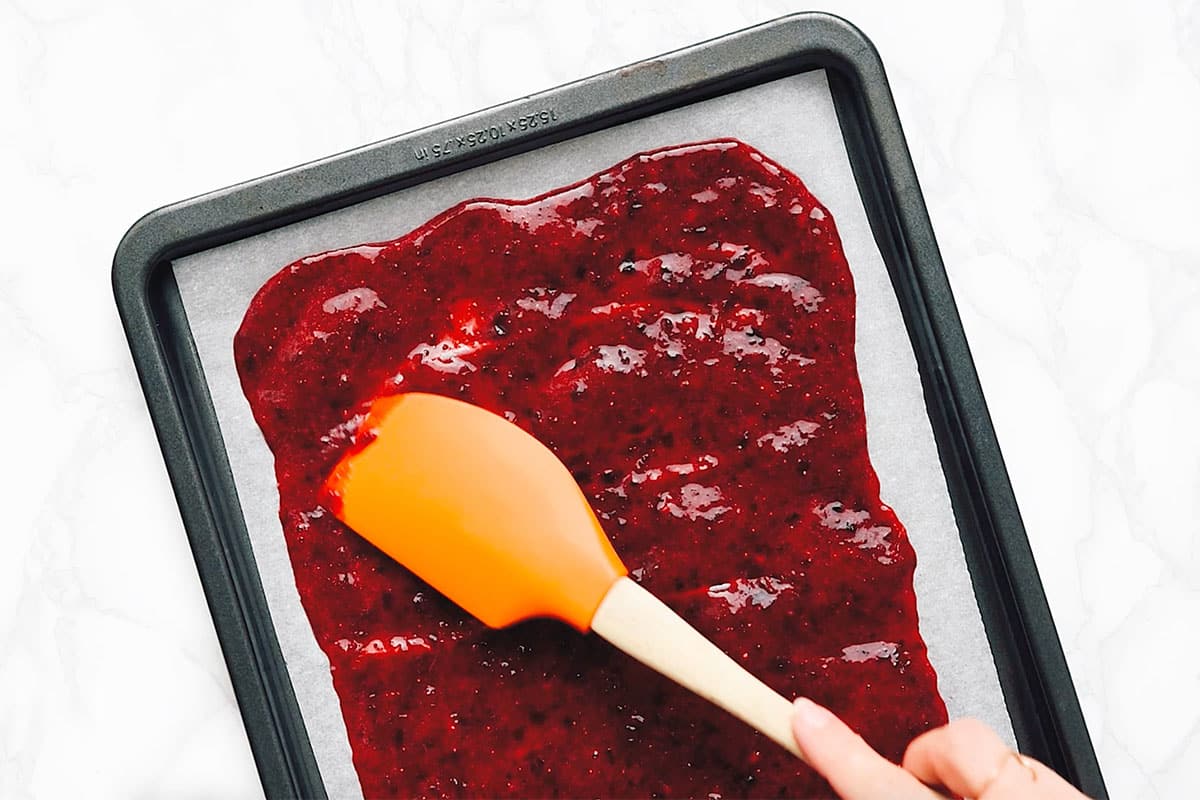
Step 2: Spread The Blended Fruit
Next, line a baking pan or sheet with parchment paper. Pour the blended fruit mixture onto the lined pan, then spread it out with a spoon or spatula.
Step 3: Dehydrate
Dehydrate in your oven at the lowest temperature possible (140 to 170°F) for 4 to 6 hours, or until the middle is no longer tacky. If the center is still tacky, it could be because the mixture is spread too thick.

Step 4: Cool
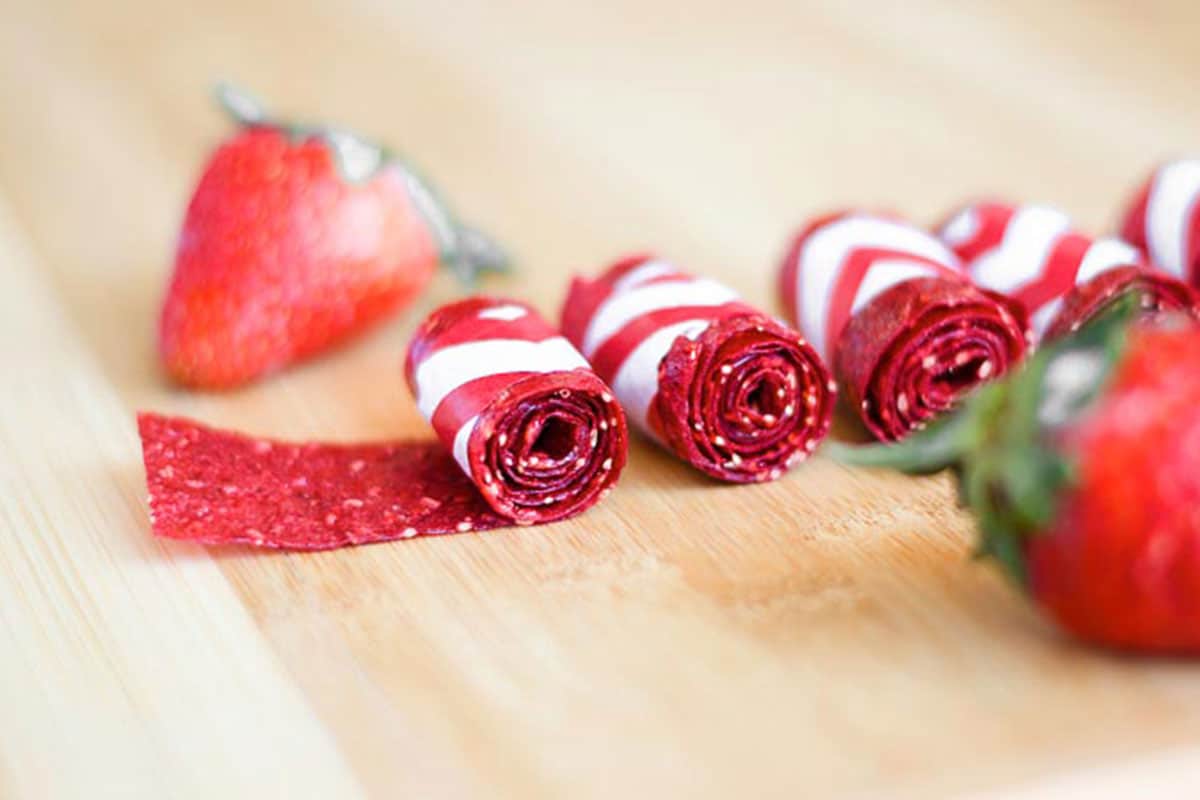
Allow the fruit leather to cool, then use clean scissors to trim off edges and cut into 1 inch wide strips. Roll each strip into a roll-up and enjoy!


Sarah’s Tip
I like to use fresh fruit puree, which preserves more of the vitamins in the fruit (but that’s just my nutrition brain talking). To make fruit roll-ups that look a bit more uniform, you can cook the fruit mixture on the stove, uncovered, until it becomes thick, strain through a fine mesh sieve, then proceed with this recipe!
more fruity kid-friendly recipes


Healthy Homemade Fruit Roll Ups (Plus Flavor Options!)
Ingredients
- 2-3 cups fruit, 300 to 350 g
- 2-3 Tbsp honey, can sub sugar or sugar-substitute
- 2 Tbsp lemon juice, 30 mL
Instructions
- Blend: Blend together all ingredients in food processor or blender until smooth. Taste and adjust sweetness as needed.
- Spread: Pour into a pan lined with parchment paper then spread out ⅛ to ¼ inch thick.
- Dehydrate: Dehydrate in oven at 140 to 170°F (or as low as oven will go) for 4 to 6 hours, or until the middle is not longer tacky. It must be totally set in order to peel off the parchment paper, so if it needs more time to cook, keep cooking until the center is not tacky (this largely depends on the thickness).
- Cool: Allow to cool, then use clean scissors to trim off edges and cut into 1 inch wide strips. Roll each strip into a roll-up and enjoy!
Notes
Nutrition
Nutrition information calculated by Sarah Bond, degreed nutritionist.


I made homemade strawberry jam that did not set….would this work if i spread on parchment paper and put in the oven
Hi Cathy, I think it would! 😀
Hi there, these look great! I’m just wondering how long they can be stored for. I’m looking to make a heap for an event, and so I’d like to start two or three weeks ahead. Will they keep that long? Do you have any tips in terms of storing them for three weeks? Thanks!
Hi Megan! I haven’t tried to store them for this long and my inkling would be that they wouldn’t do well being stored for 3 weeks. I would probably store them for a week or two at max in the fridge, because moisture will get into them and affect the texture. Researching with some similar recipes online, it looks like you can freeze them (wrap in plastic well first). If I were you, I think I would make a batch and try two storage methods to see what works: airtight wrapped in paper towels in the fridge + wrapped in plastic wrap and frozen. Then you can know how they’ll hold up in storage! Good luck with the event! 😀
Thanks fo posting these! My Little guy was just diagnosed diabetic and I keep looking all over for alternative and healthy treats so thank you so much. In the oven now so here’s to hoping he loves them. Also I love SO much that you included nutrition info. Makes it SO easy for me!
Hi Kimberly! So happy I could help make this time a bit easier for you. I can only imagine the complete lifestyle overhaul it must be. Did they turn out well for you?
Since I prefer agave, would agave be a suitable substitute for honey? If it’s just for the sweetness, I’d assume so.
Hi Jeff, yes that should work! 😀
I did cherry and lemon juice on parchment paper. I simply put some olive oil on the paper first. Came out great
This sounds so great, Jen! Thanks for the olive oil tip! 😀
Hi! Can’t wait to try this now and hope fully little miss will like them! Just wondering if you’ve tried this recipe in a bar form? Wanting to replace the store bought ones with something fresh (and real)
Hi Ruby! I think bar form would be too thick and they wouldn’t fully dry out. You could try adding agar agar to the mix (or gelatin if you’re not vegetarian), which would turn the fruit mixture into a fruit bar. Enjoy!
Can you use frozen fruit for the fruit leather?
Yep! Just be sure to thaw it first and squish out as much moisture as possible (through a mesh sieve, for instance).
Hey, I made a bunch of fruit leather and it turned out great. I rolled it up with tissue paper. When I took one out to eat it a few hours laters, it was stuck to the tissue paper and I had to use water to rub it off because it was so stuck.
So strange! Perhaps it was just too thin. I’ve recently switched to cooking this on parchment paper then cutting it into strips with the parchment attached and rolling it up. The parchment is thick enough that it won’t stick 🙂
I’ve always just used a sturdy plastic wrap to dry them on, then cut them up and rolled them up in that. I tried one tray on parchment paper this time, but it got wavy when I poured the puree on it, so I had a hard time spreading it as thick or as consistently as I’d have liked.
Thanks for letting us know, Alayna! I’ve had that happen with parchment sometimes, it must depend on the brand.
I’m rarely in the kitchen. but I wanted to try this with my daughter especially because my son loves fruit roll ups but they cost so much. It was the easiest recipe I’ve ever made. My daughter loved it as well! Thank you for sharing! It came out perfectly.
So happy it worked for you Sam! Glad the kids loved it! 😀