

This post contains affiliate links.
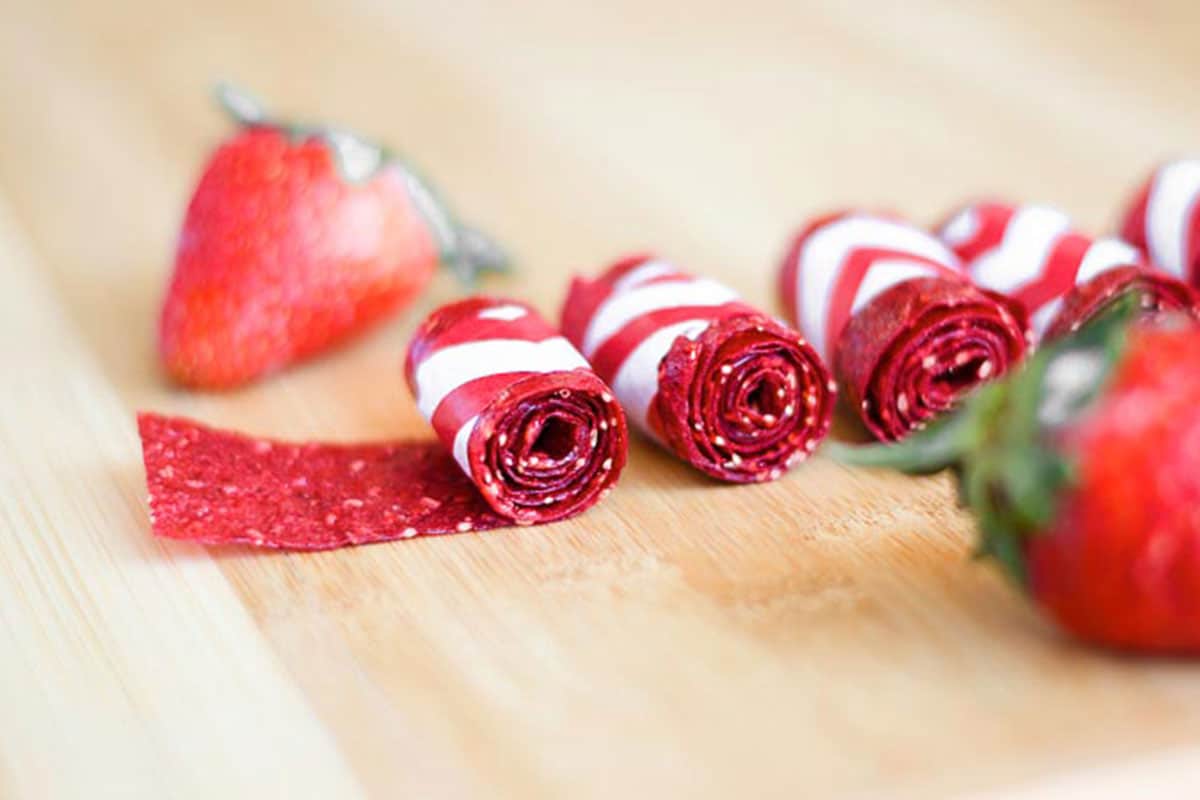
With well over one hundred 5-star reviews, these healthy homemade fruit roll ups have been made and loved in so many of our reader’s kitchens. They only take 3 ingredients and you can mix and match fruits to make your favorite flavor. Your next masterpiece in the making!
 save this recipe!
One thing I learned after making batch after batch of these is that an uneven spread is the number one reason people end up with roll-ups that are chewy in some spots and dry in others.
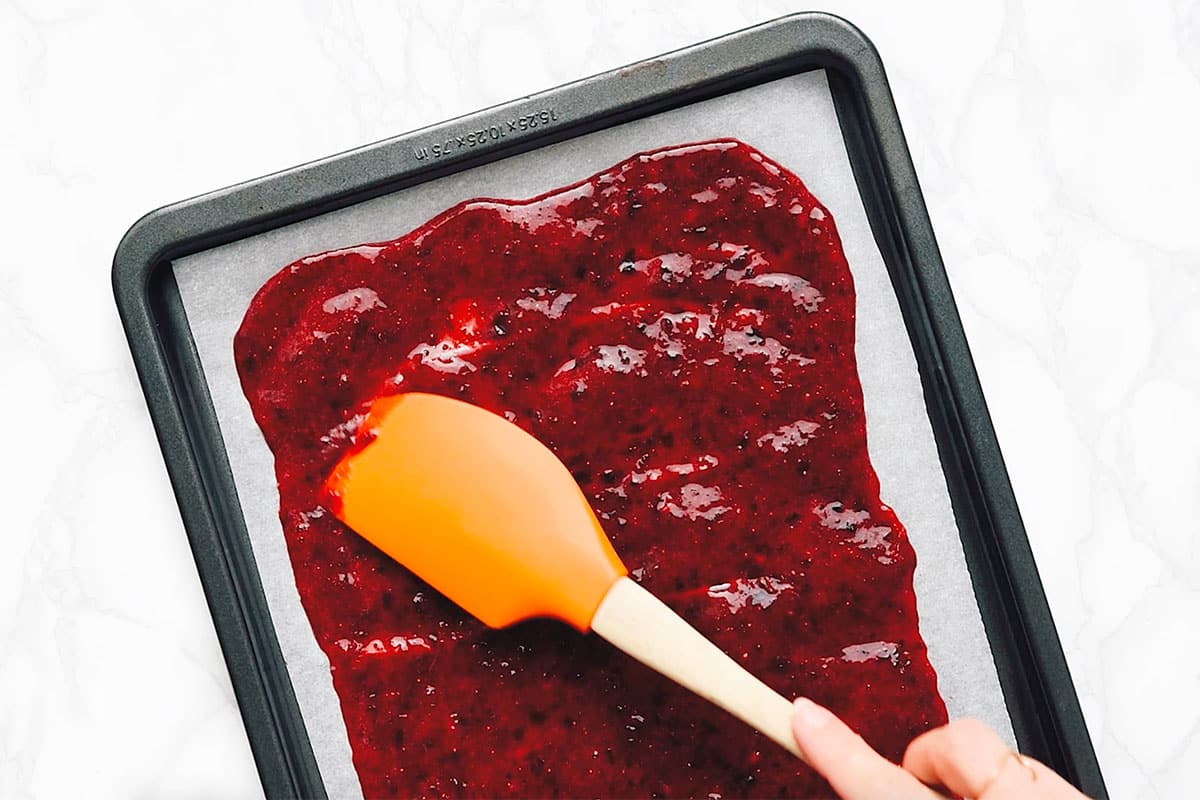
Using an offset spatula to smooth the puree in a slow, circular motion from the center out gets a far more even thickness than spreading back and forth with a spoon, which tends to leave thicker ridges. That small change made the biggest difference in getting a consistent dehydrate time across the whole sheet.
Reader rating
“Made this today! Turned out soooo yummy. I used frozen mixed berries (thawed out) it took about 6 hrs at 170°. My son loves them. My husband loves them. I love them! Thank for such a tasty and easy recipe!” —Samantha
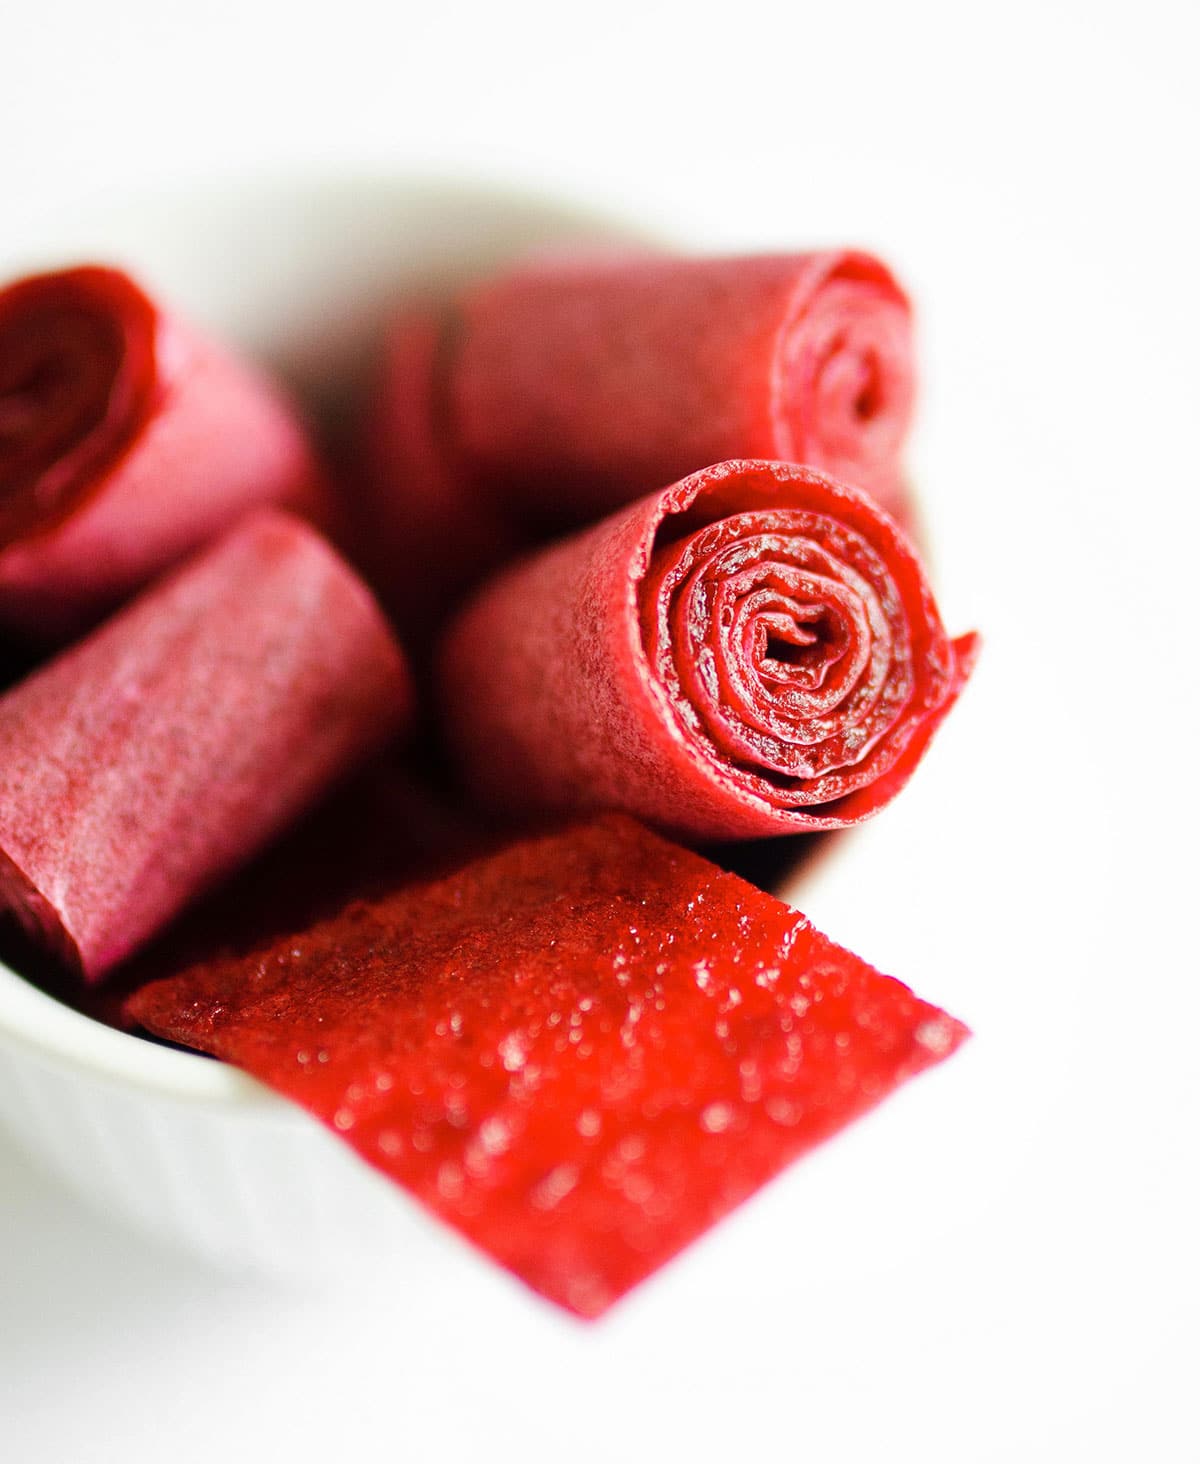
Fruit Rollup Ingredients
Since this recipe is so simple, with just fruit, honey, and lemon juice needed, I want to focus more on flavor ideas! I love using fresh berries, like strawberries or blueberries, but you could also do:
- Razzle and Dazzle: A play on a razzleberry pie, this is a combination of raspberries, blackberries, and strawberries.
- Tropical: Make tropical fruit roll ups by using pineapple and mango.
- Forest Fruits: Try a blend of cherries, blueberries, and raspberries for a gorgeous color.
- Single Ingredient: Or go all in on a fruit, like strawberry or blueberries! You’ll need about 3 cups total.
- Spices: You can also add more flavor with spices or herbs like cinnamon, cloves, and basil.

How to Make Homemade Fruit Roll Ups!
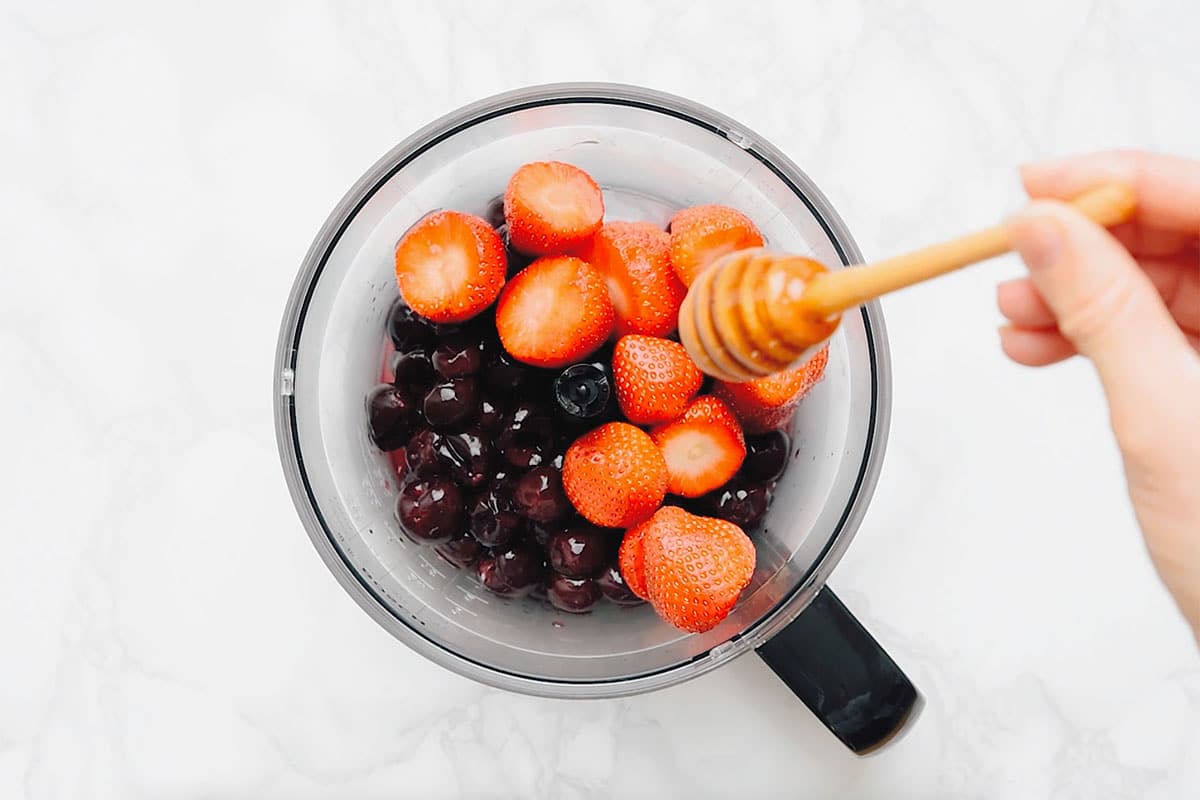
Step 1: Blend The Fruit
Blend all the ingredients in a food processor or blender until they’re as smooth as can be.
Step 2: Spread The Blended Fruit
Next, line a baking pan or sheet with parchment paper. Pour the blended fruit mixture onto the lined pan, then spread it out with a spoon or spatula.
Step 3: Dehydrate
Dehydrate in your oven at the lowest temperature possible (140 to 170°F) for 4 to 6 hours, or until the middle is no longer tacky. If the center is still tacky, it could be because the mixture is spread too thick.

Step 4: Cool
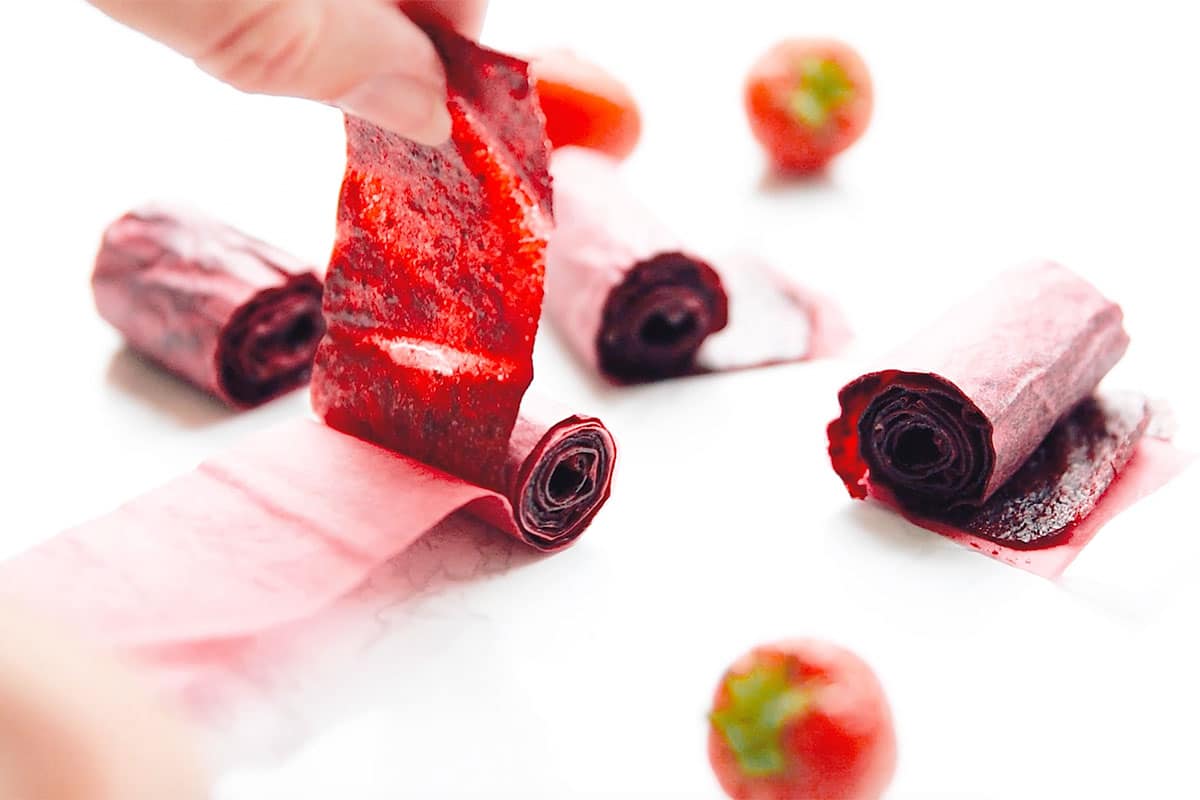
Allow the fruit leather to cool, then use clean scissors to trim off edges and cut into 1 inch wide strips. Roll each strip into a roll-up and enjoy!

Sarah’s Tip
I like to use fresh fruit puree, which preserves more of the vitamins in the fruit (but that’s just my nutrition brain talking). To make fruit roll-ups that look a bit more uniform, you can cook the fruit mixture on the stove, uncovered, until it becomes thick, strain through a fine mesh sieve, then proceed with this recipe!
How to Store These Fruit Rolls
Store fruit roll-ups in an airtight container in the fridge for up to 2 weeks. Tucking a paper towel into the container helps absorb any extra moisture and keeps them from getting sticky. They also travel well and hold up fine at room temperature for a full day, which makes them an easy grab-and-go snack or lunchbox addition.
To freeze, store them in an airtight container for up to 3 months. Let them thaw in the fridge overnight before eating.
Fruit Roll-Ups FAQ’s
Yes. Just let the fruit thaw completely first, then strain out as much liquid as possible before blending. Skipping this step leaves you with a puree that’s too watery to dehydrate properly.
Not usually. Small, soft seeds from fruits like strawberries, raspberries, and blackberries blend in completely and won’t affect the texture. If you’d rather have a completely smooth roll-up, strain the blended mixture through a fine mesh sieve before spreading it on the pan, the same trick mentioned in Sarah’s Tip for a more uniform look.
Touch the center of the fruit leather. It’s ready once the middle is no longer tacky and it peels away from the parchment paper in one piece. If it’s still sticking or tearing, it needs more time in the oven, since it has to be fully set before it will release cleanly.
more fruity kid-friendly recipes


Healthy Fruit Roll Up Recipe

Ingredients
- 2-3 cups fruit, 300 to 350 g
- 2-3 Tbsp honey, can sub sugar or sugar-substitute
- 2 Tbsp lemon juice, 30 mL
Instructions
- Blend: Blend together all ingredients in food processor or blender until smooth. Taste and adjust sweetness as needed.
- Spread: Pour into a pan lined with parchment paper then spread out ⅛ to ¼ inch thick.
- Dehydrate: Dehydrate in oven at 140 to 170°F (or as low as oven will go) for 4 to 6 hours, or until the middle is not longer tacky. It must be totally set in order to peel off the parchment paper, so if it needs more time to cook, keep cooking until the center is not tacky (this largely depends on the thickness).
- Cool: Allow to cool, then use clean scissors to trim off edges and cut into 1 inch wide strips. Roll each strip into a roll-up and enjoy!
Notes
Nutrition
Nutrition information is calculated by Sarah Bond, degreed nutritionist, and should be taken as an estimate. For the most accurate nutritional information, calculate it using the actual ingredients in your recipe.
 did you make this?Leave a comment below and tag @liveeatlearn on social media! I love seeing what you’ve made!


I made with strawberries, bananas and chia seeds on plastic wrap. I left out the lemon juice. Stored roll ups in refrigerator in a glass jar. Kept for 3-4 weeks.
So happy to hear it worked with those fun additions! 😀
I made this by following your instructions. How can I keep the dried fruit from sticking to the parchment paper? I had to really pick and wet the parchment paper to get it off. The fruit was delicious, what I could taste of it without eating parchment paper.
So strange! You might have needed to cook it a little longer. Usually if it sticks it’s because the roll-ups are still too tacky. And of course, make sure they cool all the way before trying to peel them off. You could also try using a silicone baking mat!
I was so excited to try these! I often splurge on extra fruits and my kids don’t touch them so I just toss them after they turn. I bought extra strawberries this week, and splurged on raspberries, got a lemon to make the juice myself. I followed your recipe exactly. I ended up leaving in the oven at 170° for about 9hrs. One pan must have been spread too think bc the extra hr after I last checked it, it was dried to just flake. The other pan was gooey in the middle. I figured I could still make it work. My daughter loves raspberries and strawberries, she was the first to try it and flipped out saying they were really gross. My husband who will eat anything wasn’t a fan and I nearly gagged at taste. I’m so sad! I was really excited about them and spent quite a bit on the fruit used only to toss in the trash and run my oven all day. Wondering if I did something wrong, but afraid to ever try this again for fear of wasting a chunk of money. Thanks for sharing your recipe though. I always appreciate new ideas!
Hi Erin! So sorry to hear it didn’t turn out for you! It sounds like you just need to get the timing right for your oven, keeping an eye on it closely around when it reaches that tacky-in-the-middle phase. Did you do two pans at once? It could also be that the air wasn’t able to circulate as well?
I didn’t have strawberries nor grapes but it still tasted amazing.
So happy to hear it! 😀
I don’t know why it had never occurred to me to make homemade fruit rollups, but it hadn’t until I saw this. My partner and I have a dehydrator for making things like jerky and chips, so we followed your recipe for the most part then stuck it in the dehydrator and voila! Tasty and it stores pretty well, too! It’s now our go-to thing when we buy fruit that is on clearance or discount; waste not ya know?
SO FUN that you have a dehydrator! This recipe is perfect for that, and for using up old-ish fruit! 😀
For the love of fruit! Make cookie cutter incisions into the strips to make fun fruit roll-up shapes! Sheesh!
Made these with my 10 year old daughter today. Easy to make and taste delicious! We’re making more!
So happy to hear it, Marianne! Enjoy! 😀
This was a very well thought out recipe with clear simple tips. Loved it!!
So happy to hear it, Rafael! Enjoy! 😀
I tried this, but my fruit leather STUCK to the parchment paper. Like, they became one.
I tried again using microwave-safe saran wrap & it came off — but, the underside was still gooey… so now I’ve flipped the rolls over to let the underside bake.
What am I doing wrong?? SOooo much effort/time for something that seems so simple…
So strange about the parchment paper! I would think that after they stop being tacky, the rolls would come off more easily. Sounds like in both cases they just needed a little while longer in the oven.
These are so delicious! Reminded me so much of fruit by the foot as a kid. I used half strawberries, half blueberries with agave and lemon. Thank you!
Yum that combo sounds delish! Enjoy! 😀