This post contains affiliate links.

Learn how to blanch green beans for a healthy addition to any meal! Whether preparing a quick side dish, incorporating them into a recipe, or freezing them for later, this kitchen technique is a fundamental skill to add to your home cook toolbox.
Green beans, also known as string beans, add the perfect pop of green color to a wide variety of dishes! Think of options like green bean casseroles, air fryer green beans, roasted vegetables, hearty vegetable soups, and more.
Their crisp texture and mild flavor make them a go-to in my kitchen, and I love that they can be seasoned with any of my favorite herbs, spices, or oils. Blanching is one of my favorite ways to preserve the nutrients in this vegetable, so let’s learn how to blanch green beans!
So if you’ve just got back from the farmer’s market or grocery store with a bunch of fresh green beans, blanching them is the best way to preserve that fresh flavor! Let’s cook.

why do we blanch veggies?
Blanching veggies is like hitting the pause button on their freshness clock, plunging them into a brief pot of boiling water followed by an ice-cold shock. This culinary quick-step halts enzyme actions that can lead to loss of flavor, color, and texture, ensuring the veggies maintain their vibrant hues, crispness, and nutritional goodness. It’s a food science trick that preps vegetables for freezing, salad-making, or just giving them a longer, more colorful life in your fridge.
How to Blanch Green Beans
Blanching green beans is a basic kitchen skill that requires just a few simple steps and minutes. Here’s an overview. Jump to the recipe card for the full instructions.
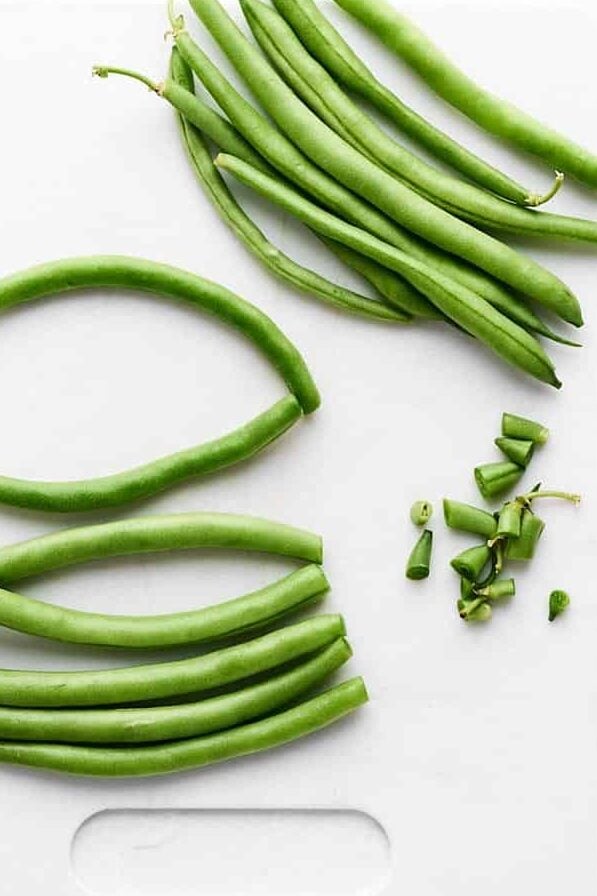
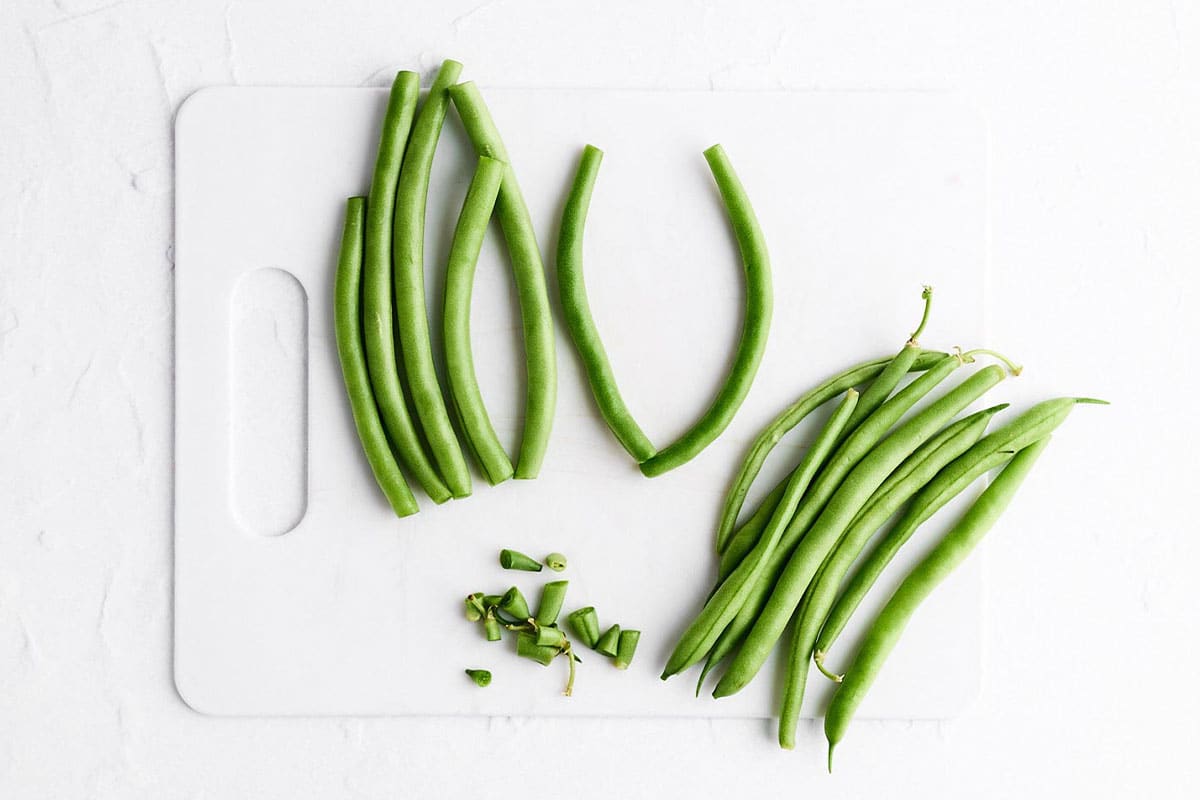
Preparation
Before cooking, prepare your green beans by washing them under cold water. Trim the ends off of each bean with a small knife (or snap them off) to remove any tough parts.

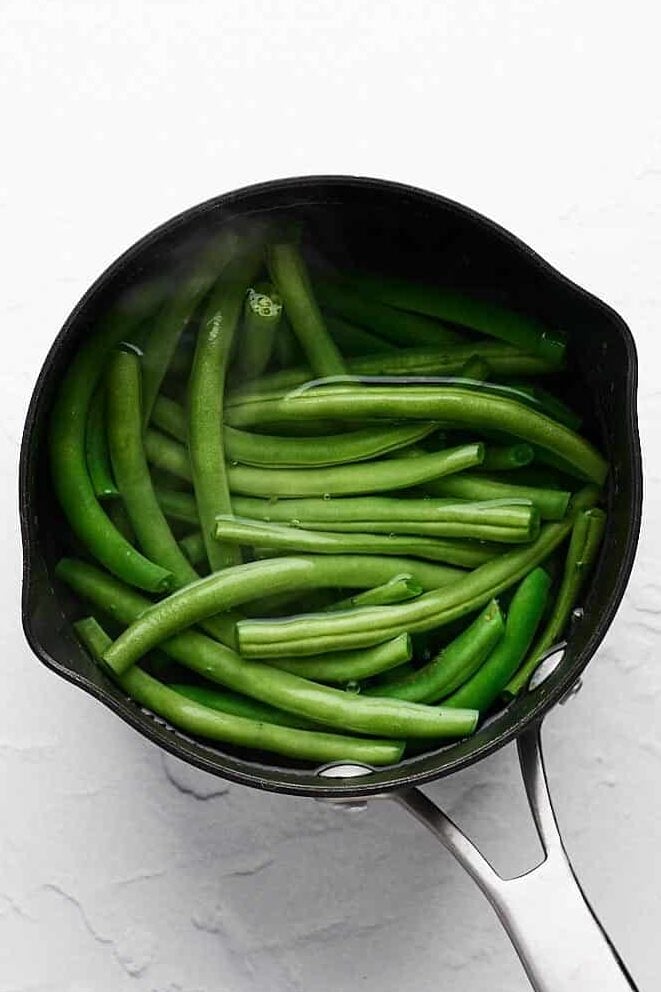
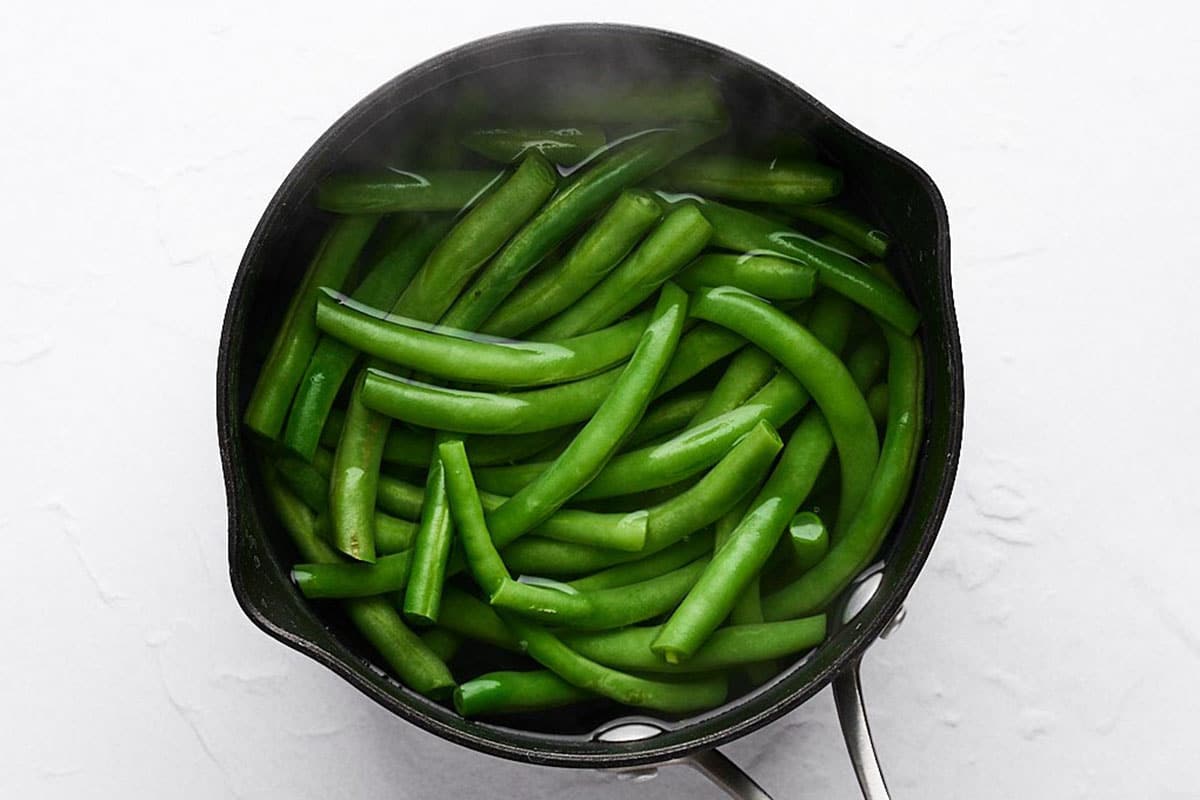
Boil the Water
Fill a large pot with enough water to cover the green beans and bring it to a rolling boil.
Cook the Green Beans
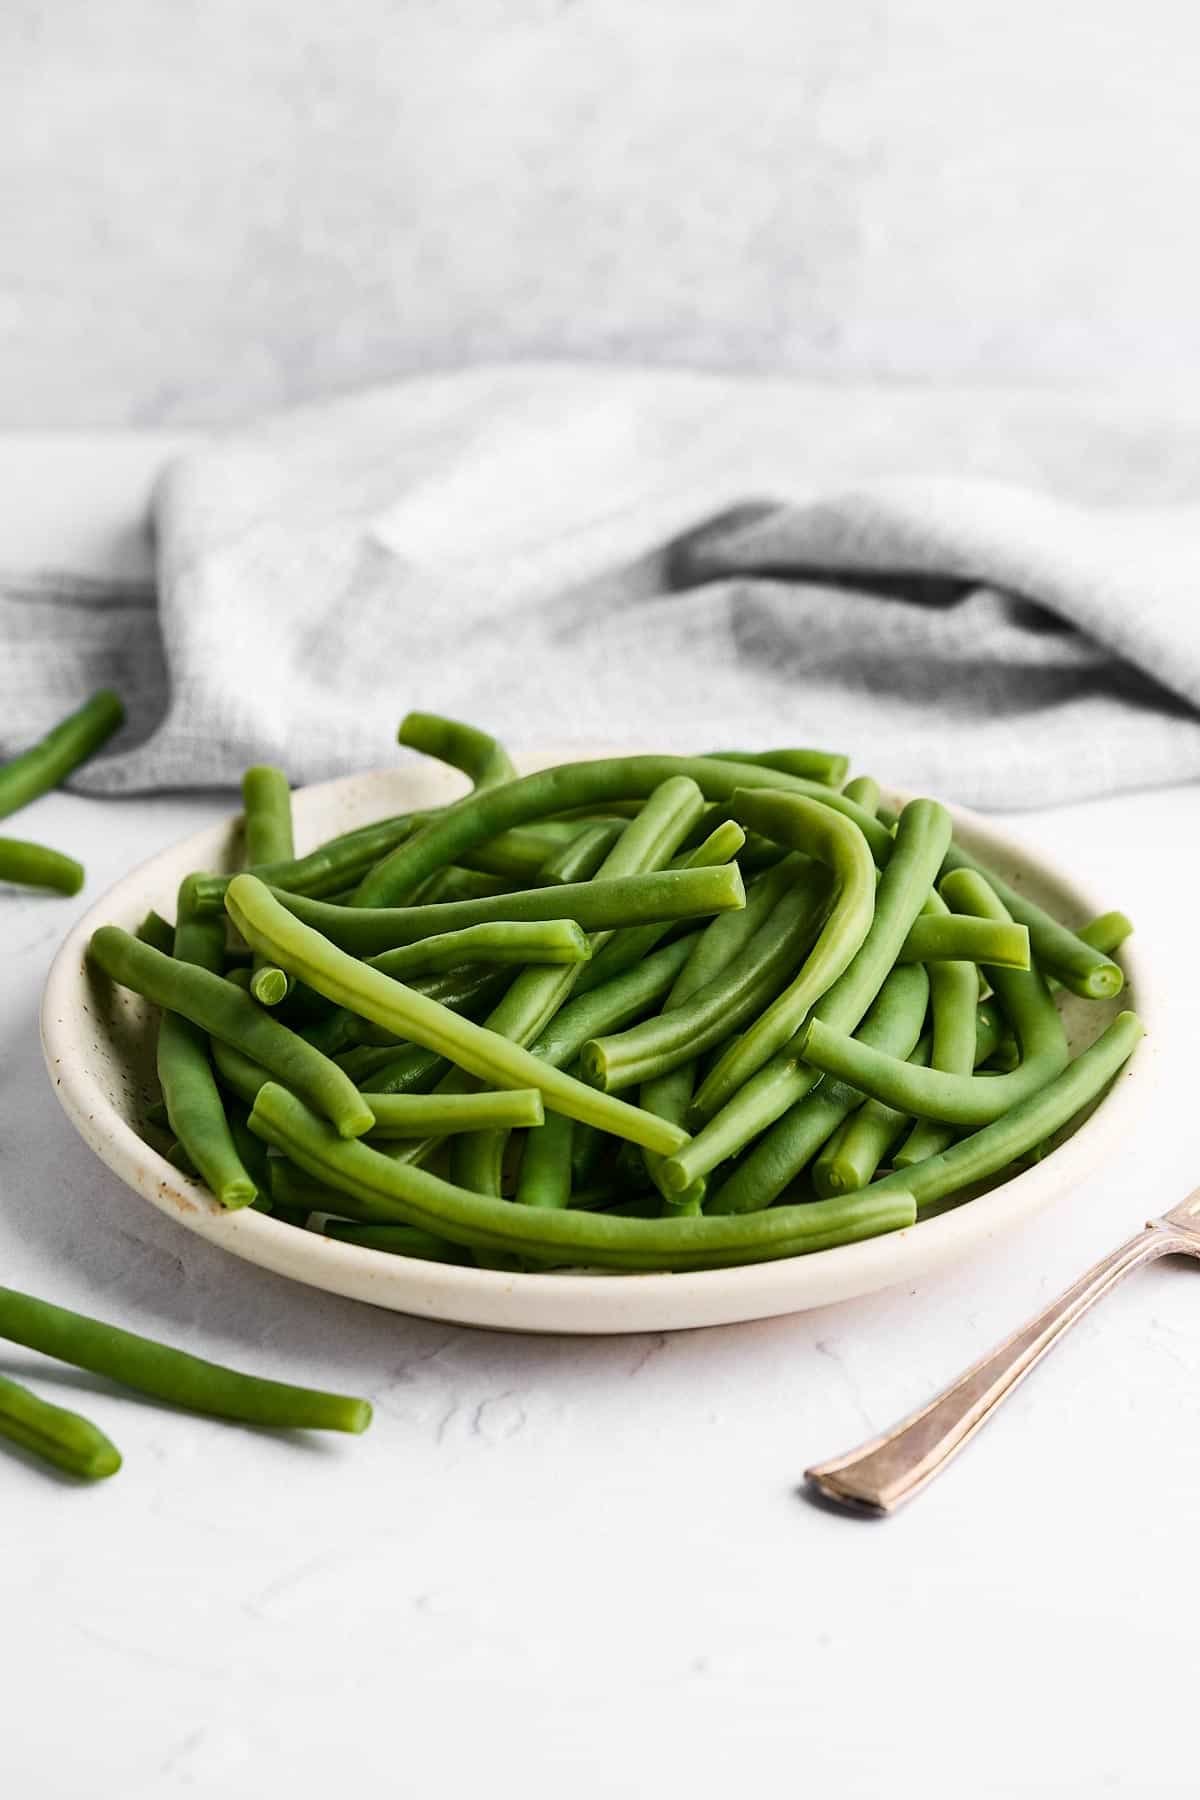
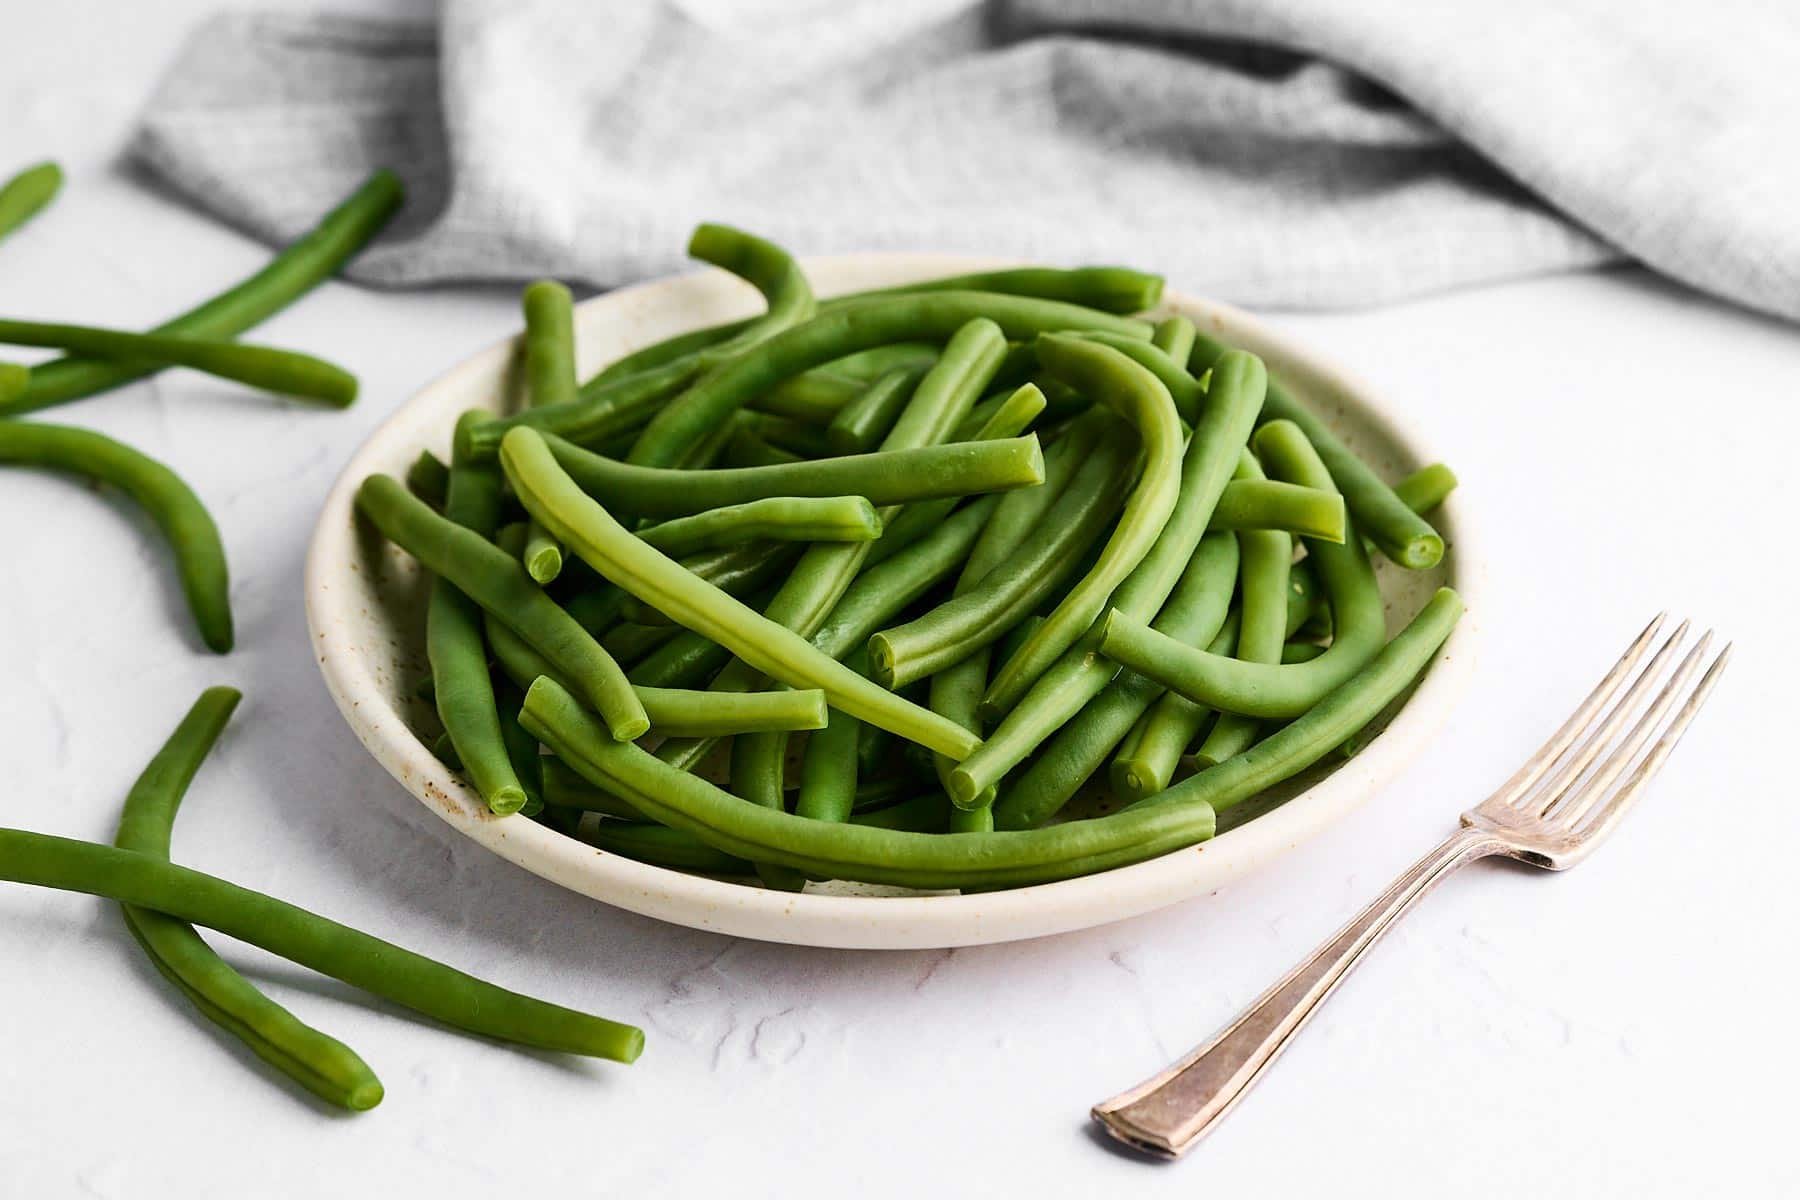
Add the prepared green beans to the boiling water. Cook them for 2 to 3 minutes until they are bright green and tender-crisp. Keep in mind that cooking times can be slightly longer at higher elevations due to the lower boiling point of water.

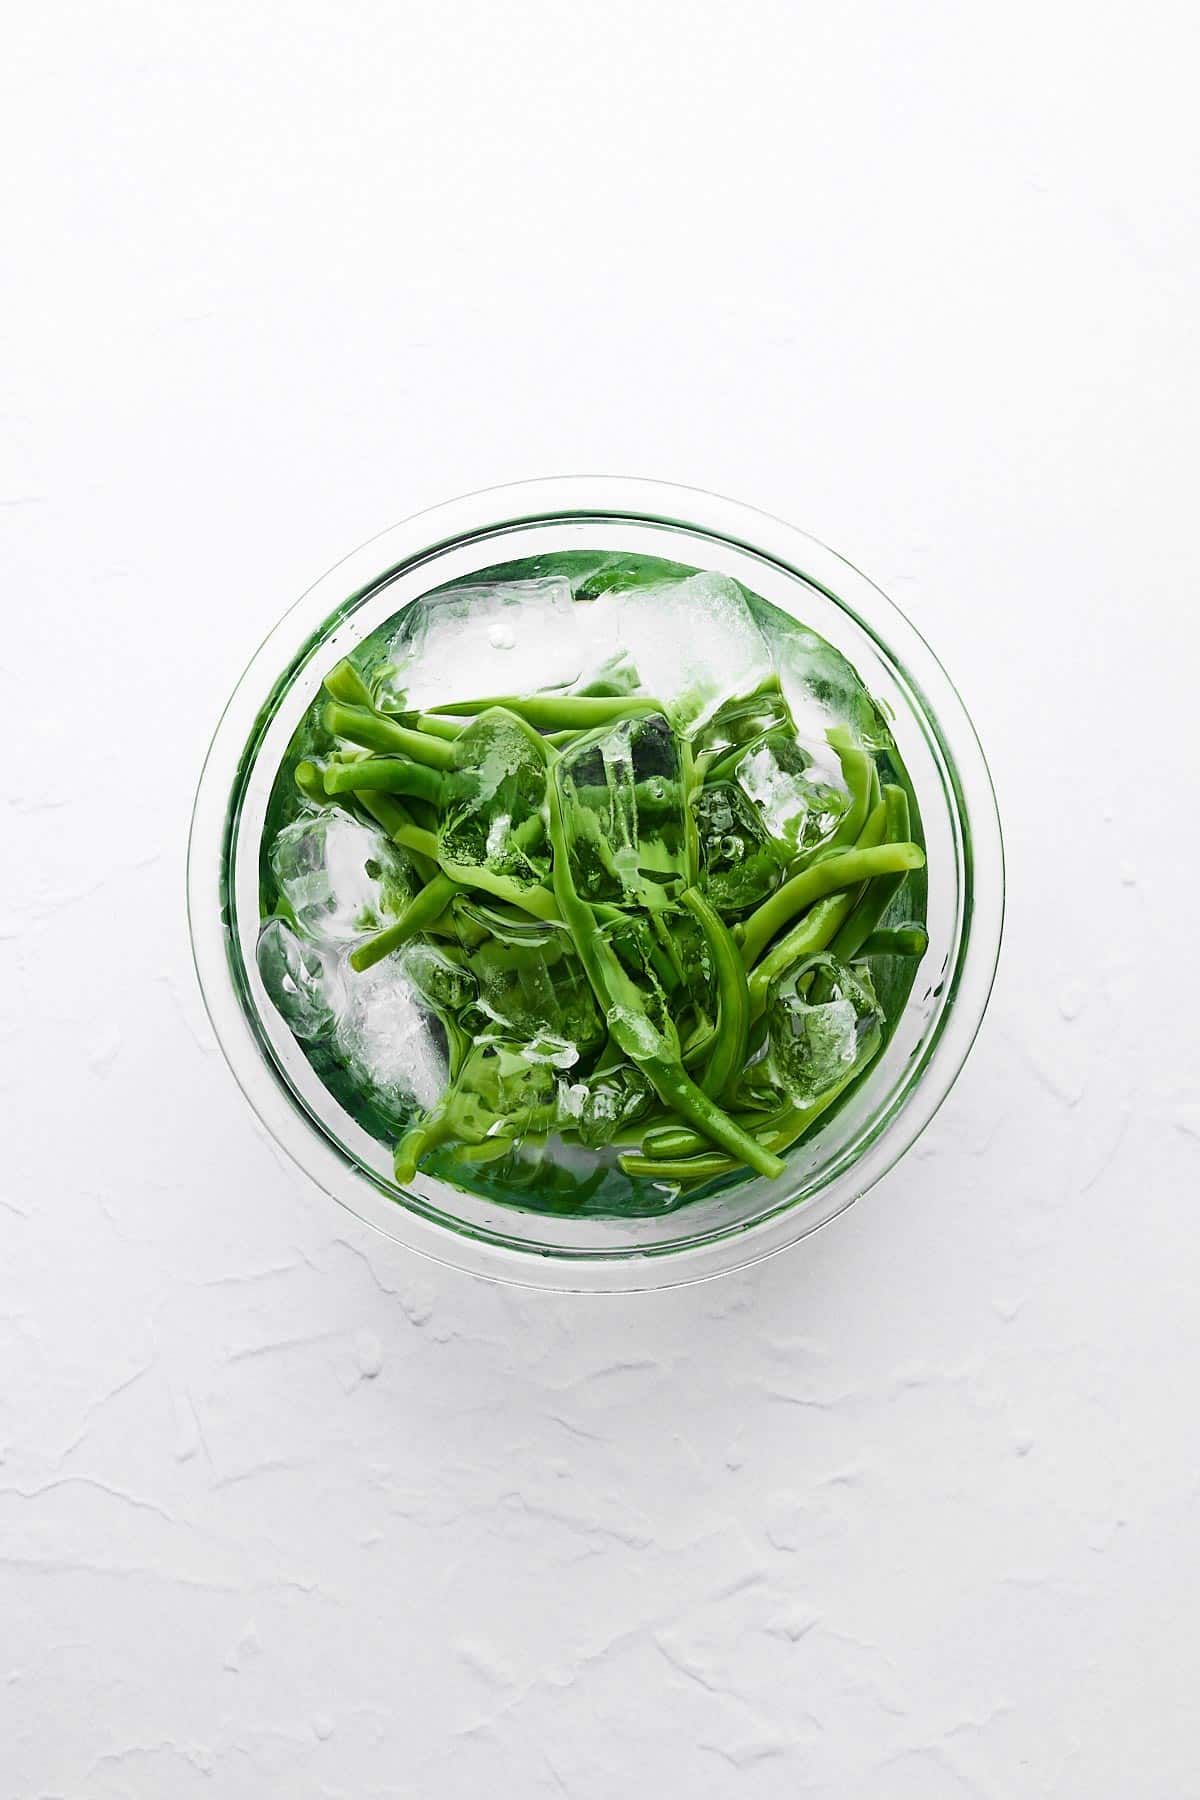
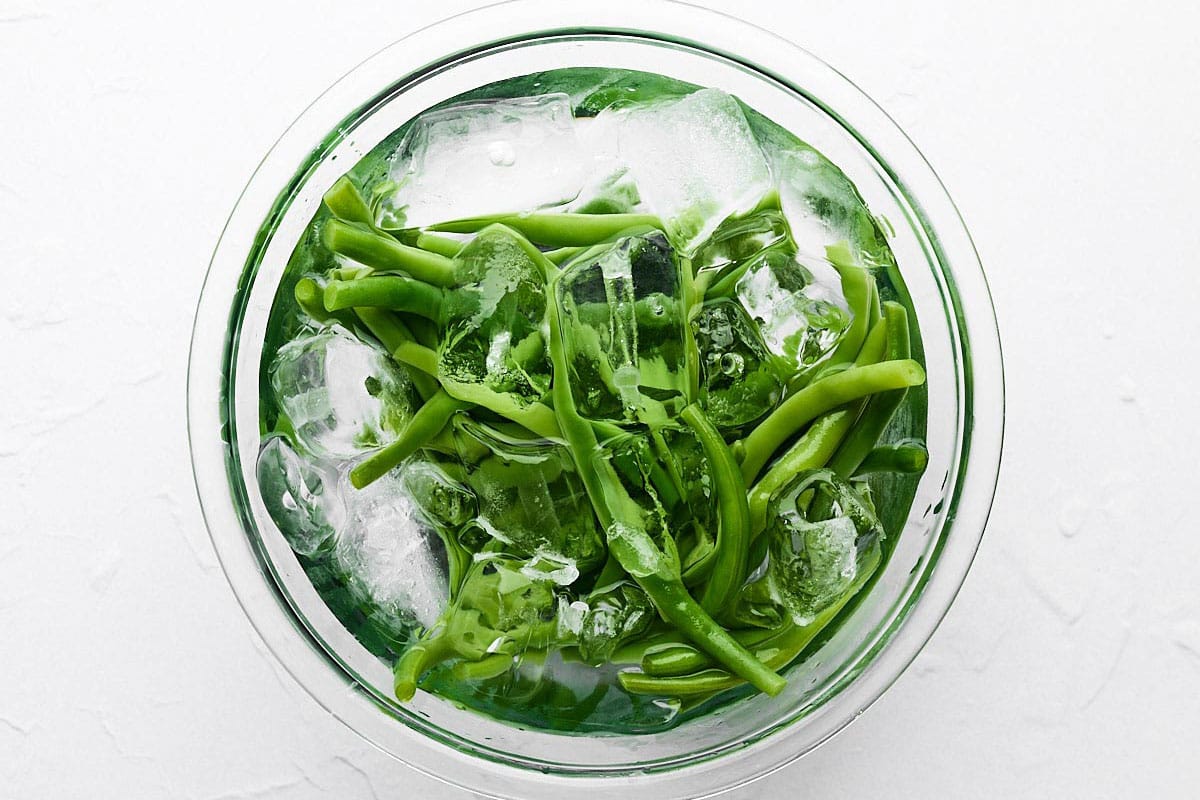
Ice Bath
Once the green beans have reached the desired level of doneness, quickly remove them from the boiling water and transfer them to a large bowl of ice water. They should stay in the ice bath for the same amount of time that you blanched them.
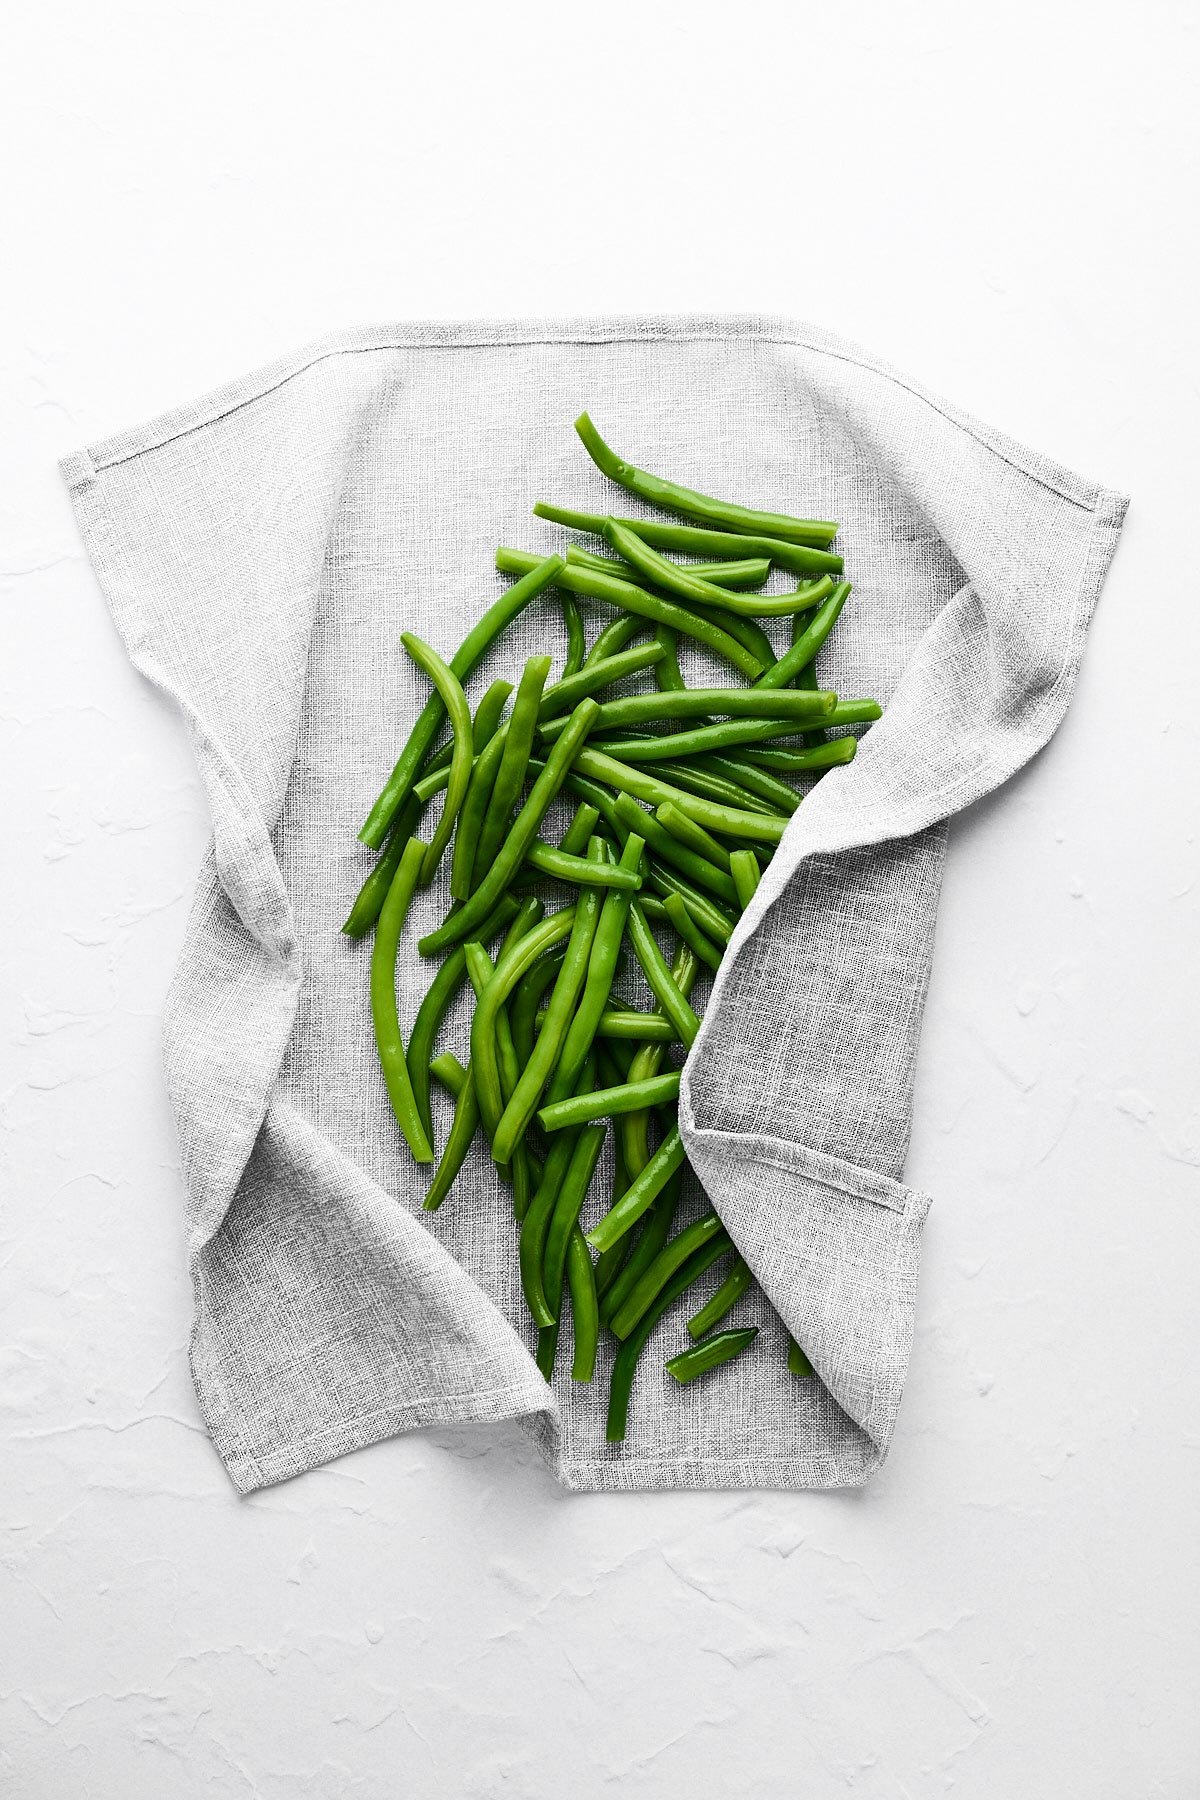
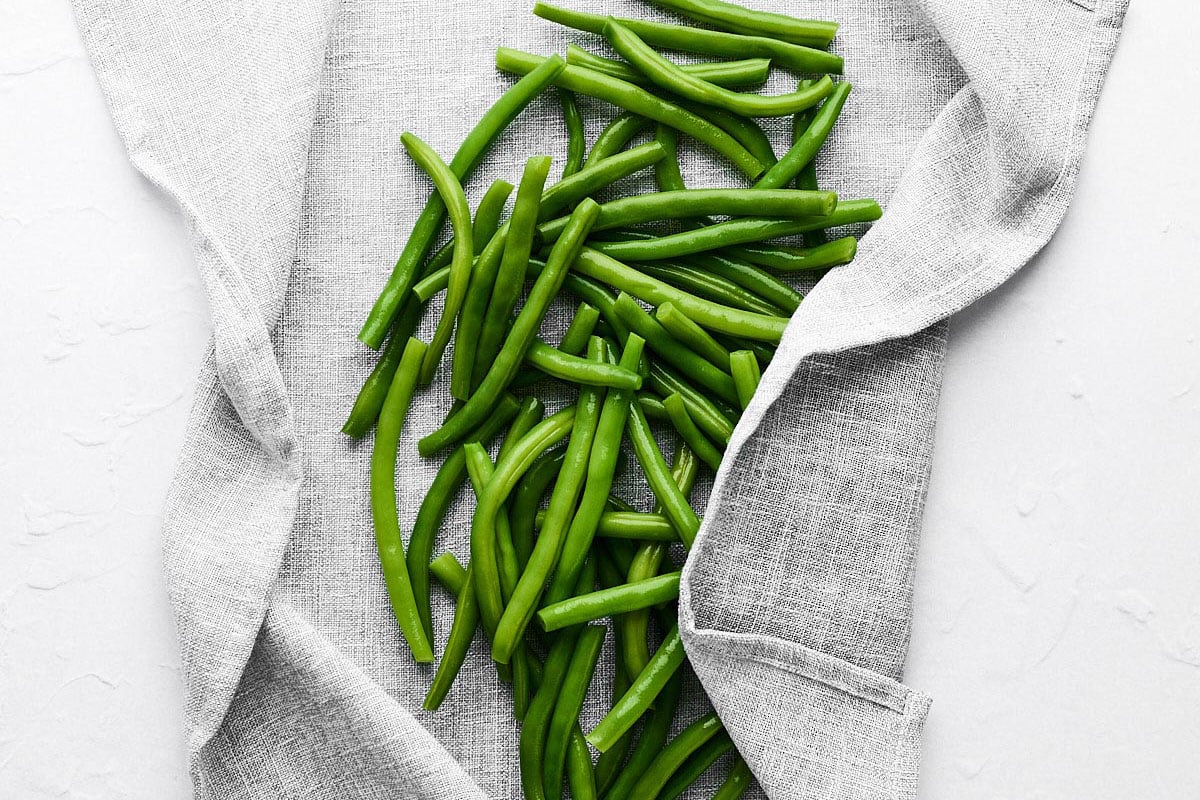
Dry the Beans
After cooling them in the ice bath for a few minutes, drain the green beans in a colander and pat them dry with a clean towel. Removing excess moisture is important, especially if you plan to sauté or further cook the beans in any way.
tips for perfectly blanched green beans
- Freshness Matters: For the best results, use fresh green beans that are firm to the touch and free from blemishes.
- Timing is Key: Keep a close eye on your green beans while they are boiling. Overcooking can lead to mushy, discolored beans, and no one wants that!
- Have the Ice Bath Ready: Have your ice bath prepared before you start cooking so that you can transfer the beans to the bowl and stop the cooking process immediately after they’re done.
Reheating
I love to keep blanched green beans on hand for quick additions to meals or side dishes! You can reheat cold ones any way you like, but frozen ones take a little trick. Microwave frozen blanched green beans in a covered bowl with a tablespoon of water for 2-3 minutes. You can also steam them for 3-5 minutes or sauté them in oil or butter for 5-7 minutes. Season the beans to taste with your preferred herbs, spices, or garnishes before serving.
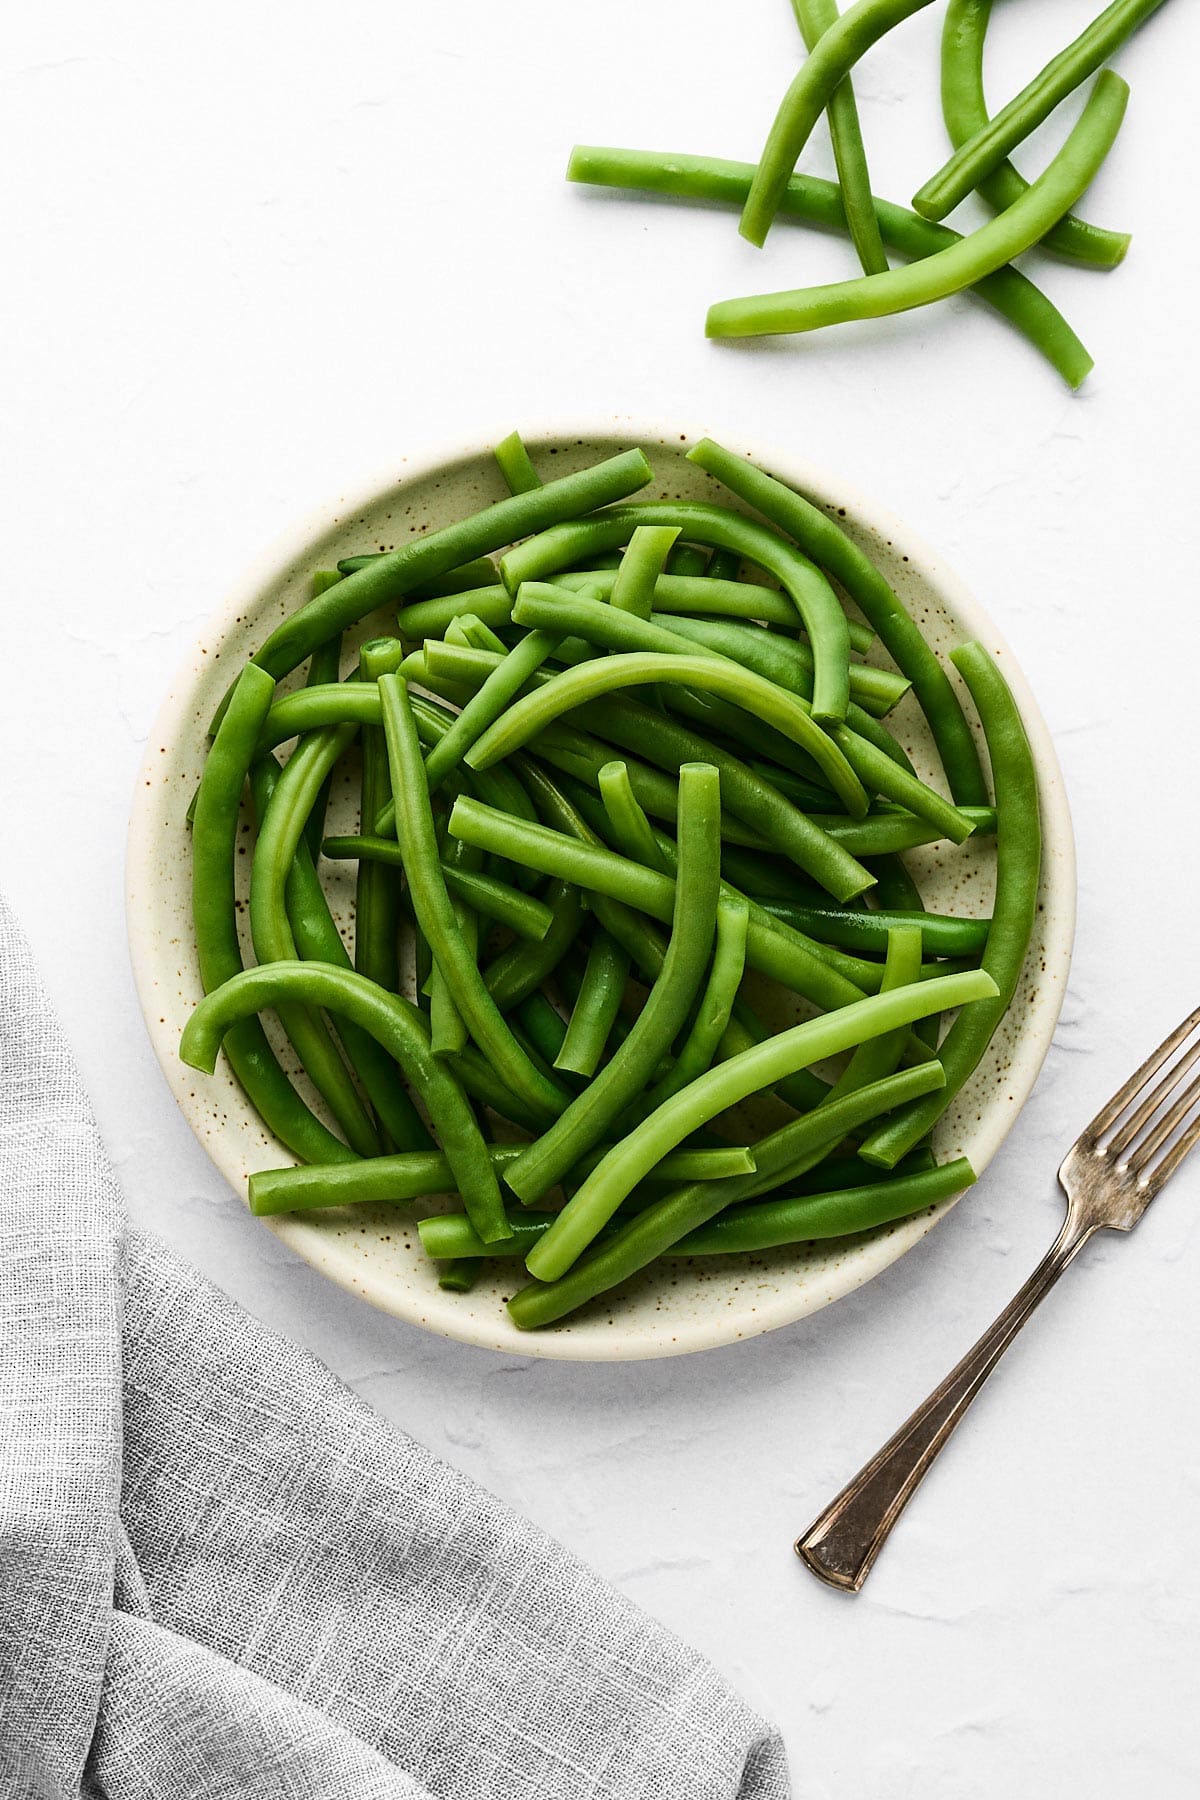
time to eat the beans!


How to Blanch Green Beans (Step-By-Step + Video)
Ingredients
- 4 cups green beans
Instructions
- Prep: Before cooking, prepare your green beans by washing them under cold water. Trim the ends off of each bean to remove any tough parts.

- Boil: Fill a large pot with enough water to cover the green beans and bring it to a rolling boil. I recommend adding salt to the water, which helps enhance the beans' flavor.Add the prepared green beans to the boiling water. Cook them for 2 to 3 minutes until they are bright green and tender-crisp. Keep in mind that cooking times can be slightly longer at higher elevations due to the lower boiling point of water.
- Ice Bath: Once the green beans have reached the desired level of doneness, quickly remove them from the boiling water and transfer them to an ice bath for the same amount of time that you blanched them. This step stops the cooking process immediately, preserving the beans' vibrant color and crisp texture.
- Dry: After cooling them in the ice bath for a few minutes, remove the green beans and pat them dry with a clean towel. Removing excess moisture is important, especially if you plan to sauté or further cook the beans in any way.
Notes
Nutrition
Nutrition information calculated by Sarah Bond, degreed nutritionist.