

This post contains affiliate links.
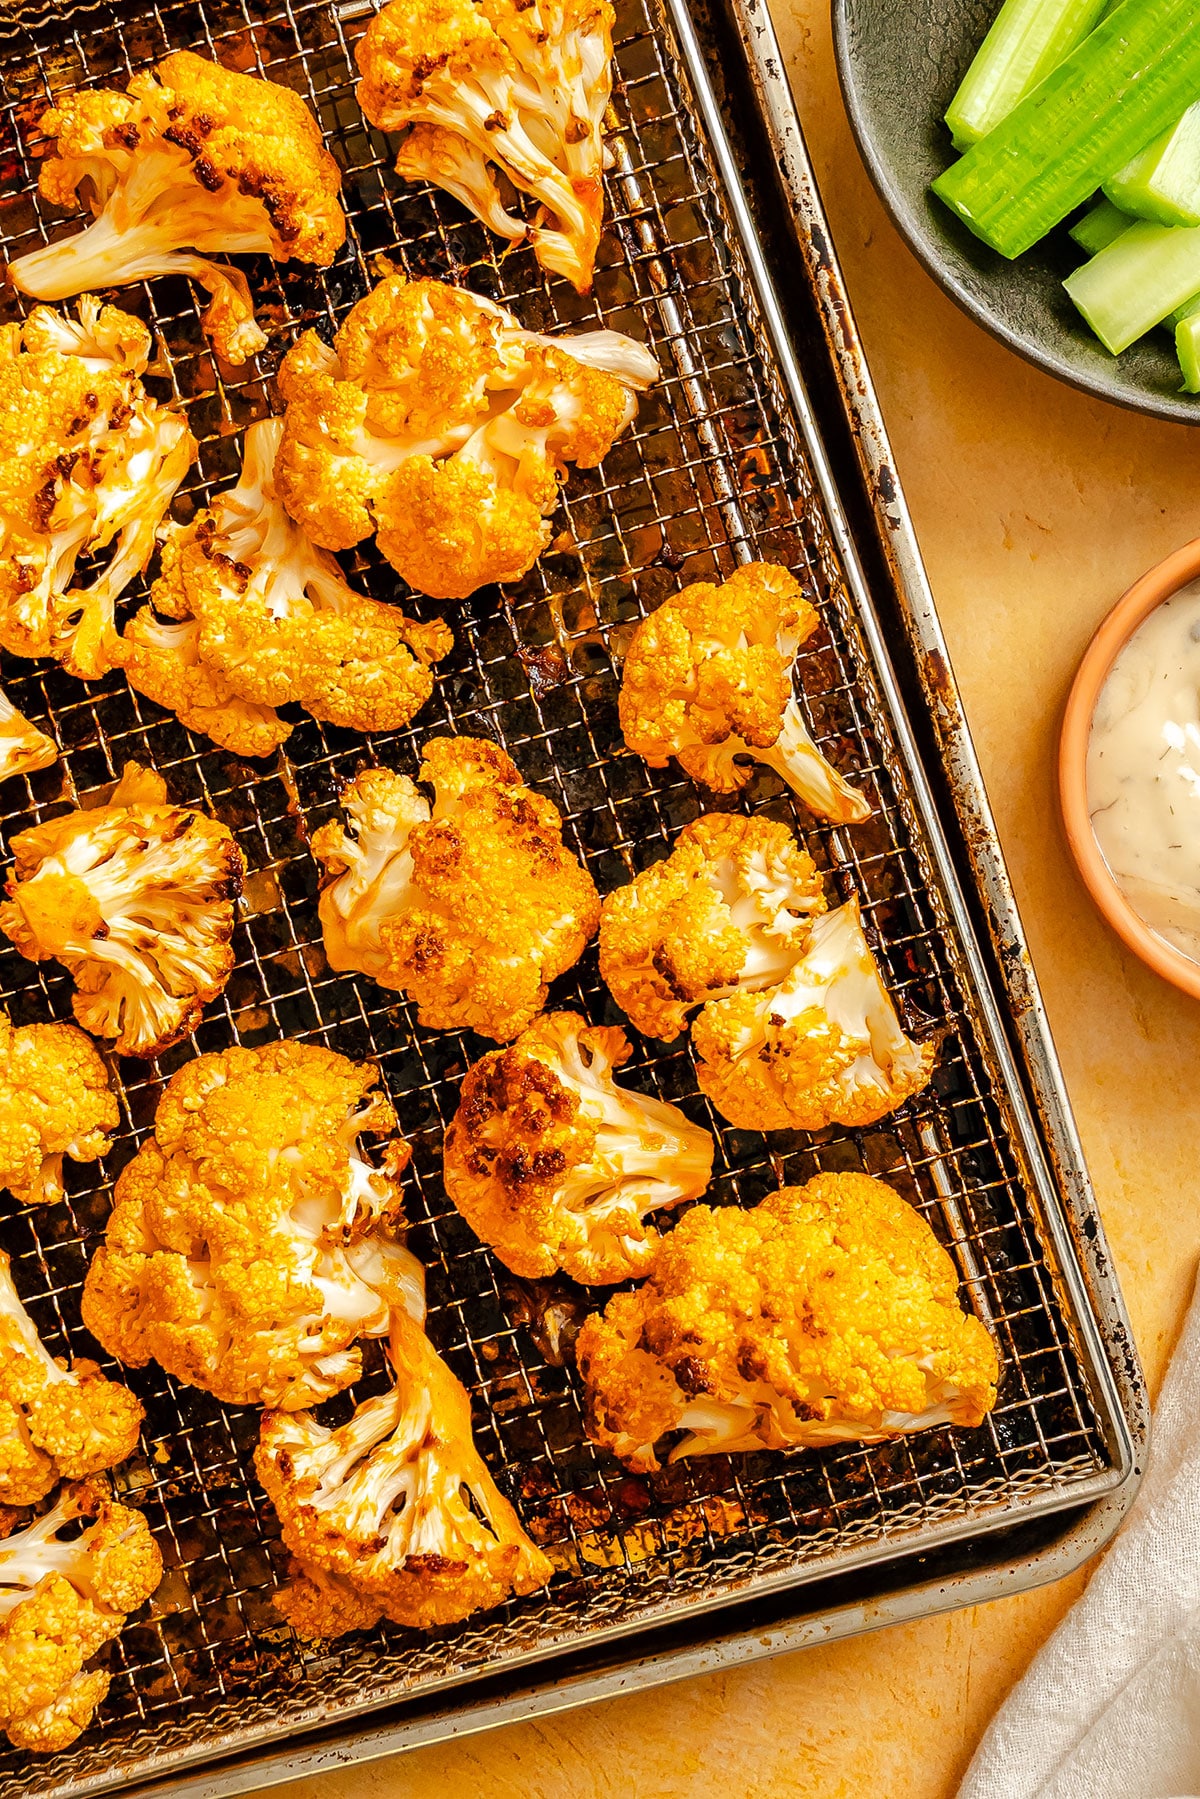
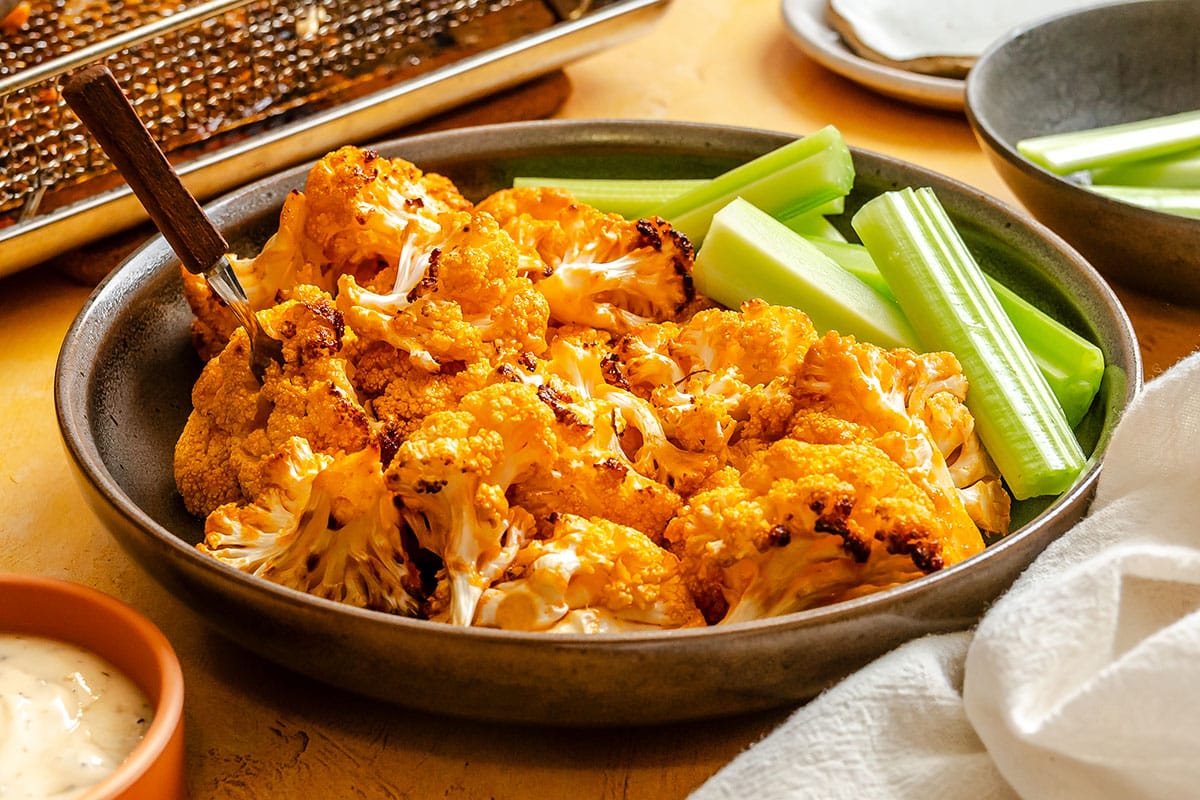
With over hundreds of 5-star reviews, you can be sure these air fried buffalo cauliflower bites will be a hit! With just 5 ingredients, they’re incredibly easy to make (and ready in under 20 minutes). They’re perfect as an appetizer or side dish, and pair deliciously with your favorite creamy dip.
 save this recipe!
I absolutely love making air fryer recipes, and this one is at the top of my list. It’s perfect when you’re looking for something savory and totally satisfying.
Since this cauliflower has no breading and is cooked in an air fryer, it’s a great healthy alternative to fried buffalo wings (and my bet is you’ll like them more than traditional wings – check the reader comment below!).
Reader rating
“Delicious! My husband said he liked it better than Buffalo Wild Wings chicken wings.” —DL
You will love this cauliflower wings recipe
With hundreds of five-star reviews and one reader whose husband declared these better than Buffalo Wild Wings, this is the air fryer recipe I come back to again and again. Here’s why:
- Only 5 ingredients and ready in under 20 minutes
- No breading, no deep frying, no mess
- The air fryer gets the edges crispy without any oil-heavy coating

Buffalo Cauliflower Recipe Ingredients
This recipe uses simple ingredients that together make the best buffalo cauliflower…ever. Jump to the recipe card for all measurements!
- Cauliflower: We tested both whole heads and pre-cut bags. Fresh florets work best, cut to even bite-sized pieces for uniform cooking.
- Buffalo Sauce: We love Frank’s RedHot Buffalo Wing Sauce for its classic tangy heat, but any buffalo-style sauce works.
- Olive Oil: Helps the cauliflower edges caramelize in the air fryer. Avocado oil also tested well.
- Garlic Powder & Salt: Simple pantry seasoning that boosts flavor and balances heat.
How to make air fryer buffalo cauliflower
Three steps and you’re done. For the full recipe with process photos, jump to the recipe card.
- Cut the cauliflower into evenly sized bite-sized florets
- Toss with buffalo sauce, olive oil, garlic powder, and salt until evenly coated
- Arrange in a single layer in a greased air fryer basket and cook at 375°F for 12 to 15 minutes until fork tender and slightly browned at the edges
How to serve this buffalo cauliflower recipe
The classic pairing is a creamy dip and celery sticks, and there’s a reason it’s classic. The cool, creamy dip against the hot, tangy cauliflower is the contrast that makes the whole thing work. My vegan ranch dressing is my go-to here and it takes about five minutes to make.
For a game day spread, these work beautifully alongside my buffalo chickpea wraps for a fully buffalo-themed appetizer table. They’re also excellent crumbled over a salad, scattered on top of my roasted cauliflower salad in particular, where they add heat and crunch against the creamier elements.
And if you’ve got the other half head of cauliflower sitting on the counter, my roasted cauliflower tacos use it up perfectly.

Want them breaded?
While these do get crispy in the air fryer, I can understand wanting a breaded wing! To do this, follow this guide to Sticky Orange Cauliflower (without the sticky orange sauce, of course!). The breading works well in the air fryer, then you would just drizzle on buffalo sauce after cooking!
Storing buffalo cauliflower wings
These are best eaten immediately while the edges are still crispy. That said, leftovers keep in an airtight container in the fridge for up to three days.
To reheat and restore the texture, pop them back in the air fryer at 375°F for three to four minutes. The microwave works in a pinch but softens the edges significantly. Avoid it if crispiness is your goal.
These don’t freeze well. The cauliflower releases too much moisture when thawing and the texture doesn’t recover.

Buffalo Cauliflower Wings

Ingredients
- ½ head cauliflower
- ½ cup buffalo sauce, we used Frank's Red Hot Buffalo Wing Sauce, 120 mL
- 2 Tbsp olive oil, 30 mL
- 1 tsp garlic powder
- ½ tsp salt
- To serve: creamy dip (like ranch or bleu cheese) and celery stalks
Instructions
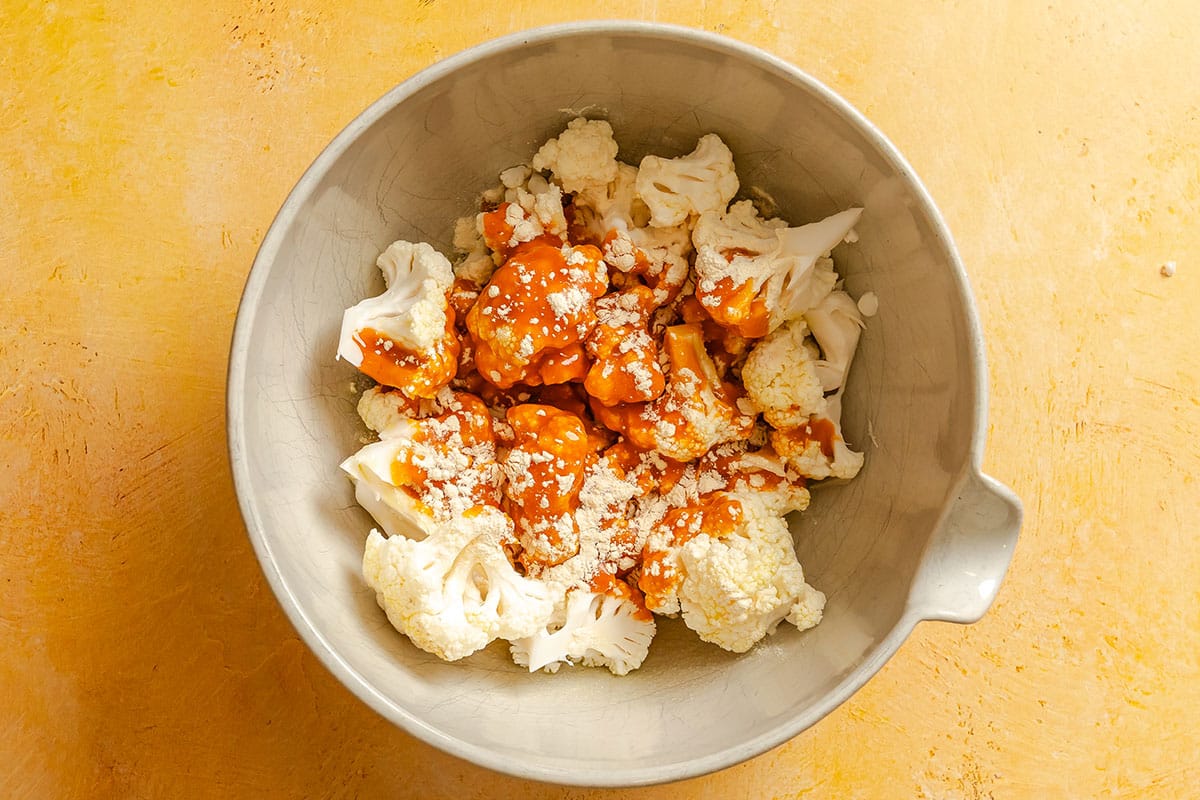
- Prep: Cut ½ head cauliflower into bite-sized florets. In a large bowl, gently stir together cauliflower, ½ cup buffalo sauce, 2 Tbsp olive oil, 1 tsp garlic powder, and ½ tsp salt.
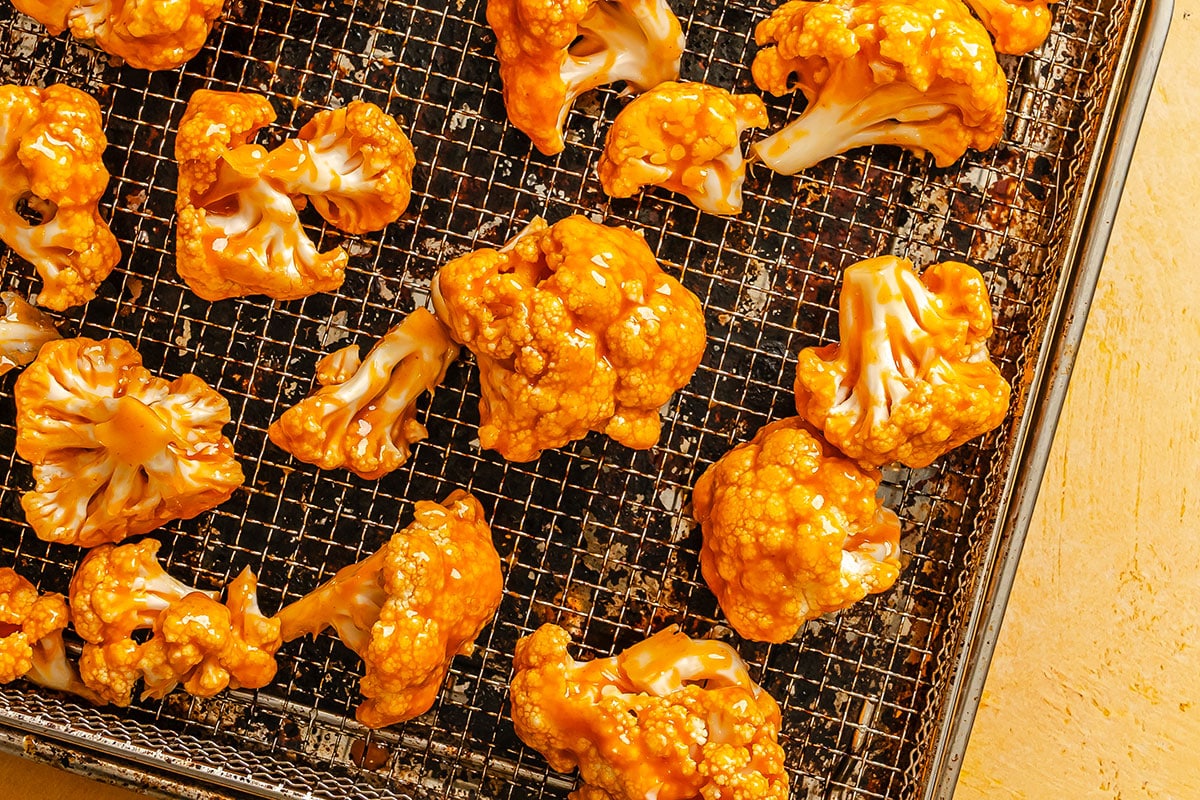
- Cook: Lightly grease your air fryer basket or rack. Arrange cauliflower in a single layer (working in batches if they don't all fit in a single layer). Cook at 375°F (190°C) for 12 to 15 minutes, or until fork tender and slightly browned.
- Serve: Serve warm with your favorite dipping sauce and celery sticks.
Notes
Nutrition
Nutrition information calculated by Sarah Bond, degreed nutritionist.
 did you make this?Leave a comment below and tag @liveeatlearn on social media! I love seeing what you’ve made!



These were delicious
This was good and really easy. I eyeballed the BBQ and did garlic and salt to taste. I turned the pieces with about 5 minutes to go because they were getting crispy ends. Glad to find a recipe without a bunch of breading.
It was delicious! I made mine in the oven instead, and was still great. I didn’t put the full amount of hot sauce because I was worried it would be too spicy. Some of the hot sauce comes of when you bake it, so I would recommend putting a little more that your desired spice level, so that when you eat it it’s perfect. I really enjoyed and would recommend this to anyone who wants a yummy, healthy snack!
Excellent recipe. Easy and fast. I like to use as few ingredients as possible. This one is perfect
The recipes are well written and clear. I can’t say that about all of the recipes I’ve slogged through the past few days. Thank you.
Fantastic !!!
too much salt!@
This has become a go-to recipe!! Great for a night that I want minimal work and minimal clean up. Delicious, filling, and easy.
So happy to hear it, Chloe! 😀 Enjoy!
soo easy and soo delicious. They come out perfect, not soggy like when you steam them. We have an Instant Pot and made this recipe in the bottom basket and did a different recipe on the top pan. So fun and great for a large family that has different tastes.Thanks for sharing. I will use this process for all veges from here out.
Really good! But too spicy for me, I’d cut the Frank’s in half for sure, and I don’t think I’d add any salt.
Just made them for the first time and for me personally, they were way too salty. Good texture though, nice and crispy.
Great!