
This post contains affiliate links.

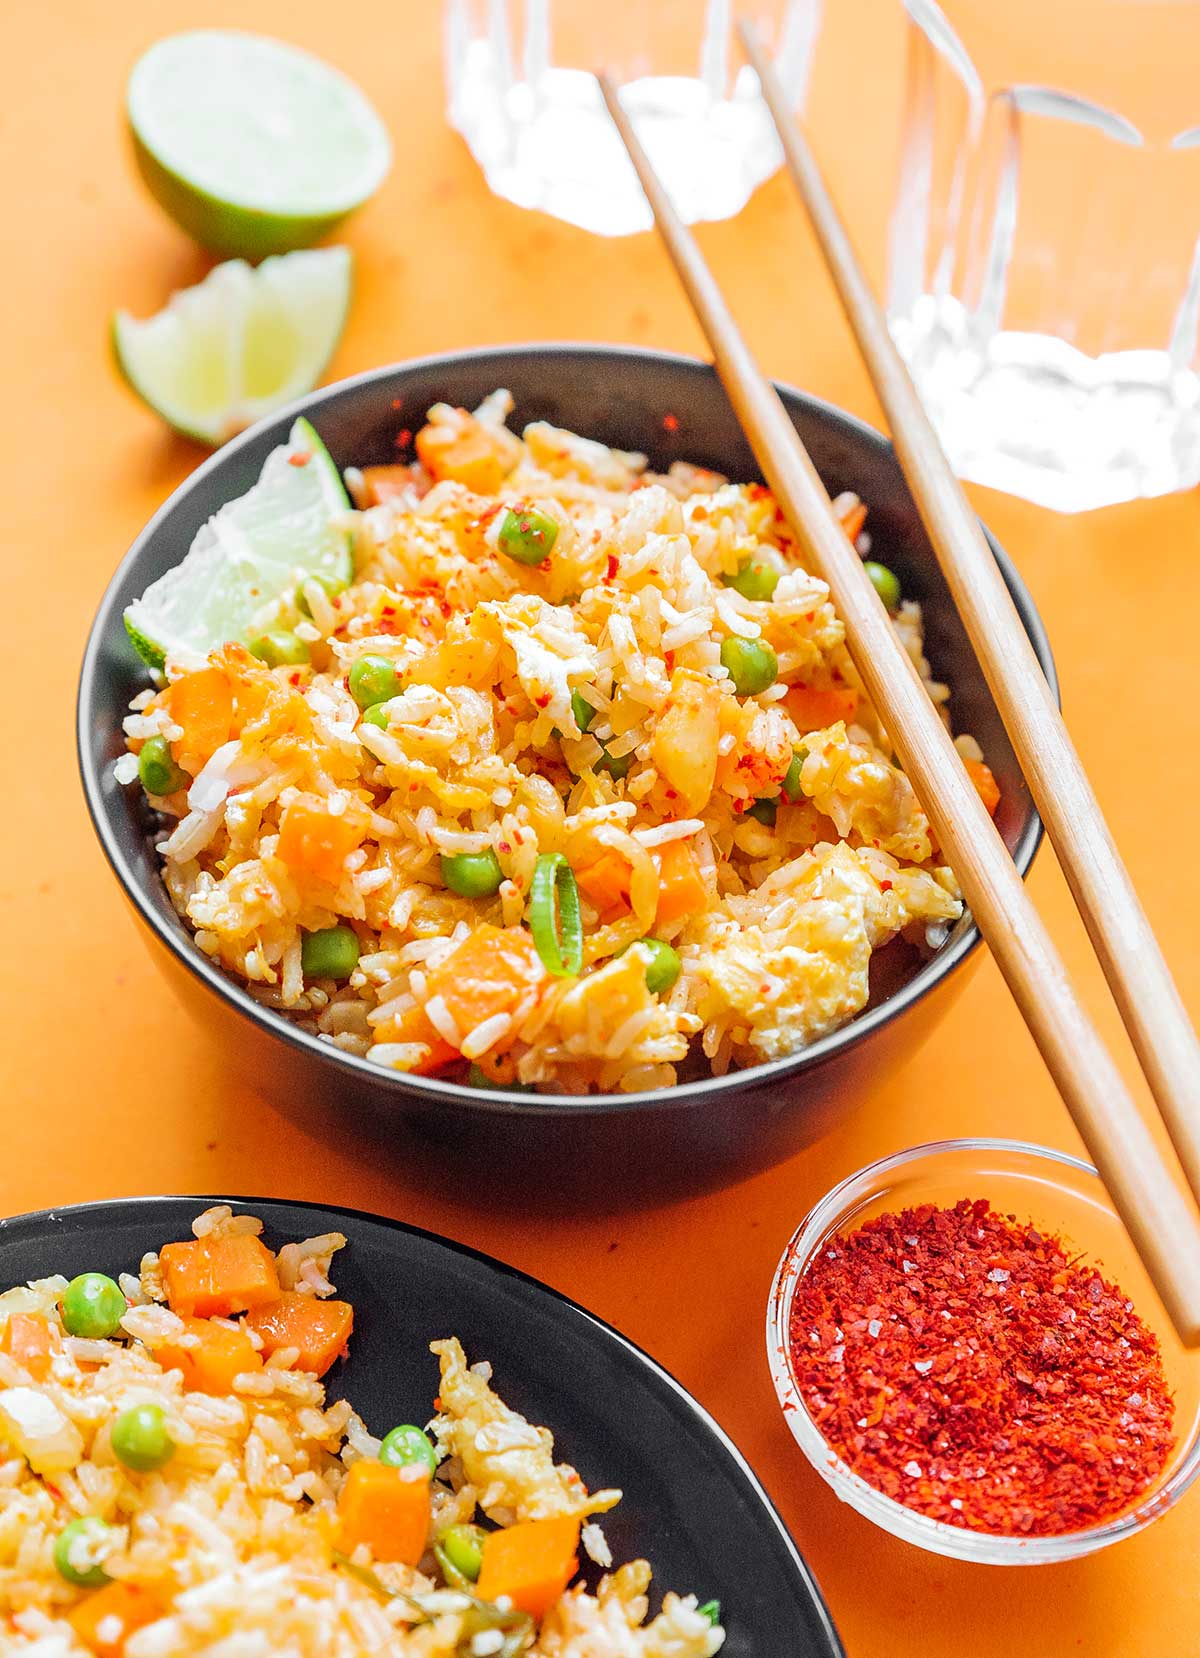
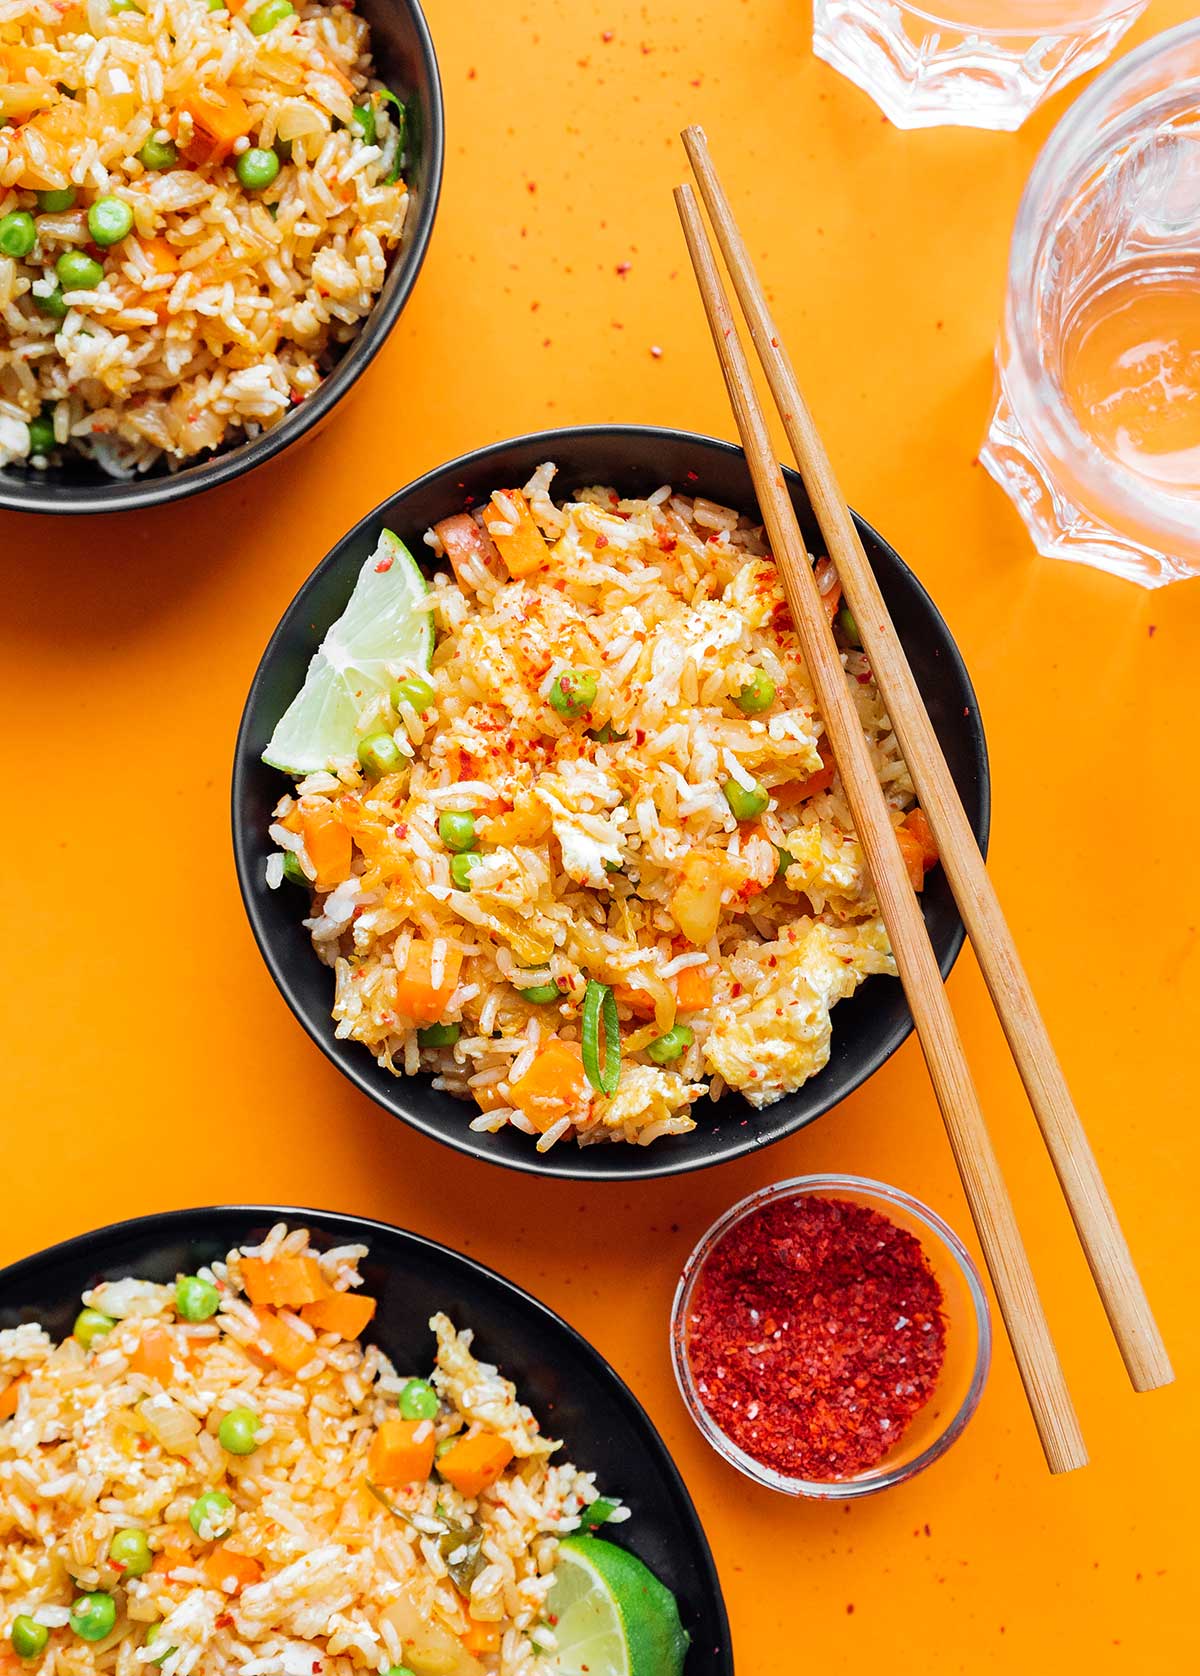
This kimchi fried rice is on another level, friends! Made without meat, it’s ridiculously easy to whip up yet still packed with bold, tangy, and spicy flavors. Bonus: it’s ready in just 15 minutes!
Your Go-To Rice Dish
I’m a huge fan of rice dishes for multiple reasons: they’re hearty and filling but also simple and versatile. Toss your favorite vegetables into a nice, warm rice bowl, and you’ve got a complete dinner meal!
But kimchi fried rice? It’s a whole new realm of deliciousness, folks. This Korean fermented cabbage brings the perfect zing—spicy, sour, and totally unique. It has completely changed the rice game for me.
Reader rating
“Incredibly good. I added tiny cubes of pan-fried tofu + extra soy sauce and sea salt. One of the best fried rices I’ve had!” —Rachel
Recipe Tips
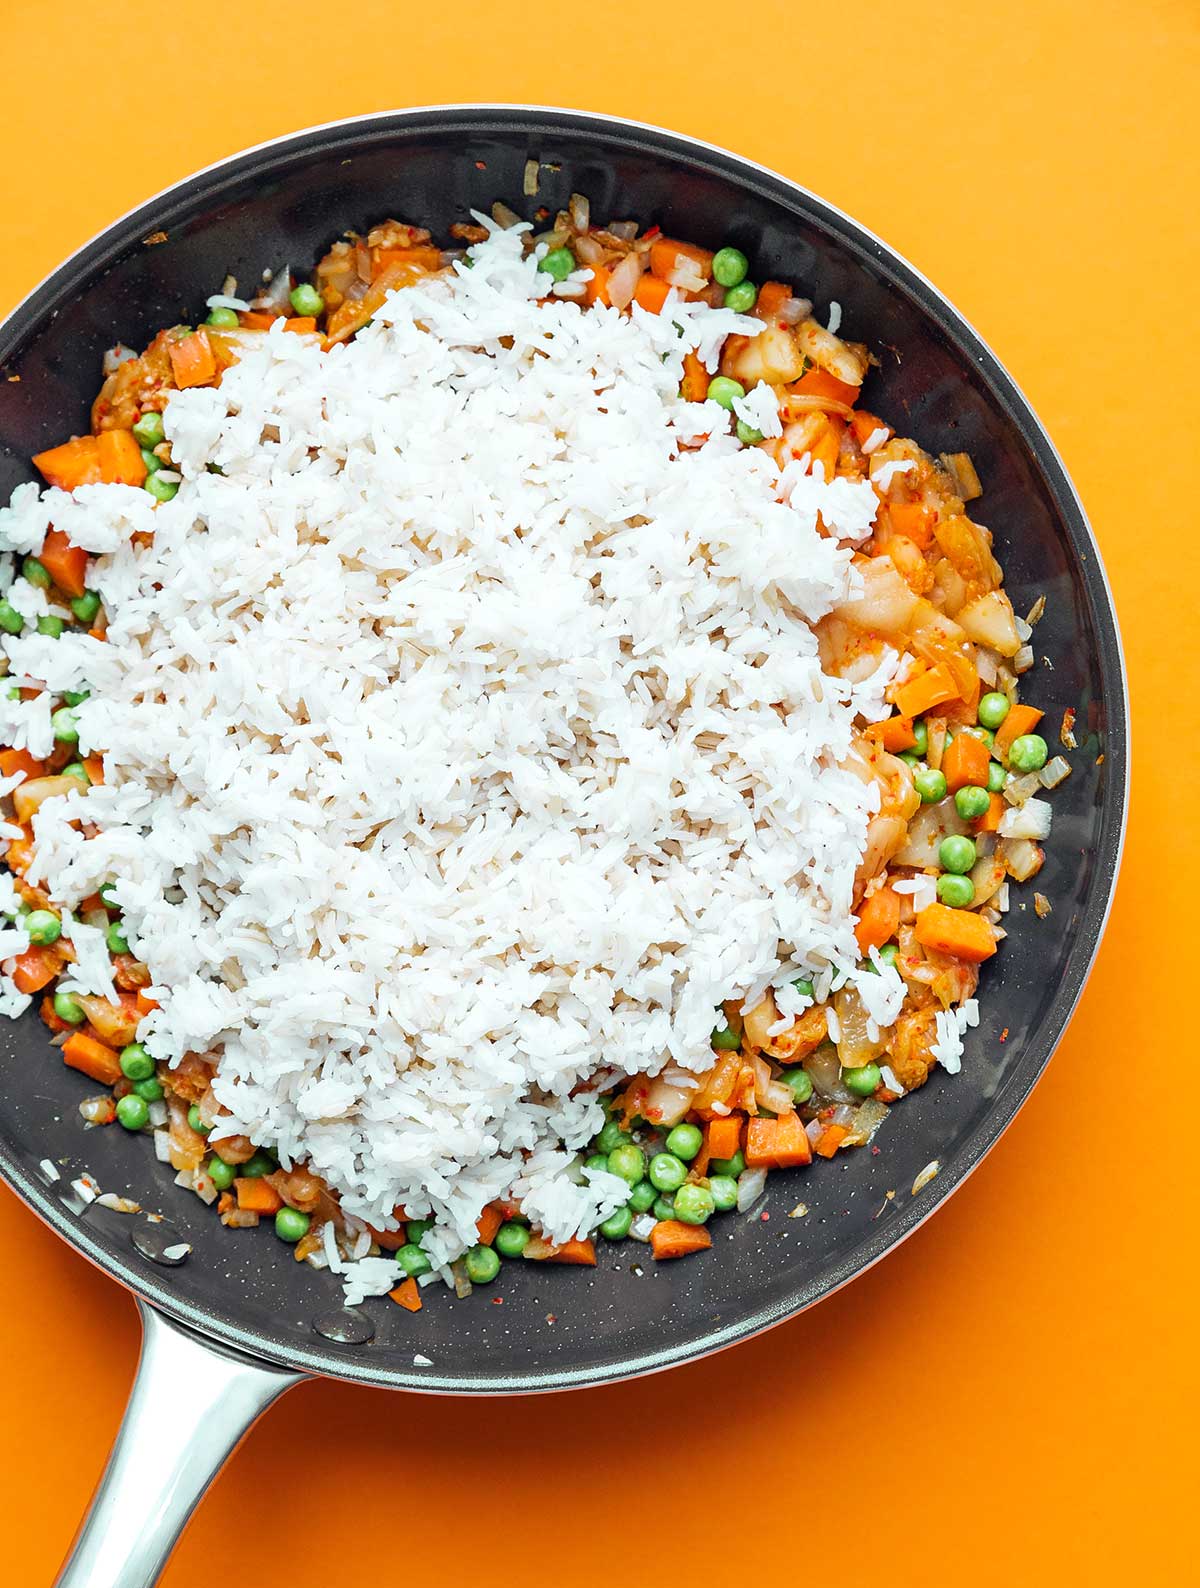
Be Cool: The recipe card reads cooled rice (and for a good reason!). Cooled rice works infinitely better than hot rice straight out of the pot. When it’s cool, it can soak up the butter or oil and brown up perfectly. The rice gets clumpy when it’s still warm and doesn’t work nearly as well. Give your rice a solid 30-40 minutes in the fridge. To save time, cook it the day before!
Keep The Soy To A Minimum: You don’t want to overdo the soy sauce. Too much, and your dish will be too salty, and that’s never good. By rule of thumb, 2 tbsp should be just right.
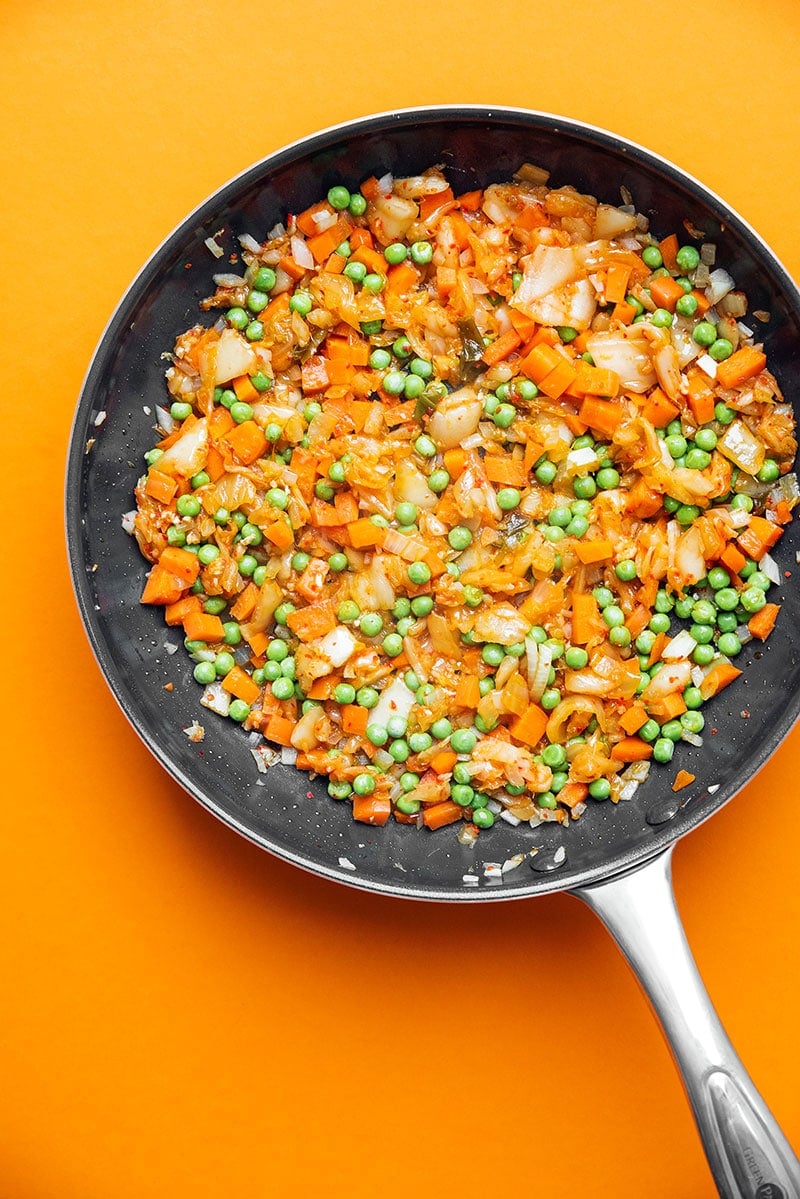
Be Generous With Veggies: This recipe calls for one cup of veggies, but feel free to use as little or as much as you’d like. After all, extra veggies never hurt anyone!
Craving More Kimchi?

Loaded Vegetarian Bibimbap Recipe
30 minutes

Creamy Kimchi Udon Noodles
20 minutes

Loaded Kimchi Fries
15 minutes

Kimchi Tempeh Tacos
20 minutes

How To Make Kimchi Fried Rice (In 15 Minutes)
Ingredients
- 2 Tbsp oil or butter, 30 mL
- ½ cup chopped white onion, about ½ onion
- 2 cloves garlic, minced
- 1 cup kimchi, 200 g
- 1 cup veggies, such as frozen peas, carrots, and/or corn
- 3 cups cooked rice, cooled, 200 g
- 2 Tbsp kimchi juice, 30 mL
- 2 eggs
- 2 Tbsp soy sauce, 30 mL
- ½ tsp toasted sesame oil, 2 mL
Instructions
- Flavor: In a large wok, heat oil or butter over medium/high. Add onion and garlic, cooking until soft and fragrant, about 3 minutes. Add kimchi and veggies, cooking until veggies are tender.
- Rice: Add rice and kimchi juice, stirring to coat evenly. Continue cooking until rice is warm.
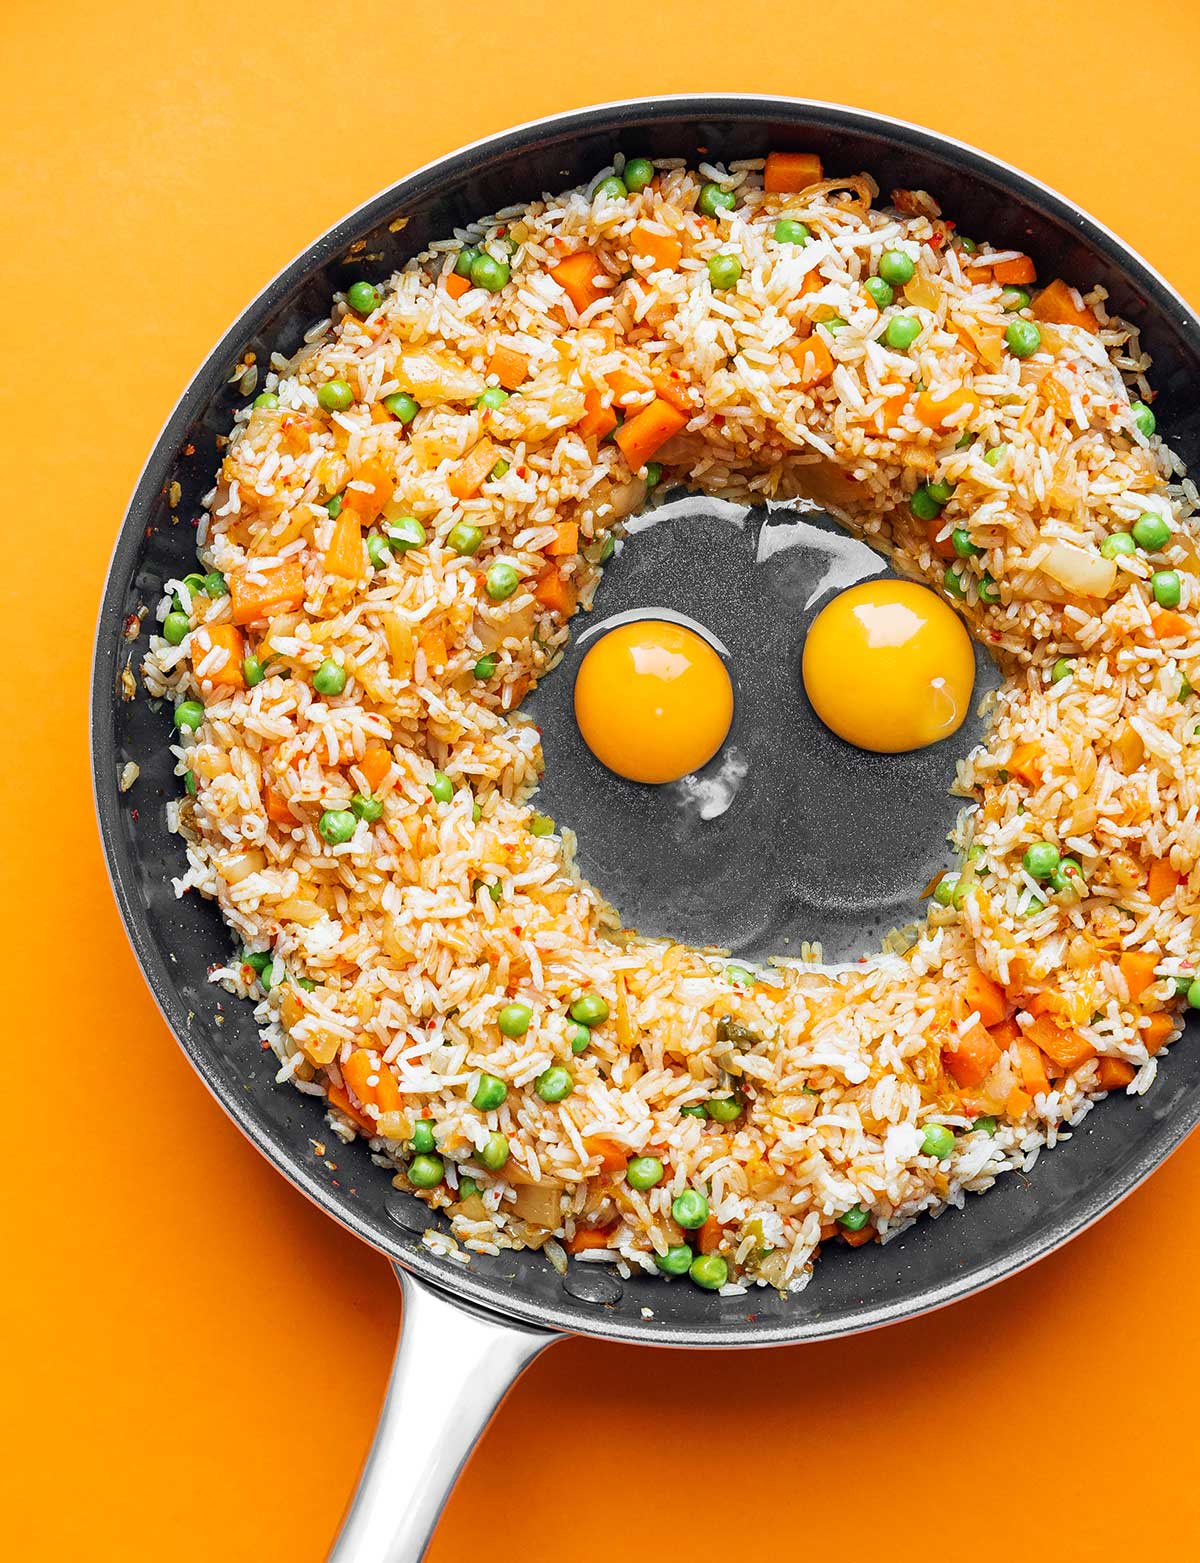
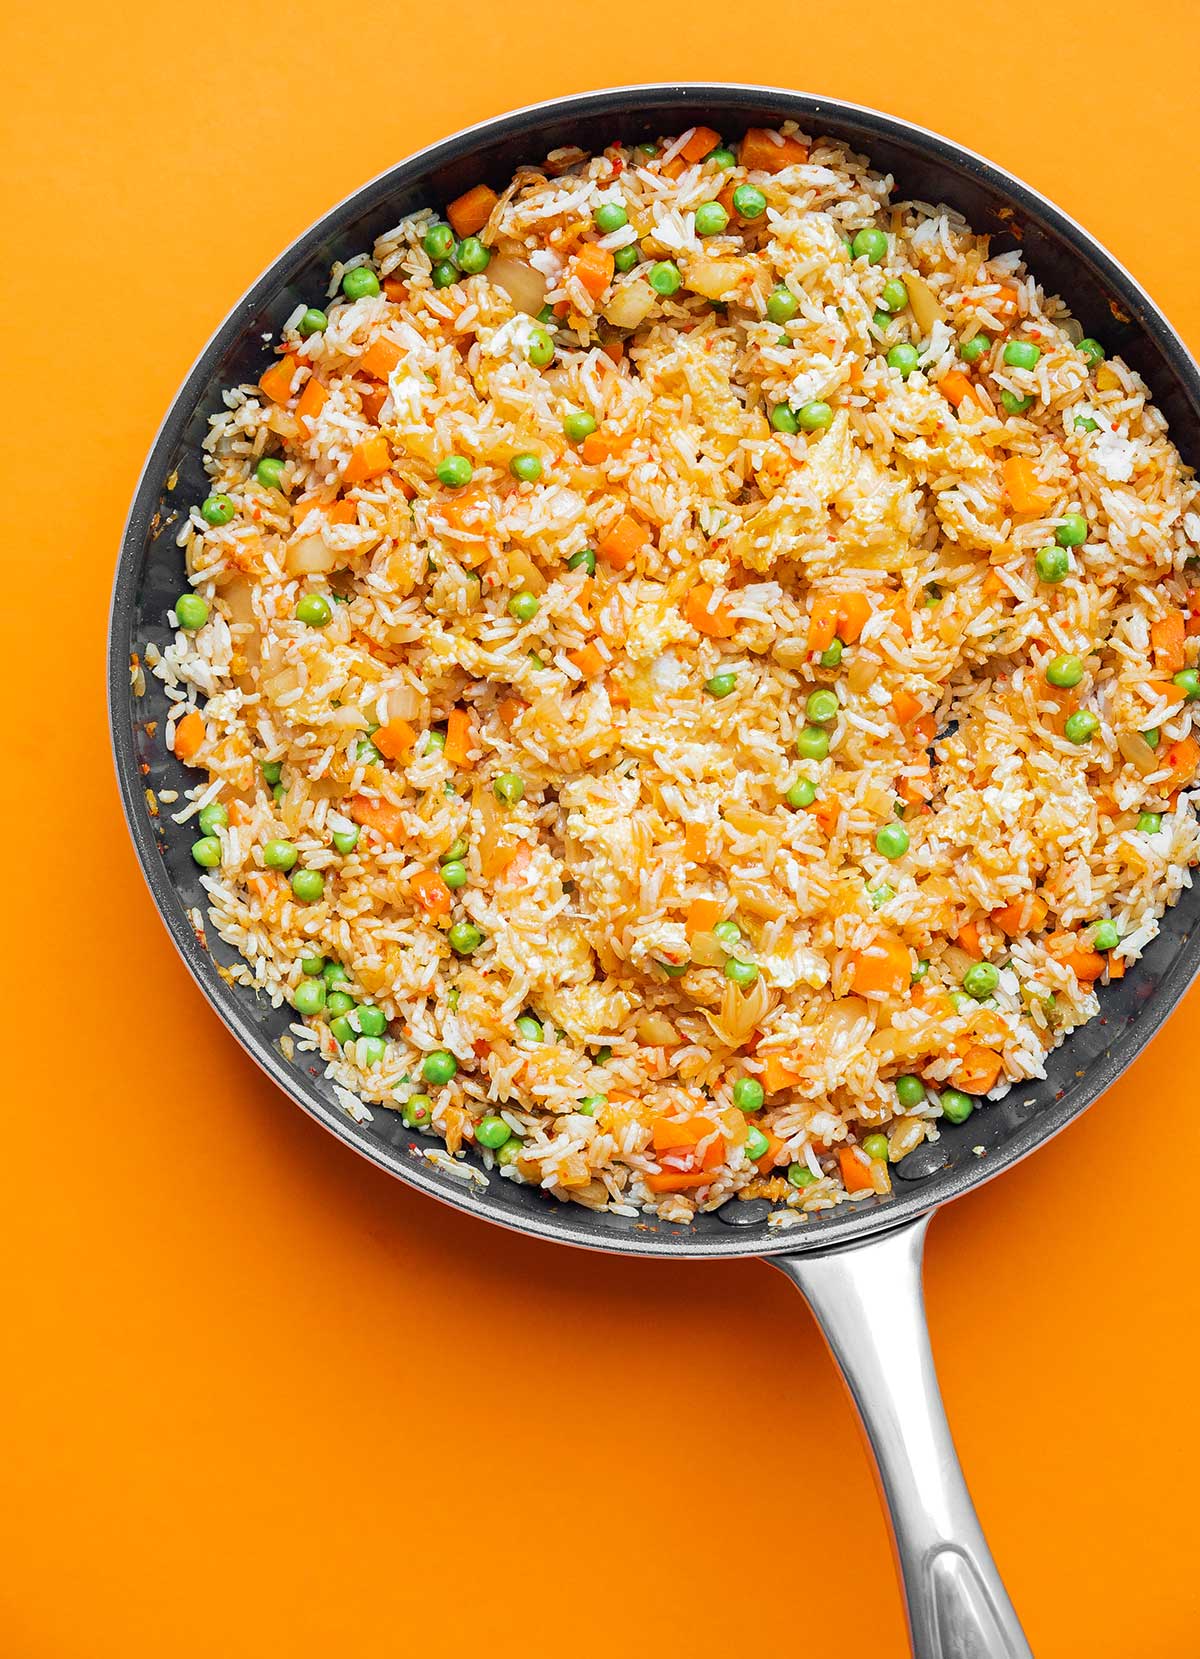
- Egg: Make a hole in the middle of the rice so you can see the bottom of the pan. Crack eggs into the hole and cook until scrambled, then stir to evenly combine with the rice.
- Serve: Stir in soy sauce and sesame oil. Serve warm.
Nutrition
Nutrition information calculated by Sarah Bond, degreed nutritionist.


For Keto/Low Carb use riced cauliflower instead of white rice!
Yes! Such a tasty sub! 😀
Could I add the kimchi after the eggs? Like with the soy sauce and sesame oil, to preserve the probiotics?
Yep that would be fine! Great idea actually! 😀
Won’t cooking the kimchi kill the probiotics?
Yes it will kill some of the probiotics! You can always add it in last if you want to preserve them all 😀
This dish was AMAZING! I added some extra kimchi seasoning and some orange/ginger seasoning, as well as pork cooked in the instant pot. I also cooked some red and yellow peppers with the stir fry. It was soooo good and fairly easy to make.
Incredibly good. I added tiny cubes of pan-fried tofu + extra soy sauce and sea salt. One of the best fried rices I’ve had!
How long will this dish last for if going for a meal prep?
About 5 to 6 days in the fridge!
This recipe tastes as good as what you find in a restaurant! I do have one question about the nutrition values:
“Fat: 10.4g (16%) Saturated Fat: 681g (4256%)”
Should that be 681 mg of Saturated fat?
Oops! That’s not right, thanks for pointing that out! Recalculating the nutritional info now 🙂