
This post contains affiliate links.

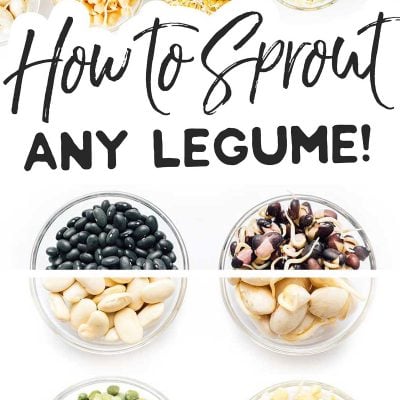
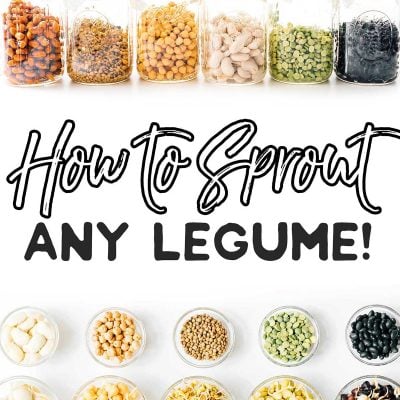
If you’ve ever considered growing your own food, start with learning how to sprout beans using this helpful guide! It’s an affordable way to pack in delicious plant-based protein and nutrients while also making the legumes more digestible (and delicious). Here’s our quick start guide to sprouting virtually any legume – verified by over 20 5-star reviews!

I’ve always been obsessed with sprouts. But it wasn’t until I got my degree in nutrition that I realized just how much of a nutrition powerhouse sprouts are. Or that you can sprout many things – like legumes!
These sprouted beans and legumes are the supercharged versions of themselves. They’re easy to grow, don’t require any special gear, and transform the humble bean into a nutrition powerhouse. Let’s sprout!
Reader rating
“I’m an old country girl so I’ve always known about beans sprouting but only recently have started sprouting for nutritional value. I have mung beans, alfalfa and red azuki beans sprouting at the moment… Thank you for your awesome article on sprouting!” —Dell
Benefits of sprouting
Nutrition: The process of sprouting transforms a lot of the starch in legumes into a more nutrient-rich food, increasing the amount of folate, iron, vitamin C, zinc, magnesium, and protein. It also breaks down phytate, which is a compound that prevents nutrient absorption.
Digestible: During this transformation, the starchy endosperm is also broken down, meaning sprouted beans may be easier to digest for some people.
Affordable: While you can buy sprouts at your grocery store or farmer’s market, they’re often expensive and can be made for a fraction of the cost at home!

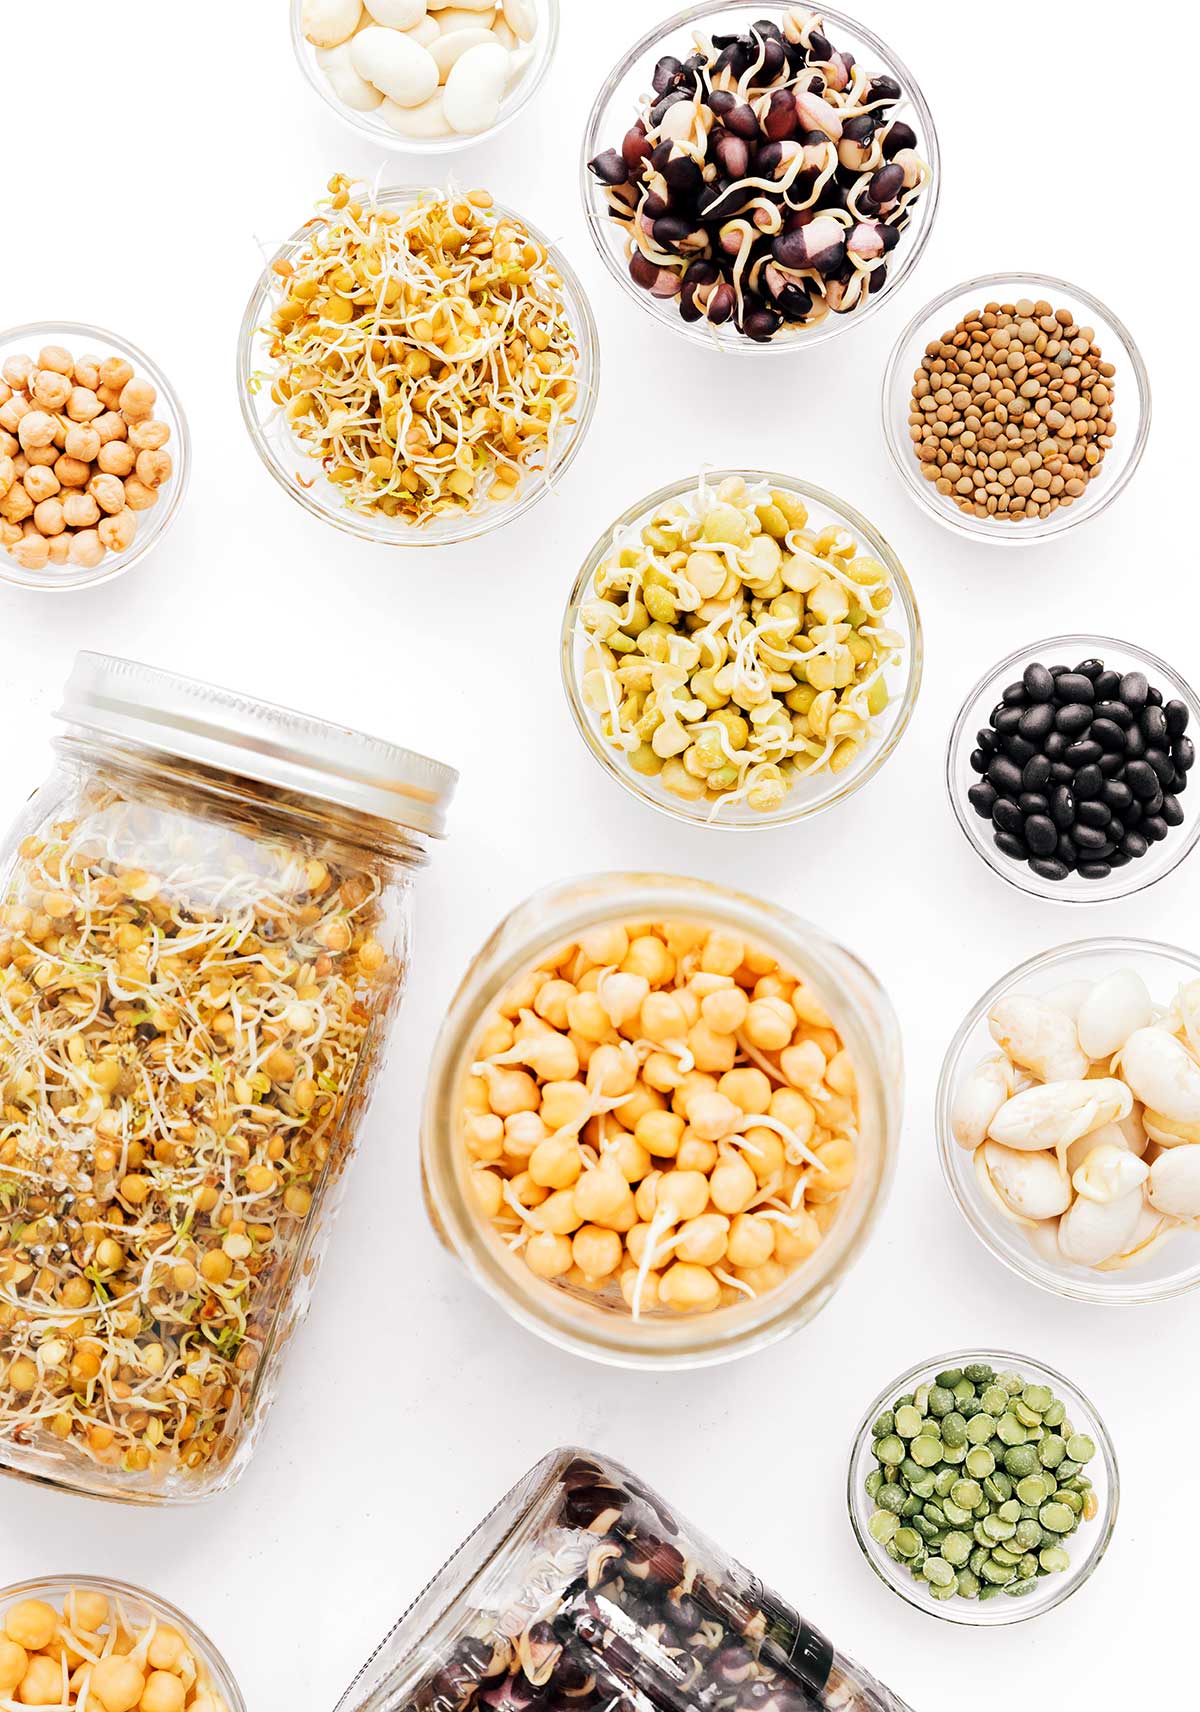
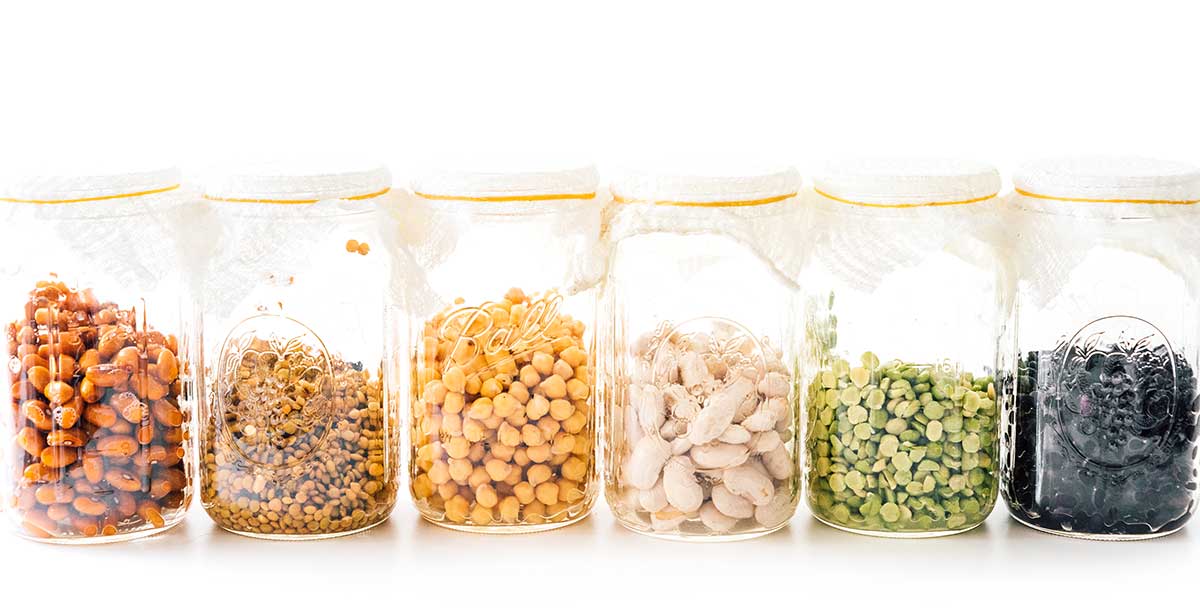
What can you sprout?
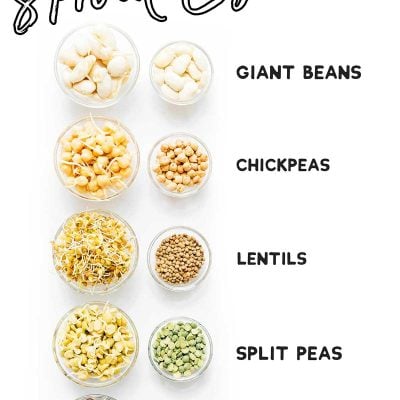
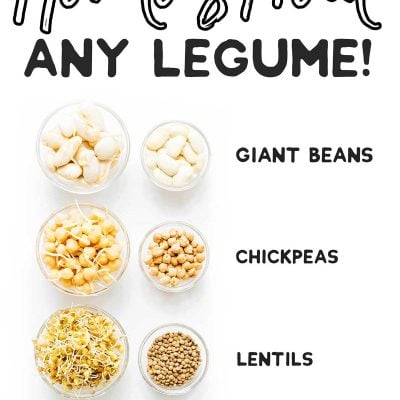
You can sprout many things, such as legumes, seeds, nuts, and grains. Today, we’re focusing on one of the most common ingredients to sprout – legumes! This includes chickpeas, lentils, green peas, black beans…really any type of bean!
As a note, we are not sprouting any kind of kidney beans, which can contain potentially toxic compounds that require you to cook them before consuming.
sprouting beans: you’ve got options!
When it comes to sprouting beans at home, you have two options: sprouting seeds or regular.
Sprouting seeds are specifically meant for sprouting, so they have been treated and cleaned to make them more suitable. These are most likely to sprout and are less likely to carry nasty pathogens—like E. coli and salmonella—which can grow in the warm humidity of your sprouting environment
Regular “seeds” are basically just store-bought dried legumes! These could be dried beans, chickpeas, lentils, etc. Because the manufacturers expect that you will cook the beans before consuming them, they may not be cleaned sufficiently for sprouting. This is what we use to occasionally make sprouts, but if you’re going to sprout more long-term, we recommend investing in good sprouting seeds.
you don’t need much!
Sprouting doesn’t require any special equipment.
- Breathable Container: A wide-mouth mason jar topped with a cheesecloth does the job perfectly.
- Legumes: Don’t forget the dried beans or legumes, of course.

How to sprout beans and legumes
Sprouting is a simple process. This is an overview of the recipe. Jump to the recipe card for the full printable recipe.
Step 1: Soak the Legumes
Add your chosen dried legume to a large bowl or jar and cover with cool water. The water should be a few inches above the dried legumes – they’re going to expand! Soak for 8 to 12 hours (or overnight).
Step 2: Rinse Well
Rinse the legumes well, then place them in your sprouting vessel (a wide-mouth mason jar works well).
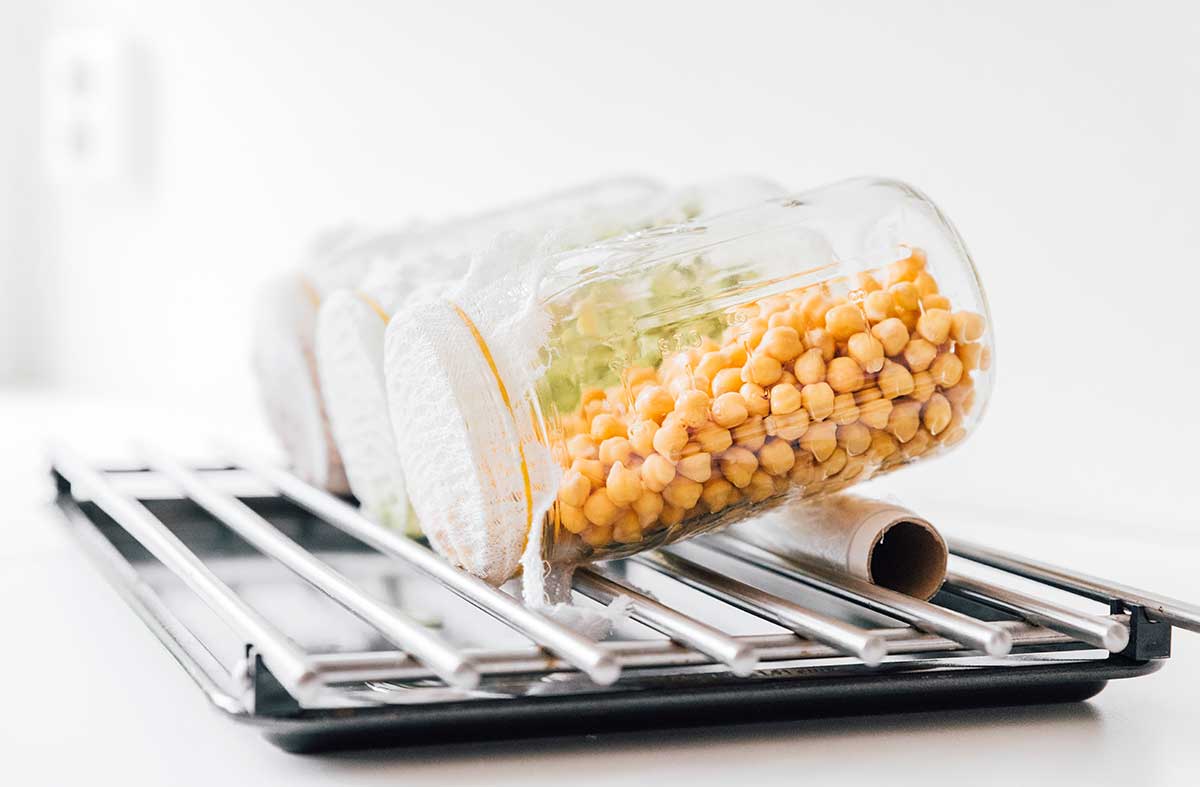
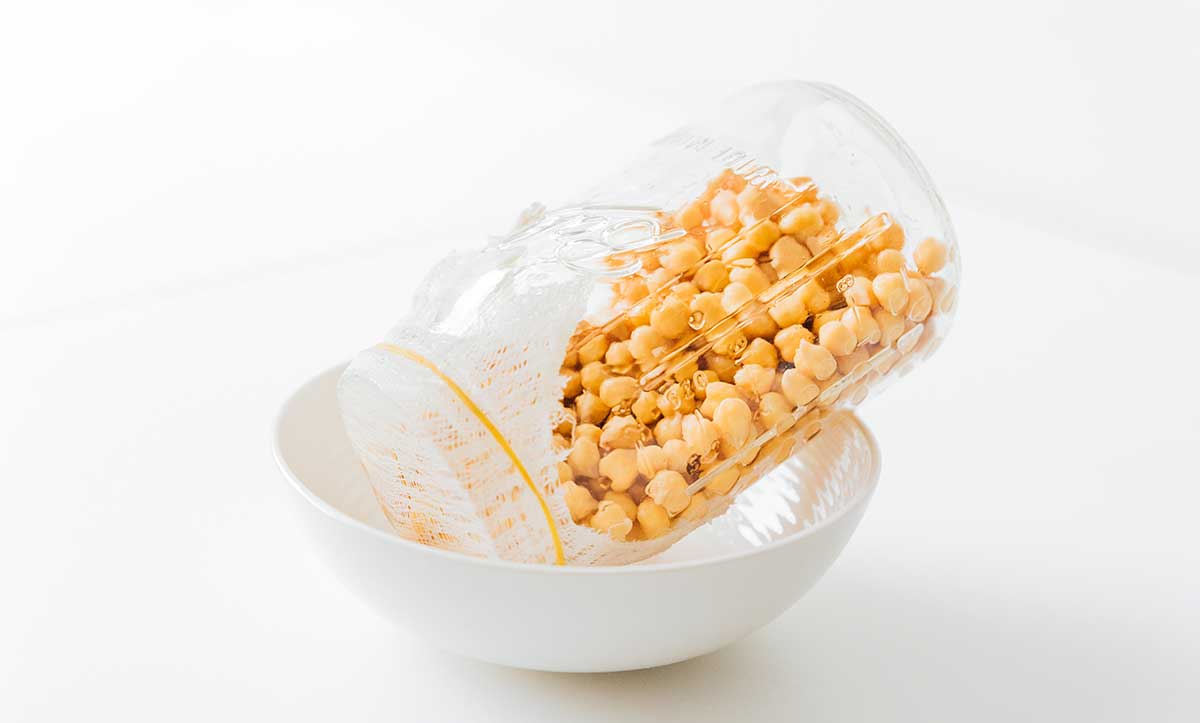
Step 3: Drain the Water
Pour out the water. Secure a clean cheesecloth (or sprouting lid) over the jar using rubber bands. Prop the jar upside down at an angle to allow excess water to drip out.
Step 4: Repeat
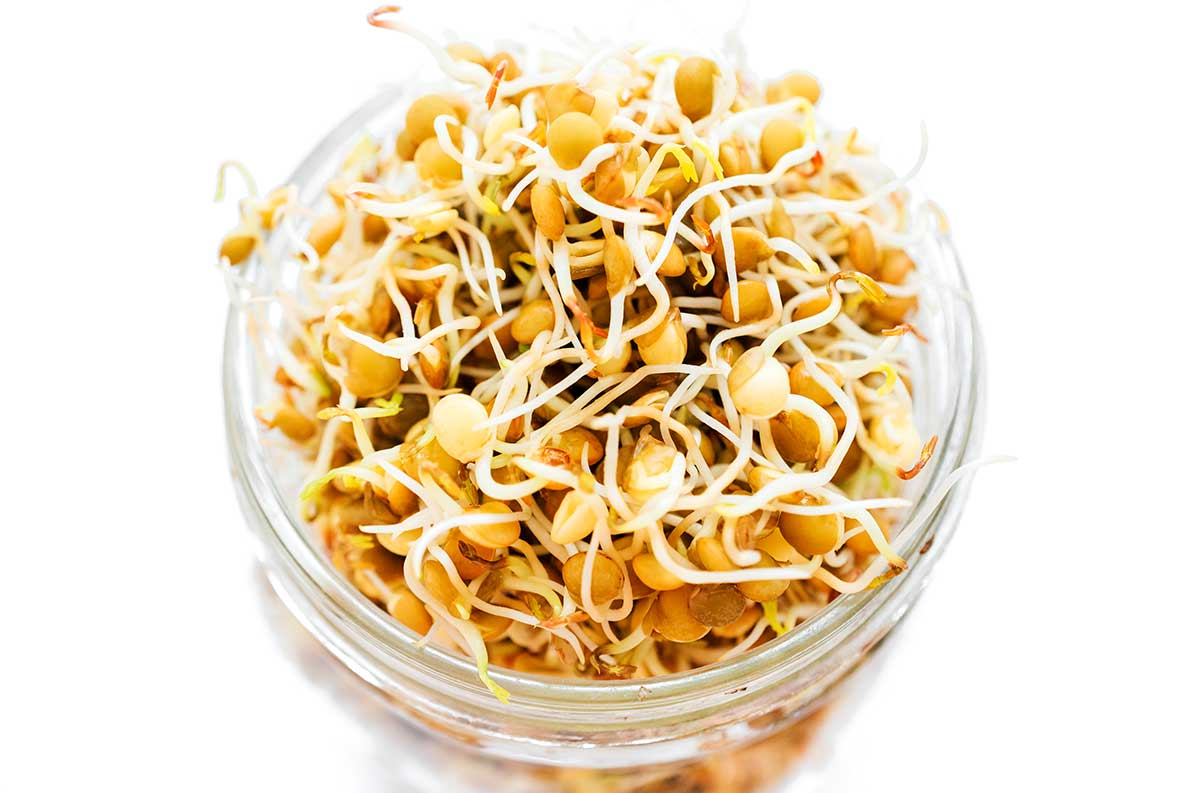
Rinse and drain the sprouting legumes 2 to 3 times per day (morning, noon, and night work well). Continue this for 2 to 3 days, or until the sprouts are 1 to 1½ inches long.
On the last day, you can expose them to sunlight if you want them to develop some green (chlorophyll).
Step 5: Store
Wrap sprouts in a clean cloth or paper towel and set them in a clean, airtight container. These won’t keep long, just 2 to 3 days in the fridge, so eat them while they’re fresh!
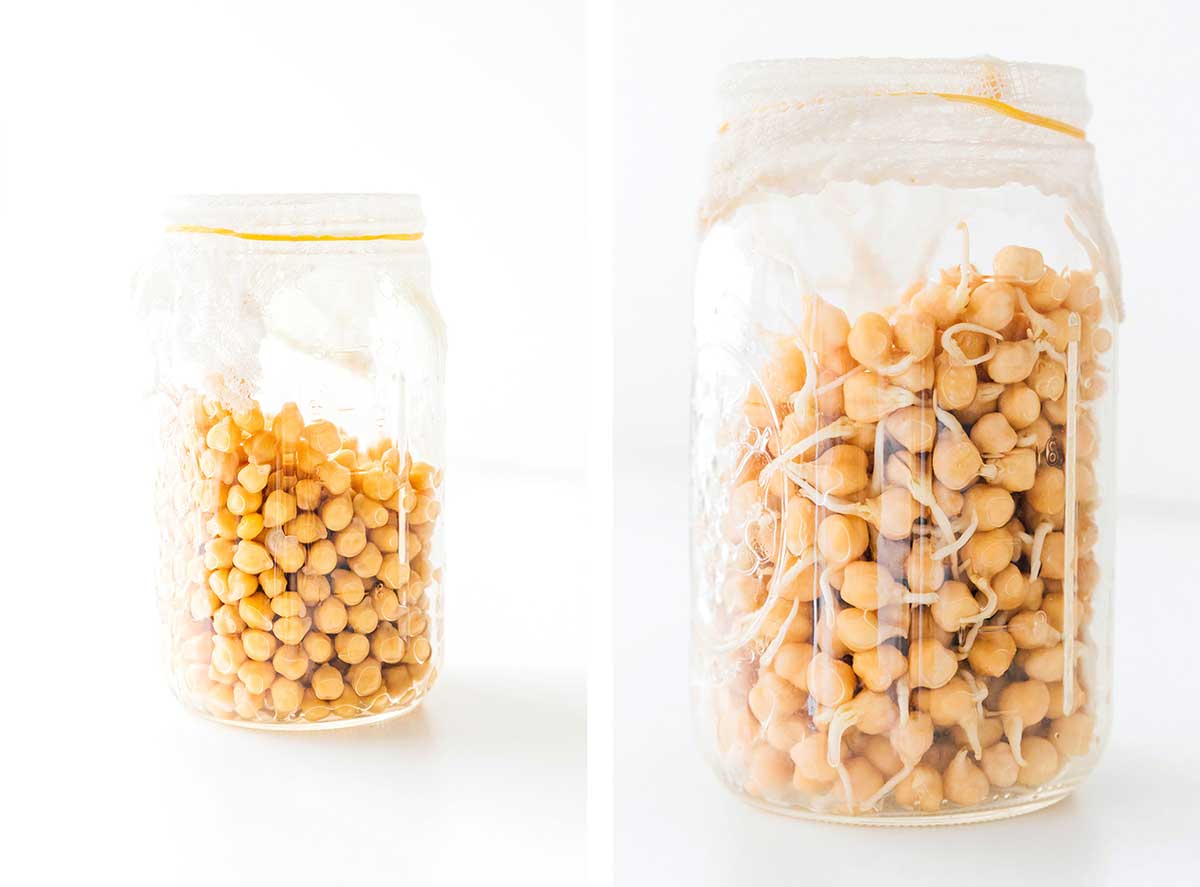
Sprouted Chickpeas
Sprouted chickpeas (or garbanzo beans) are a reliable legume to sprout that is easy to find in most stores! They have a creamy, nutty texture that works well on salads and in soups.

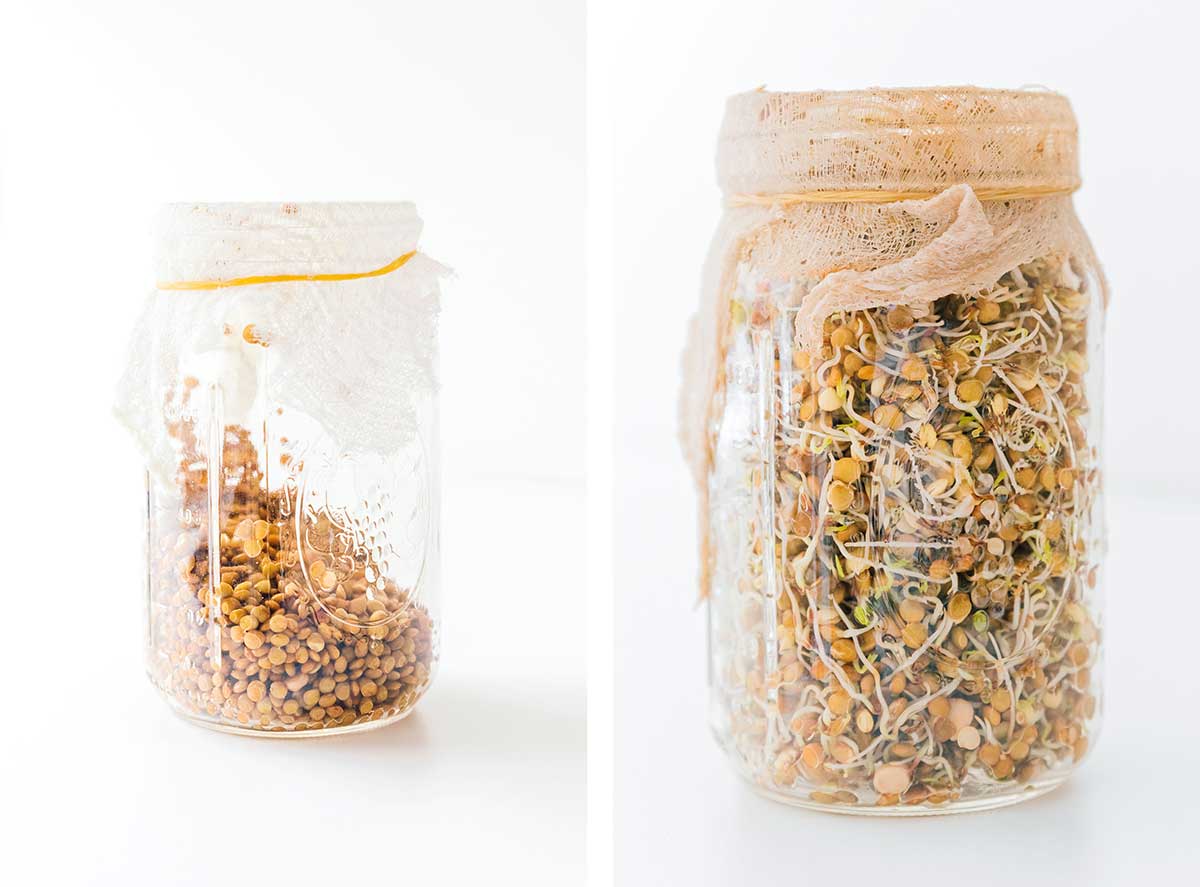
Sprouted Lentils
Lentils grow long sprouts and are almost foolproof, so they’re great for beginners! These are delicious on sandwiches and in wraps or cooked into a stir fry.

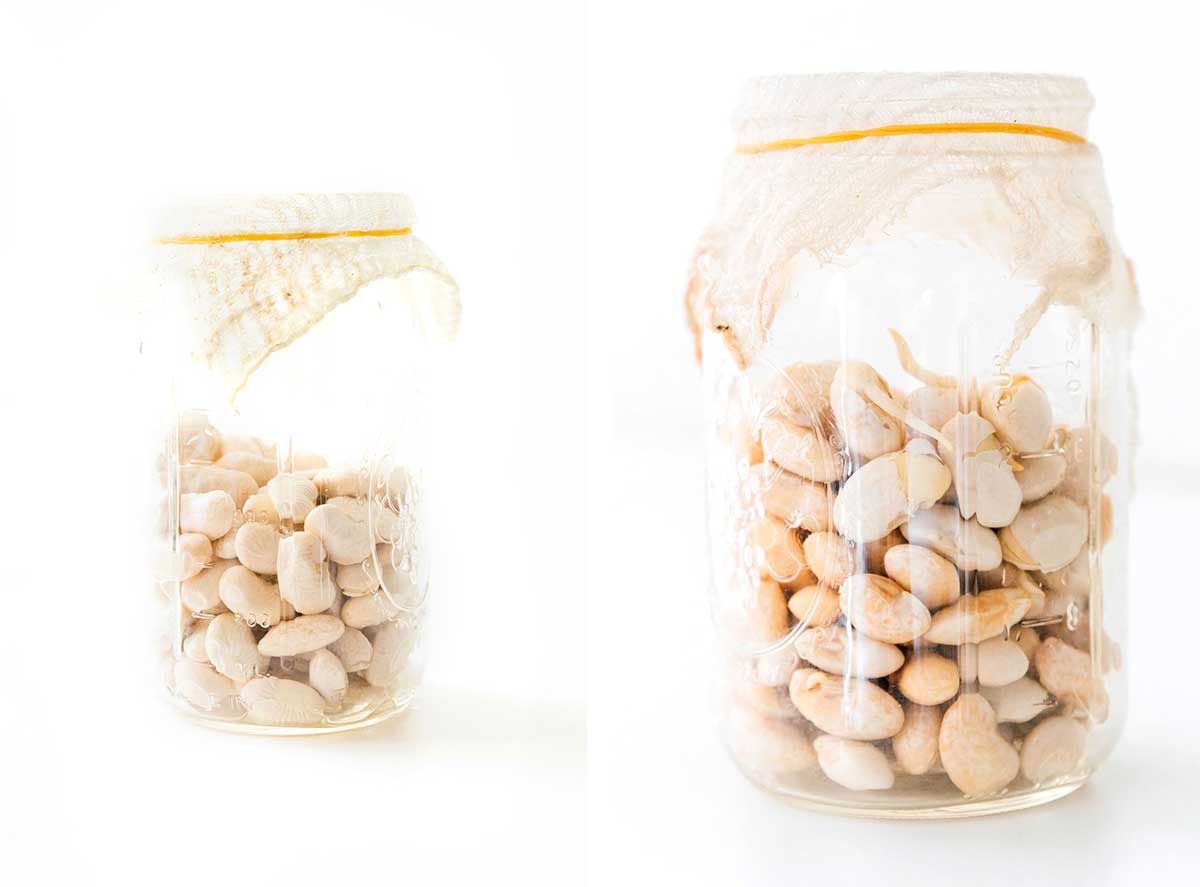
Sprouted Navy Beans
Bigger beans can be difficult to sprout and may have a longer germination time, but that doesn’t make them any less delicious! These sprouted navy beans (a.k.a. haricot, Boston, or white pea beans) have a firmer texture and are delicious sprinkled over salads.

Sprouted Black Beans
While sometimes finicky about sprouting, black beans can work well! You can use sprouted black beans almost anywhere you would use regular black beans, like in tacos, burritos, or southwest salads.


If you love diy-ing ingredients

How To Make Greek Yogurt (No Special Equipment)
6 hours 30 minutes


How To Make Milk Kefir
5 minutes

Flavored Hummus (8 Easy Options)
5 minutes

How to Sprout Beans and Legumes (Step-By-Step Guide)
Ingredients
- Dried legumes, like chickpeas lentils, black beans, navy beans, or green peas
Instructions
- Soak: Add your chosen dried legume to large bowl or jar and cover with cool water. The water should be a few inches above the legumes – they’re going to expand! Soak for 8 to 12 hours (or overnight).
- Rinse: Rinse well, then place legumes in your sprouting vessel (a wide mouth mason jar works well).
- Drain: Secure a clean cheesecloth (or sprouting lid) over the jar using rubber bands. Prop the jar upside down at an angle to allow water to drip out. A bowl, drying rack, or cooling rack works well.
- Repeat: Rinse and drain the sprouting legumes 2 to 3 times per day (morning, noon, and night works well). Continue this for 2 to 3 days, or until sprouts have reached 1 to 1½ inches long. On the last day, you can expose them to sunlight if you want them to develop a bit of green (chlorophyll).
- Store: Wrap sprouts in a clean cloth or paper towel and set in a clean, airtight container. These won’t keep long, just 2 to 3 days in the fridge, so eat them while they’re fresh!


Thank you Sarah! I have been having lots of problems trying to sprout beans. I will get some sprouting seeds, and sterilize my containers. That makes a lot of sense. I really appreciate your very comprehensive treatment of these types of sprouts. It helped me a lot.
So happy to hear it, Jean! Let me know if I can clarify anything! 😀
You did a terrific job here! Clear, concise, and absolutely informative!
Thank you so much for all you do for ALL of us!
Thank you so much for sharing this article, and all the details! Super helpful!
So happy to hear it, Michelle! 😀
Can you use sprouted beans in chili as I get gas from all beans as well as broccoli cabbage eggs flour tortillas really bad and no one wants to be around me. Lol but I want to get rid of passing gas I guess some people have this problem. Anyway this is why I want to know how to sprout them before cooking them.
Yep you could use these in chili! 😀
Can you freeze them? If yes, what would you recommend freezing them in?
Thank you!
You can, but they will lose some of their crunchy texture when thawed again. I would freeze in an airtight container or baggie in aa single layer. Enjoy! 😀
Where do you buy sprouting bean seeds?
You can find them online here, or in some health food stores!
Thank you very much for this summary.
Hi. I tried sprouting Garbonzo beans. Kidney and black beans. The garbanzo beans grew white fuzz on them and I threw them out. The kidney and black beans have an odor to them. (I was sprouting them to make chili) I don’t know why the smell. Should I throw them out and try again? Or are they ok if they get cooked?
If there’s an off smell then I probably wouldn’t consumer them. Sounds like they all just need a little extra rinsing and better drainage to prevent mold!
I sprout beans before planting them. Most beans will germinate well for about 2-3 years, then many of them instead of germinating will start decomposing. That is the nasty smell. I’m also finding a slimy stretchy something on some of the decomposing ones. I assume it is some kind of bacterial (maybe?) slime from a decomposing organism. Anyone know what that slime really is and what organism creates it?
But the diminishing germination rate in beans is the best reason to buy beans sold specifically for sprouting. I wouldn’t eat organic fresh purchased seeds intended for planting. Planting seeds are processed differently from eating seeds. They may be treated with chemicals or processed in a facility that treats other seeds with something. Good reasons to purchase organic too.
Thank you very much, your steps easy to follow. You make things simpler for me
Hello. When you say to store them “away from sunlight” do you mean in a dark place? Or do you just mean away from DIRECT sunlight? Bottom line, is indirect sunlight, like on my kitchen counter, OK?
The darker the the better! But the kitchen counter should be fine, I’ve done it before and simply covered it with a tea towel 😀
Very well explained.