
This post contains affiliate links.
Learn how to make chard wraps with this step-by-step guide so you always have something refreshing and healthy for lunch. They are not only easy to make but also incredibly versatile. You can use any filling you’d like—just parboil the leaves, roll, and enjoy!

Swiss chard leaves are the ideal candidate for making wraps. Once parboiled, they are incredibly flexible and don’t get soggy.
Chard wraps make a fabulous summer dish idea, and they’re low maintenance enough that you can prep them for taking to a summer gathering or enjoying on a picnic!

You don’t need much
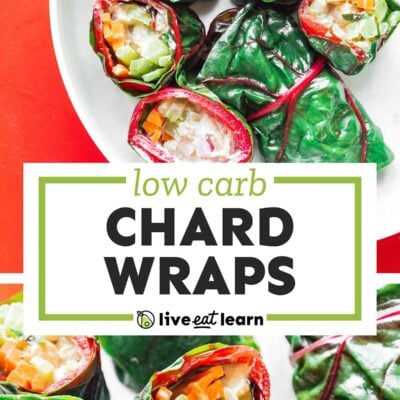
To make Swiss chard wraps, you will need one main ingredient — chard! You can use any type, whether green, red, or rainbow chard. As far as the filling goes, here are three of my favorites, with some additional carrots or cucumbers.
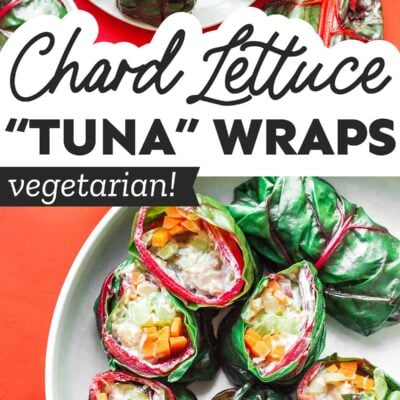
- Chickpea Tuna: Pair this with cucumbers and carrots.
- Mexican Street Corn Salad: I like to enjoy a gluten-free burrito by using this corn salad, a bit of hot sauce, and avocado.
- Summer Veggie Salad: Pair with hummus for a delicious bite.


let’s make chard wraps
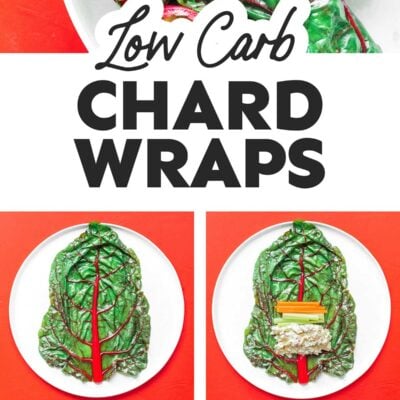
Step 1: Prep the Chard
Begin by cutting the bottom part of the stem from each leaf.

Step 2: Parboil the Chard
Bring a large pot of water to a simmer. Nearby, arrange a large bowl of ice water. Working in batches, drop a leaf in the hot water for 20 to 30 seconds or until the leaf is soft and pliable.

Immediately plunge the boiled leaf into the ice water to stop the cooking process, then place it on a clean towel to dry. This process will make the chard leaves pliable and perfect for rolling into wraps!

Step 3: Assemble the Wraps
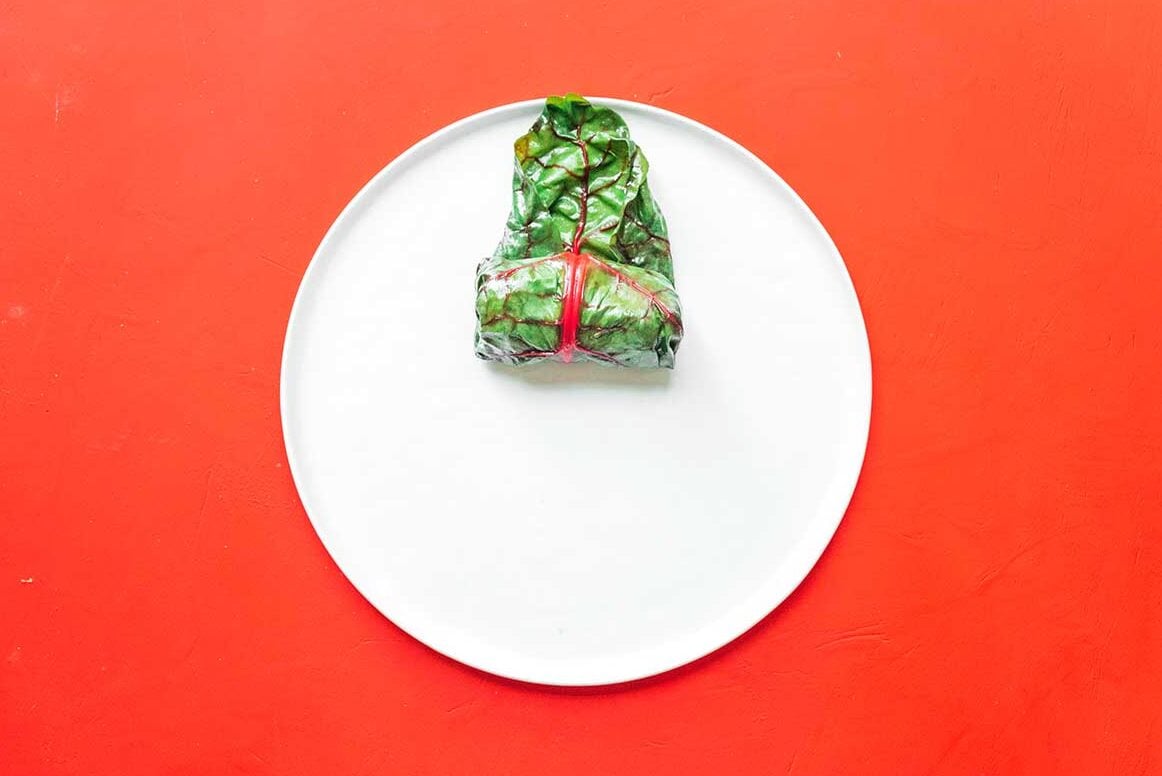
Place the desired fillings in an oval mound near the center of the leaf. Fold the sides of the leaf on top of the mound, and then tightly roll them from the stem to the top of the leaf, similar to rolling a tortilla. Serve immediately.


How To Make Swiss Chard Wraps
Ingredients
- Chard leaves, green, red, or rainbow
Instructions
- Prep: Cut the bottom part of the stem from each leaf.
- Parboil: Bring a large pot of water to a simmer. Nearby, arrange a large bowl of ice water. Working in batches, drop a leaf in the hot water for 20 to 30 seconds, or until the leaf is soft and pliable. Immediately plunge it into the ice water to stop the cooking process, then place on a clean towel.
- Assemble: Place desired fillings in an oval mound near the center of the leaf. Fold the sides of the leaf on top of the mound, then tightly roll from the stem to the top of the leaf. Serve immediately or keep to enjoy later. The wraps themselves make great meal prep!


Thank you so much for this recipe!!! I have lots of swiss chard growing in my garden, as well as some veggies. This week, I will make this with tuna salad, chopped fresh veggies (carrots, cukes, cherry tomatoes and roasted red peppers, and maybe avocado. I cannot wait. This will be easy and healthy.
If I don’t use all of the chard that I parboiled for the wraps, is there a way to store them to use later?
I think if you wrap them tightly in cling wrap they should stay good for future wraps!
This is excellent. I have made Chard wraps before, but didn’t know to par boil them. Thanks!
It’s a game changer! Enjoy! 😀
Hi,
These look so delixious and easy to make. However, I was thinking to use only veggies and chickpeas for the filling and store them in fridge for meal prep(2-3) days. Can I store them in air tight container, will they last?
Chard wraps should last in the fridge for 2 to 3 days!
Love the instructions particularly the pictures :).
Thank you for taking taking the time to do this.