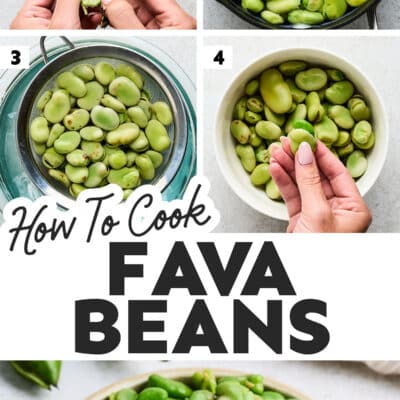
Learn how to cook fava beans with this comprehensive guide! We’re covering the essentials of fava beans, how to select them, preparation, and post-cooking storage. Plus, we’ve included bonus tips on cooking dried fava beans that we’ve learned after developing tons of recipes using this legume.
As a nutritionist, legumes are a common part of my diet. They are packed with protein and fiber – what more could a vegetarian gal want? And fava beans are no different!
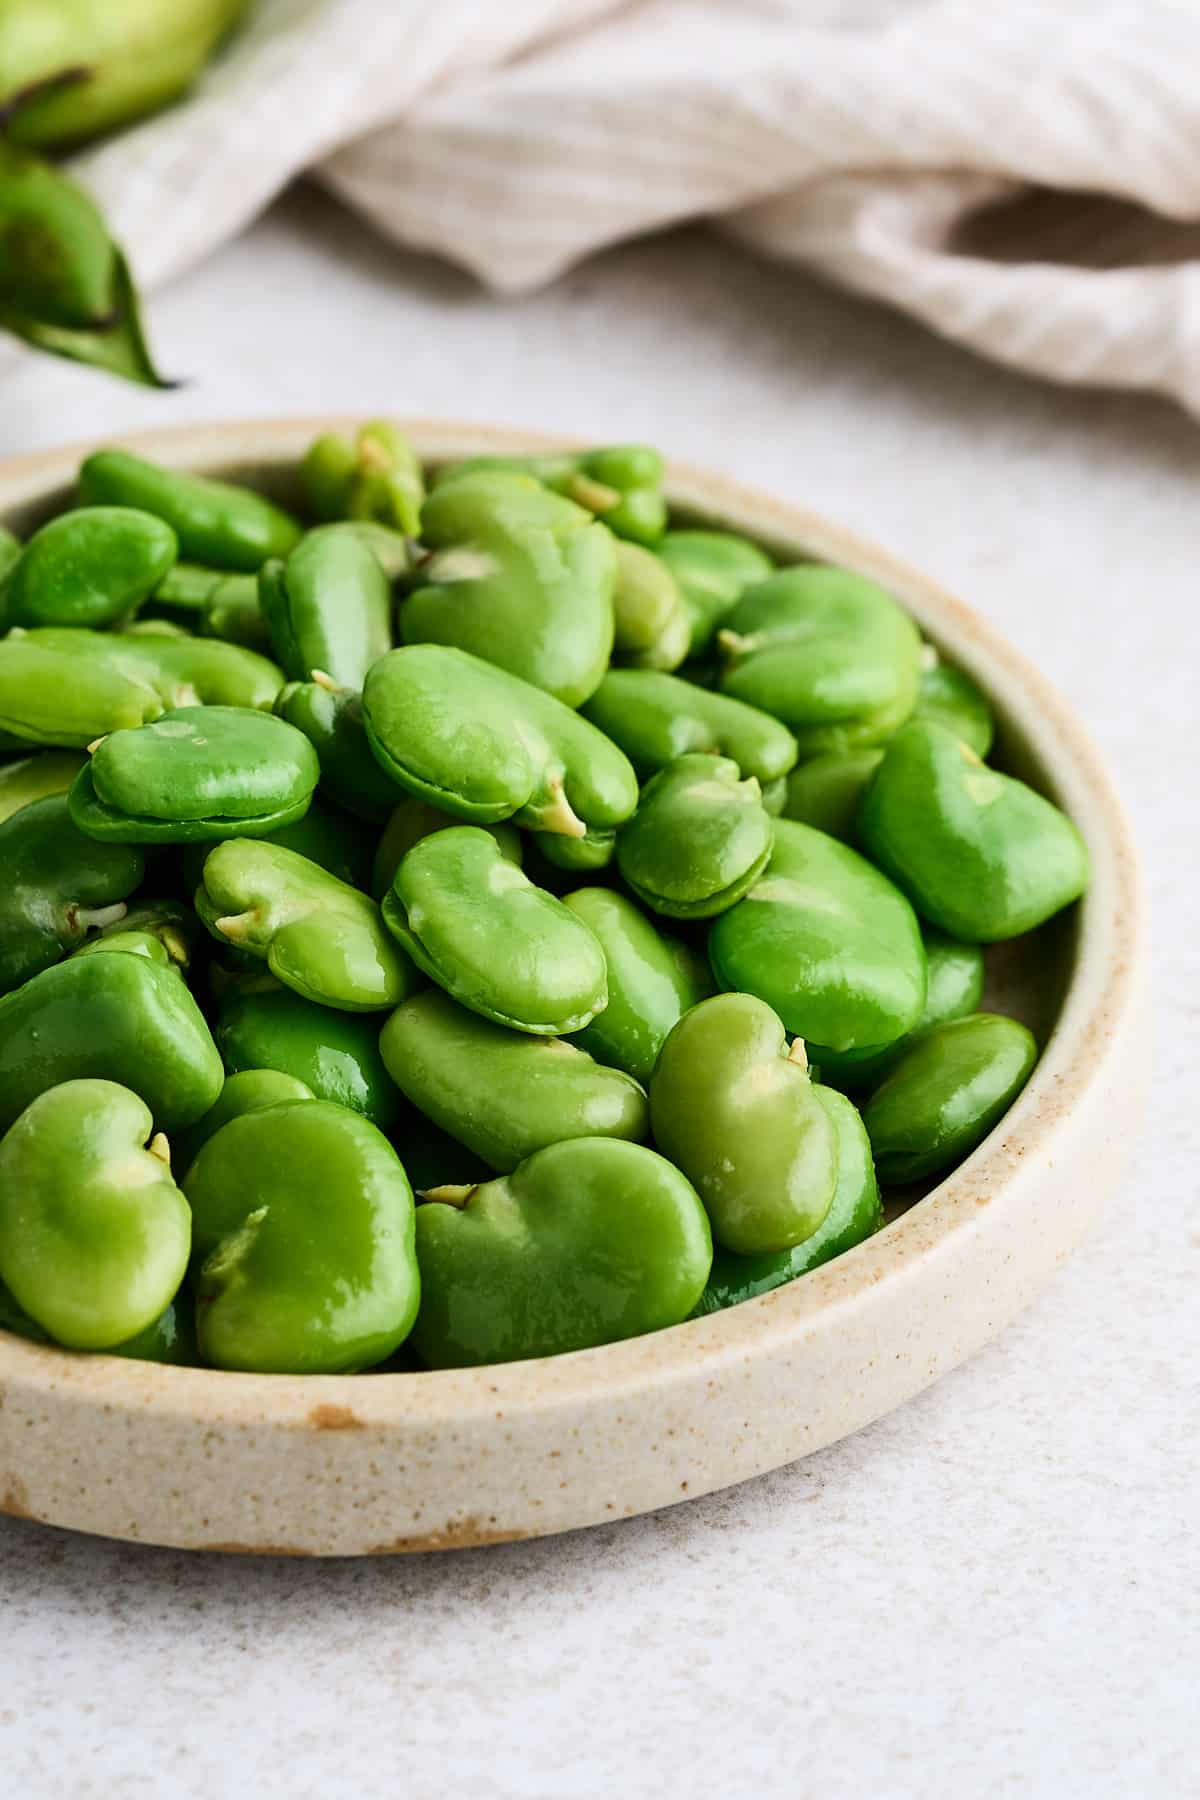
Sometimes they’re called broad beans; they are a staple in Mediterranean recipes and Middle Eastern dishes. I love them for their buttery texture and slightly nutty flavor! This makes them the perfect addition to salads, stews, dips, and more!
You’ll probably notice that what sets them apart is their size! They are much larger and very bright green in color. So, let’s dive into how to cook fava beans!
first, how to pick fava beans
Before you learn how to cook fava beans, you need to know how to pick them out! Keep the following tips in mind:
Avoid Imperfections: Avoid pods with too many bulges or brown spots, which indicate they might be overripe.
Look for Freshness: Seek out pods that are firm, crisp, and have a bright green color.
Preparing fresh fava beans differs slightly from their dried counterparts. Unlike dried beans, fresh fava beans don’t require soaking. Be sure to jump to the recipe card for the full instructions.
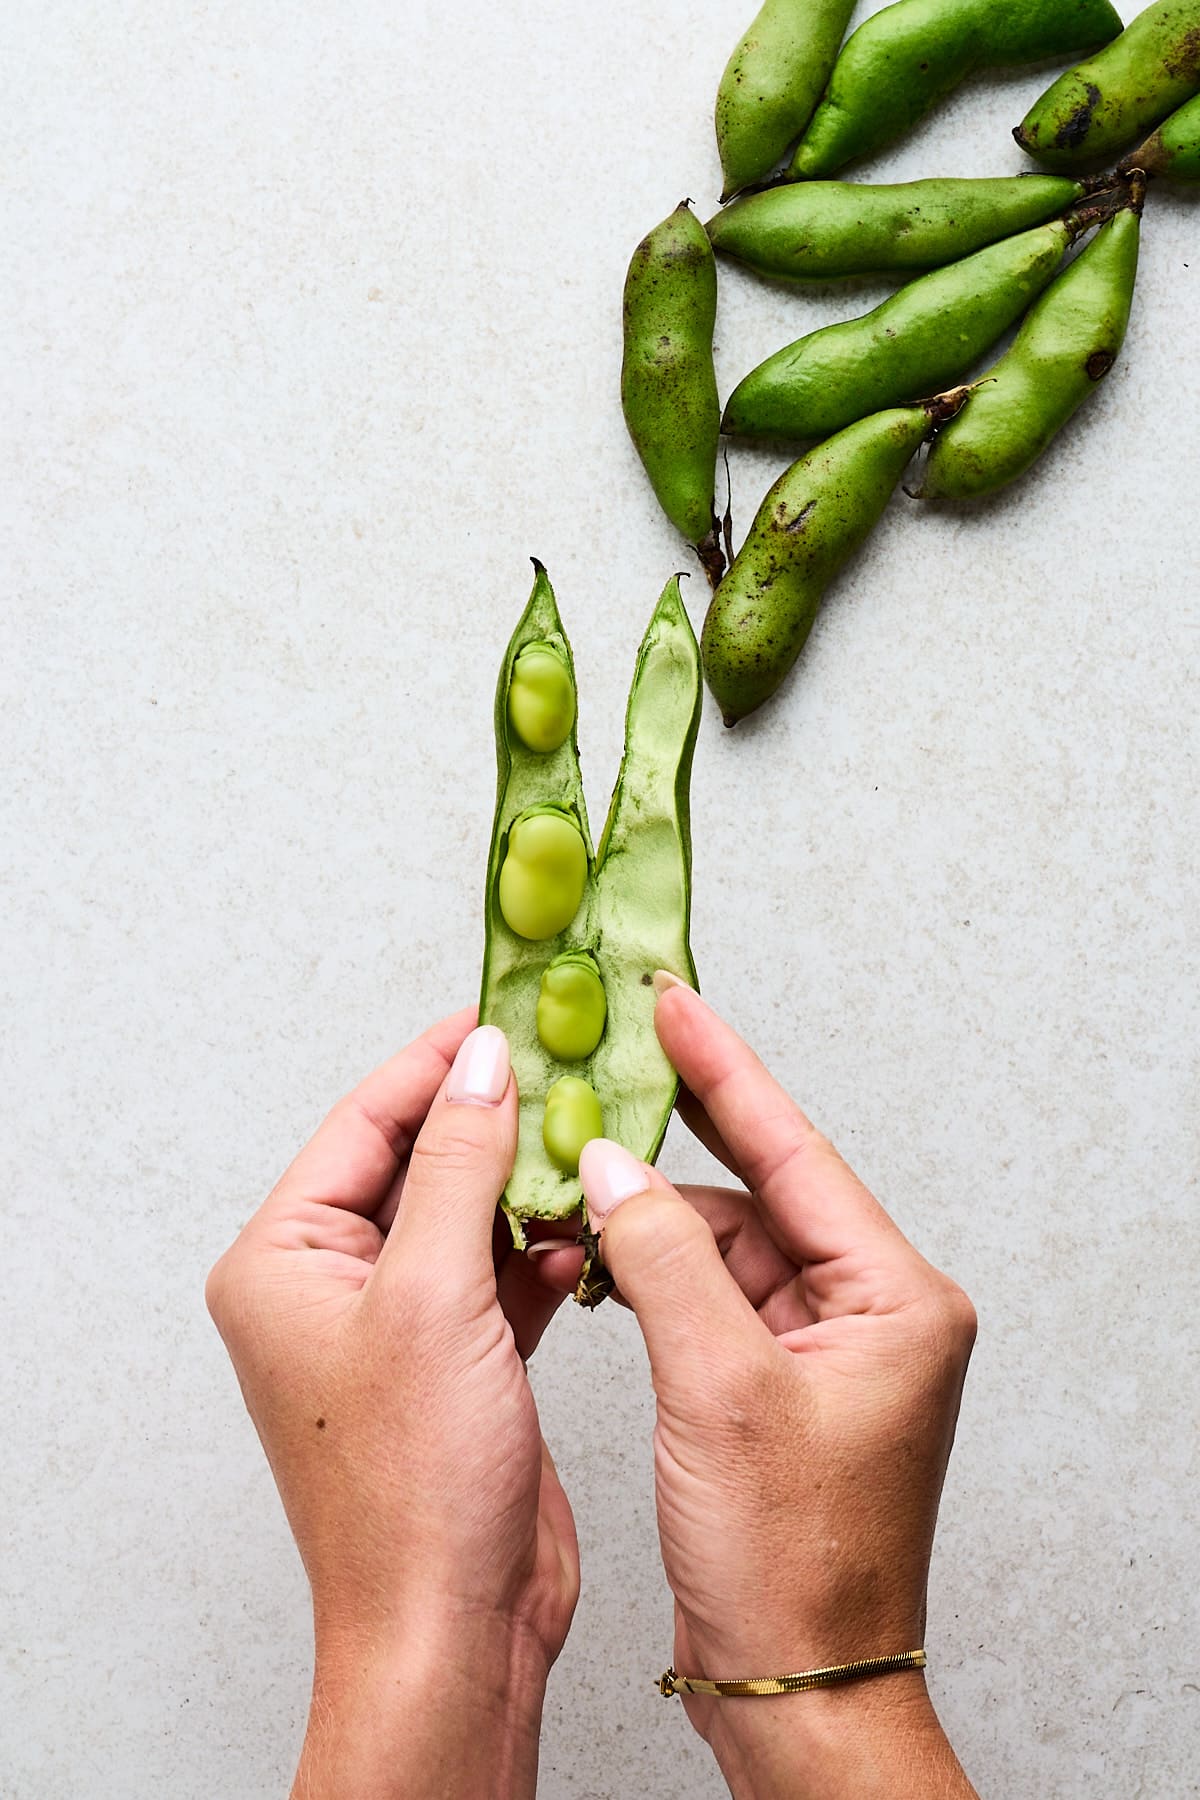
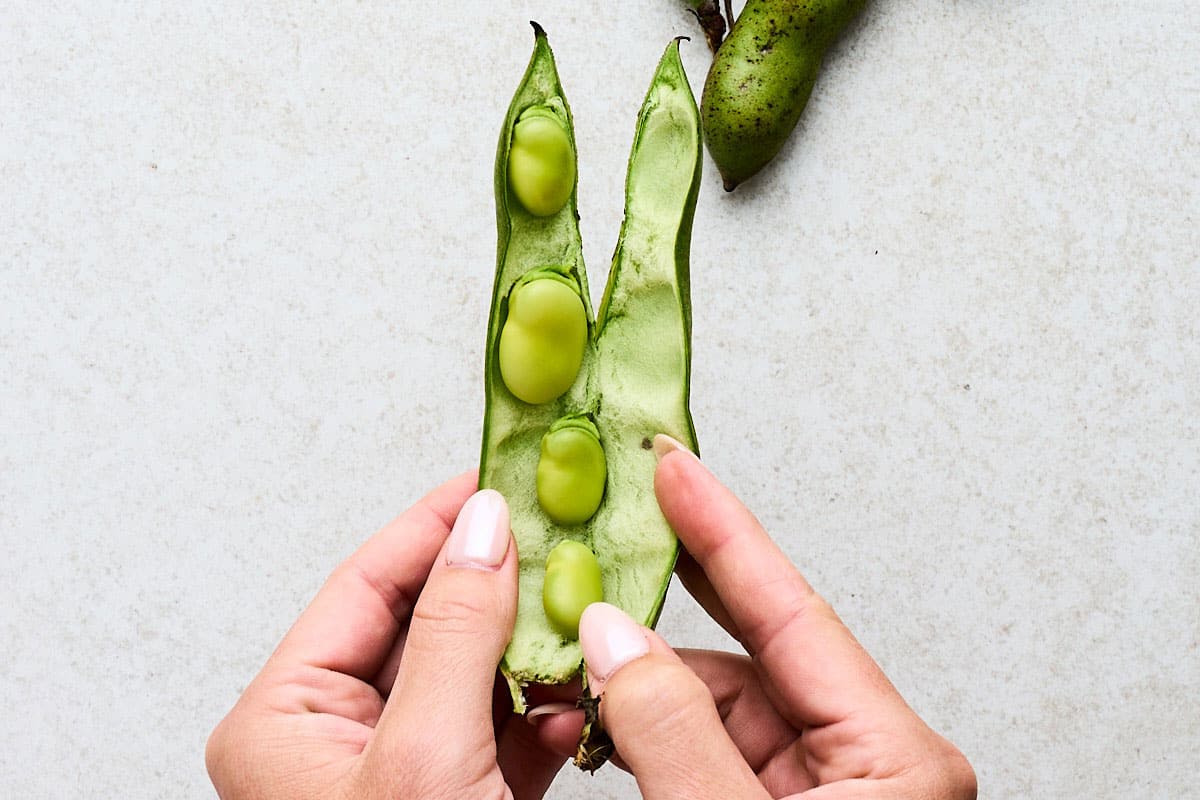
Remove the pods
First, you’ll need to remove the fibrous outer pod since it’s tough and inedible. You can break the tip off the stem end and peel it down the pod or use a paring knife to make a shallow slit down one of the seams. Then, open the pod and remove the beans tucked inside.
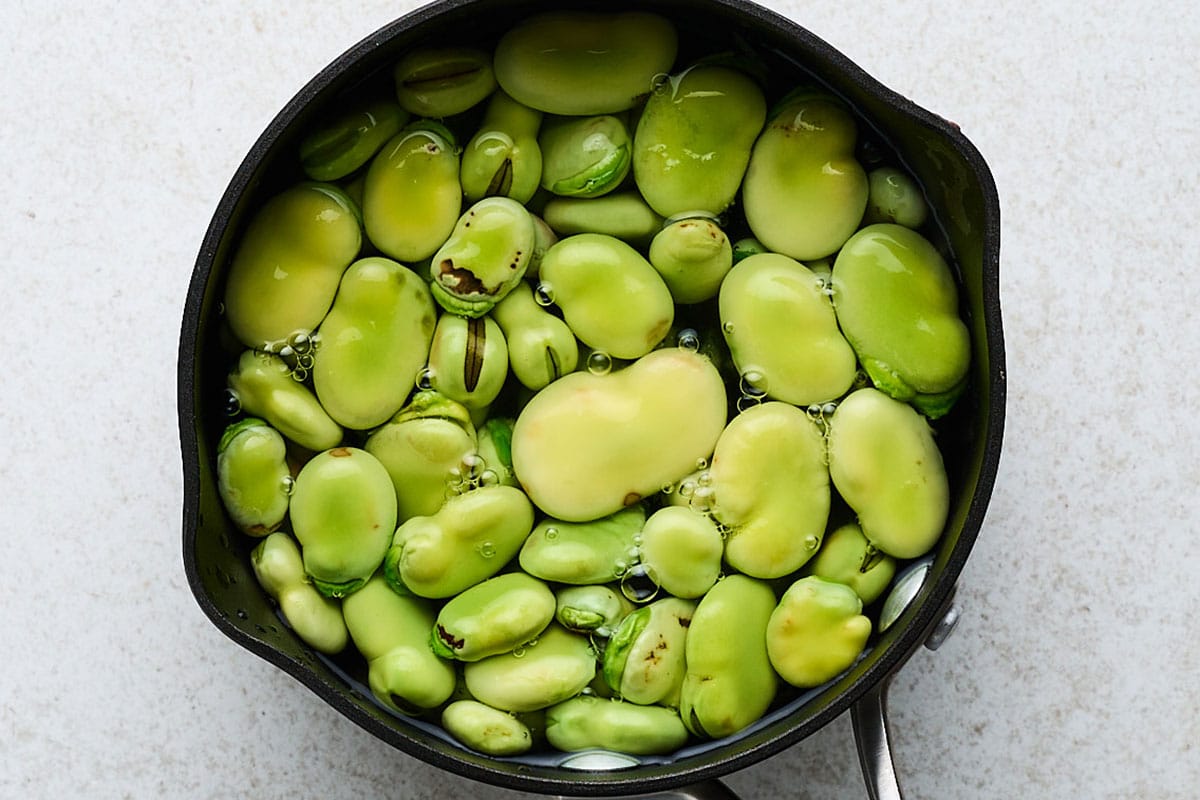
Blanch the Beans
Bring a pot of water to a boil and add the beans. Blanch them for a quick 60 seconds for firm fava beans or 3-5 minutes for more tender beans. This whole process makes the second peeling of the inner skin off much easier.
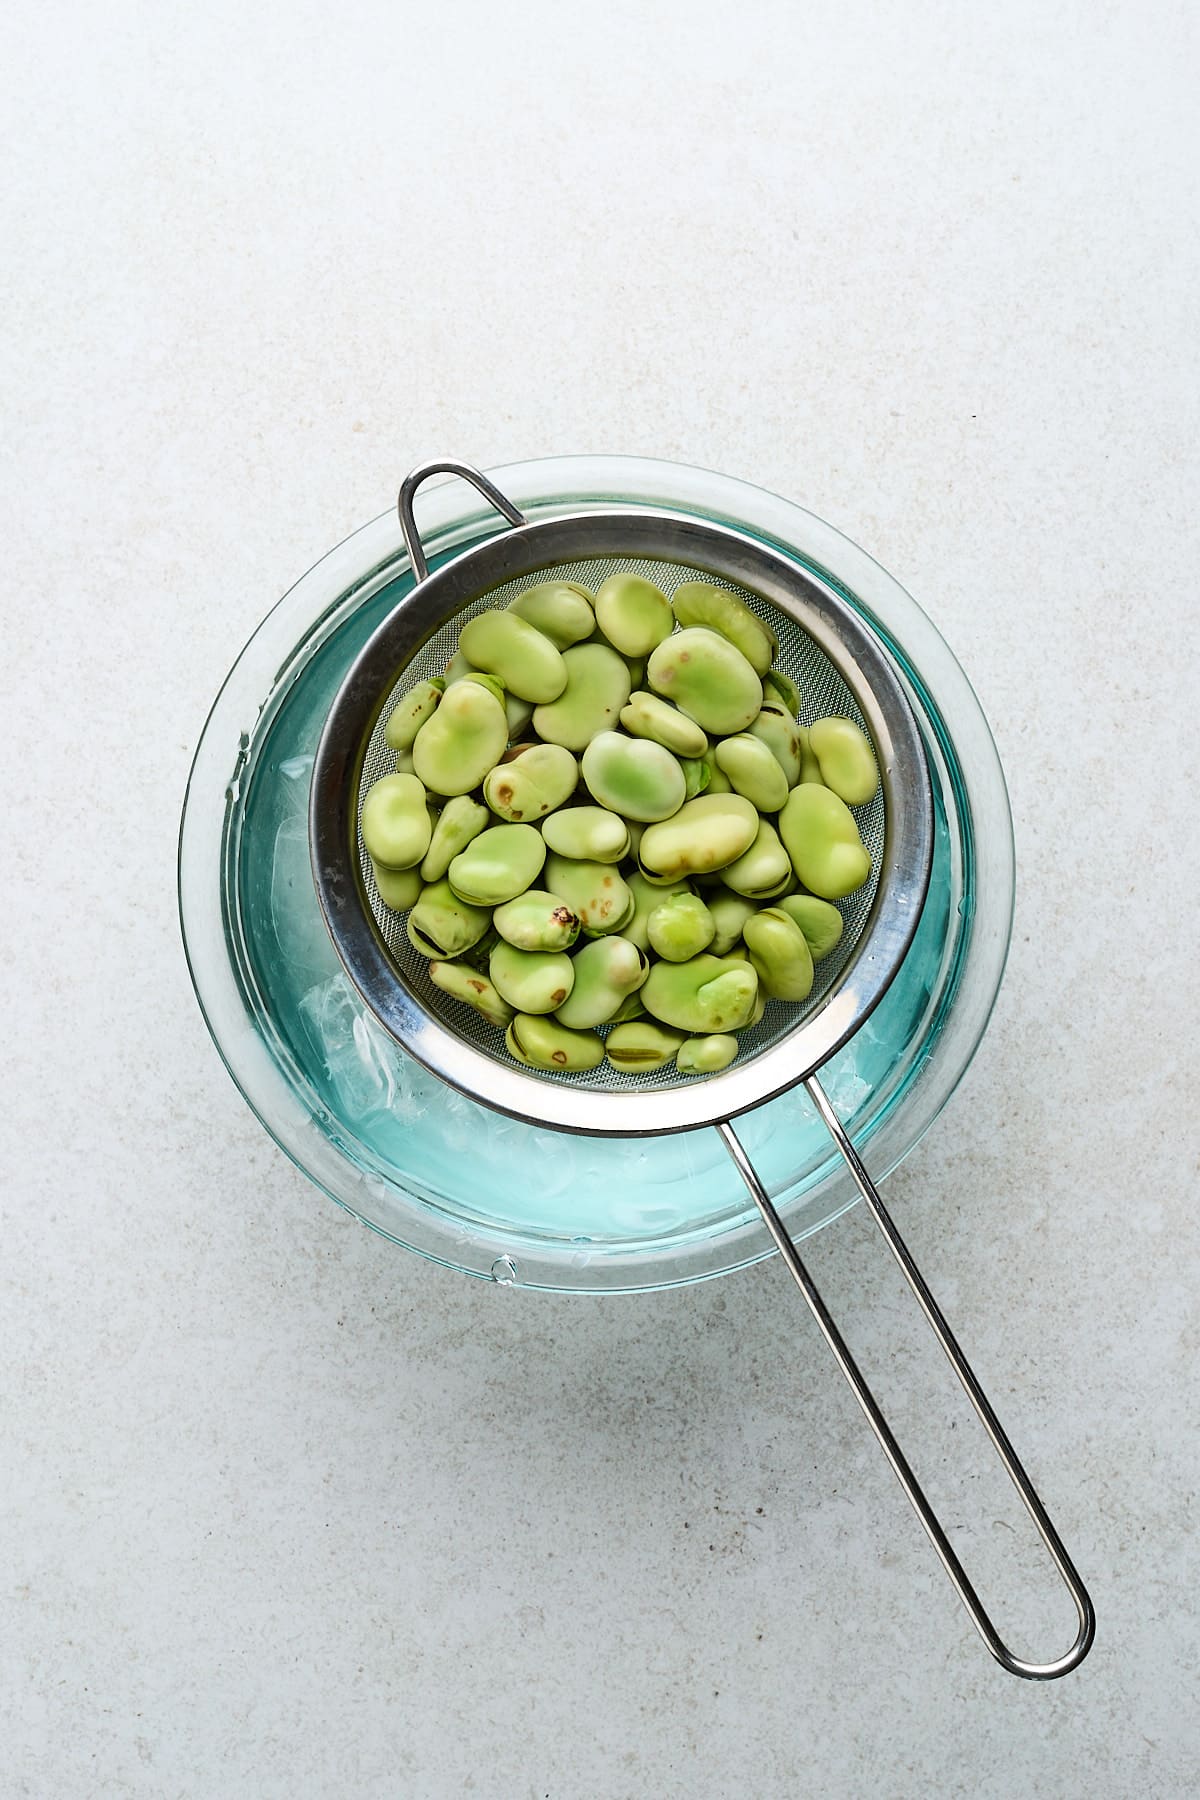
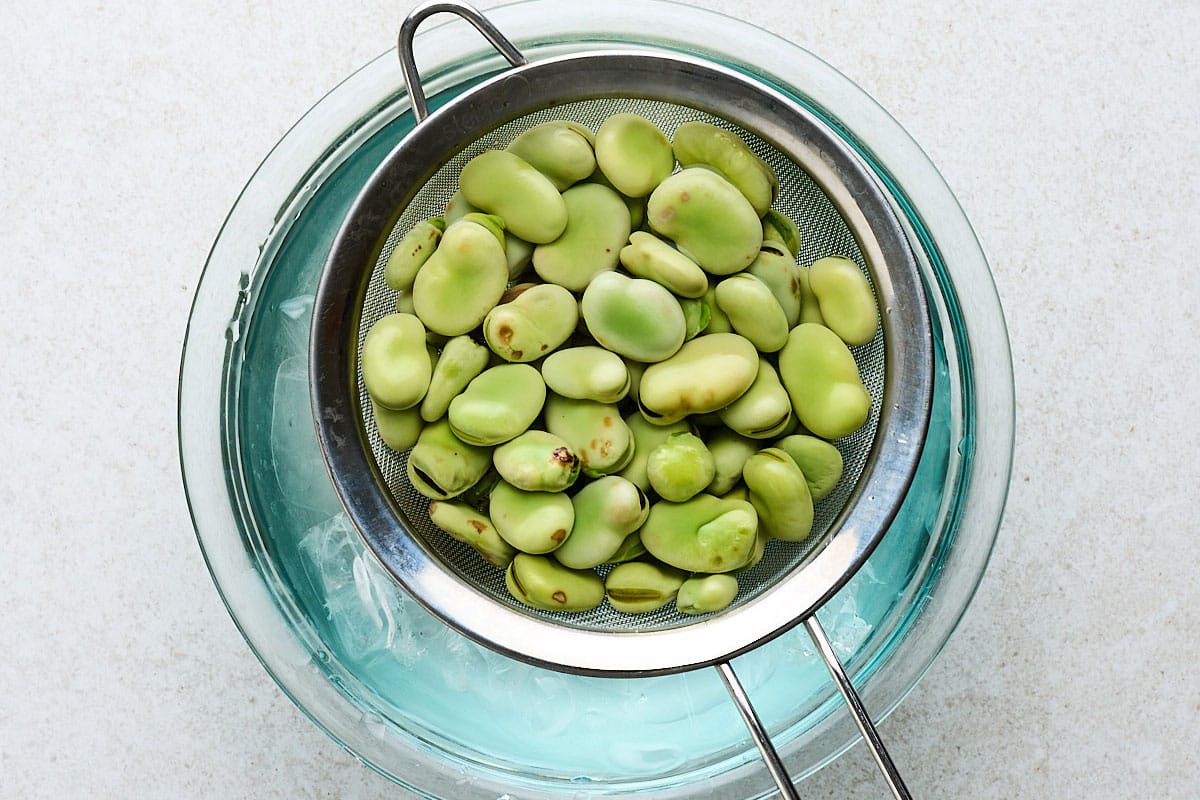
Ice Bath
Immediately transfer the blanched beans to an ice bath for the same amount of time as the blanching. This stops the cooking process and preserves their bright green color.
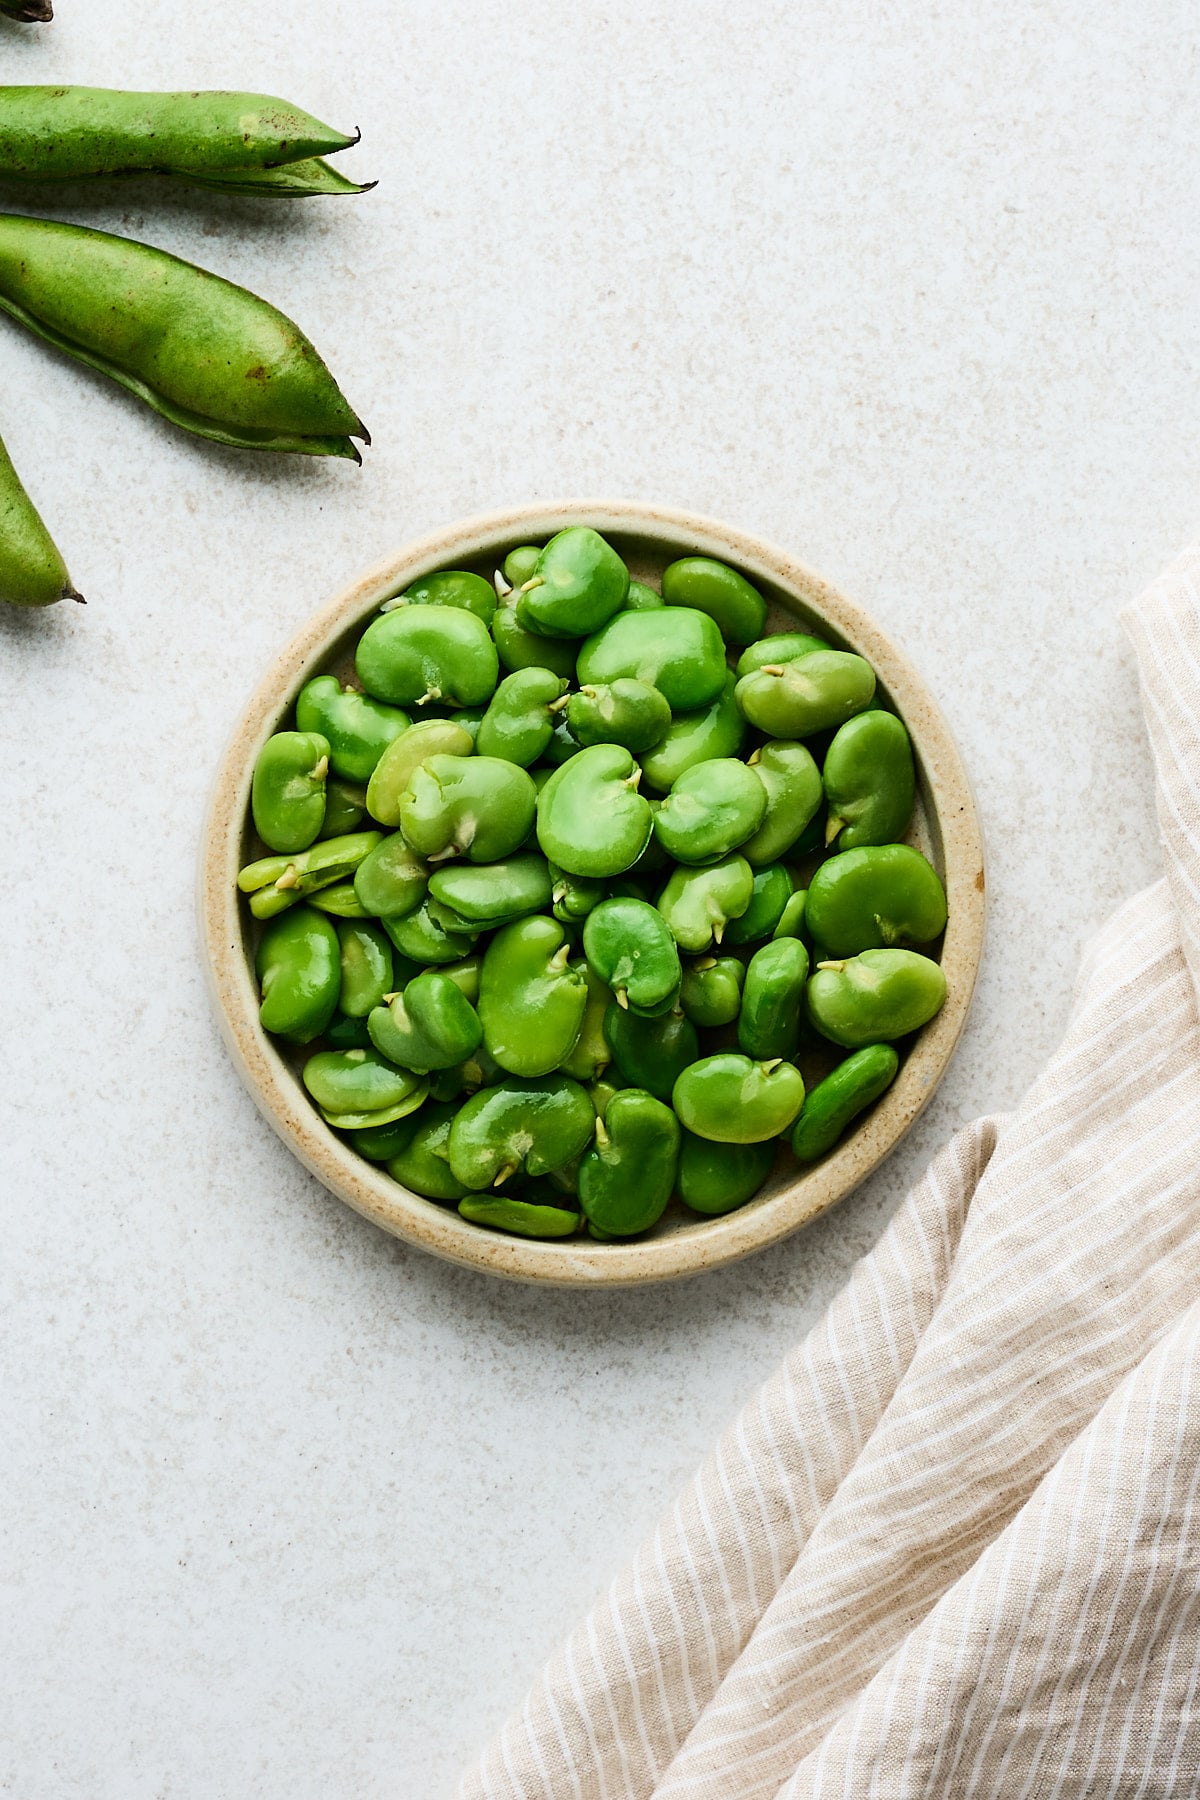
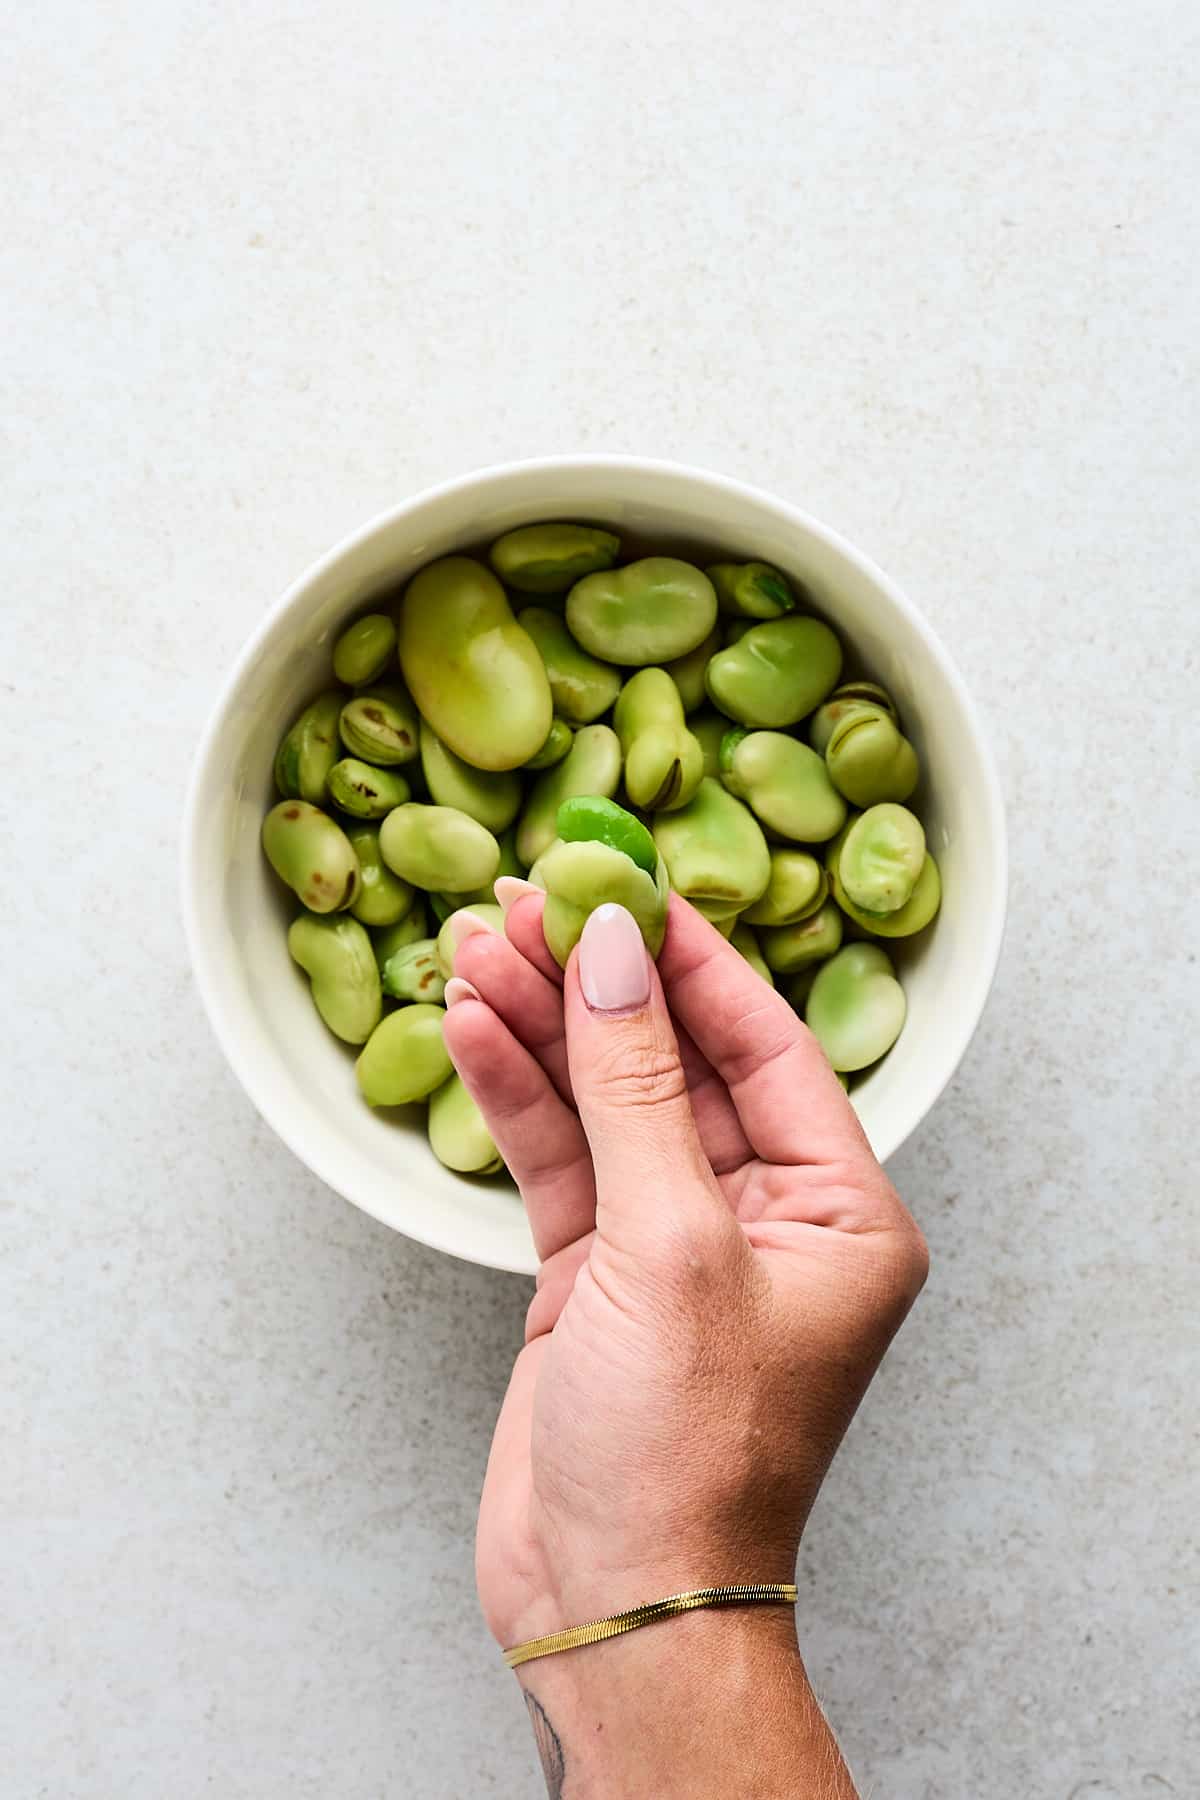
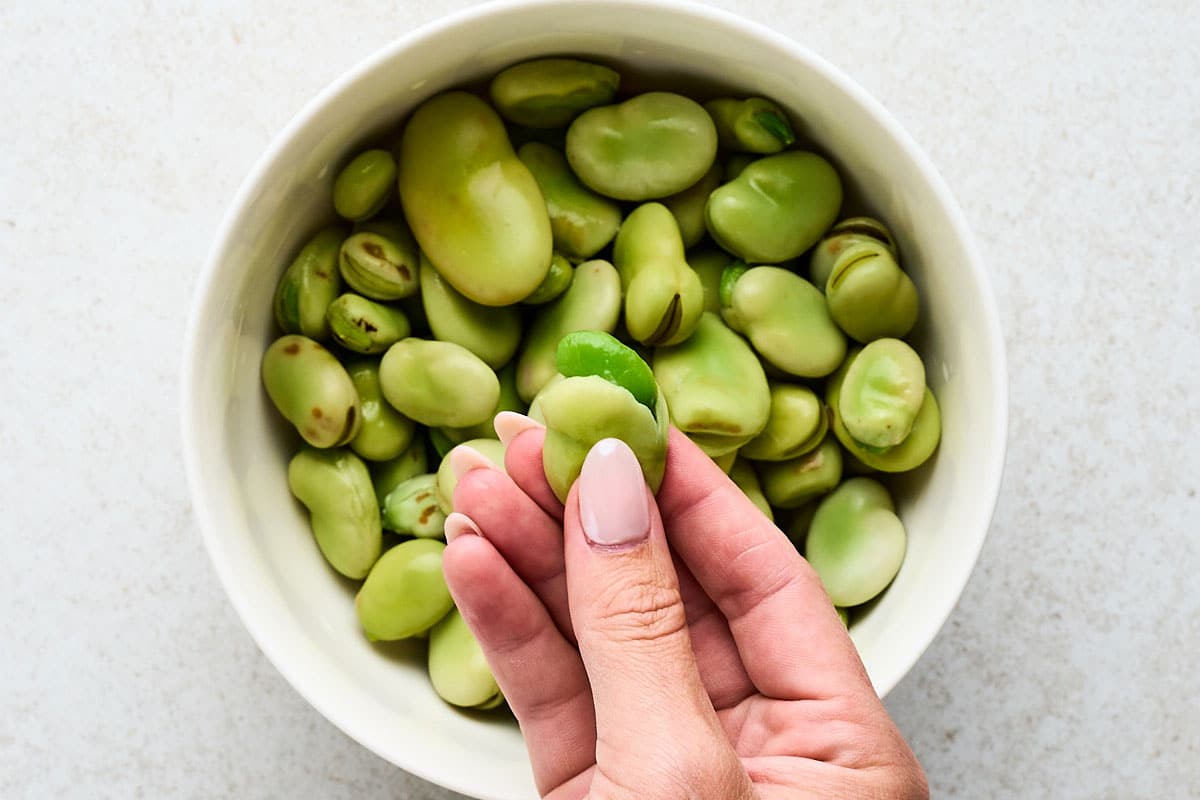
Peel the skins
Once cooled, peel the light skin off the fava beans. Gently pinch each one between your thumb and forefinger to remove the tough skin and reveal the tender, bright green bean inside.
Cooking
Now, you can cook the peeled beans to your preference using one of these methods:
Sautéing: For a quick side dish, sauté the peeled beans in a pan with a bit of olive oil and your choice of seasonings for about 5-10 minutes.
Steaming: Steaming is another healthy option, similar to edamame. Let the peeled beans steam for about 5-10 minutes until warm.
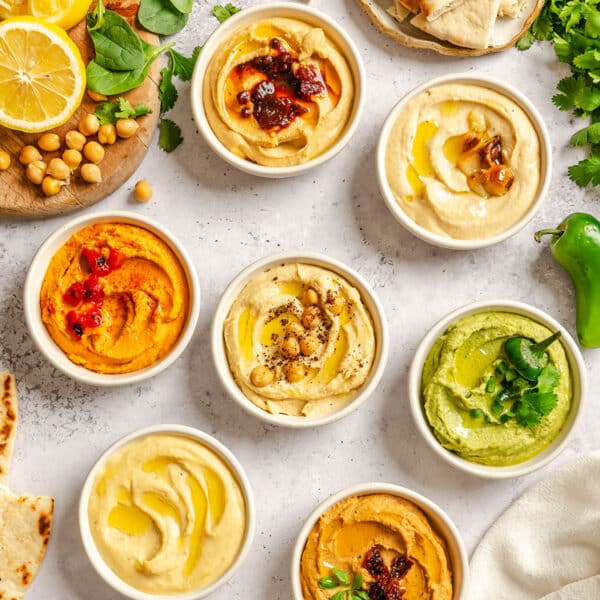
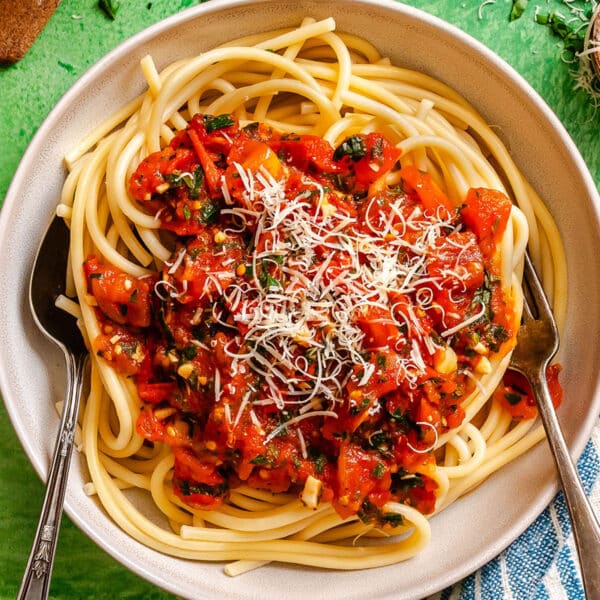
As-is: Leave the beans as-is after blanching them, and add them to salads, soups, stews, or sauces. You can even try making fresh fava bean hummus!
how to cook Fava Beans (From Dried)
I’ve made a lot of recipes, including ones with dried fava beans, and here are some things I’ve learned. I recommend soaking dried fava beans to reduce their cooking time and improve digestibility. It’s best to leave them overnight in room-temperature water, covering them with at least 4 inches of water since they will expand as they soak.
Add the soaked and drained beans to an Instant Pot, slow cooker, or stockpot. Ensure the beans are covered by at least 2-3 inches of water so they remain submerged throughout cooking.
Cook the beans for 20-30 minutes on high in the Instant Pot, 2-3 hours in the slow cooker, or 45-60 minutes on the stovetop. Note that the water level doesn’t reduce as much in a slow cooker, so less water is needed than in the other two methods.
Tips
Size Matters: As a general rule of thumb, stick to smaller fava bean pods. They are typically sweeter and more tender than large pods.
Peeling Technique: Be gentle while pinching the beans to prevent mushing them.
Don’t Overcrowd While Blanching: When blanching, avoid overcrowding the pot. This ensures even cooking and easy peeling. Work in batches if necessary.
Reheating
Cooked fava beans make a great addition to a variety of recipes, so you’ll definitely want to keep them kicking around. Feel free to keep them in the fridge or freeze them! For reheating, gently reheat the beans in a pan over low heat or add them to warm dishes. Avoid microwaving them as it can alter their texture.
Learn how to cook fava beans with this comprehensive guide! We’re covering the essentials of fava beans, how to select them, preparation, and post-cooking storage. Plus, we've included bonus tips on cooking dried fava beans that we've learned after developing tons of recipes using this legume.
Ingredients
1poundfava beans, fresh
water, as needed for boiling and chilling
1tspsalt, for seasoning water
ice, for chilling
Prevent your screen from going dark
Instructions
Open Pods: Remove the fibrous outer pod since it's tough and inedible. You can break the tip off the stem end and peel it down the pod or use a paring knife to make a shallow slit down one of the seams. Then, open the pod and remove the beans tucked inside.
Blanch: Bring a pot of water to a boil and add the beans. Blanch them for a quick 60 seconds for firm fava beans or 3-5 minutes for more tender beans.
Ice Bath: Immediately transfer the blanched beans to an ice bath for the same amount of time as the blanching. This stops the cooking process and preserves their bright green color.
Peel: Once cooled, peel the beans. Gently pinch each one between your thumb and forefinger to remove the outer skin to reveal the tender, bright green bean inside.
Cooking Options
Sautéing: For a quick side dish, sauté the peeled beans in a pan with a bit of olive oil and your choice of seasonings for about 5-10 minutes.
Steaming: Steaming is another healthy option, similar to edamame. Steam the peeled beans for about 5-10 minutes until warm.
As Is: Leave the beans as-is after blanching them, and add them to salads, soups, stews, or sauces. You can even try making fresh fava bean hummus!
Notes
Storage: Keep cooked beans in an airtight container in the fridge for up to a week. Or, freeze peeled beans in a single layer before transferring them to a freezer bag for long-term storage. Remember to label the bag for reference!
did you make this?Leave a comment below and tag @liveeatlearn on social media! I love seeing what you’ve made!
Let's eat more plants!
Packed with over 100 reader-favorite vegetarian recipes, my cookbook is your go-to guide for easy, healthy meals that make plant-based eating a breeze.