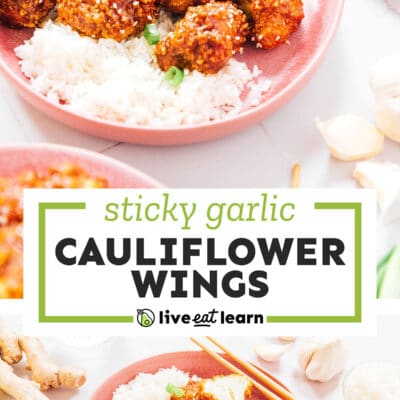
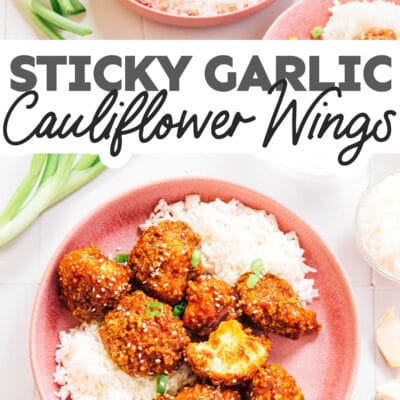
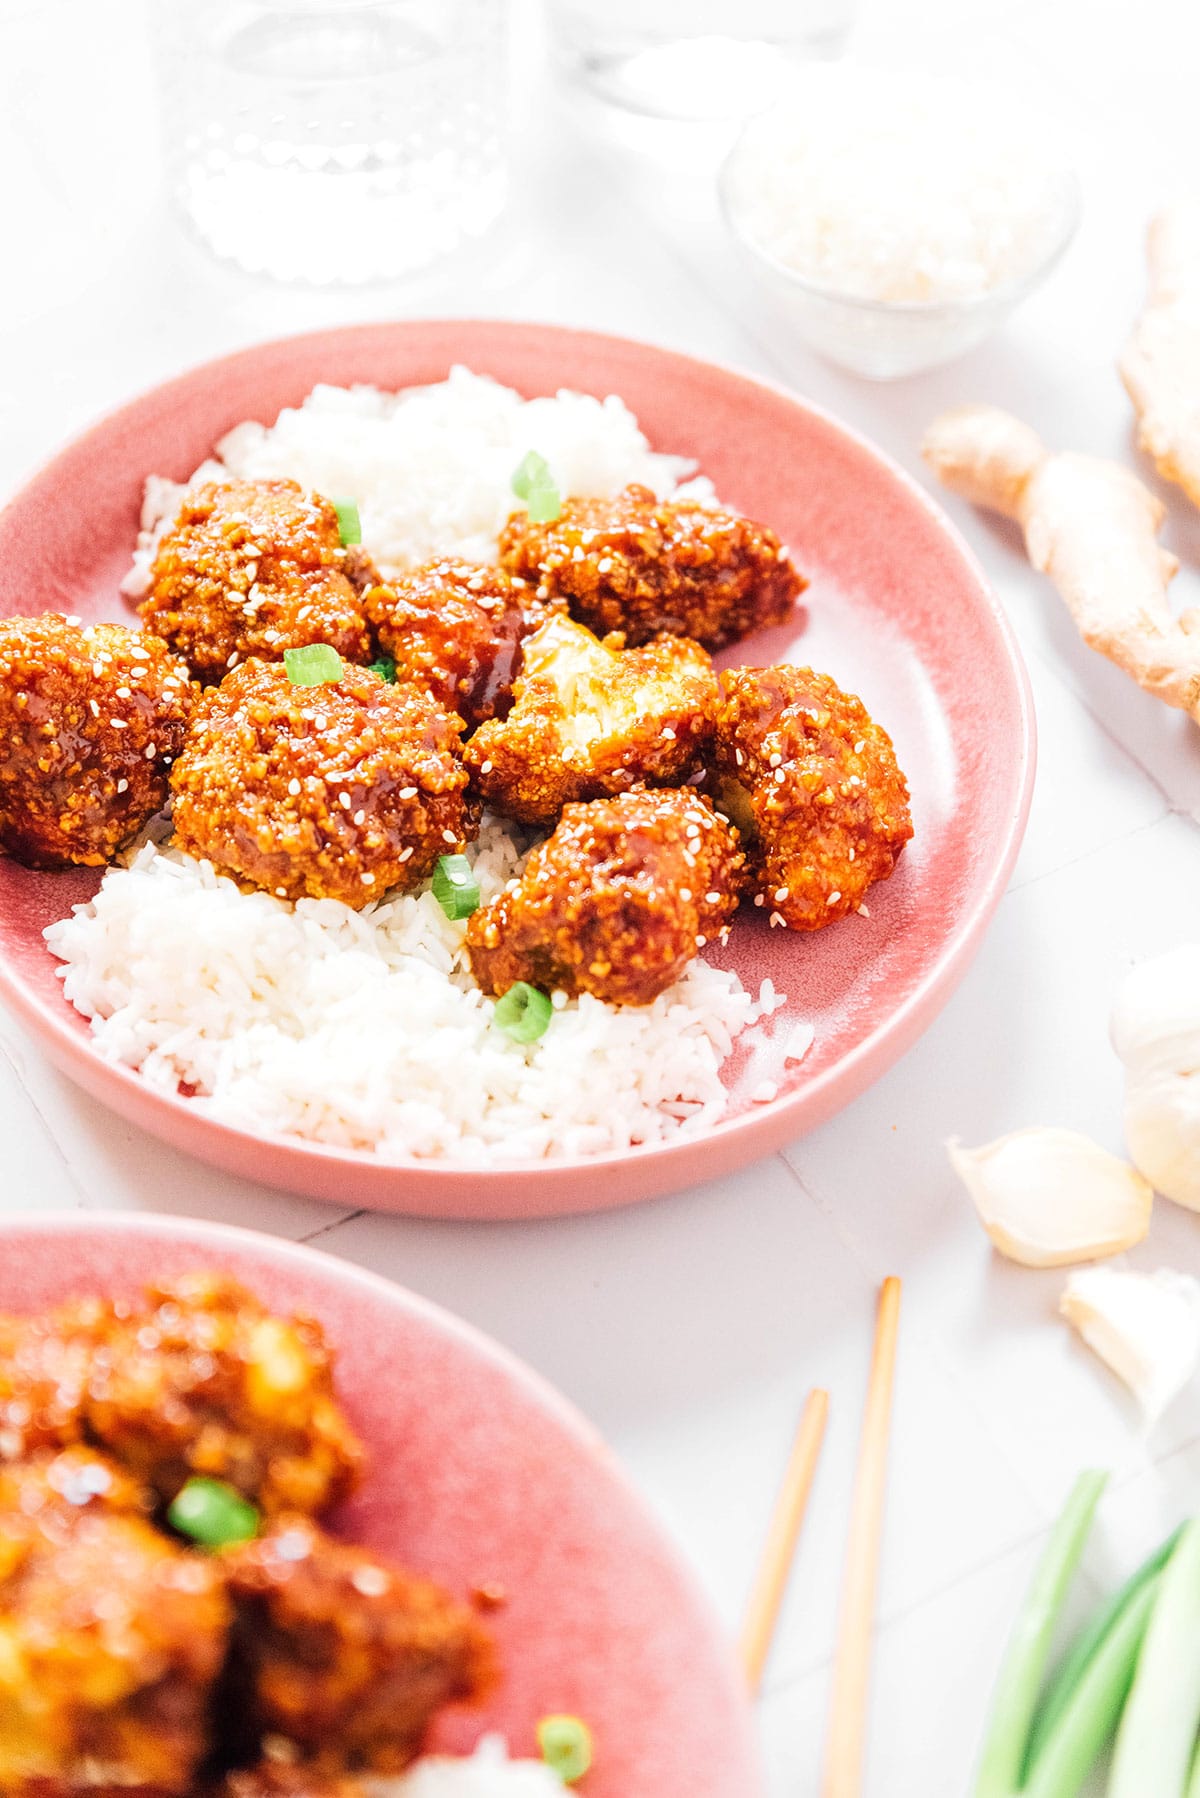
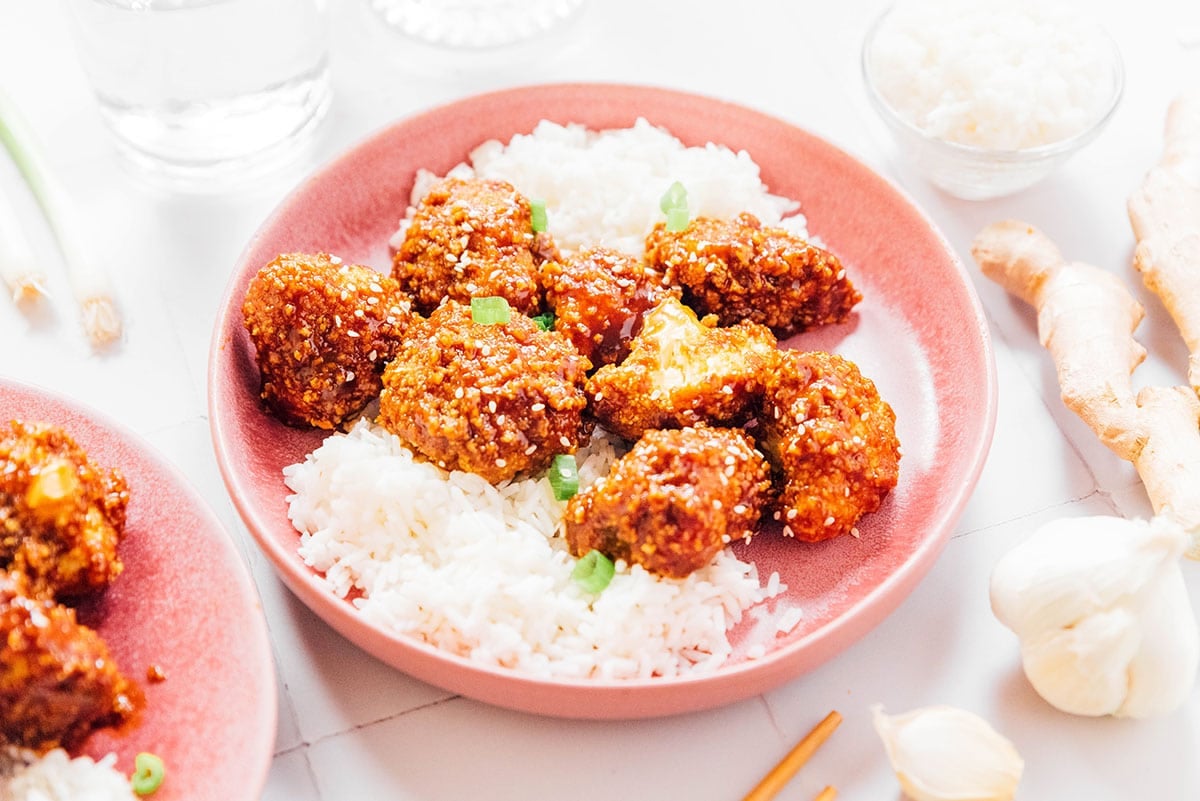
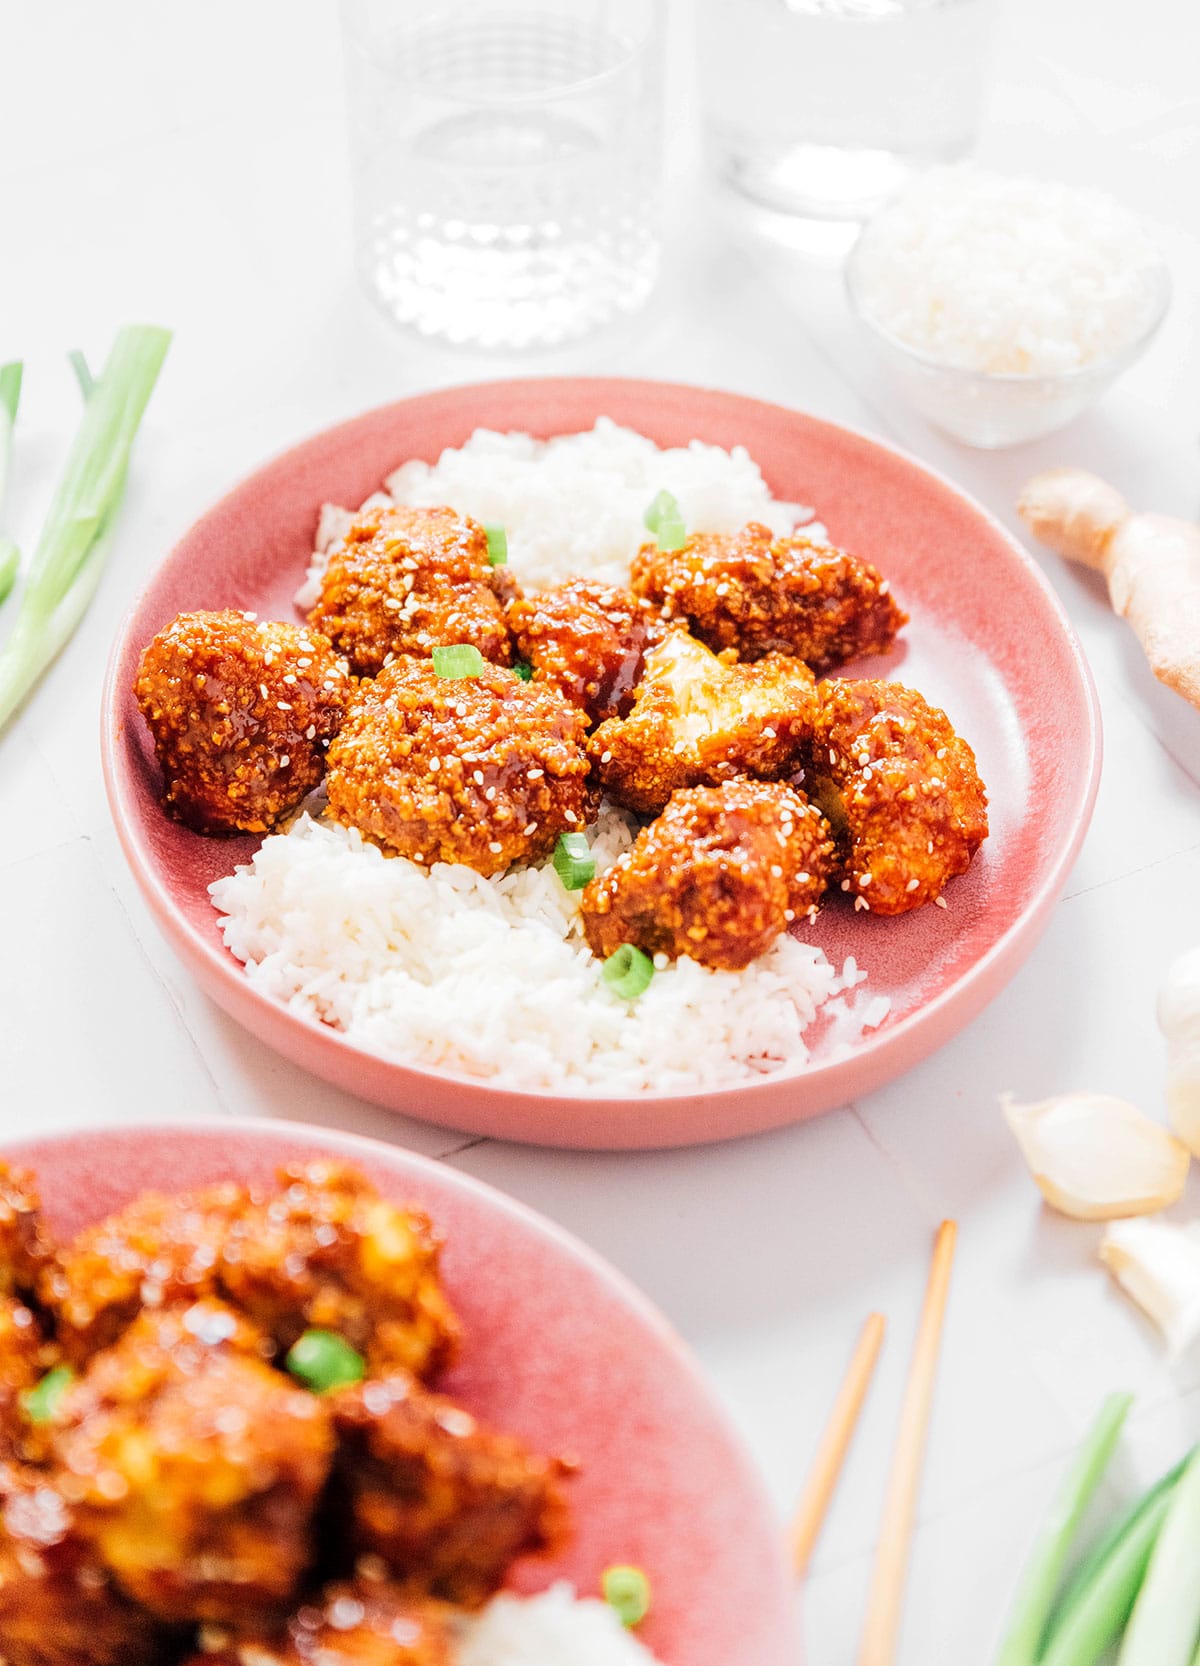
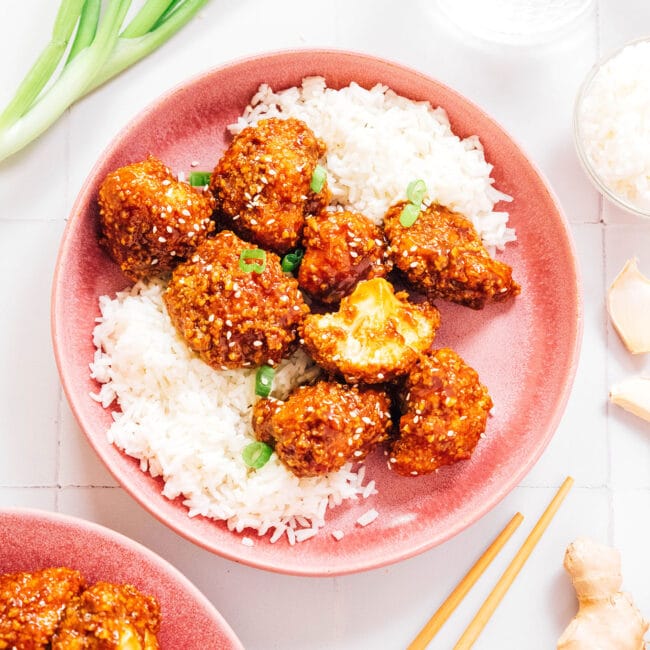
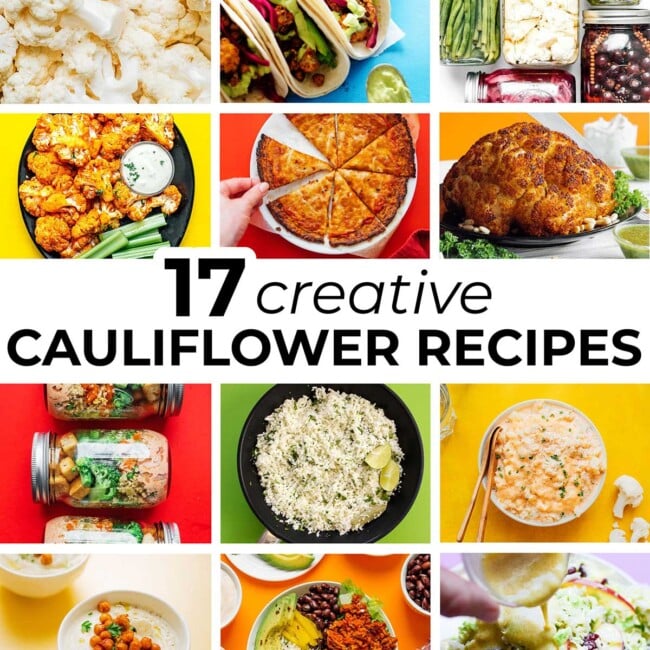
This Sticky Garlic Cauliflower tastes just like the sticky garlic chicken from your favorite takeout place, but totally vegetarian (and WAY delicious!)
I know that as a food blogger I should be comfortable with all types of cooking, but there’s one type of cooking that I just hate. And not because it’s unhealthy or anything, but because I’m a huge scaredy-cat who is already a walking fire hazard, even without the addition of this cooking method. Can you guess which it is? Yep, frying.
I hate frying! But sometimes this aversion to frying helps me to create the best (much healthier dishes). Case in point, Asian-style cauliflower. We made General Tso’s Cauliflower a while back, and today we’re changing it up to make Sticky Garlic Cauliflower! And the secret to non-fried yet crispy cauliflower? A quick dredge in panko!
In the past, a few readers noted that they felt this recipe turned out too salty. So, I improved this recipe by omitting the salt and balancing out a few ingredients to round out the flavors. Happy eating!
Reader rating
“Loved this! I was worried about the salt so made sure to get the low sodium soy sauce and didn’t use salt anywhere else and it turned out wonderful! Can’t wait to make this again!” —Courtney
Ingredients in this sticky garlic cauliflower recipe
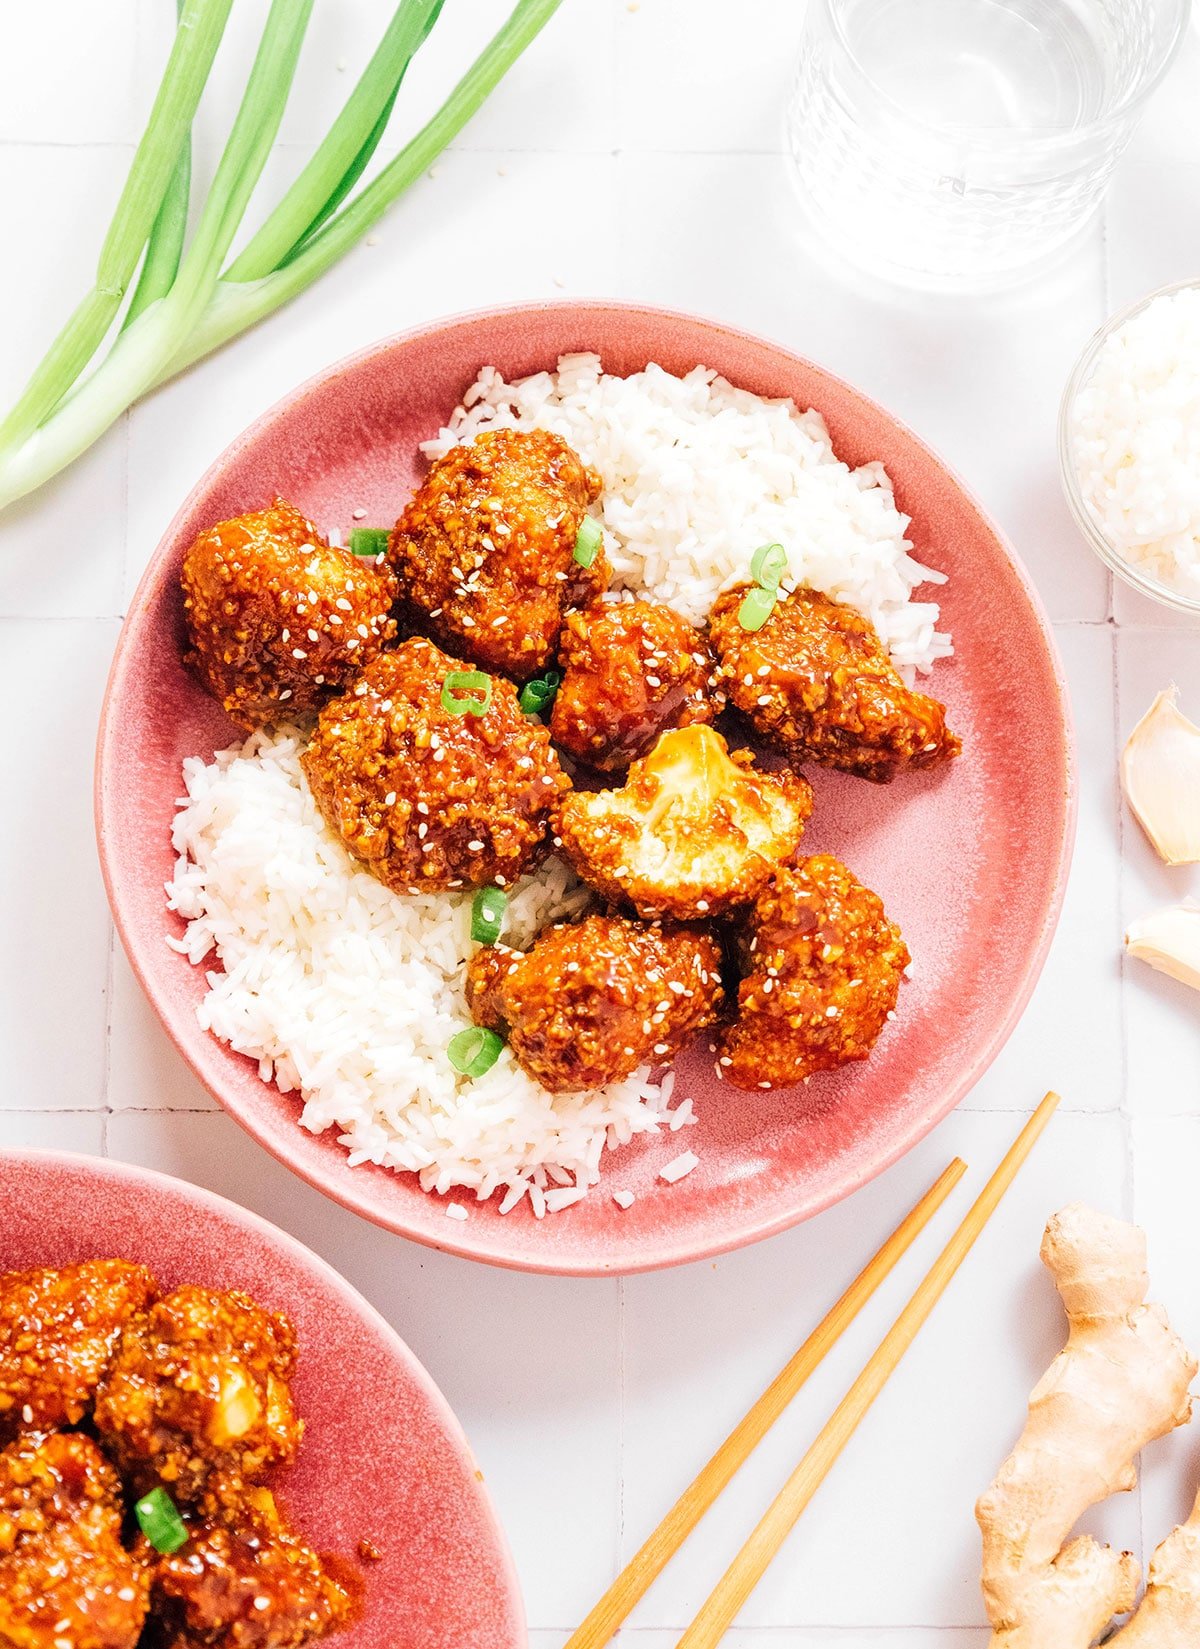
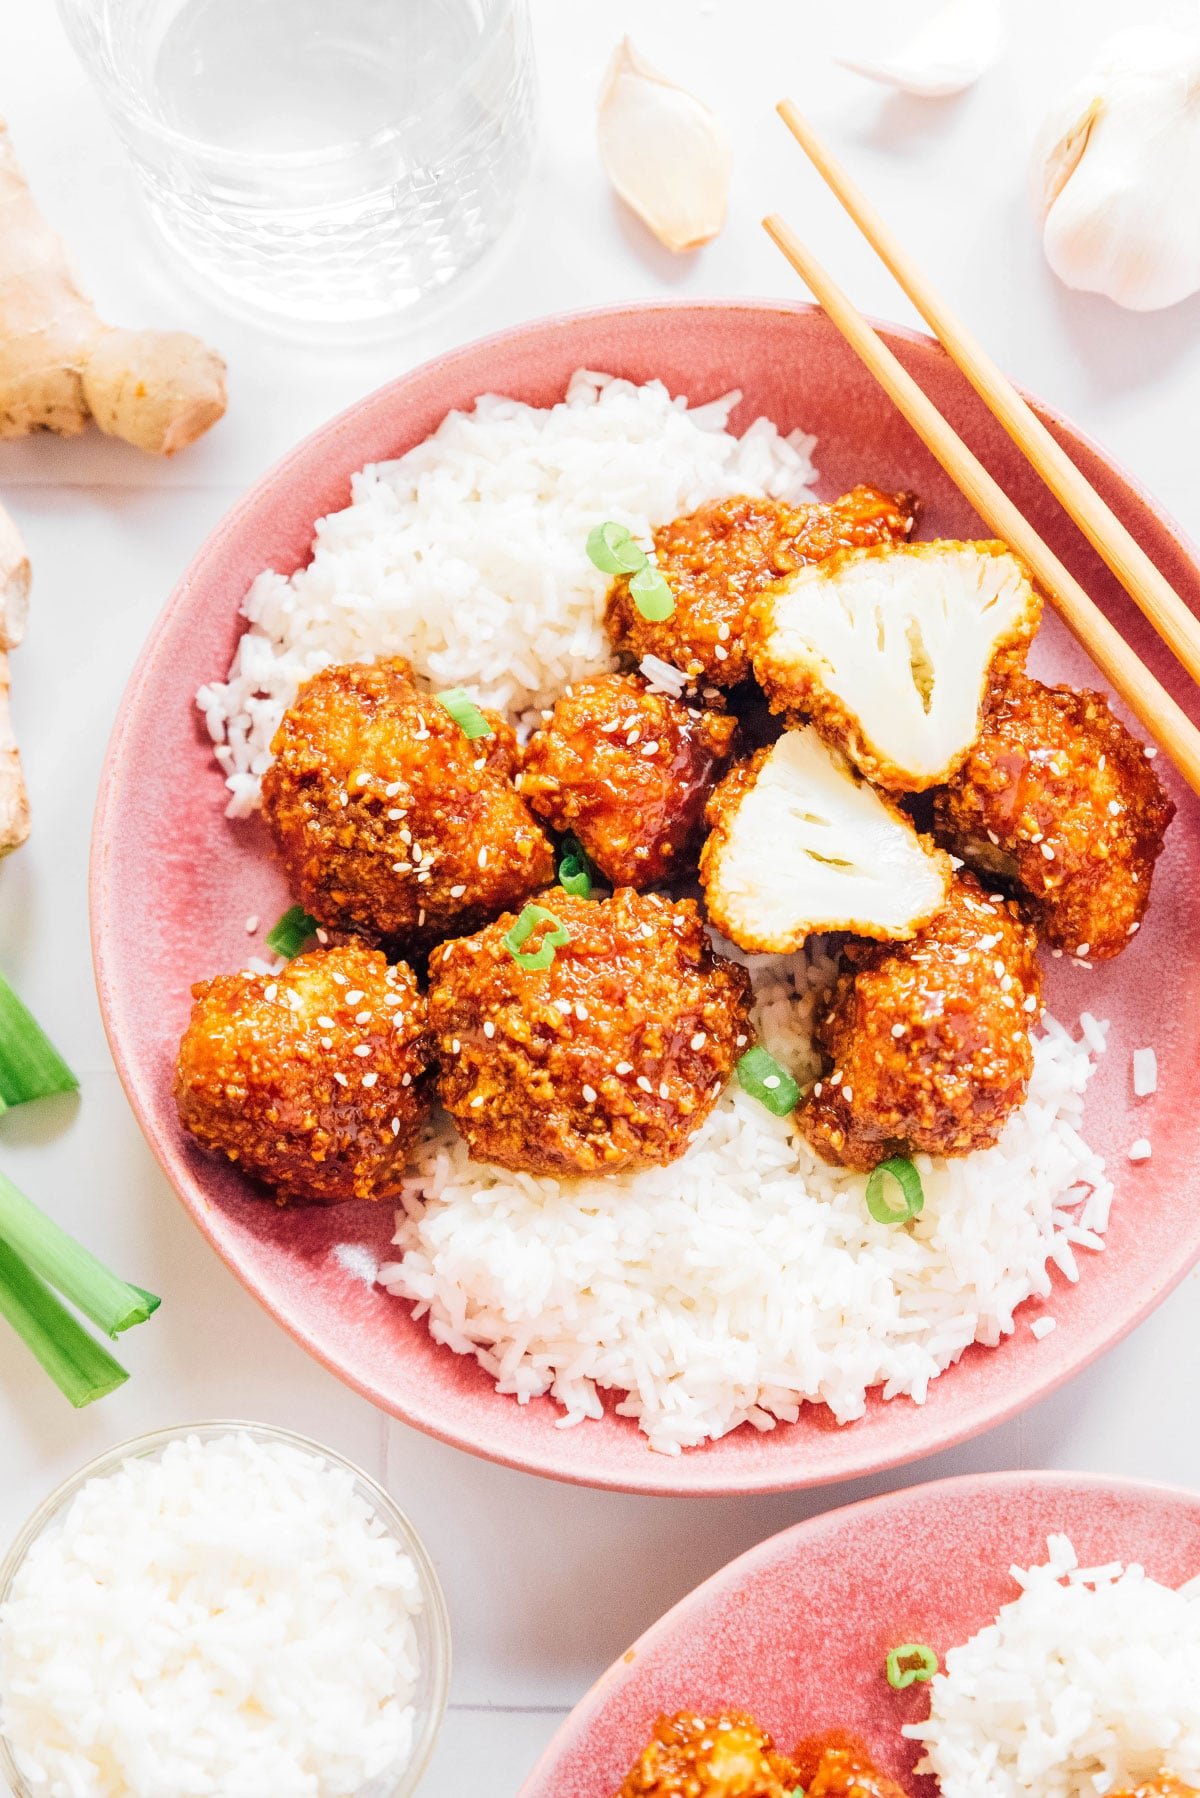
This sticky garlic cauliflower tastes like a treat. It’s totally vegetarian (obvi), and the outside is nice and crunchy with a fluffy and flavorful center!
Cauliflower
The base of this recipe is the crunchy cauliflower, which we’ll dredge then bake.
- Cauliflower: First, you will need ½ head of healthy cauliflower. This will break down to 4 servings.
- Flour: Next, you will need ½ cup of all-purpose flour to help with breading the cauliflower. This will help the crunchy coating to stick to the cauliflower florets.
- Eggs: We’ll use an egg wash consisting of two large eggs to act as glue for the coating.
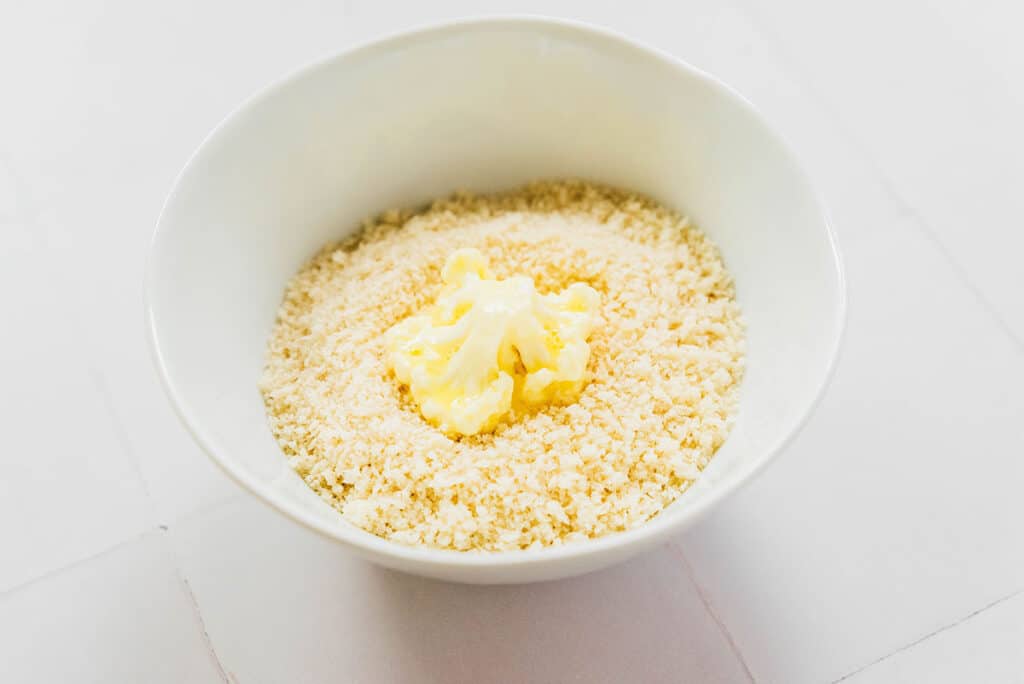
- Breadcrumbs: Finally, the cauliflower will be complete with 1 cup of panko breadcrumbs. This Japanese-style breadcrumb is ultra light and crunchy, helping to mimic the taste of deep frying!
Sticky Garlic Sauce
- Cornstarch: First up for the sauce is 1 tablespoon of cornstarch. This helps thicken everything up a bit.
- Hoisin Sauce: Next, you will need ½ cup of hoisin sauce, a thick and flavorful sauce often used for glazing meats.
- Soy Sauce: From here, use ¼ cup of soy sauce.
- Garlic: Next, add flavor with 4 cloves of minced garlic.
- Ginger: Follow the garlic with 1 tablespoon of fresh grated ginger to brighten up the flavors.
- Sriracha: 1 tablespoon of sriracha will add a bit of heat.
- Rice Vinegar: Last but not least, complete the sauce with 1 tablespoon of rice vinegar to bring some acidity!
How to make homemade sticky cauliflower
Making this garlic cauliflower doesn’t have to be too time-consuming! If you’ve ever breaded anything with an egg wash, this will work much in the same way.
Step 1: Prepare the ingredients
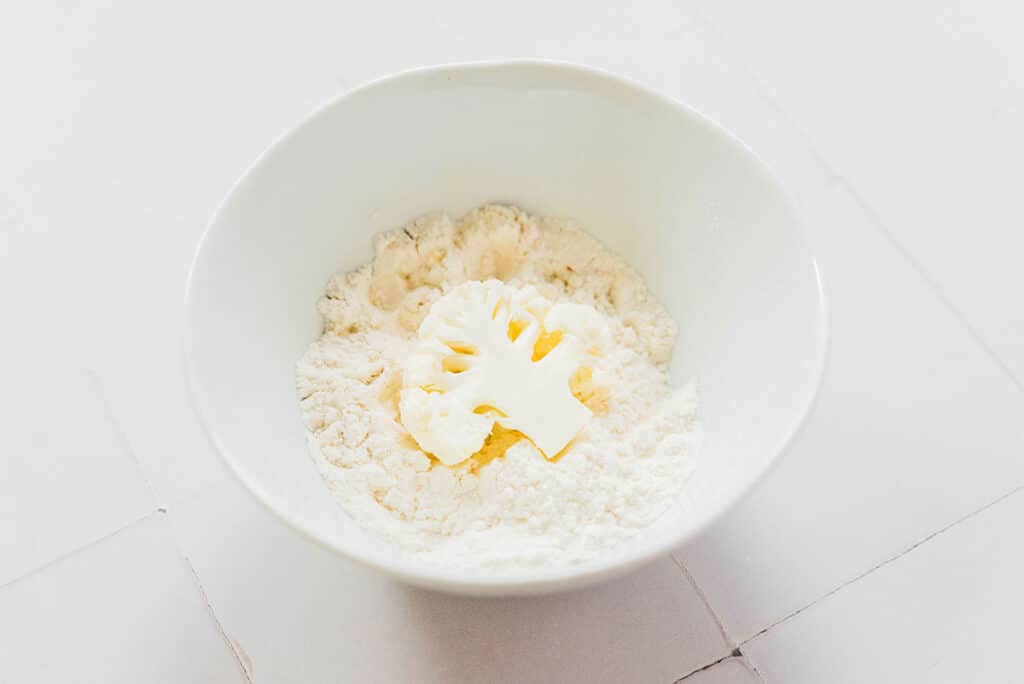
First, preheat the oven to 400°F (204°C). Arrange your workspace by placing the flour, eggs, and panko breadcrumbs in three separate bowls. In a fourth bowl, whisk together the cornstarch with 2 tablespoons of water and then set it aside.

Step 2: Cook the cauliflower
Next, cut the cauliflower into bite-sized florets. Working in batches, coat the florets in flour…
…then egg…

…and then breadcrumbs.
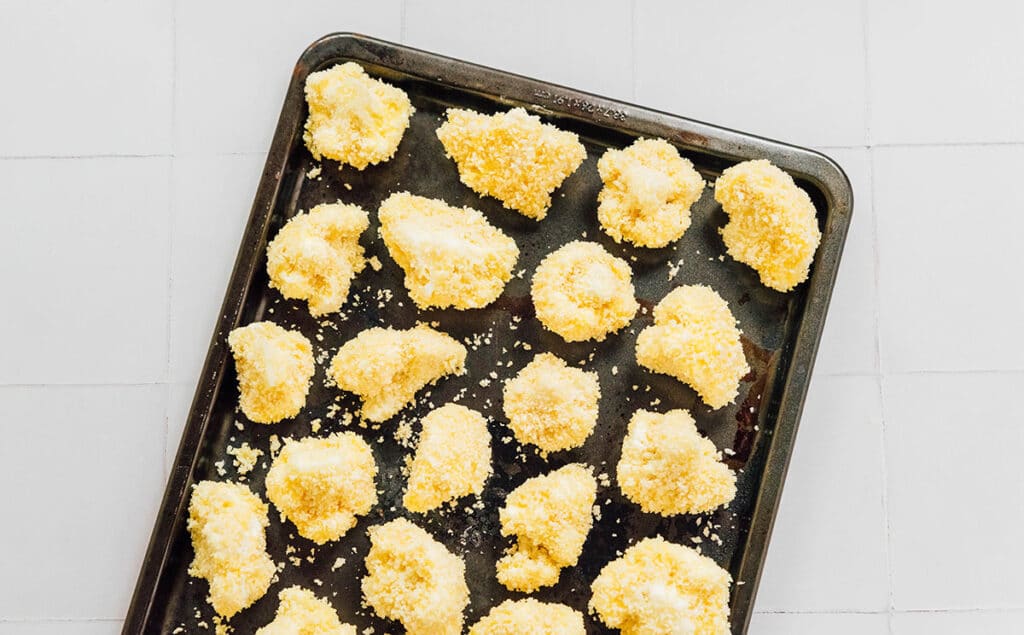
Set the pieces in a single layer on a parchment paper-lined baking sheet and then bake for 15-20 minutes, or until crispy.

Step 3: Create the sauce
Set a small saucepan over medium heat and add all of the sauce ingredients except the cornstarch and water slurry. Once the ingredients are hot, whisk in the cornstarch slurry and bring everything to a simmer. Cook for about 2 minutes, until it begins to thicken. Drizzle the sauce over the baked cauliflower and gently toss to evenly coat.
Try it in the air fryer
Want to enjoy extra crispy cauliflower sans the oven? Throw it in the air fryer! After breading with the flour, egg, and breadcrumbs, you can toss these florets right into your air fryer for a more “fried” feel that tastes just as delicious as the oven-baked version!

FAVORITE AIR FRYER
After trying out a bunch of different air fryers, this is my favorite!
Pairs well with
You can also use this as a side dish alongside a number of Asian vegetarian recipes. Here are some of our favorites!
Ingredients
Cauliflower
- ½ head cauliflower
- ½ cup all-purpose flour 60 g
- 2 large eggs
- 1 cup panko breadcrumbs 50 g
Sauce
- 1 Tbsp cornstarch
- ½ cup hoisin sauce 120 mL
- ¼ cup low sodium soy sauce 60 mL
- 4 cloves garlic minced
- 1 Tbsp fresh grated ginger
- 1 Tbsp sriracha
- 1 Tbsp rice vinegar
Instructions
- Prep: Preheat oven to 400°F (204°C). Arrange workspace, placing flour, egg, and panko in separate bowls. In a separate bowl, whisk together cornstarch and 2 Tbsp of water – set aside.
- Dredge: Cut cauliflower into bite-sized florets. Working in batches, coat the florets in flour, then egg, then breadcrumbs. Set on a parchment paper-lined baking sheet. Bake for 15 to 20 minutes, or until crispy.

- Sauce: Set a small saucepan over medium heat and add all "Sauce" ingredients except for the cornstarch slurry. Once hot, whisk in the cornstarch slurry, then bring to a simmer, and cook for about 2 minutes, until it begins to thicken. Drizzle sauce over the baked cauliflower and gently toss to evenly coat.


Jessica says
Easy recipe, especially for me being as clumsy as I am. I subbed the flour because I only had self rising & it came out well, but word of caution, do NOT sub low sodium soy sauce for regular, it made it way too salty. It was just my laziness not wanting to go back out.
Over all it was yummy! Thank you!
Tara says
I followed all of the instructions to a tea and it was SUPER salty. Generally, it had pretty good flavor but I needed such huge scoops of white rice to drown out the salt, I ended up eating 2-3 pieces and tossing the rest. I think it was the recommended amount of hoisin. Very disappointed.
Sarah says
Sorry to hear it, Tara! Thanks for letting me know, I’ll get to retesting this one.
Courtney says
Loved this! I was worried about the salt so made sure to get the low sodium soy sauce and didn’t use salt anywhere else and it turned out wonderful! Can’t wait to make this again!
Lulla says
I just made this for dinner and I agree with another commenter that this recipe is WAY too salt. I used low sodium soy sauce too, added no other salt, and it was still too much. I’m starving and can’t stomach this dish 🙁
Sarah says
Thanks for your feedback, Lulla! We’ll retest and modify this recipe to include less salt 😀
June Storey says
Carnt wait to try this.
Jose says
Hi Sarah, what would you recommend the settings be for air frying?
Sarah Bond says
I would do about 375F for 8 to 10 minutes!
Amy says
Oh my god…..my new favorite dinner.
So tasty.
Thank you Sarah-I love your food
Sarah Bond says
YAY! So happy to hear it, Amy! 😀