

This post contains affiliate links.
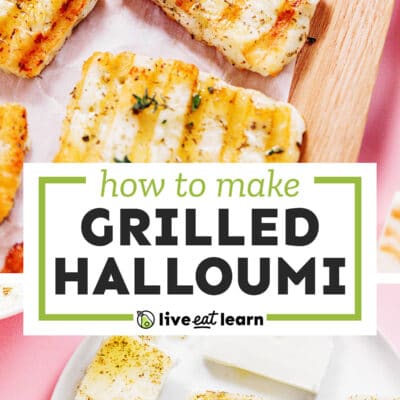
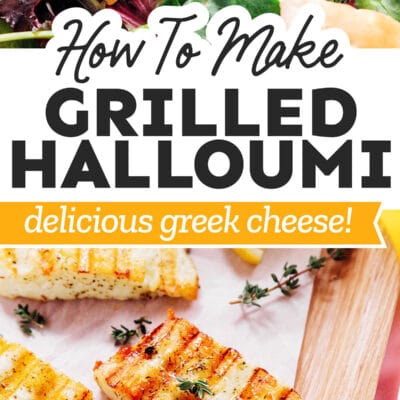
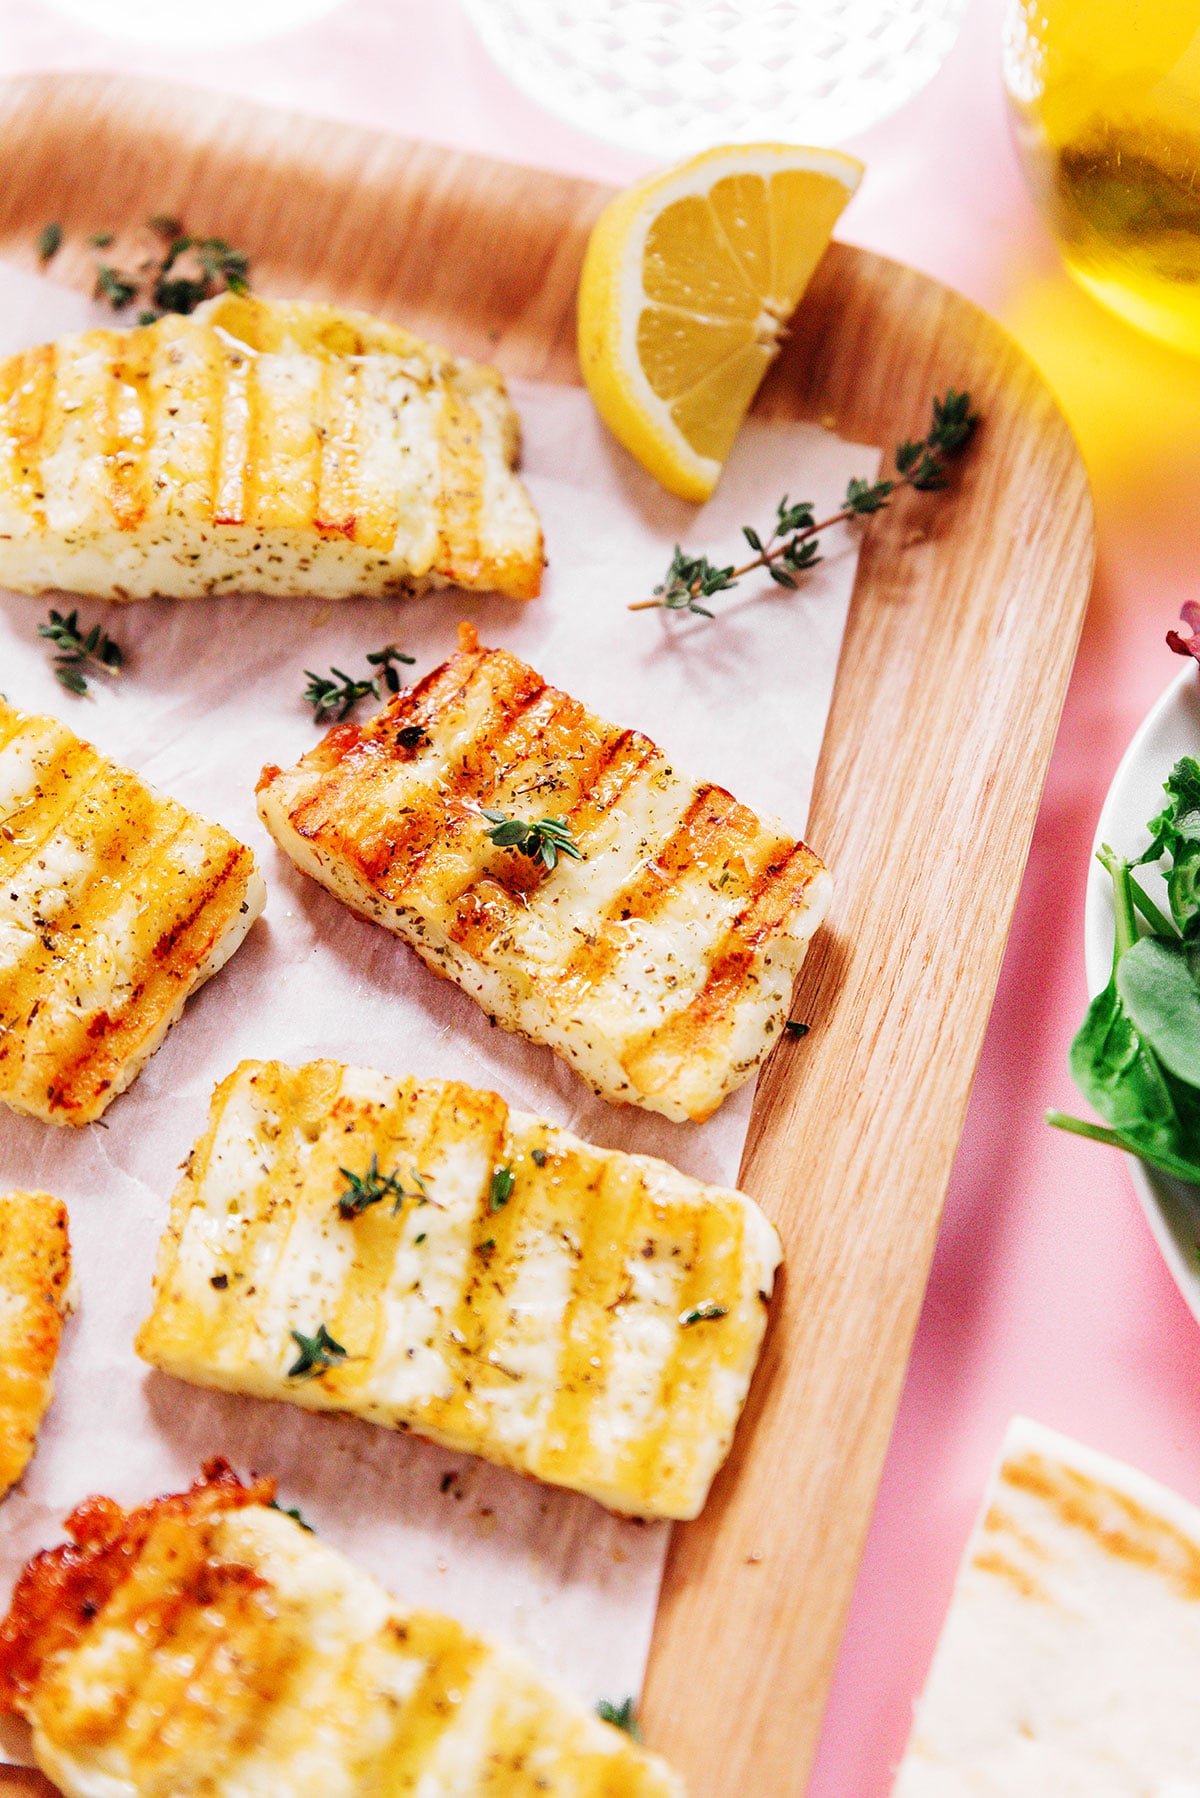
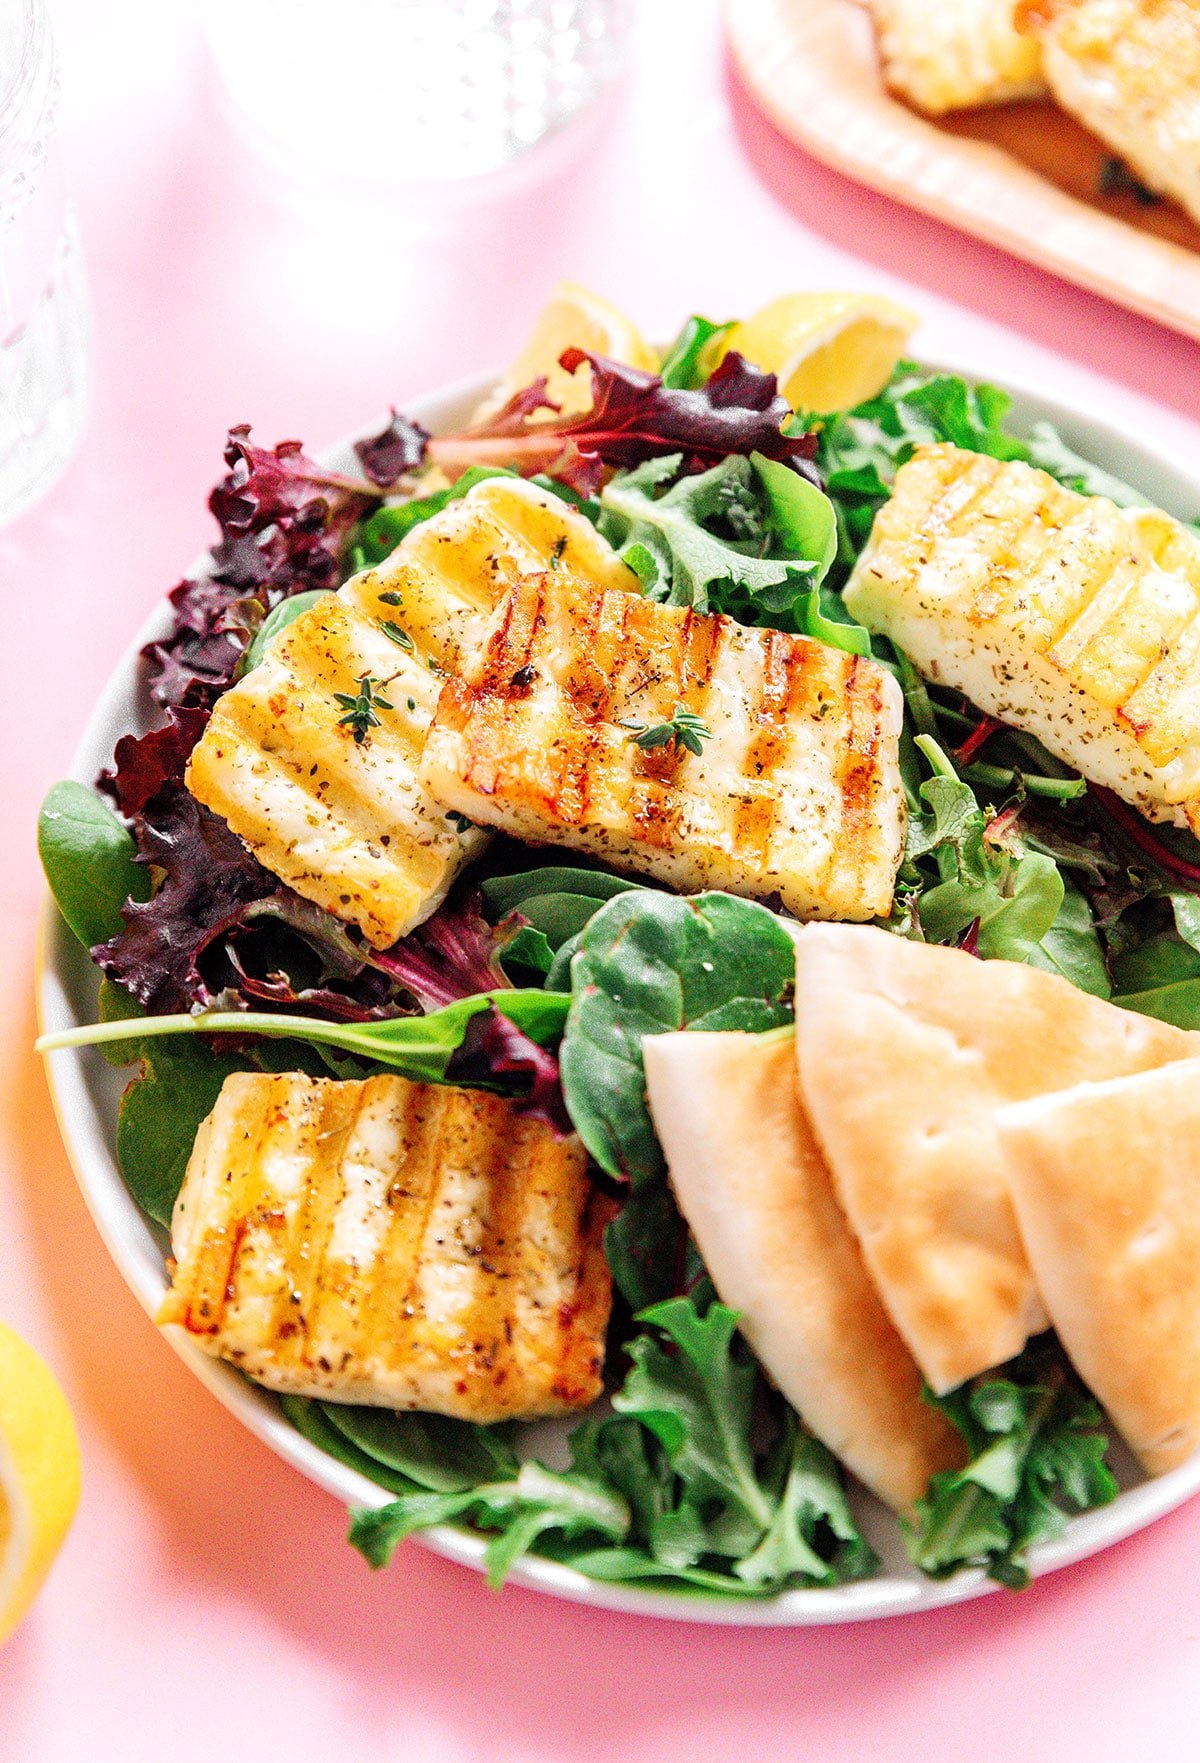
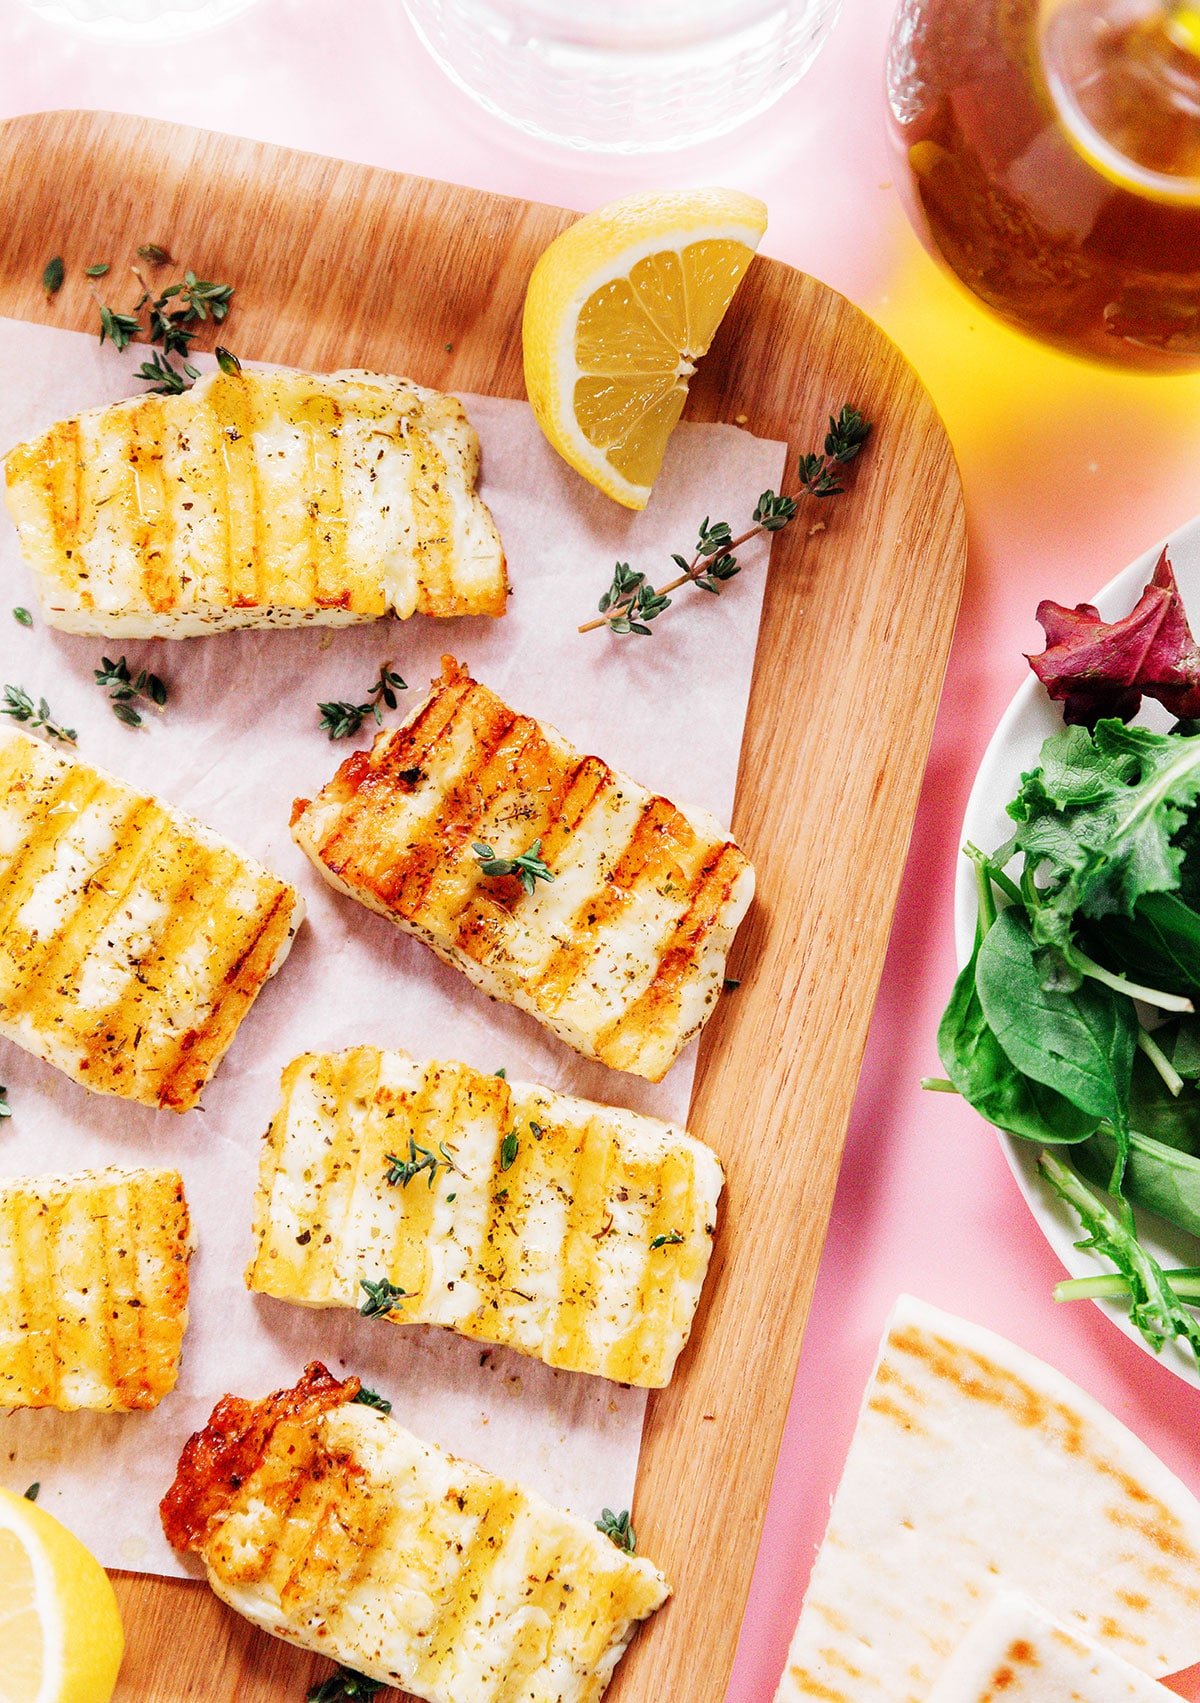
Say hello to your new summer go-to: grilled halloumi cheese! It’s gooey, cheesy perfection with a crispy, golden edge. Toss it on salads (like this hot honey halloumi salad), stack it on halloumi burgers, or enjoy it straight off the grill (no judgment here!).
 save this recipe!
Totally Swoon-Worthy
Halloumi cheese is synonymous with Mediterranean cuisine, and for good reason! It’s firm and has a super high melting point, which is cool because you can pop it directly onto a hot grill without worrying about a melty disaster.
Now, let’s talk flavor. With a simple dressing of olive oil, Italian seasoning, and fresh lemon juice, halloumi transforms into some serious cheesy magic, friends. It’s unbelievably versatile, too
You Only Need 4 Ingredients
This grilled halloumi recipe is essentially divided into two components: cheese and seasoning. How easy is that?!
- Halloumi: Halloumi cheese is the star of the show! It can be found in many grocery stores and natural food markets (near the feta and buffalo mozzarella).
- Olive Oil: You could also use avocado or plain vegetable oil if that’s all you have.
- Lemon Juice: This is a great flavor to add to the cheese, as the acidity balances the creaminess of the halloumi.
- Italian Seasoning: Italian seasoning complements lemon juice perfectly. I mean, have you ever used Italian seasoning without lemon juice?
Helluvah Time Finding Halloumi?
Halloumi is a unique cheese that can be somewhat difficult to find. While I love it (and believe everyone should make grilled halloumi), you can also use paneer or bread cheese as alternatives. (Both paneer and bread cheese are also firm.)
Grilling Halloumi Cheese Is Easy Peasy
Making this grilled halloumi is so simple! It involves just 4 steps (1 of which is serving it).
Step 1: Slice The Cheese
Cut the halloumi into thick (½ inch-ish) slabs. Keep the slices a similar thickness to promote even cooking without burning.
Step 2: Brush The Seasonings
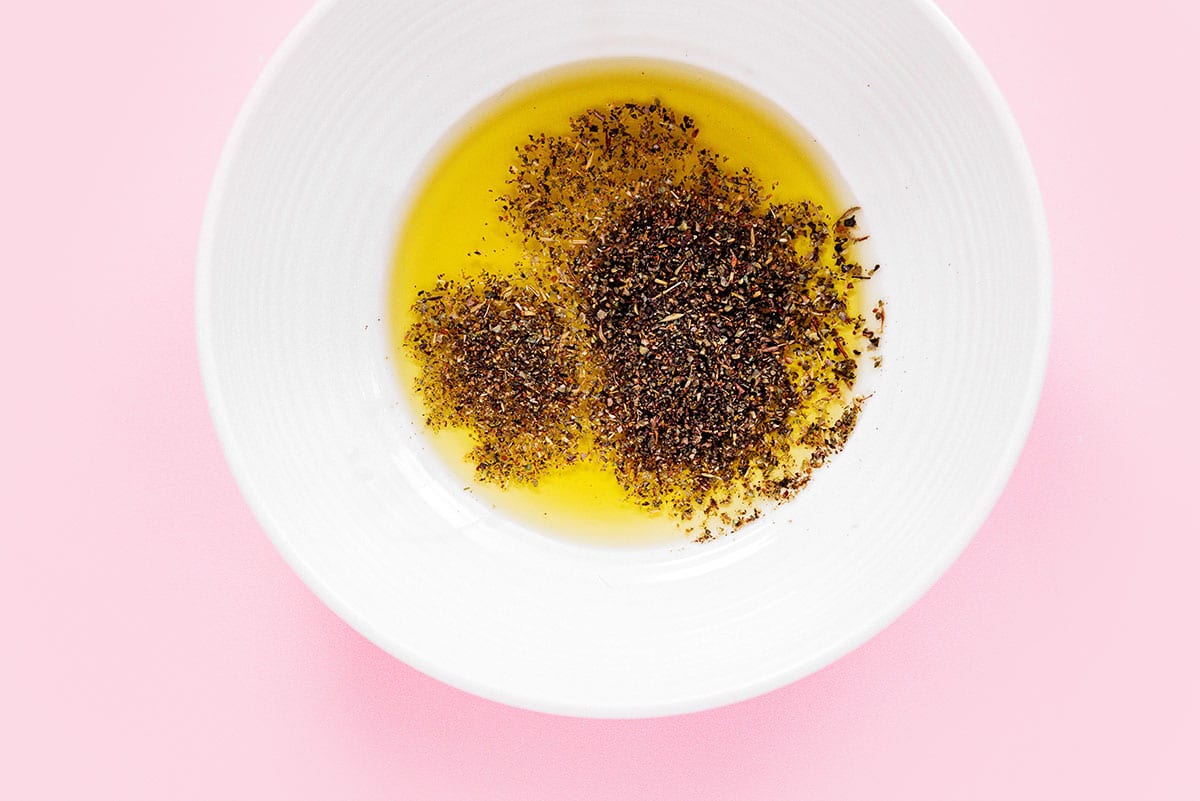
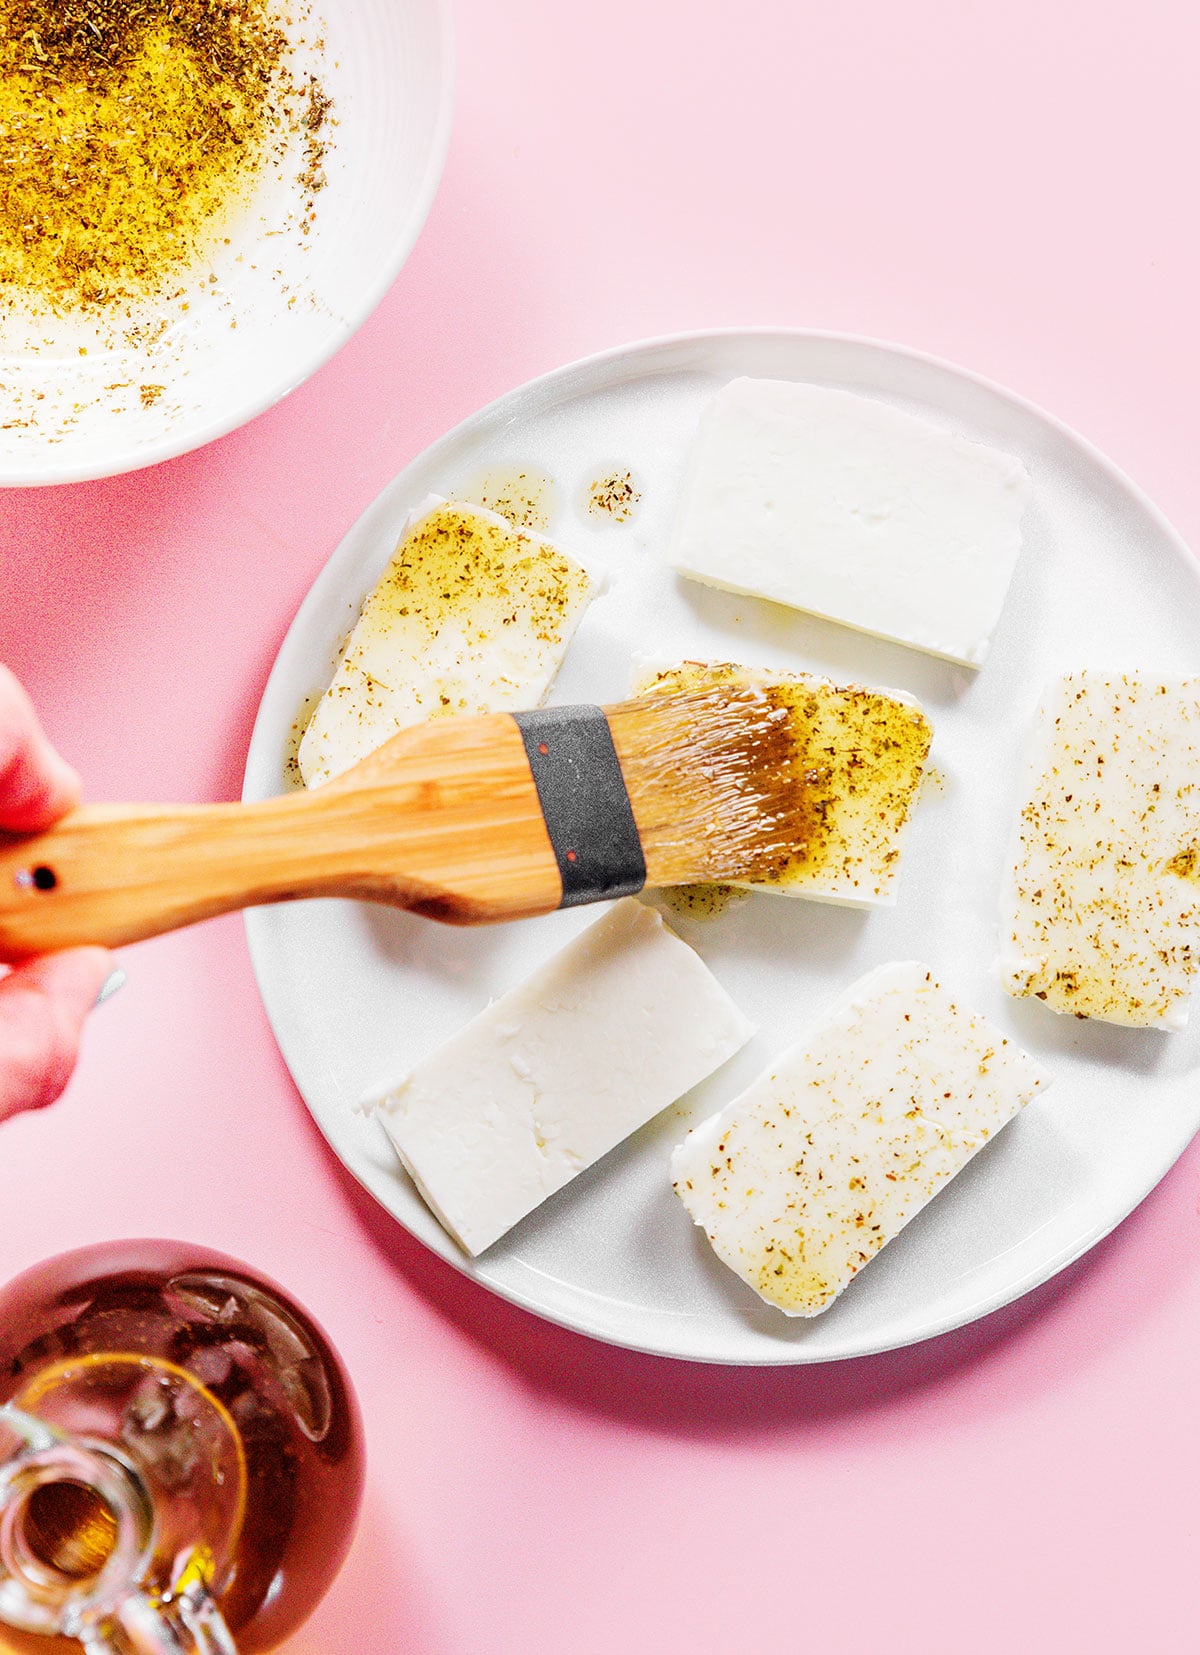
Stir together olive oil and Italian seasoning in a bowl. Brush the oil onto all sides of the halloumi.
Step 3: Grill The Cheese
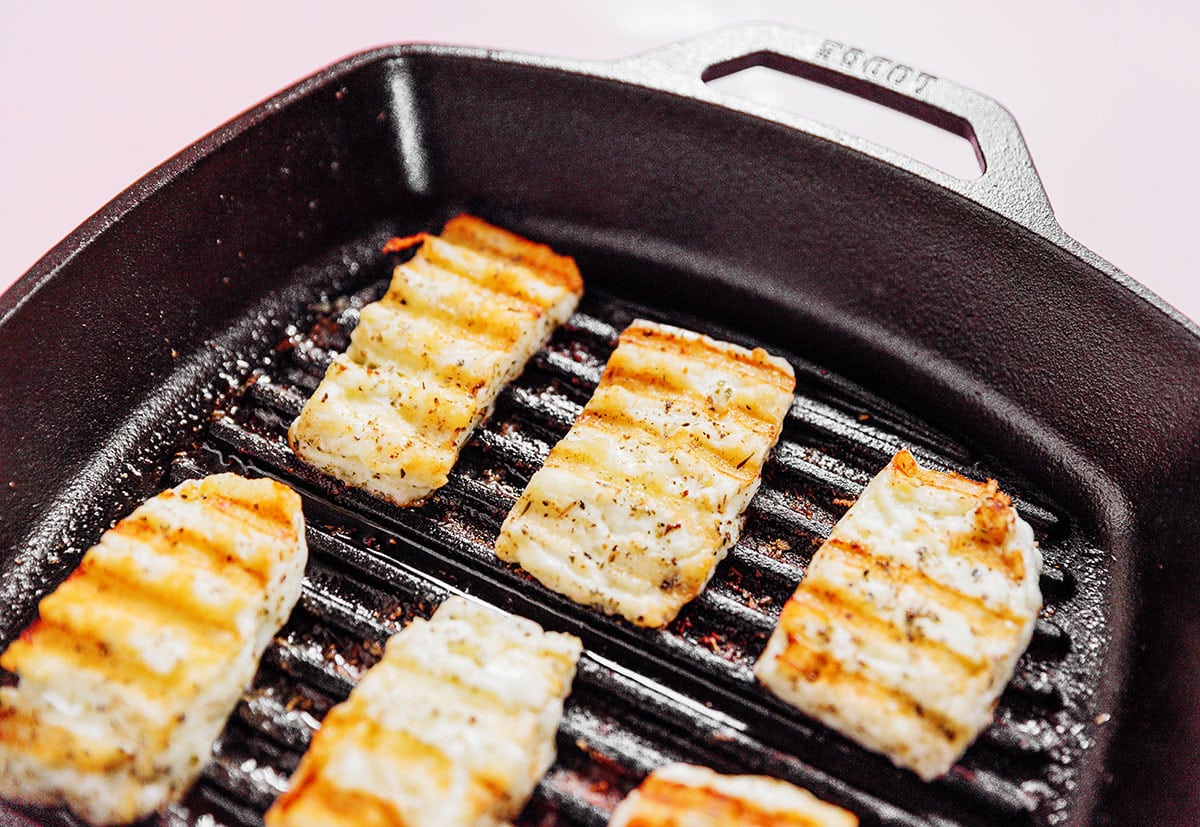
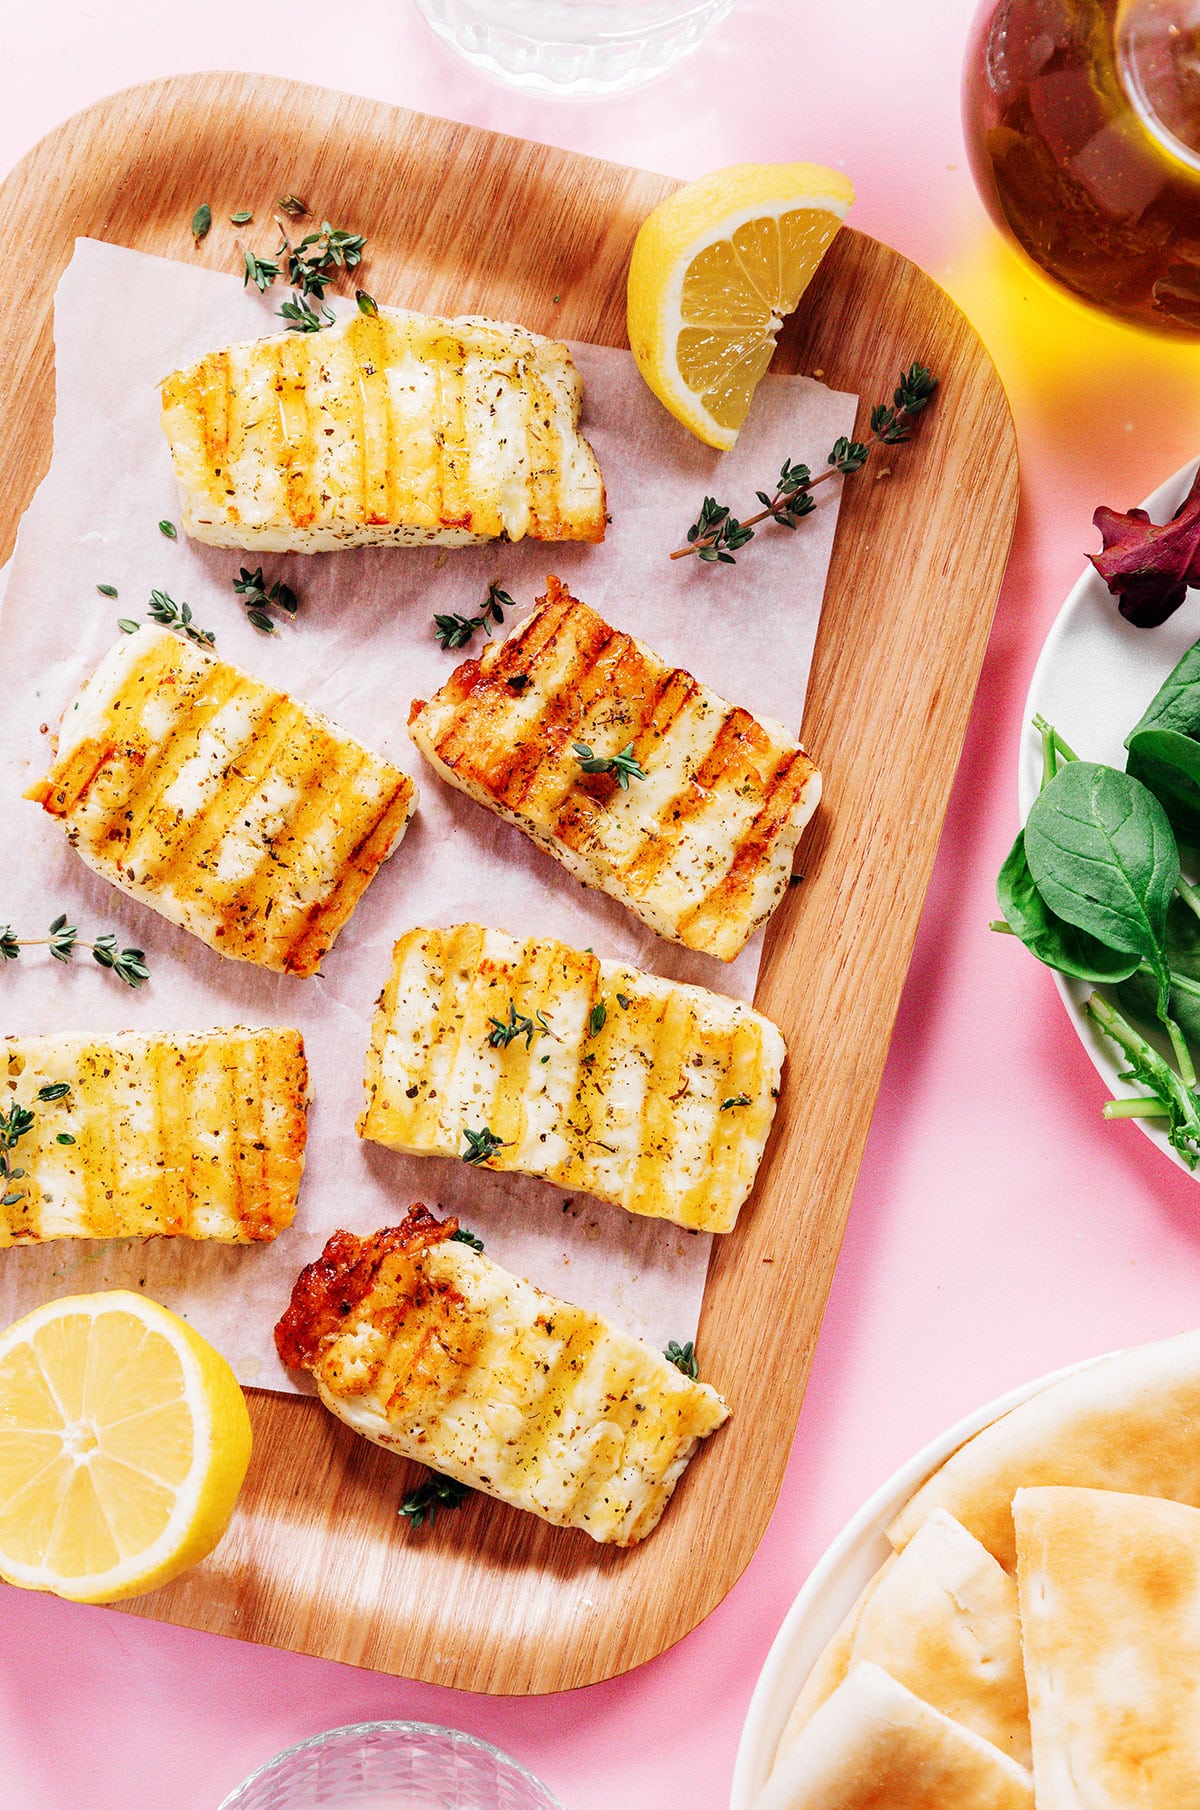
Transfer the halloumi onto a hot grill or grill pan. Cook over high heat until both sides have golden-brown grill marks.
Step 4: Serve The Slices
Drizzle the grilled halloumi slices with lemon juice and serve!
Recipe tips
Variations: Because halloumi is somewhere between feta and mozzarella, you can pair it with many of the same dishes you would serve those cheeses with. Try adding a balsamic drizzle to finish it off, serving it with fresh berries, or brushing it with homemade pesto and olive oil before grilling.
Different Cooking Methods: If you don’t have access to a grill, you can also air-fry, bake, or pan-fry the halloumi (pan-fried is my go-to backup method).
Serve It With Dips: Pair your grilled halloumi with classic Mediterranean dips like tzatziki sauce, hummus, or spicy harissa for a burst of flavor!
Use It Like This
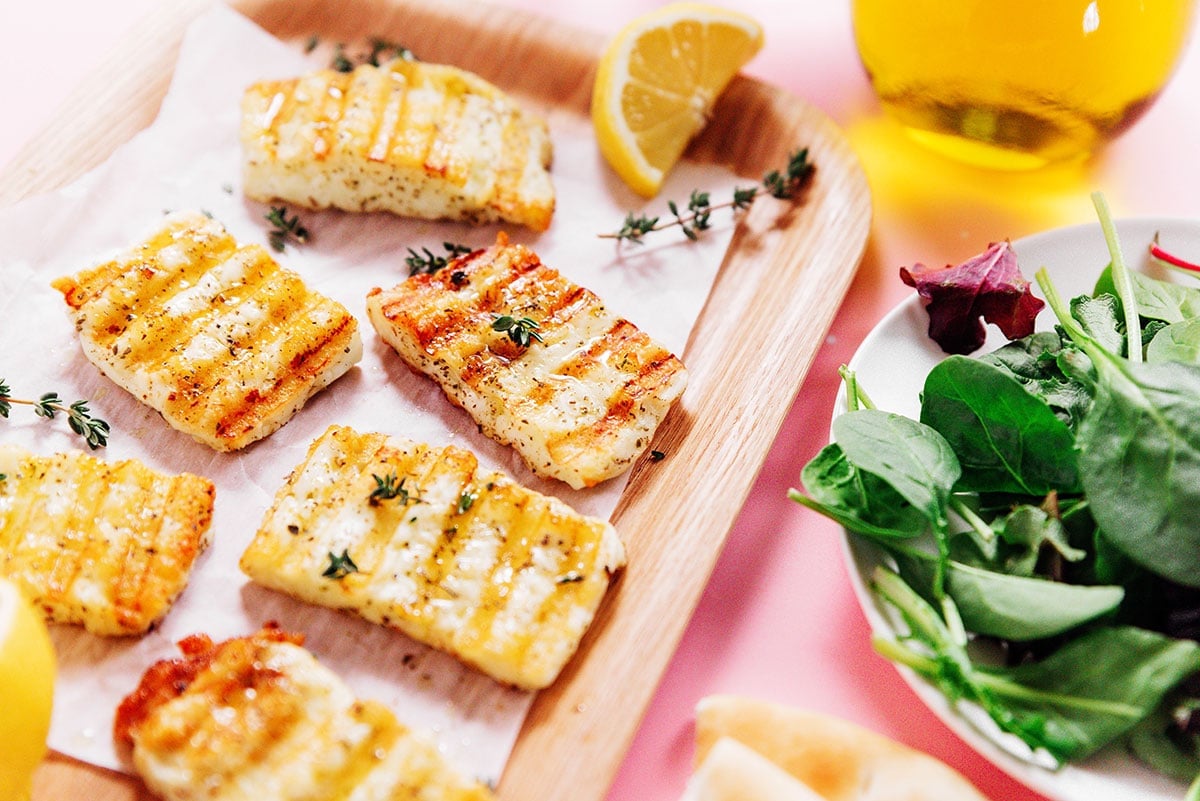
Grilled halloumi can seriously be enjoyed in so many ways! Here are just a few of the dishes I love serving it with.
- Halloumi Burgers: Just season, pan-fry, and slap it on a bun!
- Caprese Panini: The Mediterranean flavors taste fantastic with halloumi. Plus, the firmer cheese texture gives this sandwich a more meaty vibe.
- Portobello Mushroom Gyros: If you didn’t have portobello mushrooms or wanted more creaminess, grilled halloumi cheese would make a great substitute or addition.

Crispy Gooey Grilled Halloumi Cheese

Ingredients
- 8 oz halloumi cheese, 226 g
- 2 Tbsp olive oil, 30 mL
- 1 tsp Italian seasoning
- Juice from ½ a lemon
Instructions
- Slice: Cut the halloumi into thick (½ inch-ish) slabs.
- Season: Stir together olive oil and Italian seasoning. Brush onto all sides of the halloumi.

- Grill: Transfer halloumi onto either a hot grill or grill pan. Cook over high heat until the outside is charred.

- Serve: Drizzle with lemon juice and serve hot.

Notes
Nutrition
Nutrition information calculated by Sarah Bond, degreed nutritionist.
 did you make this?Leave a comment below and tag @liveeatlearn on social media! I love seeing what you’ve made!


This is a really nice recipe, and was so easy. Thanks.