
This post contains affiliate links.
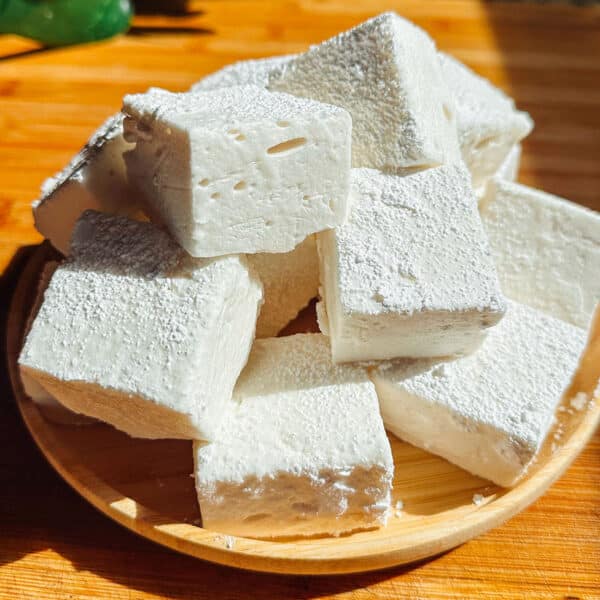
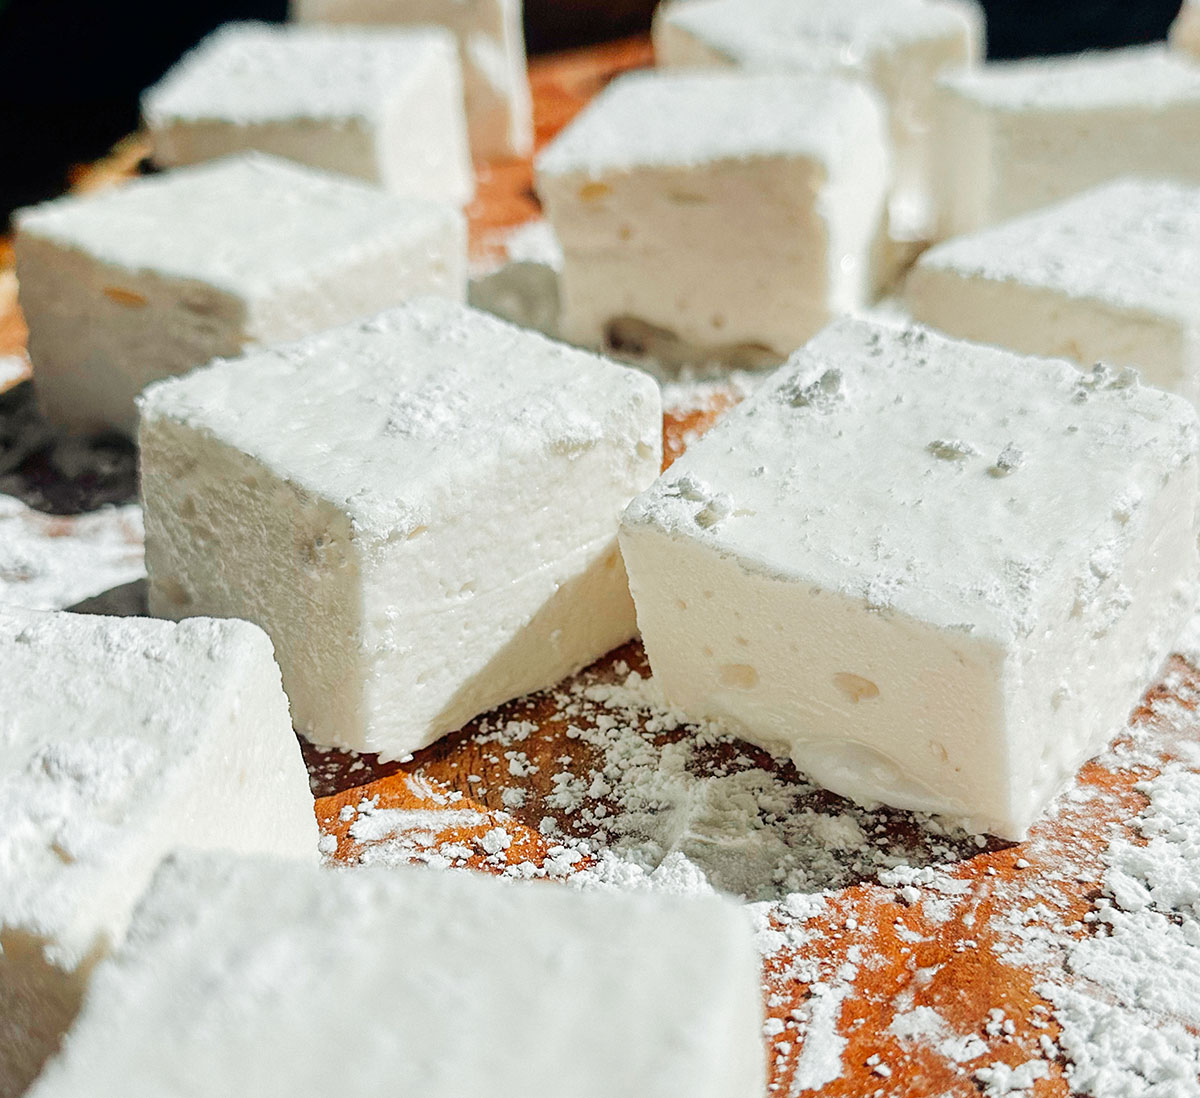
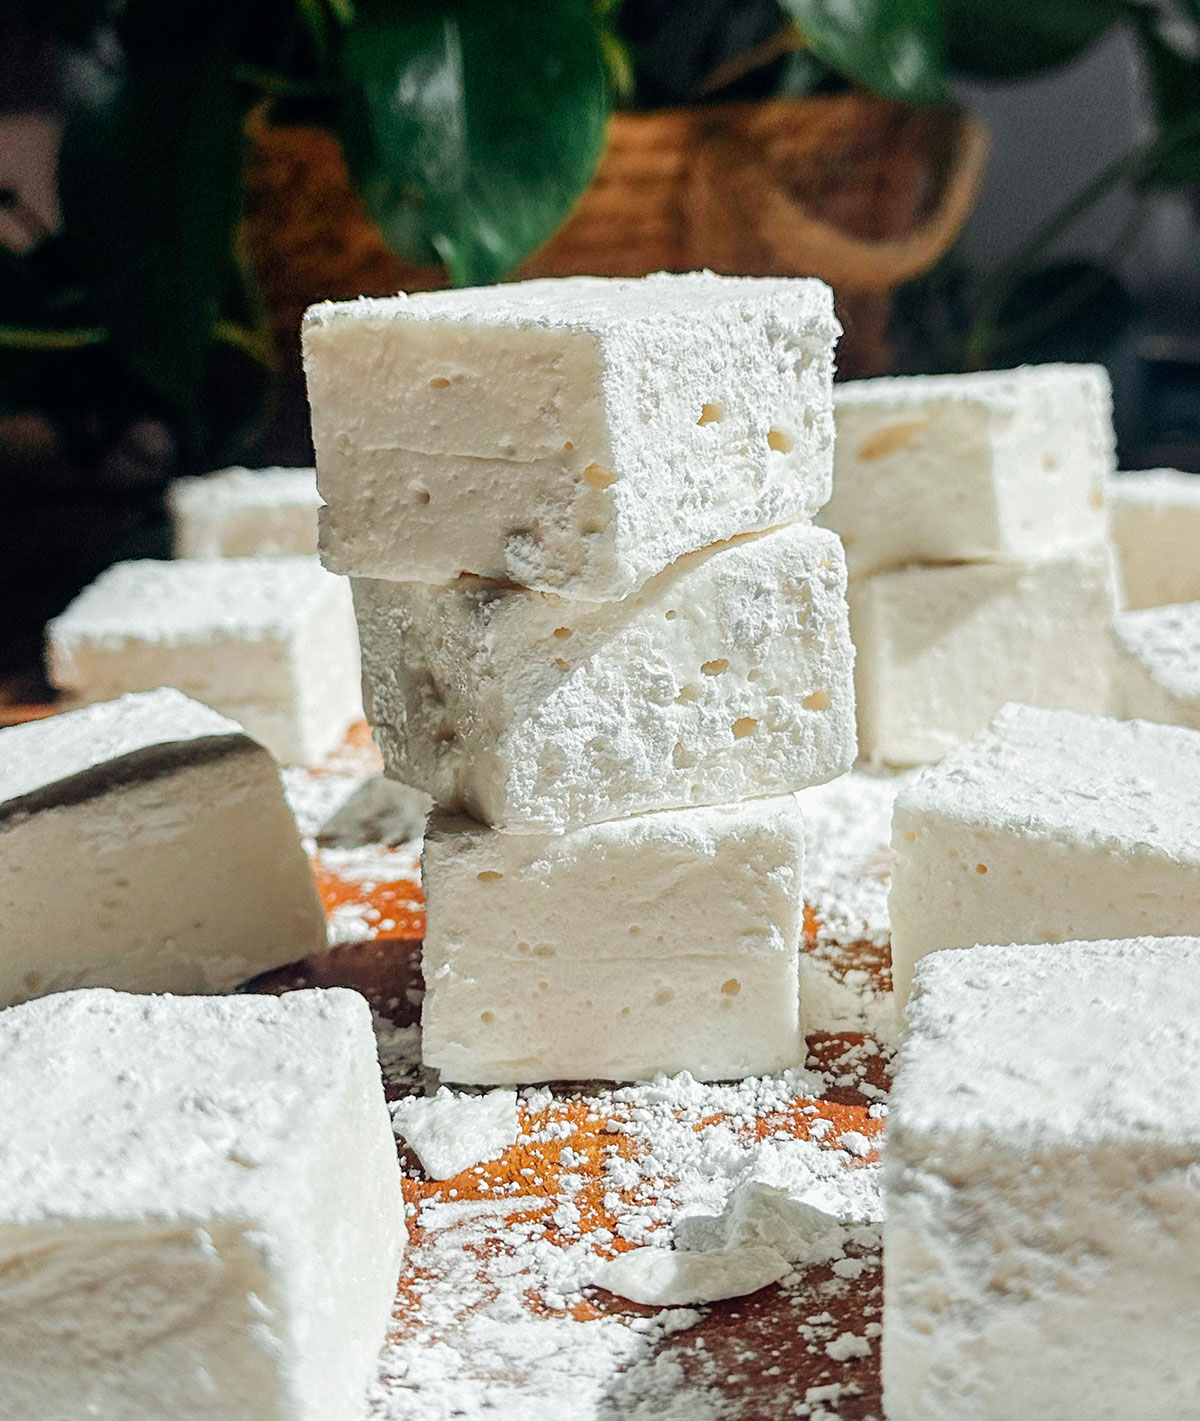
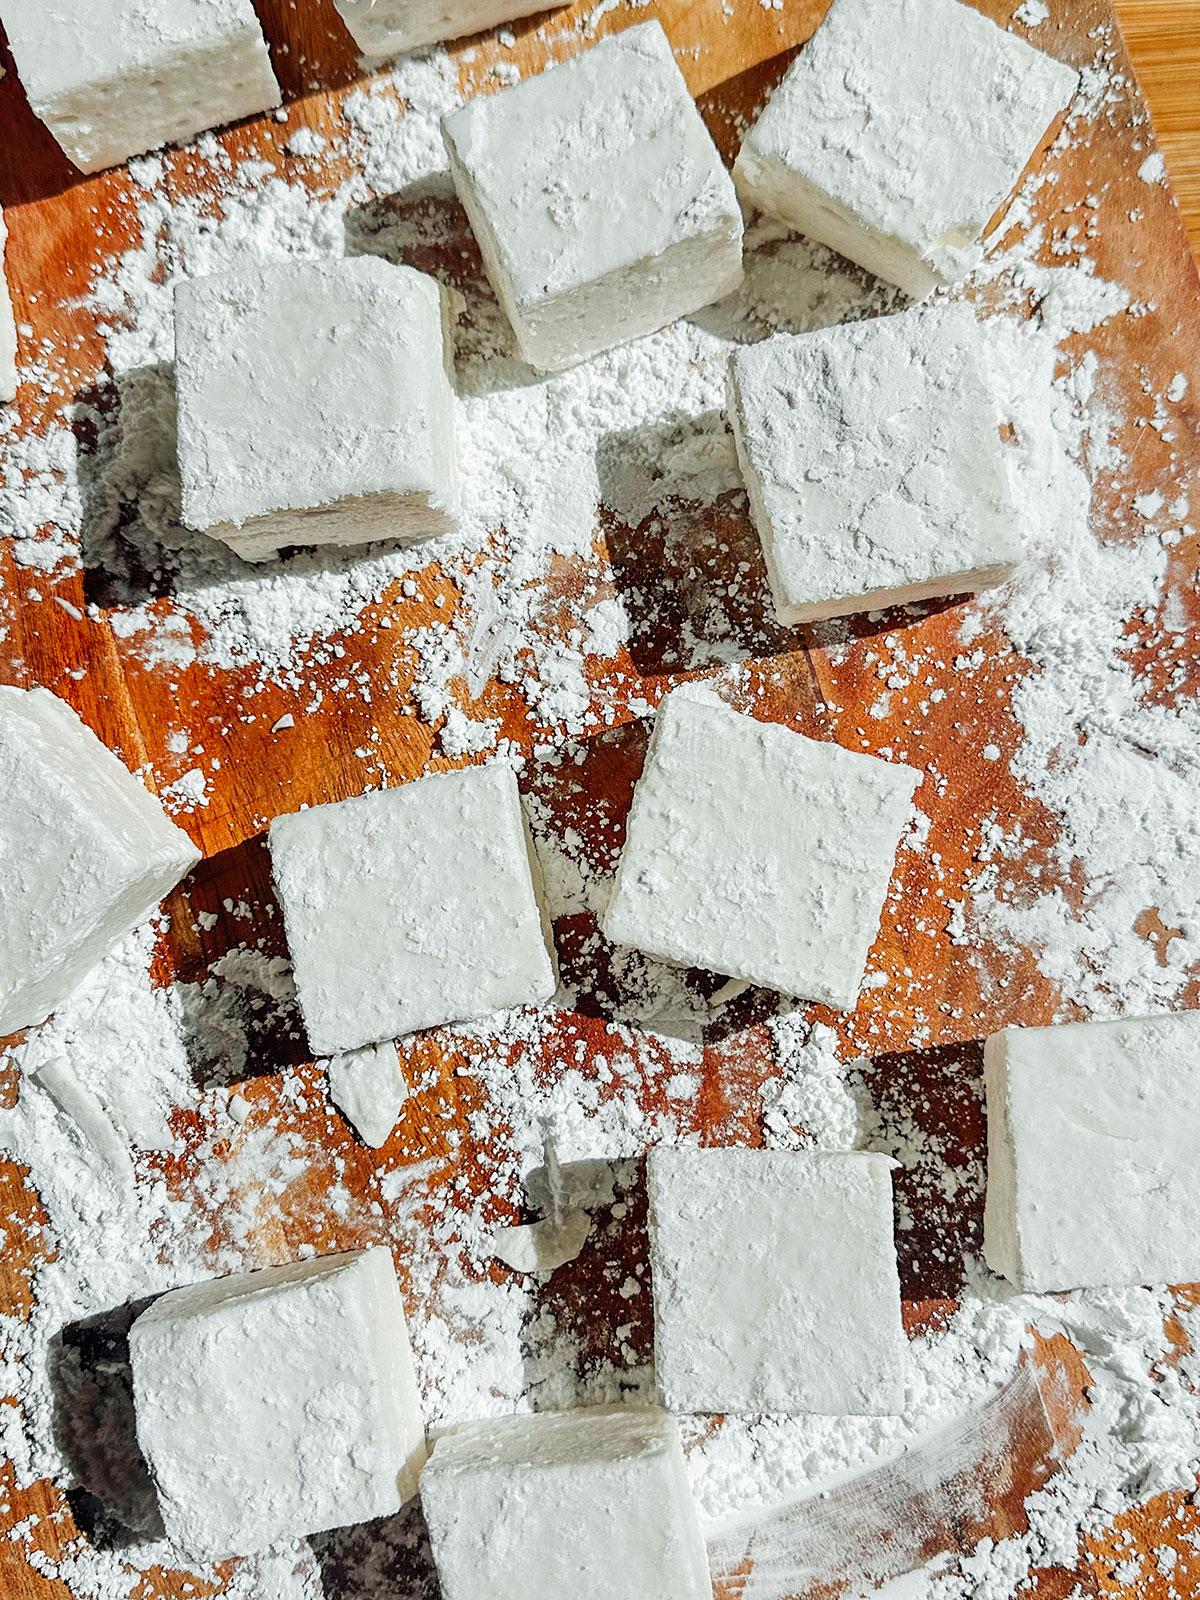
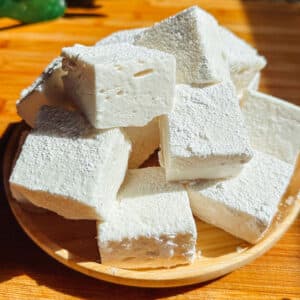
My vegan marshmallows are light, glossy, and fluffy, made with aquafaba and agar instead of gelatin. They slice into clean squares that hold their shape, toast over a flame, and melt into hot chocolate exactly like the real thing.

This is exclusive for our Plant Pals membership. Join now for exclusive recipes, an ad-free site, and so much more!
 save this recipe!
If you’ve made my vegan marshmallow fluff before, this starts from the same aquafaba meringue base and takes it further into a fully sliceable marshmallow!
The testing
This recipe went through four rounds of testing before it worked, and every failure came down to the same two things: agar activation and incorporation speed. Here’s what the testing revealed.
Boiling the agar long enough: The first three tests failed because the agar mixture wasn’t boiled long enough or consistently enough to fully activate. Agar requires a sustained, rolling boil with constant whisking for a full two to three minutes. A brief boil or an uneven heat source leaves the gelling properties underactivated, and the marshmallow either doesn’t set or collapses after a few hours.
Pouring the agar all at once, immediately: In the first test, the agar was added slowly. It began setting before it was fully incorporated, leaving small partially set pieces throughout the meringue. The fix was straightforward: have the stand mixer ready, pour the agar into the meringue immediately off the heat, all at once into the center of the bowl, and start mixing on low right away. Agar starts setting the moment it leaves the heat, so speed matters more here than in almost any other baking step.
Aquafaba only in the agar mixture caused problems: Early tests added leftover aquafaba to the agar mixture rather than just water. The proteins in the aquafaba interfered with the agar’s gelling behavior. Switching to water only for the agar mixture solved the instability immediately.
Key ingredients
- Aquafaba: The liquid from a can of chickpeas, used here as a gelatin-free egg white substitute. It whips into a stable meringue with a texture and structure that makes vegan marshmallows possible. Half a cup is roughly the liquid from one standard can.
- Cream of tartar: Stabilizes the aquafaba meringue and helps it hold its structure through the long whipping time. Don’t skip it.
- Agar agar powder: The plant-based gelling agent that replaces gelatin. It must boil for the full two to three minutes to activate. Agar flakes are not a direct substitute since the gelling strength differs. Use powder specifically.
- Granulated sugar: Used in two places, the sugar syrup poured into the meringue and the agar mixture. The syrup cooked to 235 to 240°F gives the marshmallow its structure and sweetness.
- Vanilla extract: Added at the end of whipping so the heat from the syrup doesn’t cook off the aroma. Two teaspoons gives that classic marshmallow flavor.
- Powdered sugar and cornstarch: Mixed together for dusting. They prevent the marshmallow from sticking to the pan, the cutting board, and itself. Don’t skip the dusting step.
Squishy Vegan Marshmallows

Equipment
- 8×8-inch baking dish
- Parchment paper
- Stand mixer with whisk attachment
- Small saucepan
- Knife
- Cutting board
Ingredients
For Dusting the Pan
- ½ cup powdered sugar*, 50 g
- ½ cup cornstarch, 60 g
For the Aquafaba Meringue
- ½ cup aquafaba, 120 mL
- ¼ tsp cream of tartar, 1.25 mL
For the Sugar Syrup
- 1⅛ cups granulated sugar, 225 g
- ⅓ cup water, 75 mL
For Flavor
- 2 tsp vanilla extract
For the Agar Mixture
- ¾ cup water, 175 mL
- ¼ cup granulated sugar, 54 g
- 4½ tsp agar-agar powder, 12 g
Instructions
- Prepare the pan: Line an 8×8-inch baking dish with parchment paper. In a small bowl, whisk together the powdered sugar and cornstarch. Lightly dust the bottom and sides of the pan with some of the mixture and set aside.
- Whip the aquafaba: Add the aquafaba and cream of tartar to the bowl of a stand mixer fitted with the whisk attachment. Briefly whisk by hand to fully incorporate the cream of tartar. Beat on medium-high speed until soft peaks form, about 5–8 minutes.
- Make the sugar syrup: Meanwhile, combine the granulated sugar and water in a small saucepan over medium heat. Heat until the syrup reaches just above the soft ball stage (235–240°F / 113–116°C). With the mixer running on low speed, slowly pour the hot syrup into the aquafaba in a thin stream, aiming between the whisk and the side of the bowl so it incorporates smoothly without splashing or sticking. Increase the mixer speed to medium-high and continue whipping until the mixture becomes thick, glossy, and reaches stiff peaks, about 10–15 minutes. Add the vanilla extract during the final minute of whipping.
- Prepare the agar mixture: While the meringue is whipping, combine the water, granulated sugar, and agar powder in a small saucepan.Bring the mixture to a full boil, then continue boiling while whisking constantly for 2–3 minutes to fully activate the agar.
- Incorporate the agar: Right before the agar mixture finishes boiling, stop the mixer and lower the bowl.As soon as the agar is ready, pour it all at once into the center of the meringue, avoiding the sides of the bowl. Raise the bowl and immediately begin mixing on low speed.Once the mixture looks fully incorporated, increase the speed to medium-high and continue whipping until evenly mixed.
- Transfer and set: Working quickly, scrape the marshmallow mixture into the prepared pan and spread evenly.Let sit at room temperature for at least 2 hours, or until fully set.
- Cut the marshmallows: Dust the top with more of the powdered sugar mixture. Turn the marshmallow slab onto a cutting board and cut into squares using a knife dusted with powdered sugar or cornstarch.Coat the marshmallows lightly to prevent sticking.
Notes
 did you make this?Leave a comment below and tag @liveeatlearn on social media! I love seeing what you’ve made!


