
This post contains affiliate links.
Everything you need to know about parsley, from its flavor and cooking methods to varieties and health benefits (plus a hack for how to store parsley so it lasts *forever*).

I generally have a black thumb when it comes to gardening, but I have this parsley plant at the moment which refuses to die. I noticed last fall, around the time when I permanently forgot to water my herb garden, that while the basil, mint, and chives all shriveled into sad, delicate nothings, the parsley seemed un-phased. So I spent the winter testing the impenetrable herb, going months without giving it proper watering or love. But still, it prevails.
And so in honor of the little herb that could, let’s spend some time cooking with this zingy herb.
The benefits of parsley
Parsley is a powerful little herb. Not only for its resistance in flourishing despite a lack of water, either. In fact, the herb is loaded up with health benefits thanks to its many vital minerals and nutrients!
It contains Vitamins A, C, and K, as well as potassium, folate, and iron. It’s great for bone health, and it’s loaded with antioxidants that support overall wellness!
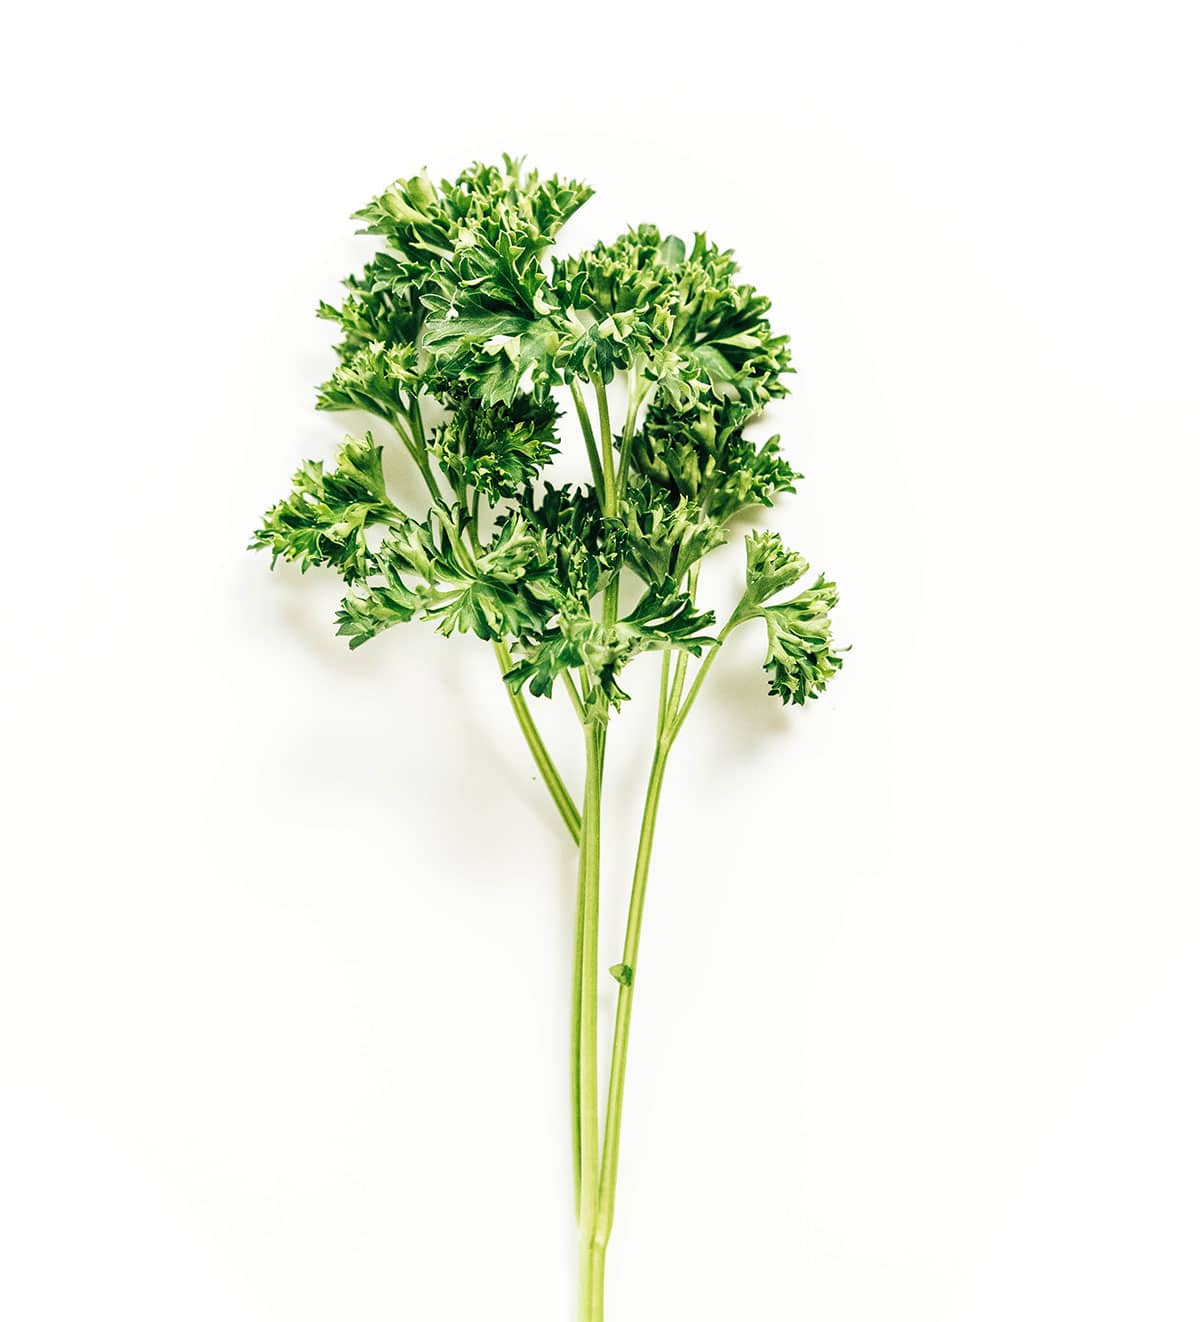
What does parsley taste like?
In short, it tastes great. But, that doesn’t necessarily mean you’d want to go chomping on it solo like you would a celery stick or carrot. Its flavor thrives prepared in the right dishes!
The flavor of this herb is earthy but subtle. It’s got an overall mild taste that works well with a variety of recipes like salads, soups, veggies, and more.
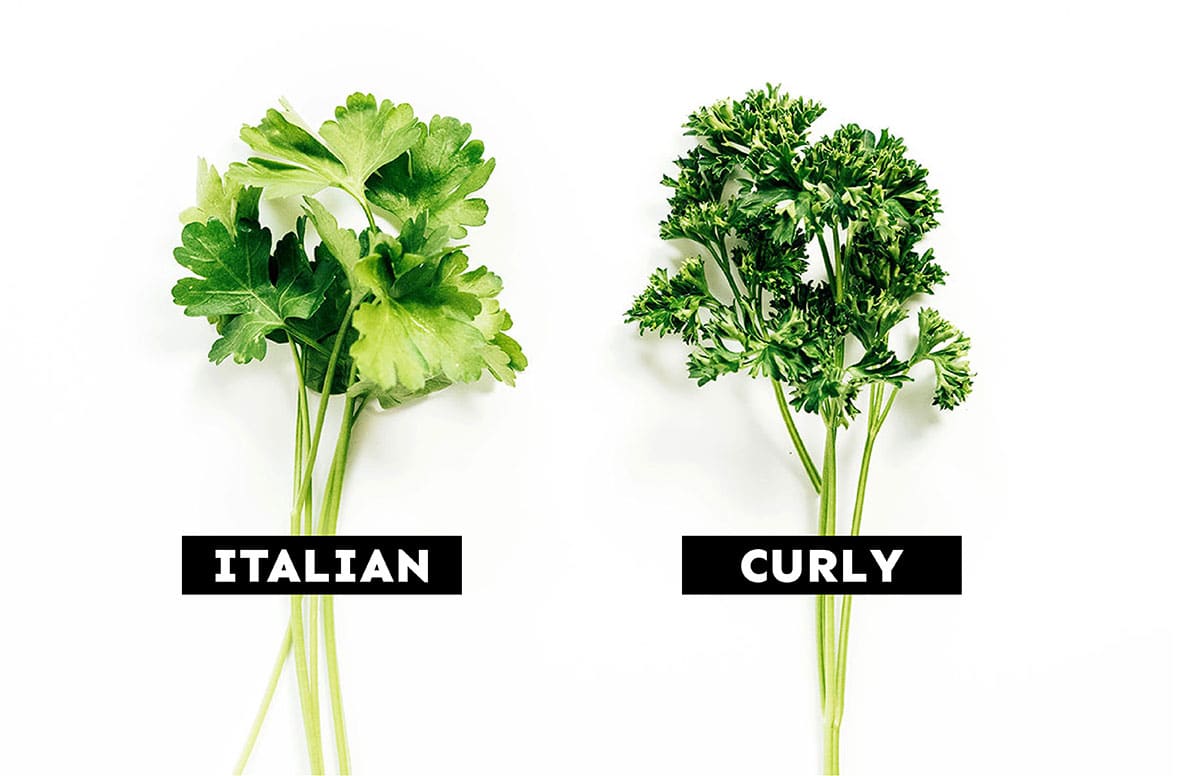
Italian parsley vs. curly parsley
Parsley comes two varieties: Italian and curly. While you may guess that they’re interchangeable like other veggie or herb varieties, that’s actually not the case! Though you can use either for whatever you’d like, their differences in flavor and texture make each type perfect for different things.
Italian parsley
The Italian variation has flat leaves similar to what you see with basil and other herbs. The color is a nice light green, and the leaves have a smooth, almost soft texture. This variation is known to have the most flavor, which makes it perfect for garnishing, cooking into dishes, and using in recipes where you really want that flavor to take center stage (like this parsley salad).
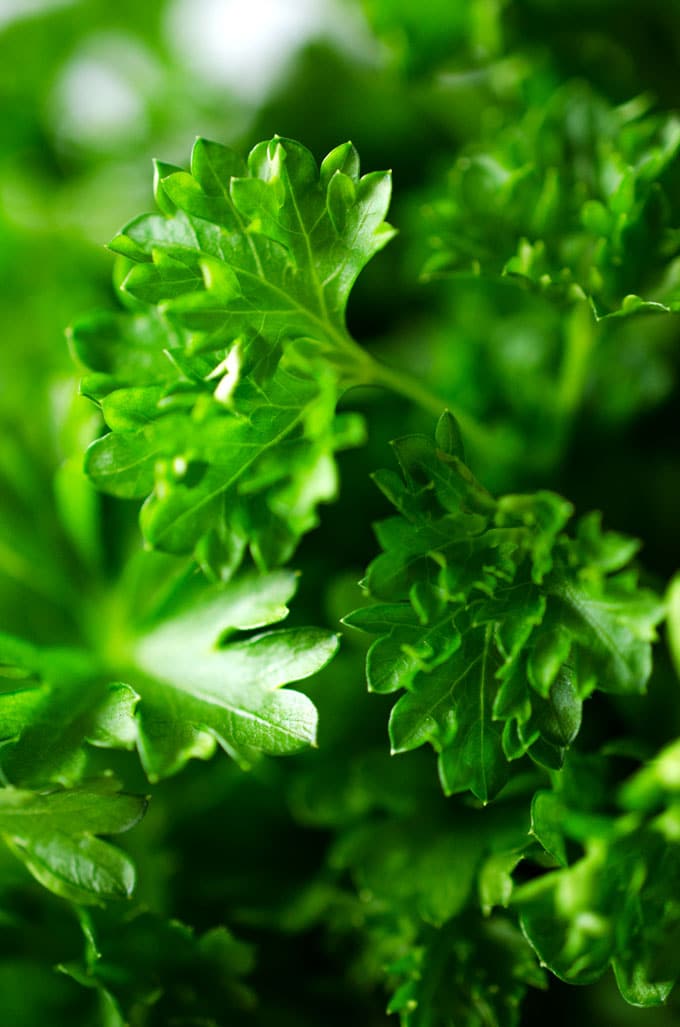
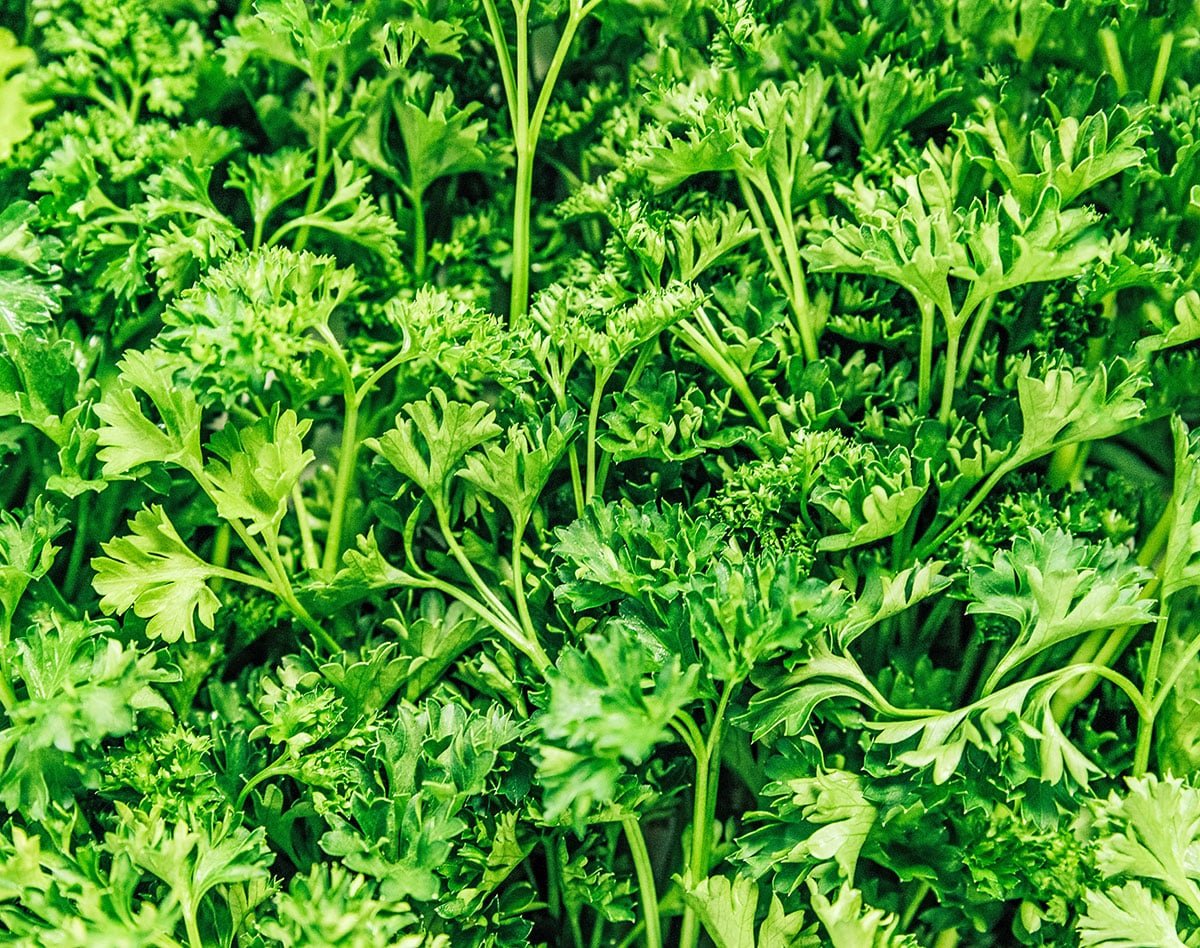
Curly parsley
The curly variation features textured leaves that take on a deeper, grassier green color. The leaves are scrunched up and don’t lay flat. With less flavor, this type of parsley is perfect where you want just a hint of a taste and don’t want to overpower the dish with too much, or need a pretty green garnish.
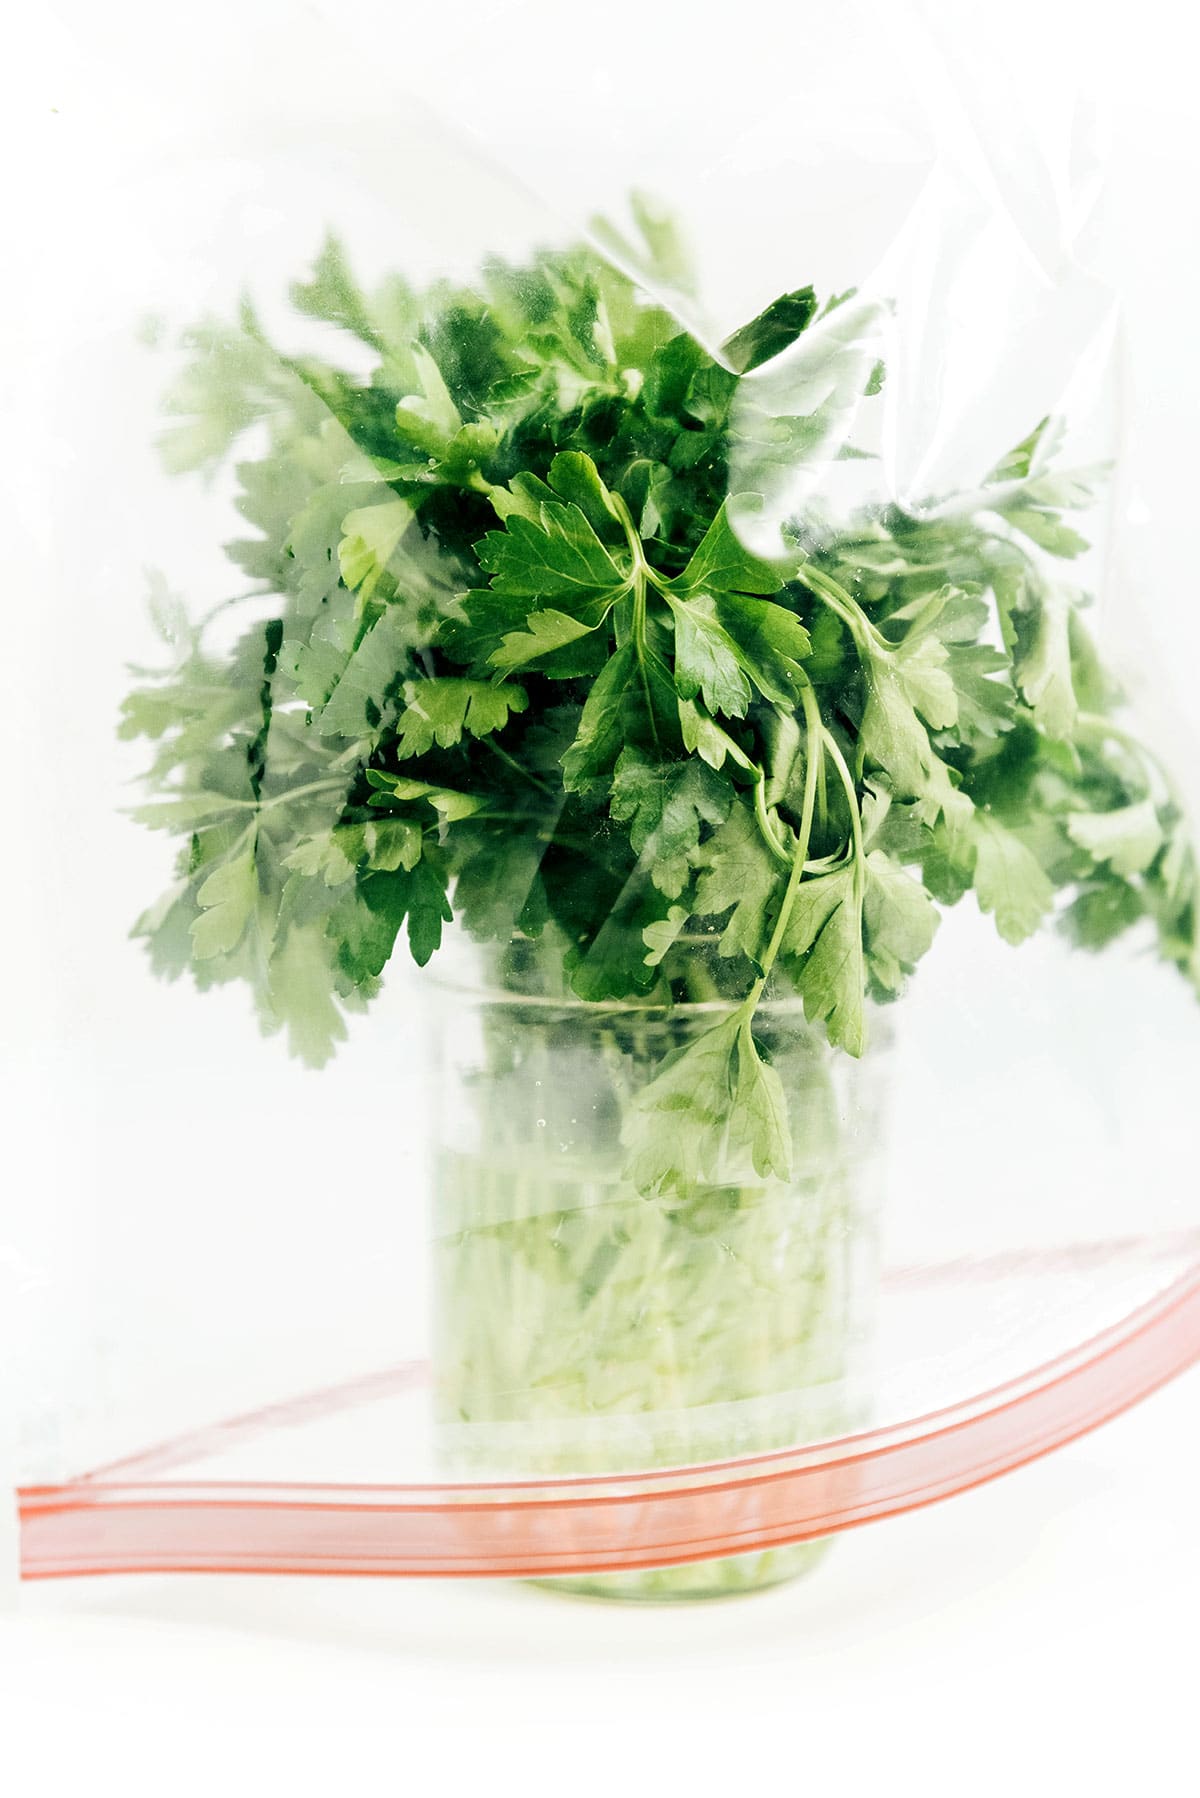
How to store parsley
If you bought a big bunch of it at the store and need to keep it fresh, I’m sharing my favorite way of storing parsley. This method of how to store parsley keeps your greens fresh for so much longer than the usual method (the usual method being to throw them in a Ziploc bag and watch as they quickly turn from green to brown mush). And it works with most tender herbs, like cilantro and mint!
- Trim the stems: Trim a little off of the bottoms of the stems so that they can take in more water.
- Add water: Fill a jar or glass partially with water and set the parsley inside. An inch or two of the stems should be submerged.
- Cover the jar: Cover the jar of herbs loosely with a plastic bag.
- Refrigerate: Store in the refrigerator. Change the water when it becomes cloudy (every few days). The herbs should stay fresh for 1 to 2 weeks.
Herb Tip!
You can use this same method for basil! The only difference? Keep it at room temperature instead of refrigerating.


How To Store Parsley (For Weeks!)
Ingredients
- 1 bunch parsley or any tender herbs*
Instructions
- Trim: Trim a little off the bottoms of the stems so they can take in more water.

- Water: Fill a jar or glass partially with water and set the parsley in so that an inch or two of the stems are submerged.

- Cover: Cover the jar of herbs loosely with a plastic bag.

- Store: Store in the fridge. Change the water when becomes cloudy (every few days). Herbs should stay fresh for 1 to 2 weeks.


this is so helpful. do you have any tricks/suggestions as to how to more easily separate leafs from stems? should you just chop them all finely and use them all?
I usually just pinch the stem off where the leaves end, then finely chop the stem that’s still attached (so basically just getting rid of the thickest, lower bit of the stem)!
I want to make my fresh Parsley into a dried herb
Hi Trudy! I don’t have a tutorial on this, but I think this guide could help you!
Storage: Would it apply to Coriander as well?
Yes! 😀