• Skip to primary navigation
  • Skip to main content
  • Skip to primary sidebar

our recipes + your inbox = the eatmail

Join now

Subscribe for new recipes + 3 fan-favorite ebooks

  • About
  • Contact

Live Eat Learn

Easy vegetarian recipes, one ingredient at a time

free ebook

Subscribe for new recipes + 3 fan-favorite ebooks

  • Recipe Index
  • Vegetarian 101
  • Travel
  • Meal Plans
  • Course
    • Breakfasts
    • Lunches
    • Dinners
    • Appetizers
    • Sweets
    • Drinks
  • Diet
    • Dairy Free
    • Gluten Free
    • Low Carb
    • Paleo
    • Raw
    • Vegan
  • Season
    • Winter
    • Spring
    • Summer
    • Fall
  • Ingredient
    • Avocado
    • Bean
    • Cauliflower
    • Chickpeas
    • Eggplant
    • Mushroom
    • Tofu
    • Quinoa
    • View All
  • Collections
    • All Time Favorites
    • Air Frying
    • Budget Friendly
    • Comfort Food
    • High Protein
    • Meal Prep
    • Meatless Monday
    • View All
  • Visit our kombucha site
    Visit our dog food blog
Home Vegetarian Cooking 101

Canning 101: Home Preservation Without the Fancy Gadgets

Share
Share on:
By: Sarah BondUpdated: Feb 05, 2022 Leave a Comment

This post contains affiliate links.

I hate food waste. Dad always said “hate is a very strong word”, but I hate food waste. And up until just recently, I thought the only way to save soon-to-go-bad food was via freezing it. Boy was I wrong!

Canning is a food preservation method that dates way back to the olden days when we didn’t have refrigeration or chemical preservatives. And it’s so simple. You essentially sterilize everything, put in the food stuff, sterilize it again, and boom, you’ve gone done preserved yourself some food stuff.

Okay, there’s a little more to it than that. So here we go.

Supplies needed for canning

  • Three piece jars (jar, lid, ring)
  • Large pot
  • Tongs
  • Acidic food stuff

How to can food

  1. Make your fruit puree / jam / jelly / chutney. The secret to all of these is their acidity. You’ll want an acidic substance, as this low pH will prevent bacteria from growing. If you’re canning the Mango Chutney from a few days ago, the vinegar provides the acidity. Berries and many fruits are also pretty acidic.
  2. Next, get yourself some jars. These need to be three piece canning jars, the three pieces being the actual jar, the flat lid, and the ring that screws the lid to the jar. Optimally, the lid should be new because it has a porous seal, but the jar and ring can be reused.
  3. Sterilize the jar / lid / ring by boiling them in water for 15 minutes.  Stand the jars up to prevent bubbles, and try to ensure nothing is stacked on each other, then pour in water to cover everything and bring to a boil. Once the water is boiling, start your timer for 15 minutes.
  4. Use clean tongs to remove each piece and set everything on a clean dishtowel.
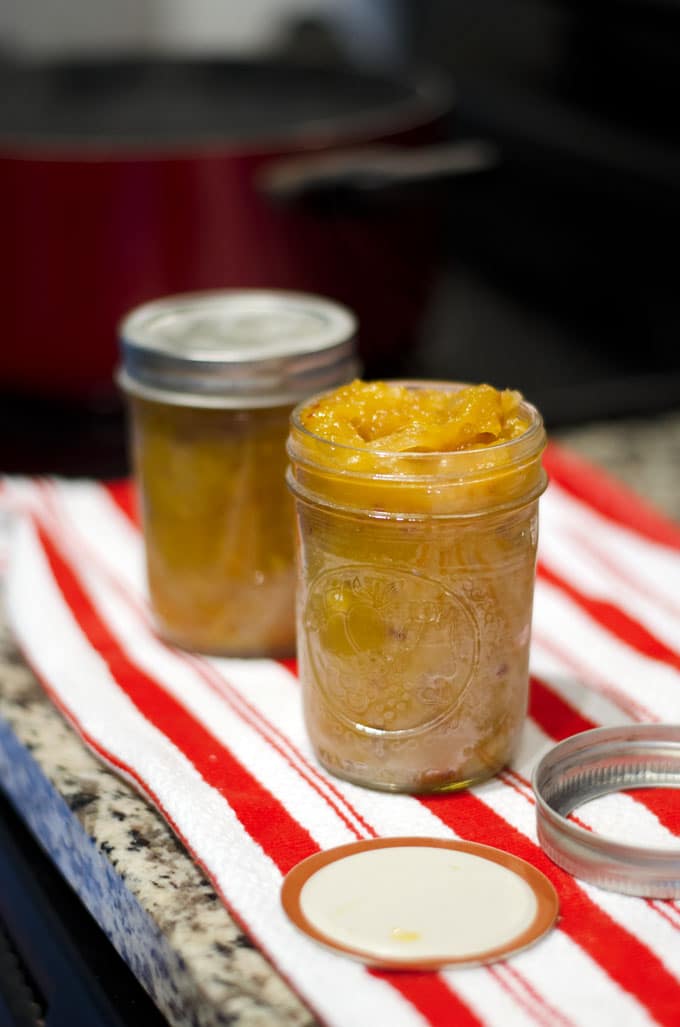
  5. Using a funnel (or carefully with a spoon), fill each jar with your hot puree. Fill to the top, but be careful not to overfill.
  6. With clean hands and a paper towel, gently wipe any excess fruit from the rim.
  7. Place on the lid then the ring, only twisting the ring to “fingertip tight” (only as tight as you can get it with your fingertips). This will allow oxygen to escape during processing.
  8. Place the filled jars back into the pot, submerging them so that there is about 1 inch of water above them. Boil for another 15 minutes.
  9. Remove from water and allow to cool. You should hear a “pop” when the contents cool, sucking the lid inward and creating a vacuum seal.
Canning 101

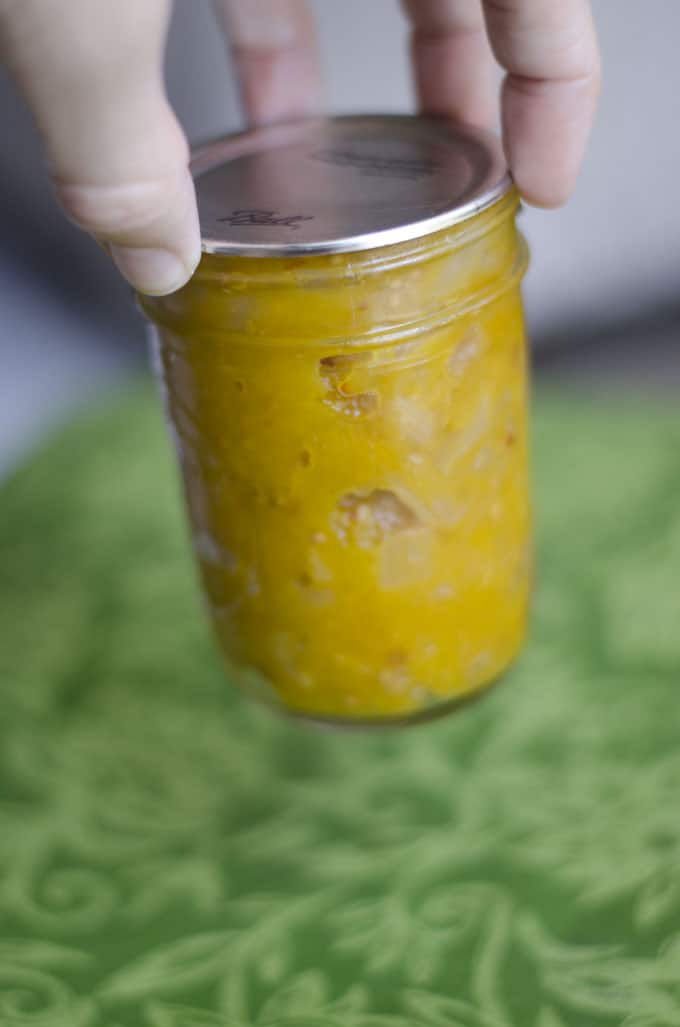
How to test if canning worked

Did it work? You can test the seal by lifting the jar by the lid (ring removed). The vacuum seal should be strong enough to hold the jar. Properly preserved food should last 6 to 12 months at room temperature!

Canning 101

You may also like...

  • Home renovations part 2: rebuilding (new floors, and drywall!)
    Home Renovation Part 2: Rebuilding
  • Taking Your Travel Home
  • Home Renovation Part 1: Tear Down
    Home Renovation Part 1: Tear Down
  • Minimalist white kitchen design
    Home Renovation Part 3: Kitchen Remodel
Previous Post
Next Post

Reader Interactions

Leave a Comment Cancel reply

Have a question? Submit your question or comment below.

Rate this Recipe:


Primary Sidebar

Hello

I'm Sarah

A flavor-loving nutritionist and sensory science specialist showing you how to make easy vegetarian recipes, one ingredient at a time.

Let's Meet

Freebie alert!

3 reader-favorite cookbooks delivered straight to your inbox.

Get in now!

Subscribe for new recipes + 3 fan-favorite ebooks

Air Fryer Recipes

Air Fryer Buffalo Cauliflower

Plate full of crispy chickpeas with a wooden spoon.

15 Minute Crispy Air Fryer Chickpeas

Personal size mozzarella pizza cooked in an air fryer

Air Fryer Pizza

Air Fryer Mozzarella Sticks

Brussels sprouts on a plate with wooden serving spoons.

The Best 15 Minute Air Fryer Brussels Sprouts

Kale chips on a white plate.

10 Minute Air Fryer Kale Chips

Dinner This Week

Vegan tikka masala with naan and rice in a white bowl

M

Chickpea Tikka Masala

Roasted Chickpea Gyros

T

Roasted Chickpea Gyros

Vegan Thai red curry in a bowl on a red background

W

Thai Vegetarian Coconut Curry

Vegan nachos on a black plate on a white background - These vegan nachos are piled high with easy mushroom BBQ "pulled pork" and a cashew-based queso cheese sauce that will knock your dairy-free socks off.

R

BBQ Mushroom Pulled Pork

Roasted Cauliflower Street Tacos

F

Roasted Cauliflower Tacos

Lemon risotto in a bowl with basil on a yellow background

S

Lemon Basil Risotto

As featured on:

3 bonus books!

Join our Eatmail newsletter to get free copies of our top 3 cookbooks, new recipes, exclusive meal plans, and more!

Follow Along

  • Easy Vegetarian Facebook Group
  • Kombucha Brewers Facebook Group
Back to Top
  • Web Stories
  • About
  • Privacy Policy
  • Terms
  • Collaborate
© 2023 Live Eat Learn
Site Credits Designed by Melissa Rose Design Developed by Once Coupled Support by Foodie Digital